根据YOLO标注文件 生成标注图像
·
这段代码实现了一个功能,用于读取标注文件和对应的图像文件,并在图像上绘制标注框和标签,最后将绘制结果保存为新的图像文件。使用时需替换图像路径、标注文件路径和生成图片的保存路径!
import os
from pathlib import Path
import pandas as pd
import cv2

alphabet = ['smoke', 'pen', 'test']

label_root = Path("/Users/chixu/Downloads/FURP/data/dataset_smoke_pen_v5/txt")  # 替换为实际的标注文件夹路径
image_root = Path("/Users/chixu/Downloads/FURP/data/dataset_smoke_pen_v5/jpg")  # 替换为实际的图像文件夹路径
output_root = Path("/Users/chixu/Downloads/FURP/data/dataset_smoke_pen_v5/annotated_images")  # 替换为实际的输出文件夹路径

def paint(label_file, image_file, output_file):
    try:
        # 读取标签
        df = pd.read_csv(label_file, sep=" ", names=['id', 'center-x', 'center-y', 'w', 'h'])
        df['id'] = df['id'].apply(lambda x: alphabet[x])
        df = df.sort_values(by='center-x')
        # 读取图片
        img = cv2.imread(str(image_file))
        h, w = img.shape[:2]

        df[['center-x', 'w']] = df[['center-x', 'w']].apply(lambda x: x * w)
        df[['center-y', 'h']] = df[['center-y', 'h']].apply(lambda x: x * h)

        df['x1'] = df['center-x'] - df['w'] / 2
        df['x2'] = df['center-x'] + df['w'] / 2
        df['y1'] = df['center-y'] - df['h'] / 2
        df['y2'] = df['center-y'] + df['h'] / 2

        df[['x1', 'x2', 'y1', 'y2']] = df[['x1', 'x2', 'y1', 'y2']].astype('int')

        points = zip(df['x1'], df['y1'], df['x2'], df['y2'], df['id'])
        for point in points:
            x1, y1, x2, y2, label = point
            img = cv2.rectangle(img, (x1, y1), (x2, y2), color=(0, 255, 0), thickness=1)
            cv2.putText(img, label, (x1, y1 - 10), cv2.FONT_HERSHEY_SIMPLEX, 0.5, (0, 255, 0), thickness=1)
        cv2.imwrite(str(output_file), img)
        print('Generated:', output_file)
    except Exception as e:
        print('Error processing:', label_file)
        print('Error message:', str(e))

# 创建保存新图像的文件夹
output_image_folder = output_root / 'images'
output_image_folder.mkdir(parents=True, exist_ok=True)

# 遍历标注文件夹中的所有txt文件
for label_file in label_root.glob("*.txt"):
    image_file = image_root / (label_file.stem + ".jpg")
    output_image_file = output_image_folder / (label_file.stem + ".jpg")
    paint(label_file, image_file, output_image_file)
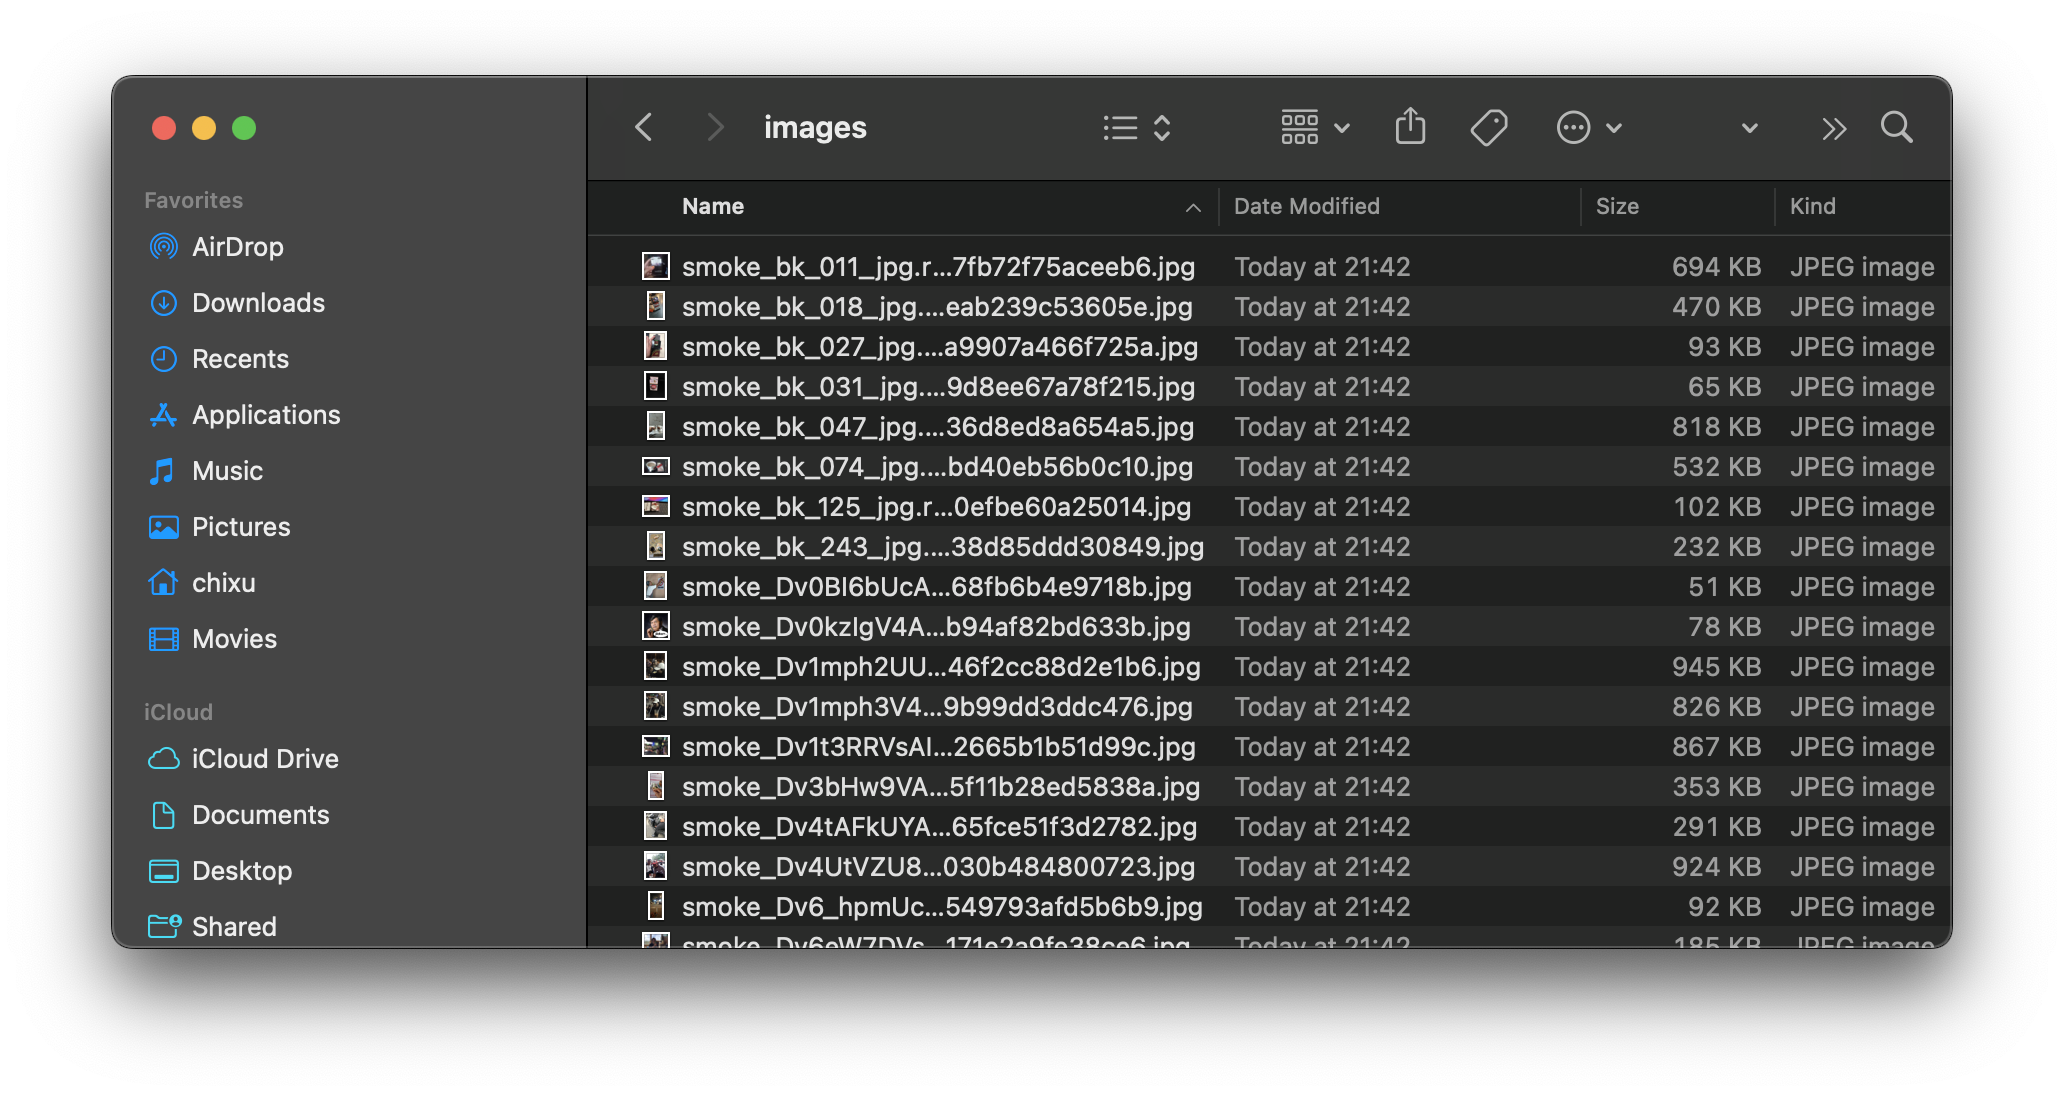
然后就可以在对应的文件夹下查看标注图像了:

代码的具体流程如下:
-
导入所需的库:os、pathlib、pandas和cv2(OpenCV)。
-
定义了一个包含几个标签的列表alphabet,用于将标签ID映射到具体的名称。
-
设置了标注文件夹路径(label_root)、图像文件夹路径(image_root)和输出文件夹路径(output_root)。
-
定义了一个名为paint的函数,用于绘制标注框和标签。该函数接受标注文件路径、图像文件路径和输出文件路径作为参数。
-
在paint函数中,首先使用pandas库读取标注文件,将其解析为一个DataFrame对象。标注文件中的每一行表示一个标注框,包含ID、中心坐标、宽度和高度信息。
-
将标注框按照中心坐标的x值进行排序。
-
使用OpenCV的cv2库读取图像文件,并获取图像的高度和宽度。
-
将标注框的中心坐标和宽度、高度乘以图像的宽度和高度,将相对坐标转换为绝对坐标。
-
计算标注框的左上角和右下角坐标。
-
将坐标值转换为整数类型。
-
使用cv2库的函数,在图像上绘制矩形框和标签。
-
将绘制结果保存为新的图像文件。
-
输出生成的图像文件路径。
-
在主程序中,首先创建用于保存新图像的文件夹。
-
使用glob函数遍历标注文件夹中的所有txt文件。
-
对于每个txt文件,根据文件名构造对应的图像文件路径。
-
根据输出文件夹路径和文件名构造输出图像文件路径。
-
调用paint函数,传入标注文件路径、图像文件路径和输出图像文件路径,进行绘制操作。

有“AI”的1024 = 2048,欢迎大家加入2048 AI社区
更多推荐

 3
3 0
0- 0


 已为社区贡献5条内容

所有评论(0)