【超详细新手教程!】使用第三方api平台配置Openclaw 龙虾详细教程
本文详细介绍了如何配置OpenClaw工具使用第三方平台(以魔芋AI为例)的API密钥接入AI模型服务。主要内容包括:1)获取API密钥和服务地址;2)修改OpenClaw配置文件添加模型提供商和模型定义;3)配置默认模型及别名;4)提供完整的配置示例和验证方法;5)说明如何添加更多模型(包括Claude系列模型的特殊配置)。文章重点讲解了配置文件各参数含义,帮助用户实现OpenClaw与第三方A
一.前置条件
考虑到试用龙虾时候有切换国内外模型需求,综合使用成本,模型选择,模型稳定性,国外因素等等,决定选择第三方平台的api密钥。
前置条件:
-
已安装 OpenClaw
-
拥有模型的 API Key
-
知道对应模型的服务地址
Openclaw下载可以选择官网:OpenClaw — Personal AI Assistant进行下载安装,也可以选择第四点已经整合好Openclaw本地一键部署程序,不用复杂配置,只需要配置apikey 和 url地址即可使用。
二.模型API KEY以及服务地址获取
这边模型api key大家肯定根据自身需求进行选择,可以选择官方渠道或者第三方平台渠道,综合需求我选择第三方平台魔芋ai平台https://www.moyu.info/register?aff=g2d7👉https://www.moyu.info/register?aff=g2d7。
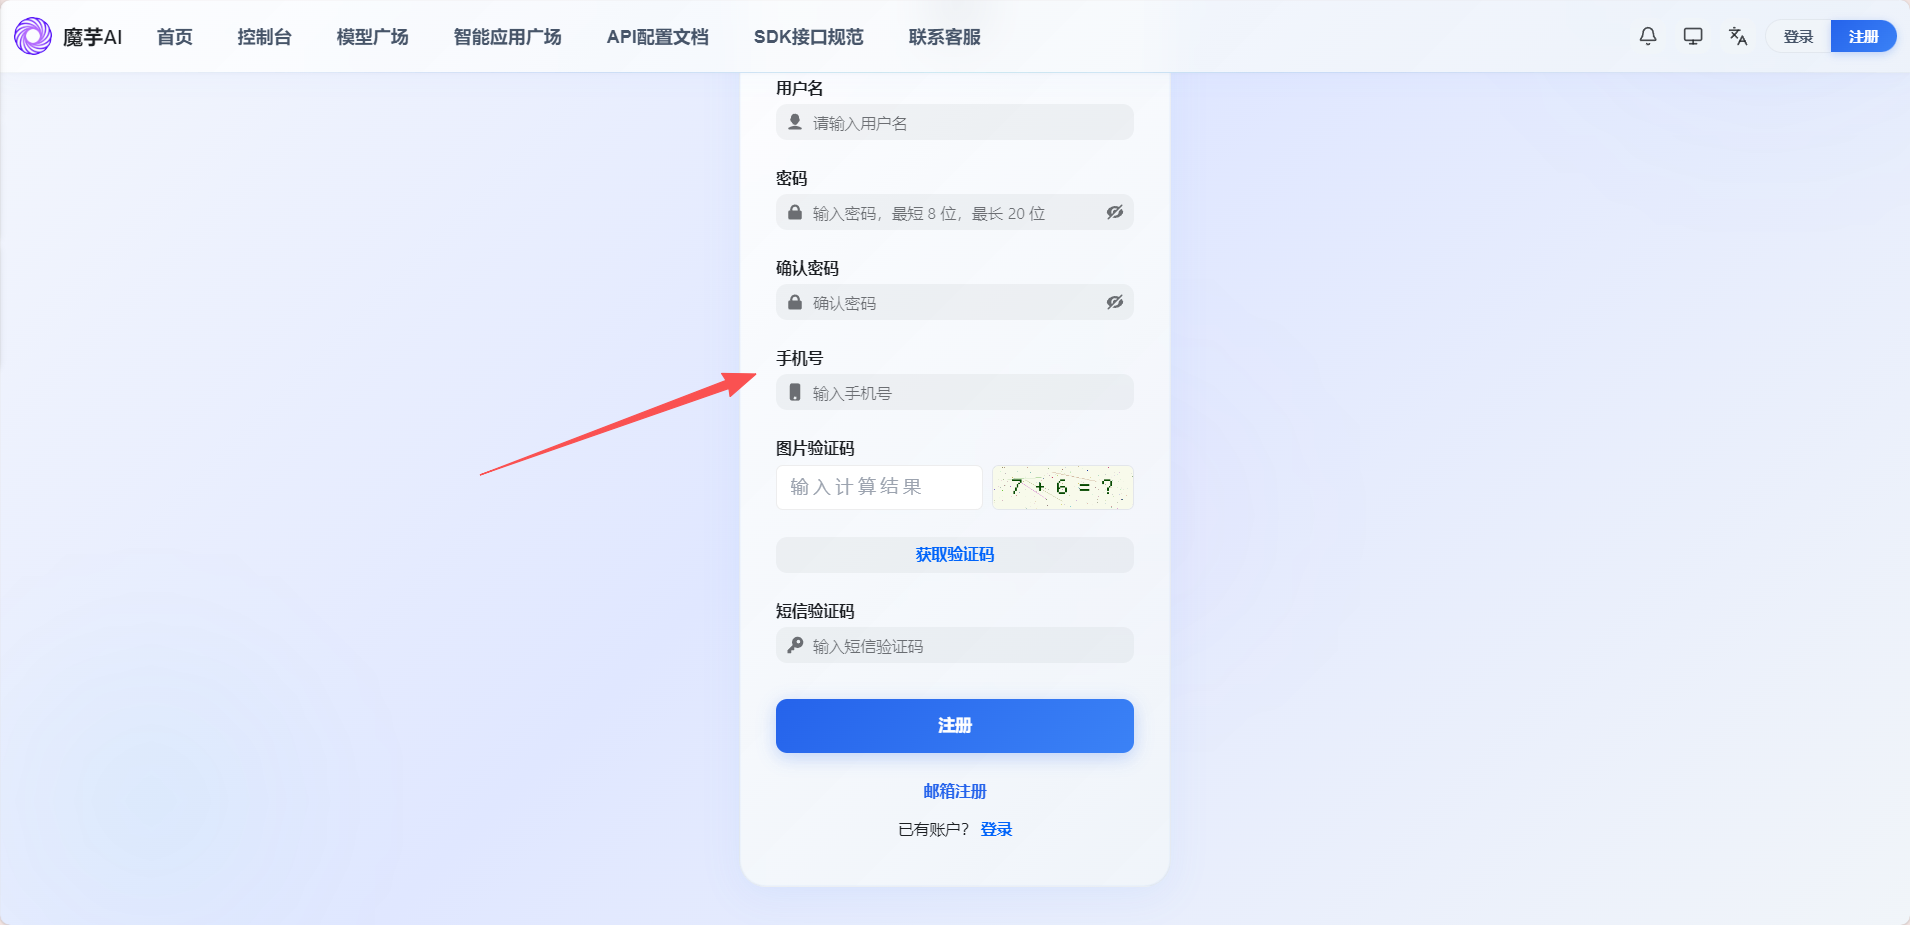
1.使用手机号码或者邮箱来进行账号注册。
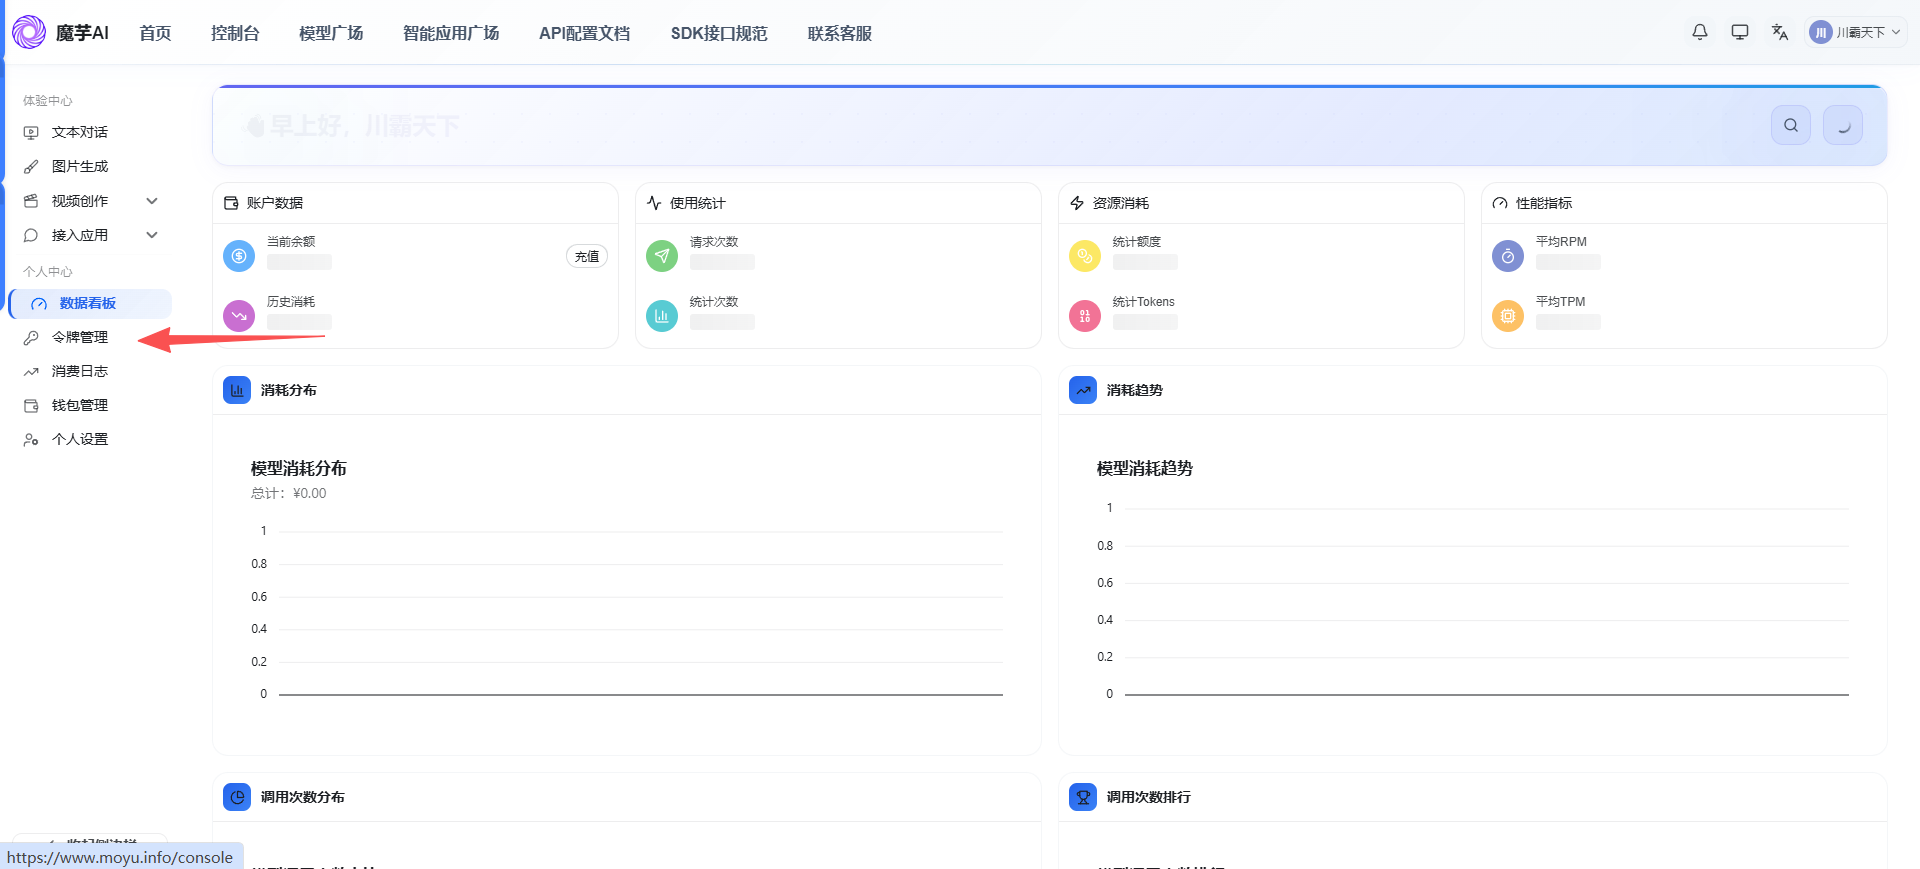
2.注册成功后登录进入【令牌管理】
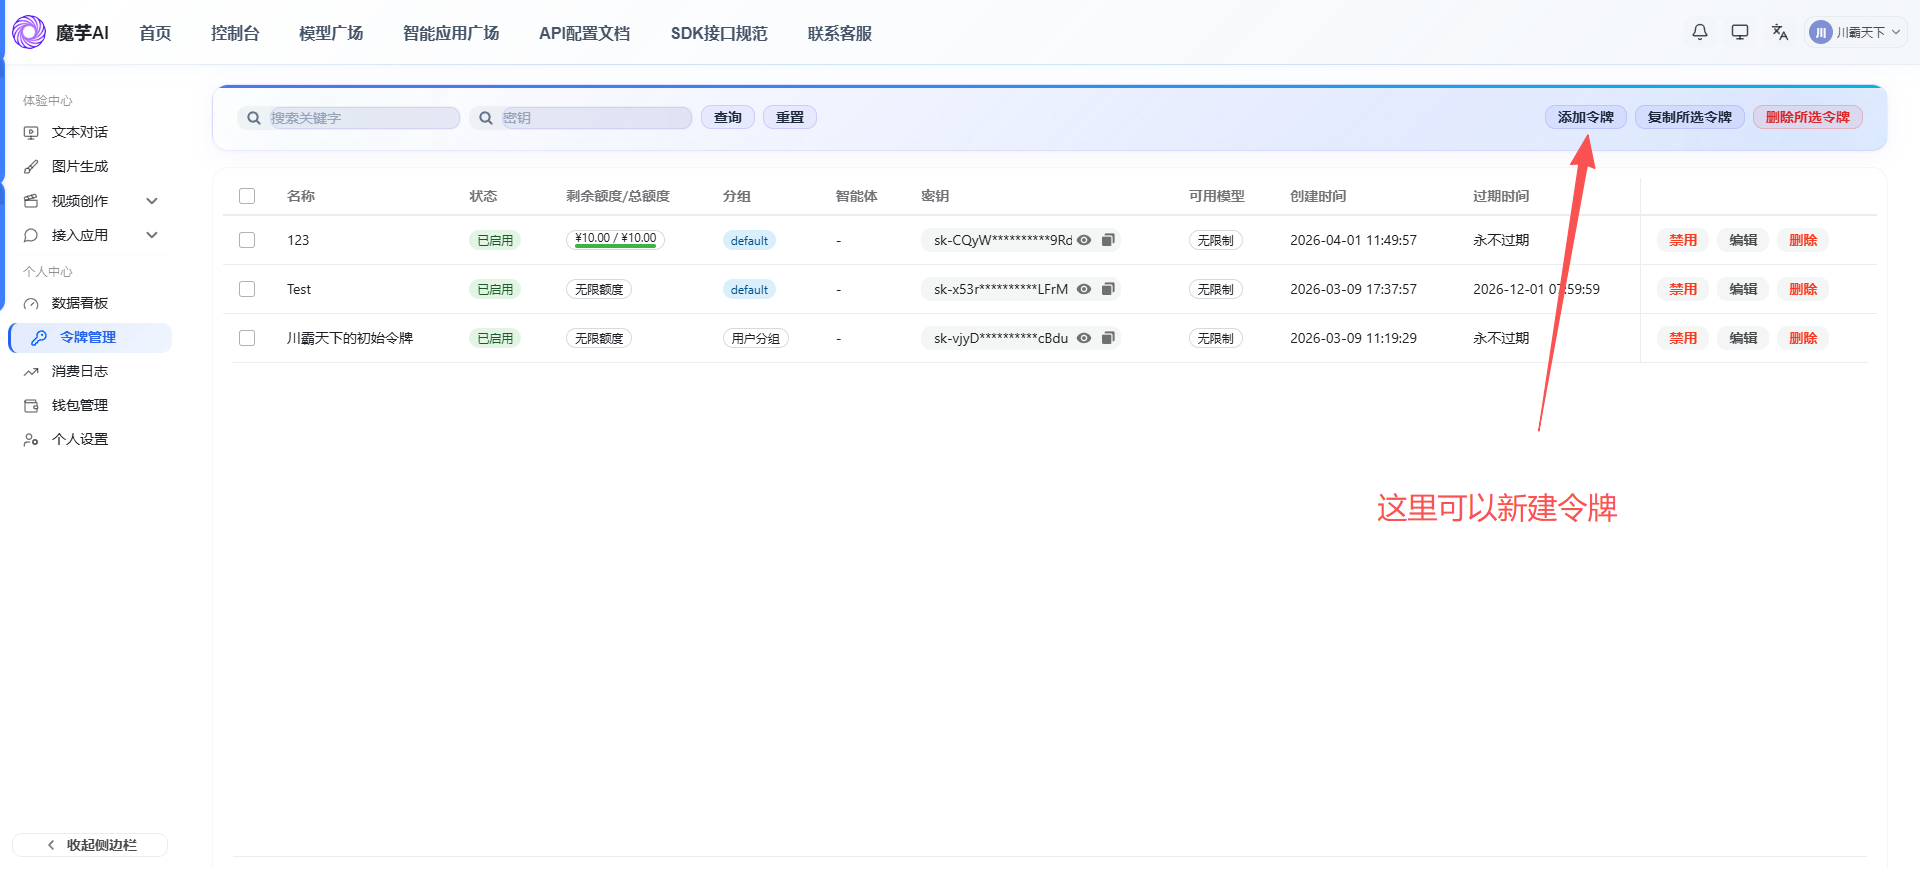
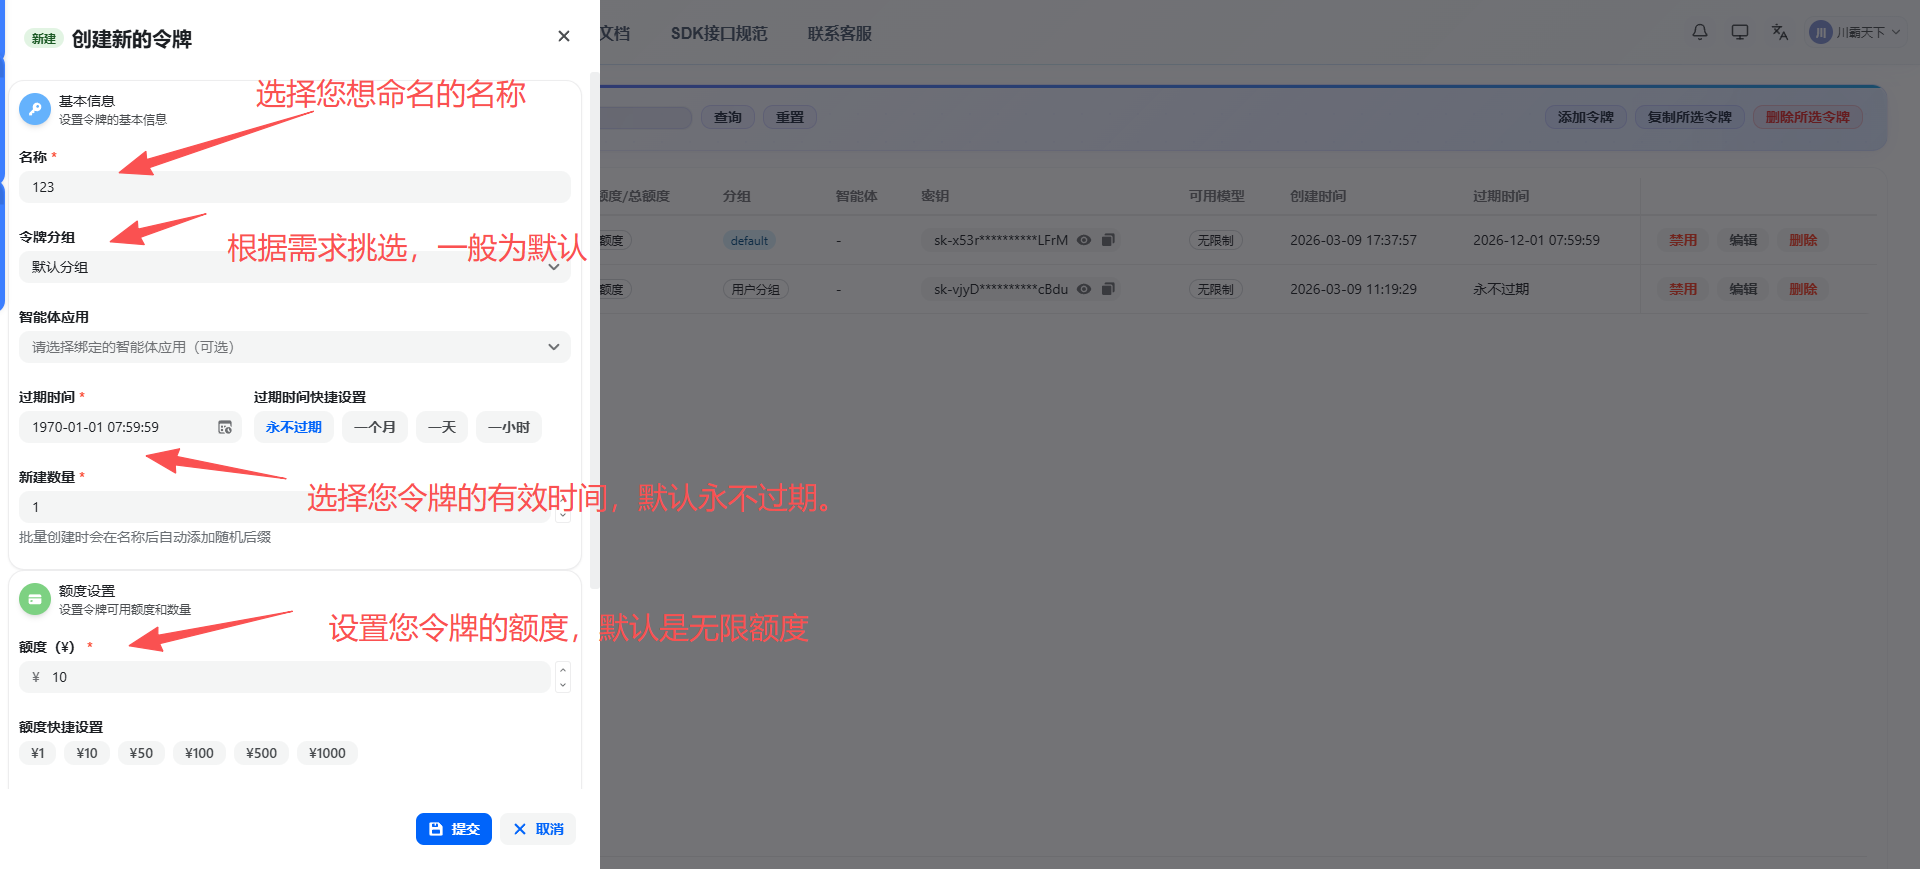
3.复制要使用的api key,待会使用。
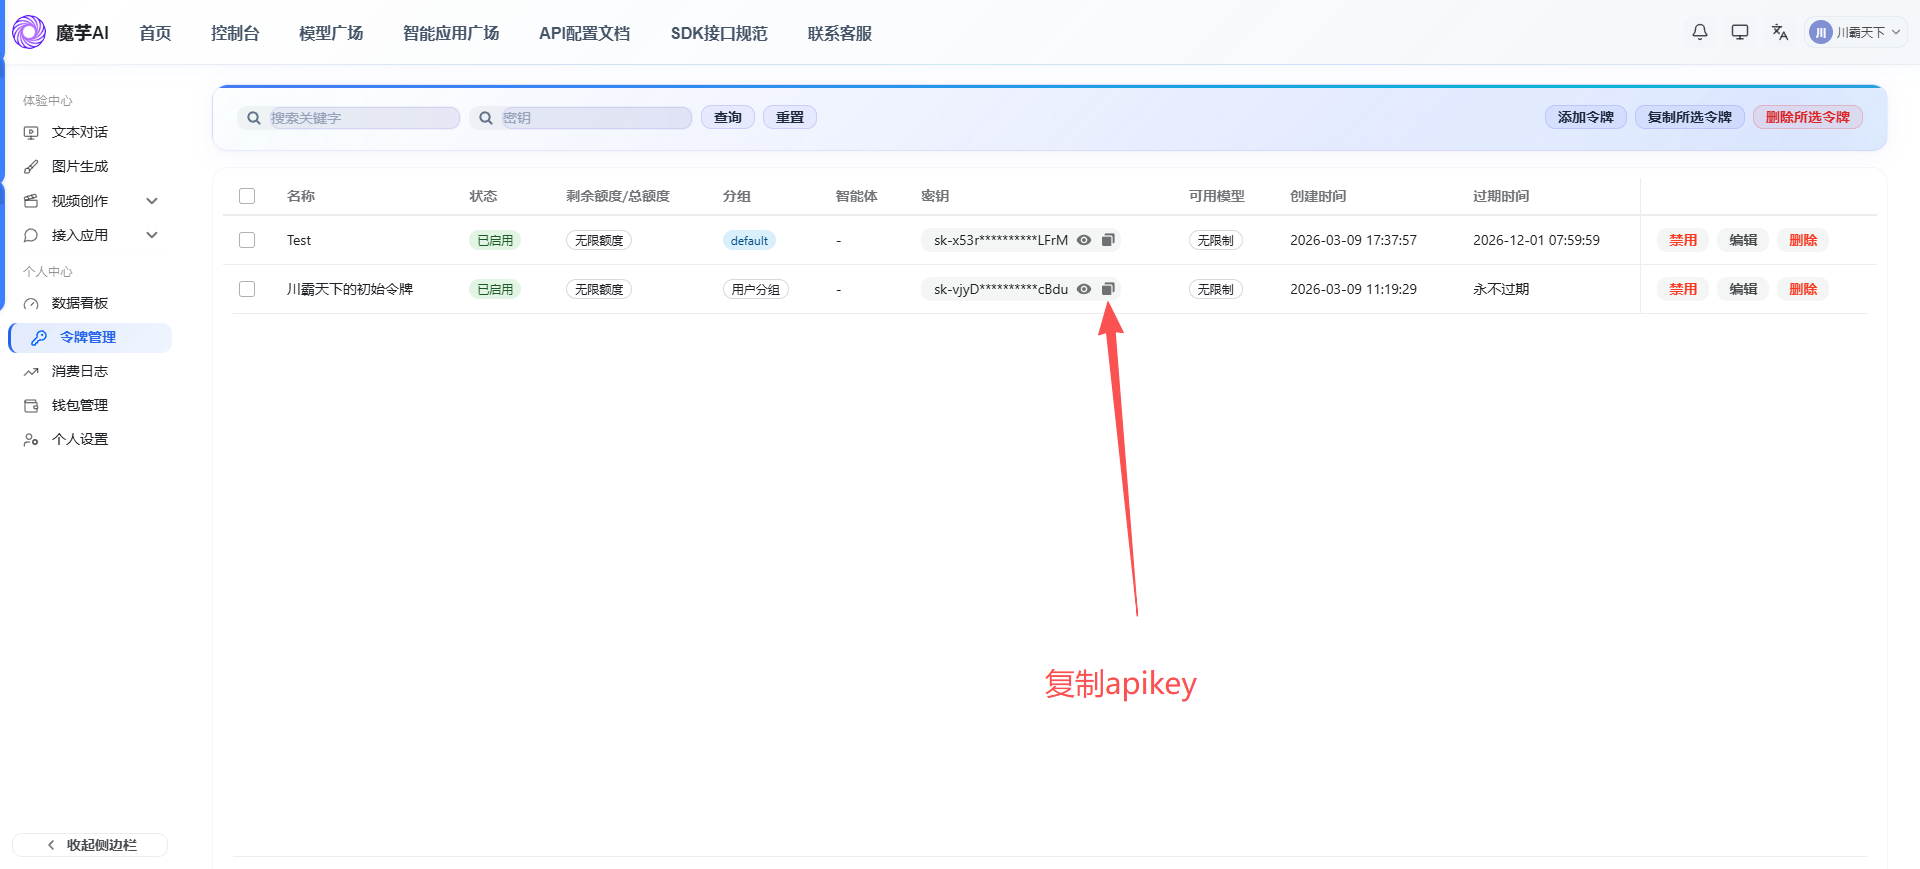
!!!baseUrl: 魔芋AI的API服务地址(https://www.moyu.info/ 或https://www.moyu.info/v1)
三、OpenClaw 配置步骤
1.定位配置文件
OpenClaw 的配置文件位于:C:\Users\<用户名>\.openclaw\openclaw.json
2.添加第三方平台提供商配置
(这里以魔芋ai平台进行举例)
在配置文件的 models.providers 部分添加魔芋AI提供商:
{
  "models": {
    "providers": {
      "MoyuAI": {
        "baseUrl": "https://www.moyu.info/v1",
        "apiKey": "你的API密钥",
        "api": "openai-completions",
        "authHeader": false,
        "models": [
          // 模型配置列表
        ]
      }
    }
  }
}
!!!配置项说明:
-
baseUrl: 魔芋AI的API服务地址(例如:https://www.moyu.info/ 或自定义地址) -
apiKey: 你的魔芋AI API密钥 -
api: API类型,使用openai-completions表示兼容OpenAI格式 -
authHeader: 是否使用自定义认证头,通常设为false
3.添加模型定义
在 models 数组中添加你要使用的模型:
"models": [
  {
    "id": "GPT-4.1",
    "name": "GPT-4.1",
    "api": "openai-completions",
    "reasoning": false,
    "input": [
      "text"
    ],
    "cost": {
      "input": 0,
      "output": 0,
      "cacheRead": 0,
      "cacheWrite": 0
    },
    "contextWindow": 400000,
    "maxTokens": 40000,
    "compat": {
      "maxTokensField": "max_tokens"
    }
  },
  {
    "id": "gpt-5.2",
    "name": "GPT-5.2",
    "api": "openai-completions",
    "reasoning": false,
    "input": [
      "text"
    ],
    "cost": {
      "input": 0,
      "output": 0,
      "cacheRead": 0,
      "cacheWrite": 0
    },
    "contextWindow": 400000,
    "maxTokens": 40000,
    "compat": {
      "maxTokensField": "max_tokens"
    }
  }
]
!!!配置项说明:
-
id: 模型ID,需与魔芋AIpingtai1支持的模型名称一致 -
name: 显示名称,可自定义 -
api: API类型 -
reasoning: 是否为推理模型 -
input: 支持的输入类型 -
cost: 费用配置(可设为0) -
contextWindow: 上下文窗口大小(token数量) -
maxTokens: 最大输出token数量 -
compat.maxTokensField: 兼容性配置
4.配置默认模型
在 agents.defaults 部分配置要使用的模型:
{
  "agents": {
    "defaults": {
      "model": {
        "primary": "MoyuAI/gpt-5.2"
      },
      "models": {
        "MoyuAI/GPT-4.1": {
          "alias": "GPT4"
        },
        "MoyuAI/gpt-5.2": {
          "alias": "gpt"
        }
      },
      "workspace": "C:\\Users\\heruyi\\.openclaw\\workspace",
      "compaction": {
        "mode": "safeguard"
      },
      "maxConcurrent": 4,
      "subagents": {
        "maxConcurrent": 8
      }
    }
  }
}
!!!配置项说明:
-
model.primary: 主要使用的模型,格式为提供商名称/模型ID -
models: 可用模型列表及其别名 -
alias: 模型别名,便于快速切换
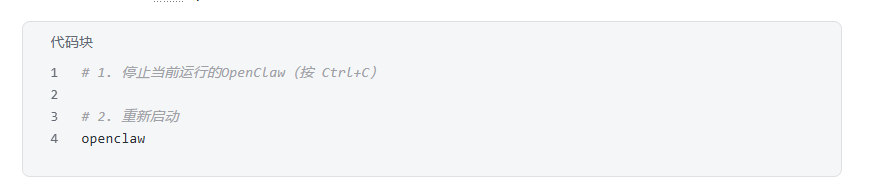
5.重启Openclaw服务
完整配置示例
{
"meta": {
"lastTouchedVersion": "2026.2.9",
"lastTouchedAt": "2026-02-12T09:46:52.866Z"
},
"models": {
"providers": {
"MoyuAI": {
"baseUrl": "https://www.moyu.info/v1",
"apiKey": "你魔芋平台上的Key",
"api": "openai-completions",
"authHeader": false,
"models": [
{
"id": "GPT-4.1",
"name": "GPT-4.1",
"api": "openai-completions",
"reasoning": false,
"input": ["text"],
"cost": {
"input": 0,
"output": 0,
"cacheRead": 0,
"cacheWrite": 0
},
"contextWindow": 400000,
"maxTokens": 40000,
"compat": {
"maxTokensField": "max_tokens"
}
},
{
"id": "gpt-5.2",
"name": "GPT-5.2",
"api": "openai-completions",
"reasoning": false,
"input": ["text"],
"cost": {
"input": 0,
"output": 0,
"cacheRead": 0,
"cacheWrite": 0
},
"contextWindow": 400000,
"maxTokens": 40000,
"compat": {
"maxTokensField": "max_tokens"
}
}
]
}
}
},
"agents": {
"defaults": {
"model": {
"primary": "MoyuAI/gpt-5.2"
},
"models": {
"MoyuAI/GPT-4.1": {
"alias": "GPT4"
},
"MoyuAI/gpt-5.2": {
"alias": "gpt"
}
},
"workspace": "~/.openclaw/workspace",
"compaction": {
"mode": "safeguard"
},
"maxConcurrent": 4,
"subagents": {
"maxConcurrent": 8
}
}
},
"gateway": {
"port": 18789,
"mode": "local",
"bind": "loopback",
"auth": {
"mode": "token",
"token": "你自己原来上的token"
}
}
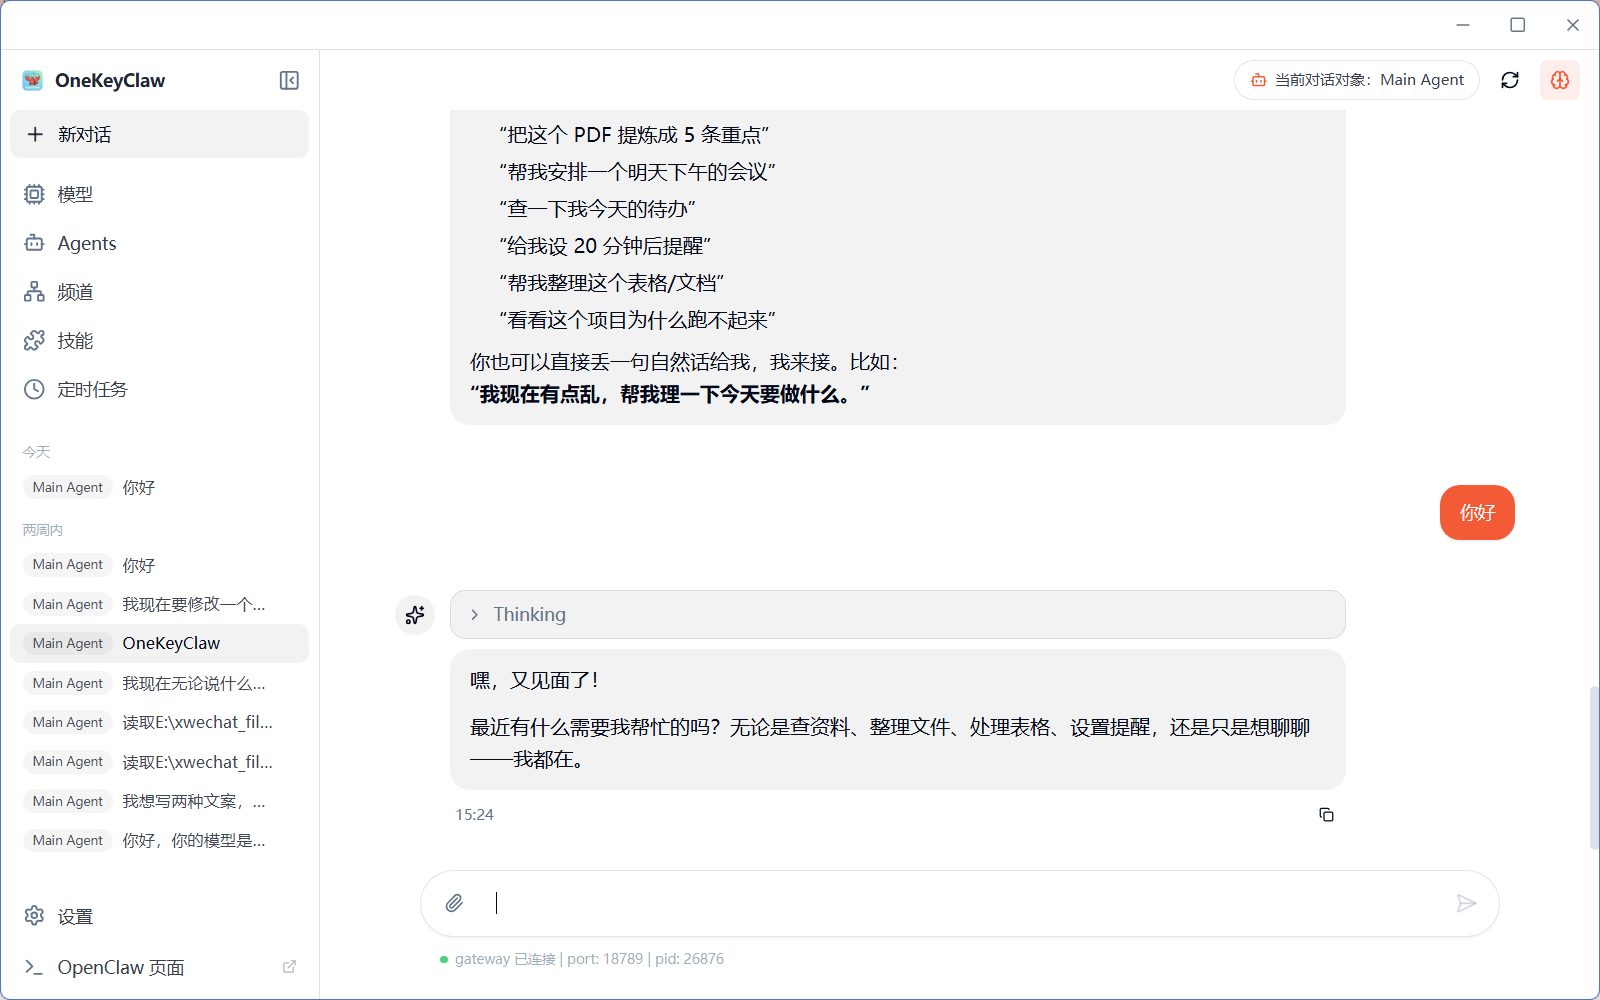
}验证配置
启动OpenClaw后,你应该看到类似以下的日志输出:
[gateway] agent model: MoyuAI/gpt-5.2
[gateway] listening on ws://127.0.0.1:18789
6.添加更多模型
如果需要添加更多模型,只需在 models 数组中继续添加模型配置:
{
  "id": "你的模型ID",
  "name": "显示名称",
  "api": "openai-completions",
  "reasoning": false,
  "input": ["text"],
  "cost": {
    "input": 0,
    "output": 0,
    "cacheRead": 0,
    "cacheWrite": 0
  },
  "contextWindow": 128000,
  "maxTokens": 8192,
  "compat": {
    "maxTokensField": "max_tokens"
  }
}
7.配置Claude系列模型(Anthropic API)
如果你想使用 Claude 模型(如 Claude Sonnet 4.6),需要使用 Anthropic Messages API 格式进行配置。
1.添加Claude 提供商配置
在配置文件的 models.providers 部分添加一个新的提供商(注意与 OpenAI 格式的提供商分开配置):
{
  "models": {
    "providers": {
      "MoyuAI_Claude": {
        "baseUrl": "https://www.moyu.info",
        "apiKey": "你的API密钥",
        "api": "anthropic-messages",
        "authHeader": false,
        "models": [
          {
            "id": "claude-sonnet-4-5-20250929",
            "name": "claude-sonnet-4-5-20250929",
            "api": "anthropic-messages",
            "reasoning": false,
            "input": ["text"],
            "cost": {
              "input": 0,
              "output": 0,
              "cacheRead": 0,
              "cacheWrite": 0
            },
            "contextWindow": 400000,
            "maxTokens": 400000,
            "compat": {
              "maxTokensField": "max_tokens"
            }
          }
        ]
      }
    }
  }
}
!!!重要配置说明:
-
baseUrl: Claude API 的基础地址(注意:不需要/v1后缀) -
api: 必须使用"anthropic-messages",这是 Anthropic API 的专用格式 -
authHeader: 设为false -
模型的
api字段也要设为"anthropic-messages"
2.配置 Claude 模型别名
在 agents.defaults.models 中添加 Claude 模型的别名:
{
  "agents": {
    "defaults": {
      "model": {
        "primary": "MoyuAI_Claude/claude-sonnet-4-5-20250929"
      },
      "models": {
        "MoyuAI_Claude/claude-sonnet-4-5-20250929": {
          "alias": "claude"
        }
      }
    }
  }
}
当然也可以同时使用多个提供商:
(你可以同时配置 OpenAI 格式和 Anthropic 格式的提供商)
{
  "models": {
    "providers": {
      "MoyuAI": {
        "baseUrl": "https://www.moyu.info/v1",
        "apiKey": "你的API密钥",
        "api": "openai-completions",
        "authHeader": false,
        "models": [
          // OpenAI 格式的模型...
        ]
      },
      "MoyuAI_Claude": {
        "baseUrl": "https://www.moyu.info",
        "apiKey": "你的API密钥",
        "api": "anthropic-messages",
        "authHeader": false,
        "models": [
          // Claude 模型...
        ]
      }
    }
  }
}
四、Openclaw本地一键部署程序
在配置api文件时候,我发现这个第三方api平台,有专门整合适配好的龙虾Openclaw本地一键部署程序,该安装包已经配置好文件了,只需要配置api key和url地址即可,大家可以参考。
全新 OpenClaw(小龙虾)保姆级本地一键部署程序
🔗 完整软件在这里:
https://jcng5q8n0f3z.feishu.cn/docx/HT44dENmGonQKOx2Frxcpv6Pnrg?from=from_copylink

有“AI”的1024 = 2048,欢迎大家加入2048 AI社区
更多推荐


 6
6 0
0- 0


 已为社区贡献1条内容

所有评论(0)