【JavaEE】【SpringAI】大模型部署
大模型部署

一、部署方案
部署⽅案对⽐
- 云服务部署,在云服务平台的机器上部署⼤模型
- 本地部署则是指在本地机器上进⾏部署⼤模型
| 维度 | 云部署 | 本地部署 |
|---|---|---|
| 费⽤ | 前期成本低,⻓期成本⾼ | 前期成本⾼,⻓期成本低 |
| 维护 | 简单 | 复杂 |
| 弹性扩展 | 简单 | 复杂,定制性⾼ |
| ⽹络 | 依赖⽹络,全球访问 | 不依赖⽹络 |
| 数据安全 | 隐私性差 | 数据安全 |
二、常⻅云服务平台介绍
如果不需要对模型进⾏训练,微调,仅仅是想使⽤预调好的⼤模型进⾏应⽤开发,很多模型提供商也提供了开放API,⽐如上⾯讲的DeepSeek和ChatGPT, 直接调⽤他们的API即可.
国内很多知名的云服务平台提供了⼤模型的私有部署功能(提供预置模型库,不同⼚商预置的模型库也不同), 可以按任务需求选择基础版本或者微调版本,甚⾄还提供了这些模型的API开放平台,⽆需部署就可以访问.
| 云平台 | 公司 | 地址 |
|---|---|---|
| 阿⾥百炼 | 阿⾥巴巴 | https://bailian.console.aliyun.com/ |
| 千帆平台 | 百度 | https://cloud.baidu.com/product-s/qianfan_home |
| 腾讯TI平台 | 腾讯 | https://cloud.tencent.com/product/ti |
| 华为昇腾云 | 华为 | https://www.huaweicloud.com/product/ecs/ascend.html |
三、本地部署
⼤模型本地部署,就是把⼤模型部署到我们本地的机器上.由于⼤模型的参数很多,使⽤普通⽅法部署⼤
模型很不友好,所以诞⽣了⼀些本地部署的框架/⼯具来帮助我们部署⼤模型.
常⻅的本地部署框架/⼯具有:
- Transformers
- vLLM
- llama.cpp
- Ollama
- LMStudio
我们使用Ollama.
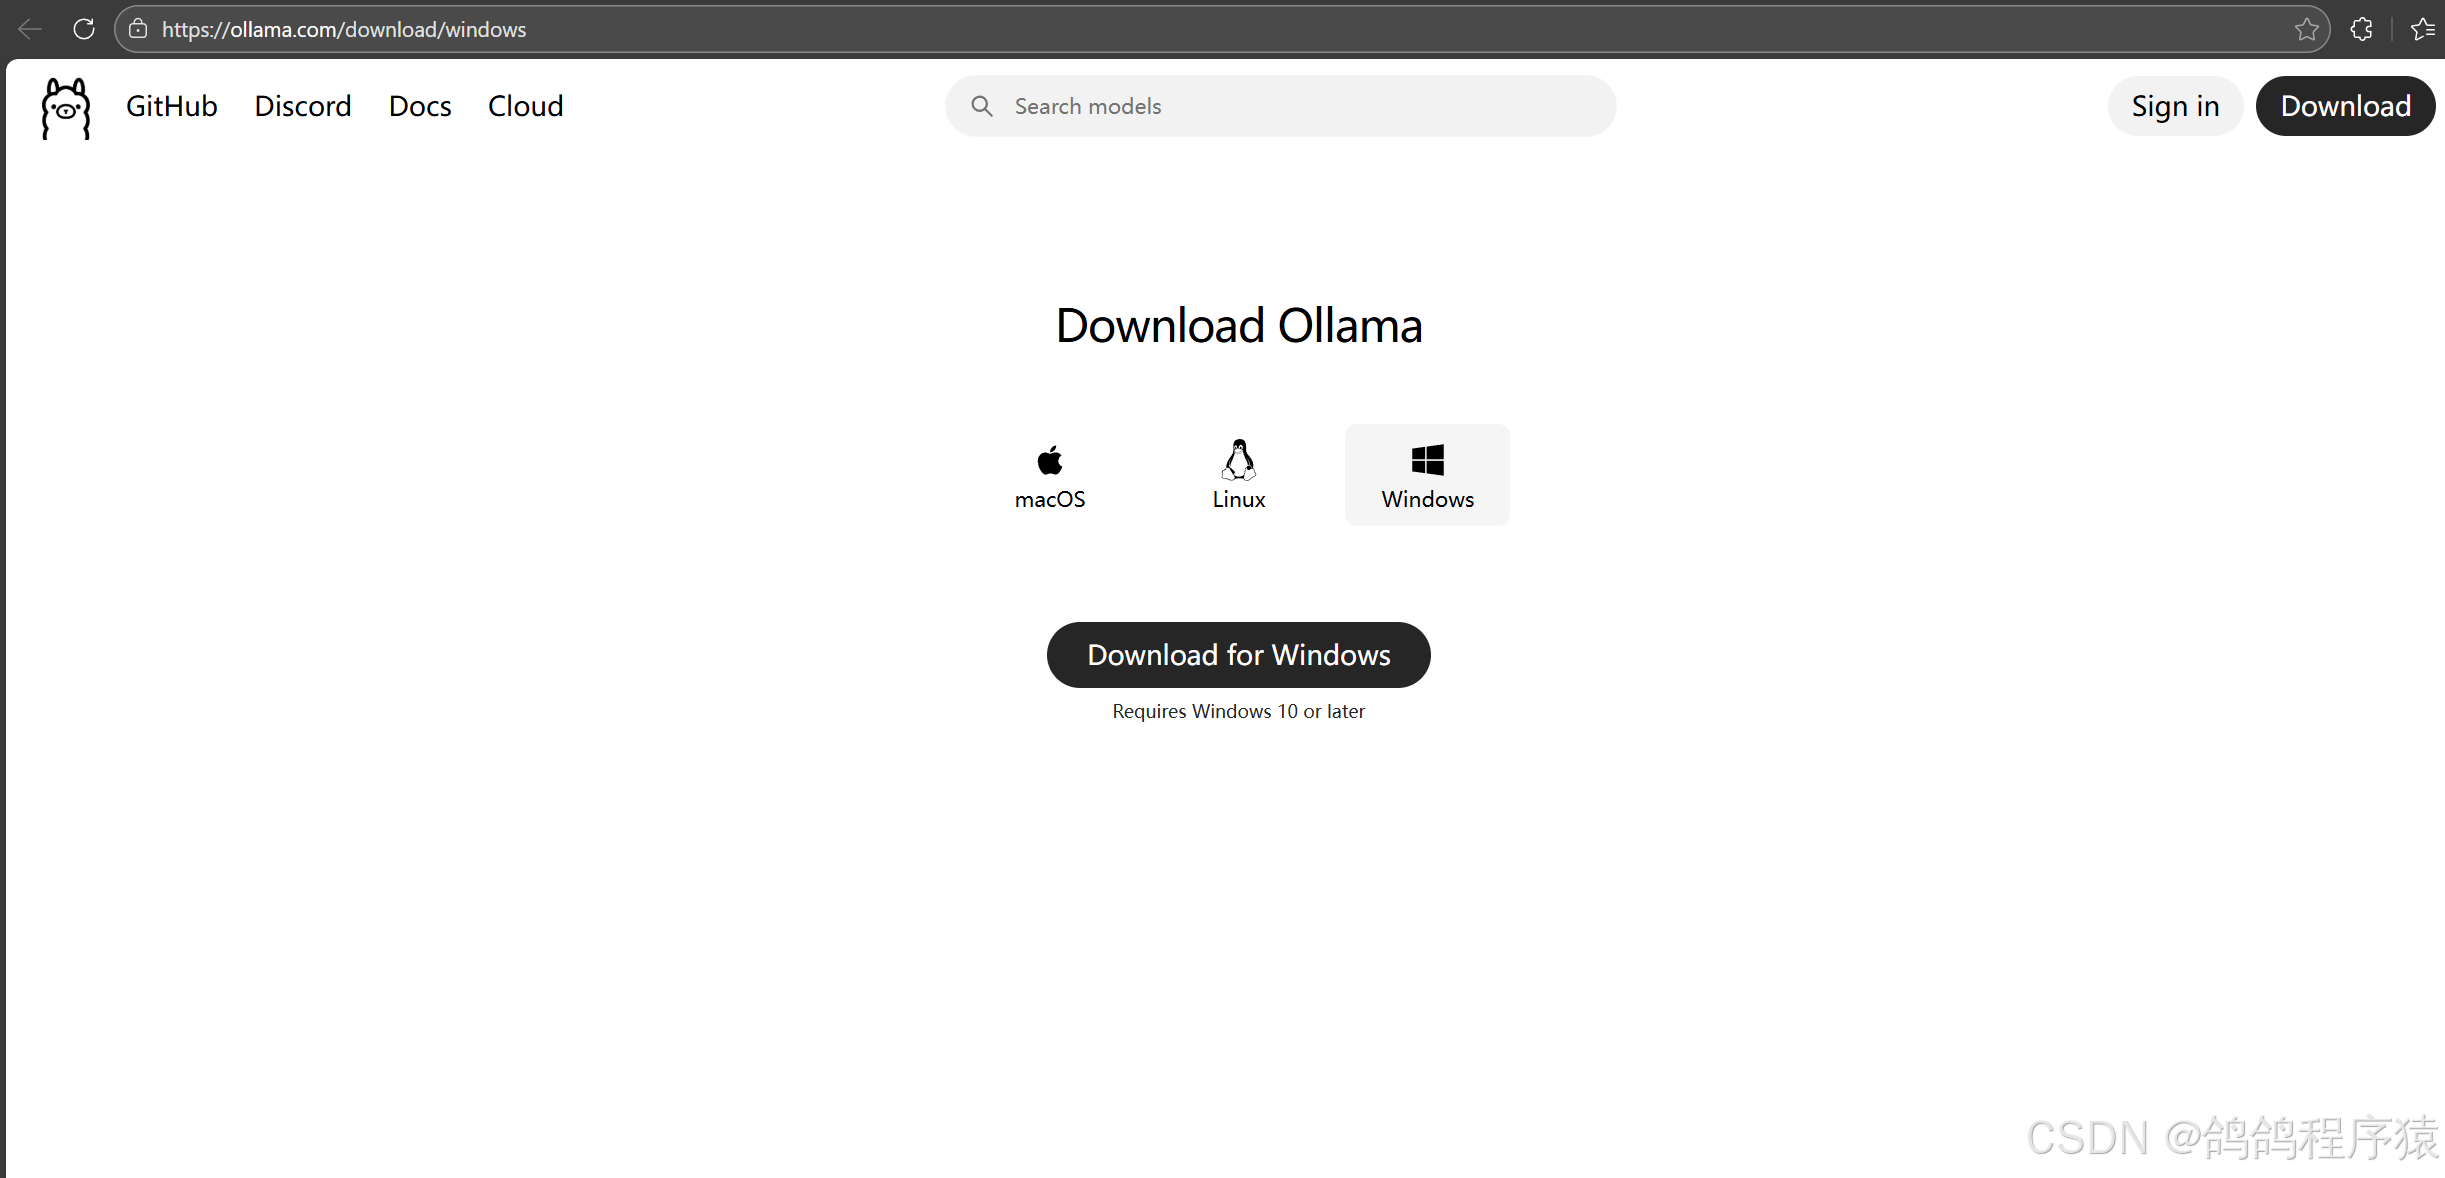
3.1 下载并安装Ollama
Ollama是⼀款专为本地部署和运⾏⼤型语⾔模型(LLM)设计的开源⼯具,旨在简化⼤型语⾔模型(LLM) 的安装、运⾏和管理.它⽀持多种开源模型(如qwen、deepseek、LLaMA),并提供简单的API接⼝,⽅便开发者调⽤,适合开发者和企业快速搭建私有化AI服务.
安装完成后,Ollama默认会启动。访问:http://127.0.0.1:11434/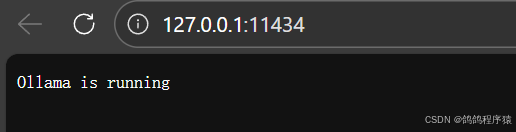
3.2 拉取模型
Ollama可以管理和部署模型,我们使⽤之前,需要先拉取模型
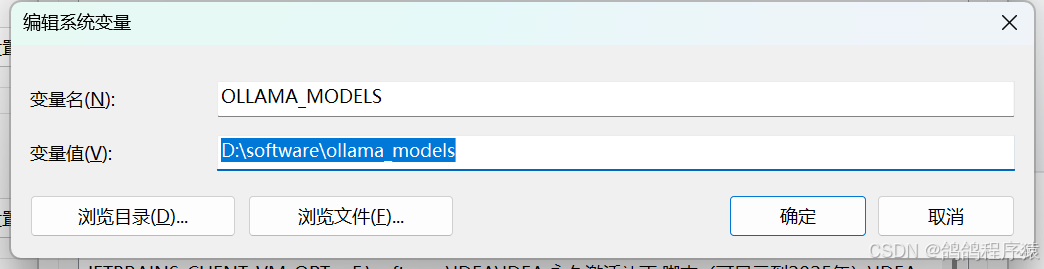
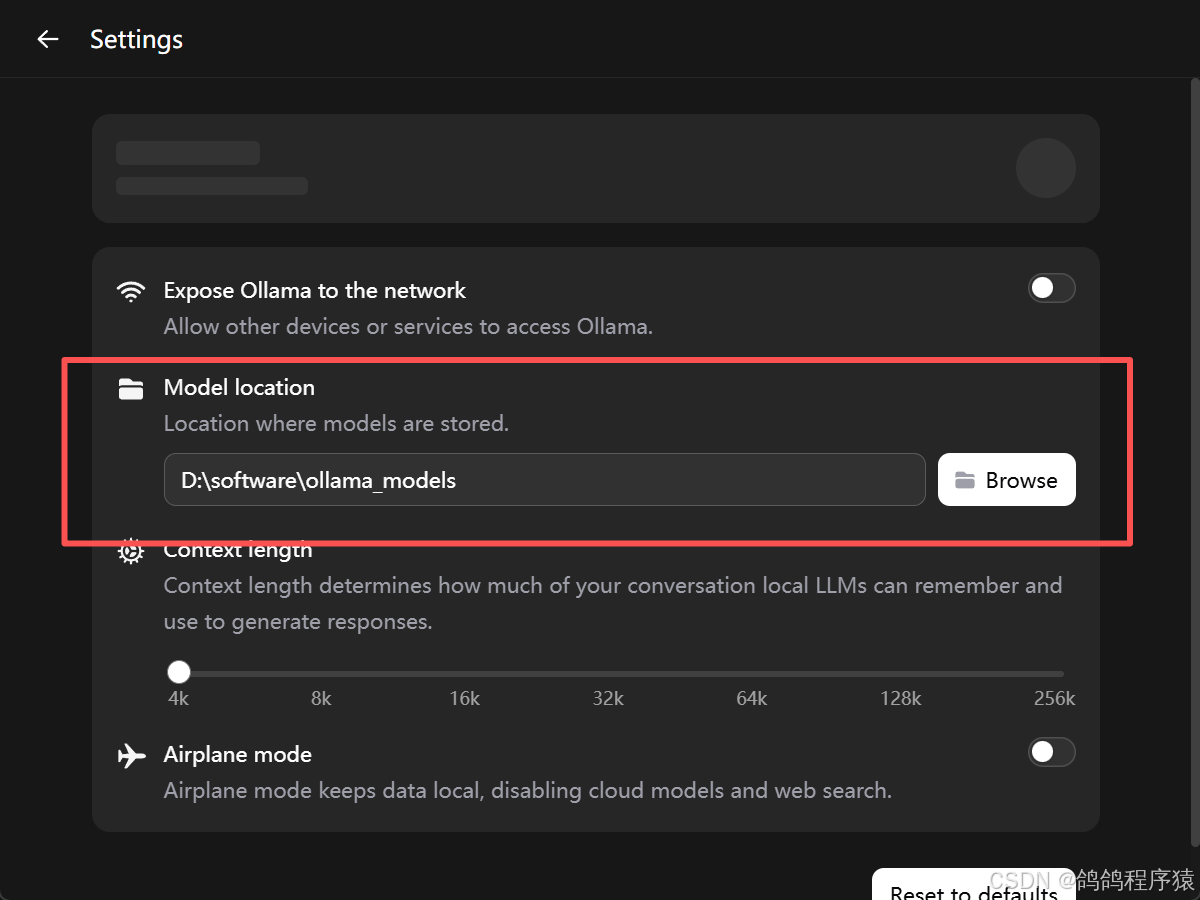
修改模型存储路径
模型默认安装在C盘个⼈⽬录下 C:\Users\XXX.ollama ,可以修改ollama的模型存储路径,使得每次下载的模型都在指定的⽬录下。
- 方法一:编辑环境变量
- 方法二:通过Ollama界⾯来进⾏设置
拉取模型
查找模型:https://ollama.com/search,以
DeepSeek-R1 为例,DeepSeek-R1 是⼀系列开放推理模型,其性能接近O3和Gemini2.5Pro
等领先模型. DeepSeek-R1 有不同的版本,我们需要根据⾃⼰机器的配置及需求来选择相应的版本。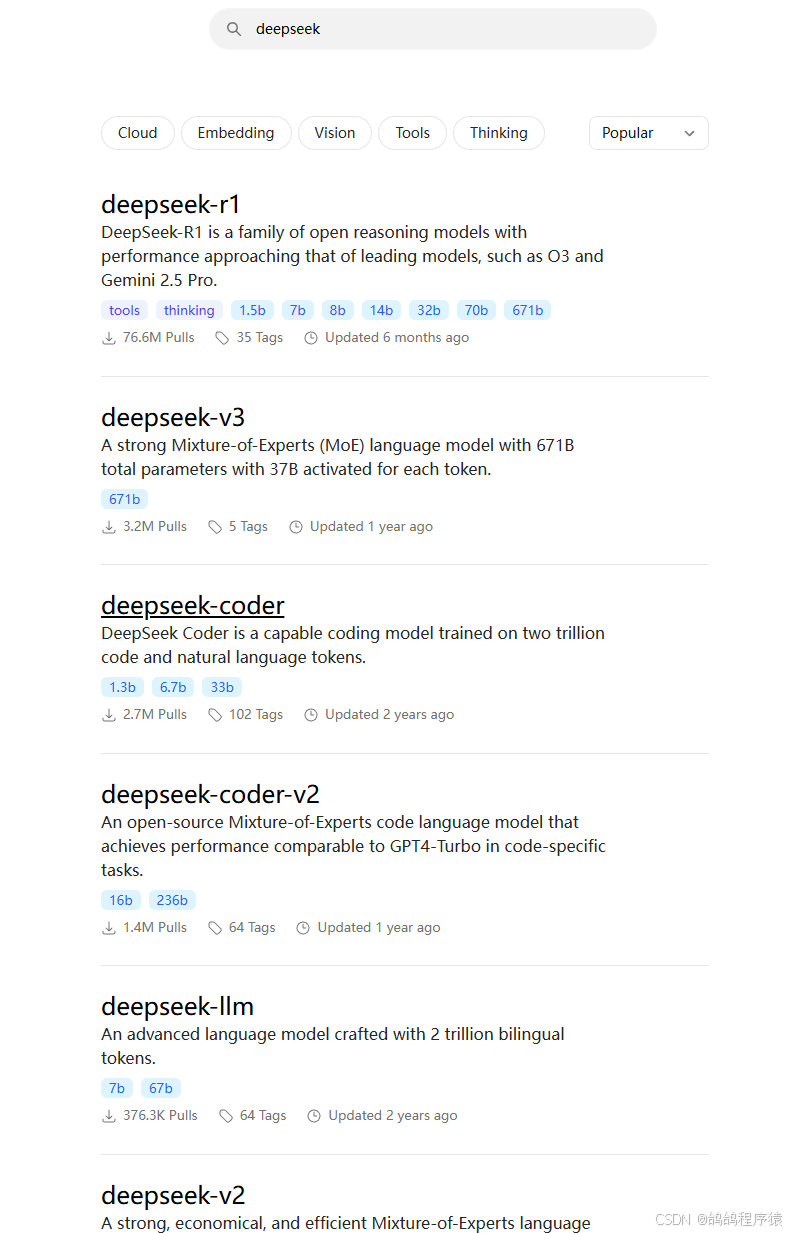
我下载deepseek-r1:1.5b版本
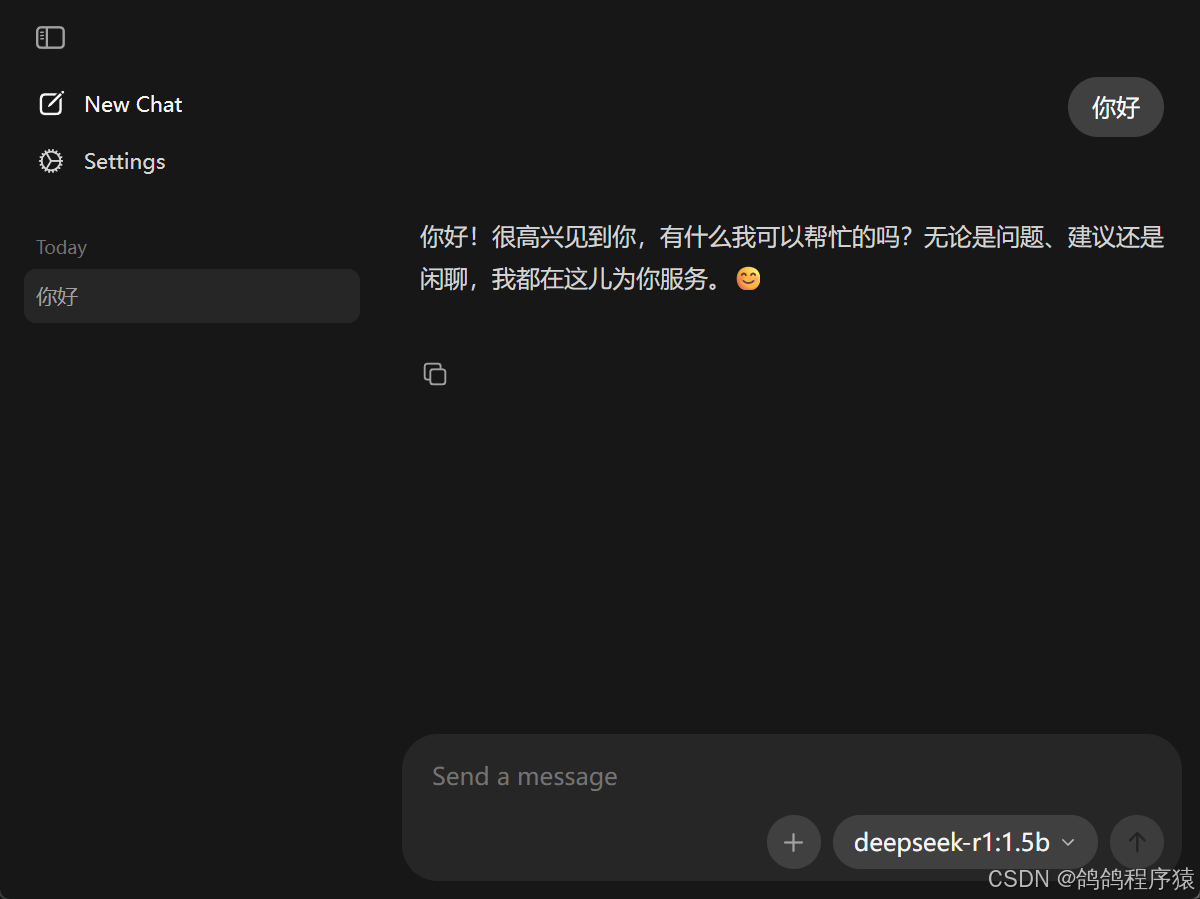
可以给他发消息测试: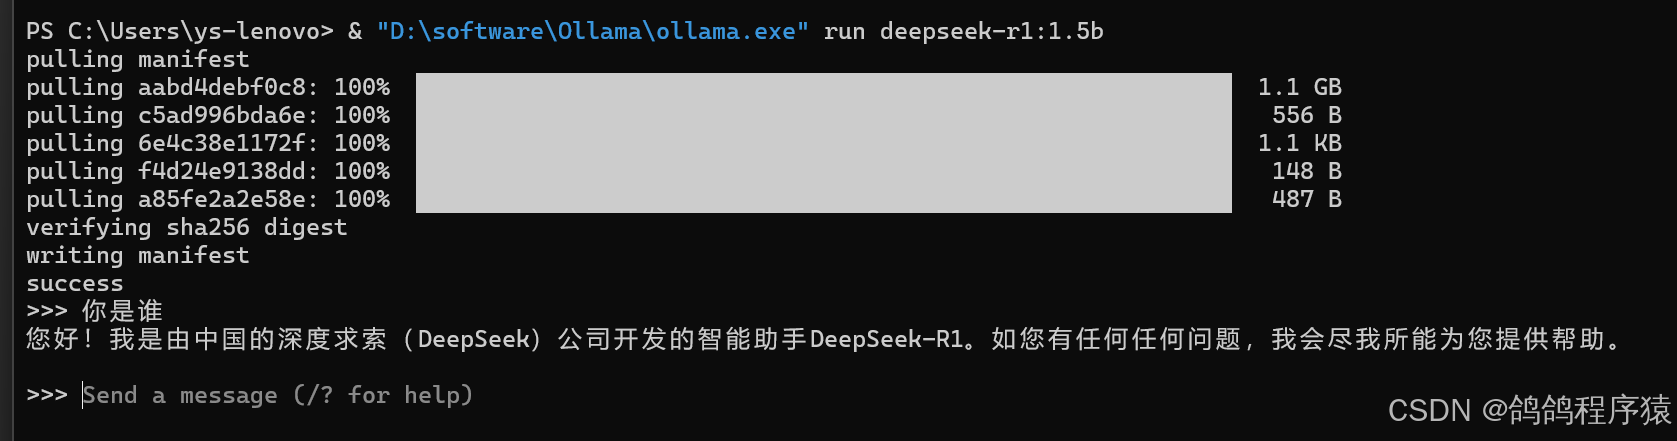
四、SpringAI 接入服务
创建模块spring-ollama-demo ,完善pom⽂件和启动类
pom⽂件:
<dependencies>
	<dependency>
	<groupId>org.springframework.boot</groupId>
		<artifactId>spring-boot-starter-web</artifactId>
	</dependency>
	<dependency>
		<groupId>org.springframework.boot</groupId>
		<artifactId>spring-boot-starter-test</artifactId>
		<scope>test</scope>
	</dependency>
</dependencies>
<build>
	<plugins>
		<plugin>
			<groupId>org.springframework.boot</groupId>
			<artifactId>spring-boot-maven-plugin</artifactId>
		</plugin>
	</plugins>
</build>
启动类:
@SpringBootApplication
public class OllamaApplcation {
	public static void main(String[] args) {
		SpringApplication.run(OllamaApplcation.class, args);
	}
}
添加SpringAI和Ollama的依赖
<dependencyManagement>
	<dependencies>
		<dependency>
			<groupId>org.springframework.ai</groupId>
			<artifactId>spring-ai-bom</artifactId>
			<version>1.0.0-M6</version>
			<type>pom</type>
			<scope>import</scope>
		</dependency>
	</dependencies>
</dependencyManagement>

<dependency>
	<groupId>org.springframework.ai</groupId>
	<artifactId>spring-ai-ollama-spring-boot-starter</artifactId>
</dependency>
application.yml:
server:
  port: 8081
spring:
  application:
    name: spring-ollama-demo
  ai:
    ollama:
      base-url: http://localhost:11434
      chat:
        model: deepseek-r1:1.5b
logging:
  pattern:
    console: "%d{HH:mm:ss.SSS} [%thread] %-5level %logger{36} - %msg%n"
    file: "%d{HH:mm:ss.SSS} [%thread] %-5level %logger{36} - %msg%n"
实现简单对话:
@RequestMapping("/ollama")
@RestController
public class OllamaController {
	@Autowired
	private OllamaChatModel ollamaChatModel;
	@RequestMapping("/chat")
	public String chat(String message){
		return ollamaChatModel.call(message);
	}
}

流式响应:
@RequestMapping(value = "/stream", produces = "text/html;charset=utf-8")
public Flux<String> stream(String message){
	return ollamaChatModel.stream(message);
}

封装成ChatClient
@Configuration
public class CommonConfiguration {
	@Bean
	public ChatClient chatClient(OllamaChatModel model){
		return ChatClient
		.builder(model)
		.defaultSystem("你叫鸽鸽,会鸡叫~")
		.build();
	}
}
编写接口:
@RequestMapping("/chat")
@RestController
public class ChatClientController {
	private final ChatClient chatClient;
	public ChatClientController(ChatClient chatClient) {
		this.chatClient = chatClient;
	}
	@RequestMapping("/role")
	public String role(String prompt){
		return chatClient.prompt().user(prompt).call().content();
	}
}


有“AI”的1024 = 2048,欢迎大家加入2048 AI社区
更多推荐


 1
1 0
0- 0


 已为社区贡献4条内容

所有评论(0)