Datawhale 大模型算法全栈基础篇 202602第7次笔记
模型服务部署
笔记:
第一节 FastAPI 模型部署实战
一、我们要做什么?
我们训练好的NER模型(能识别“高血压”、“降压药”等)现在要变成一个真正的“服务”,让别人可以通过网络来调用它。就像你在手机上打开一个App,输入一段话,服务器就把识别出的实体返回给你。
FastAPI 就是帮助我们快速搭建这样一个服务的神器。
二、FastAPI 是什么?
FastAPI 是一个现代化的 Python Web 框架,用来构建 API(应用程序接口)。
三、环境准备
你需要安装 FastAPI 全家桶:
pip install "fastapi[all]"
这会安装 FastAPI 本身和一个高性能服务器 uvicorn,用来运行你的应用。
01_test.py
from fastapi import FastAPI
app = FastAPI()
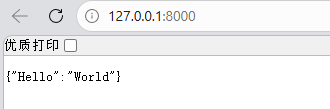
@app.get("/")
async def read_root():
return {"Hello": "World"}(base-llm) PS E:\Datawhale 2026\base-llm202602\07_homework> uvicorn 01_test:app --reload
输出:
INFO: Will watch for changes in these directories: ['E:\\Datawhale 2026\\base-llm202602\\07_homework']
INFO: Uvicorn running on http://127.0.0.1:8000 (Press CTRL+C to quit)
INFO: Started reloader process [2832] using WatchFiles
INFO: Started server process [23072]
INFO: Waiting for application startup.
INFO: Application startup complete.
INFO: 127.0.0.1:26987 - "GET / HTTP/1.1" 200 OK
INFO: 127.0.0.1:26987 - "GET /favicon.ico HTTP/1.1" 404 Not Found
INFO: 127.0.0.1:26987 - "GET /docs HTTP/1.1" 200 OK
INFO: 127.0.0.1:26987 - "GET /docs HTTP/1.1" 200 OK
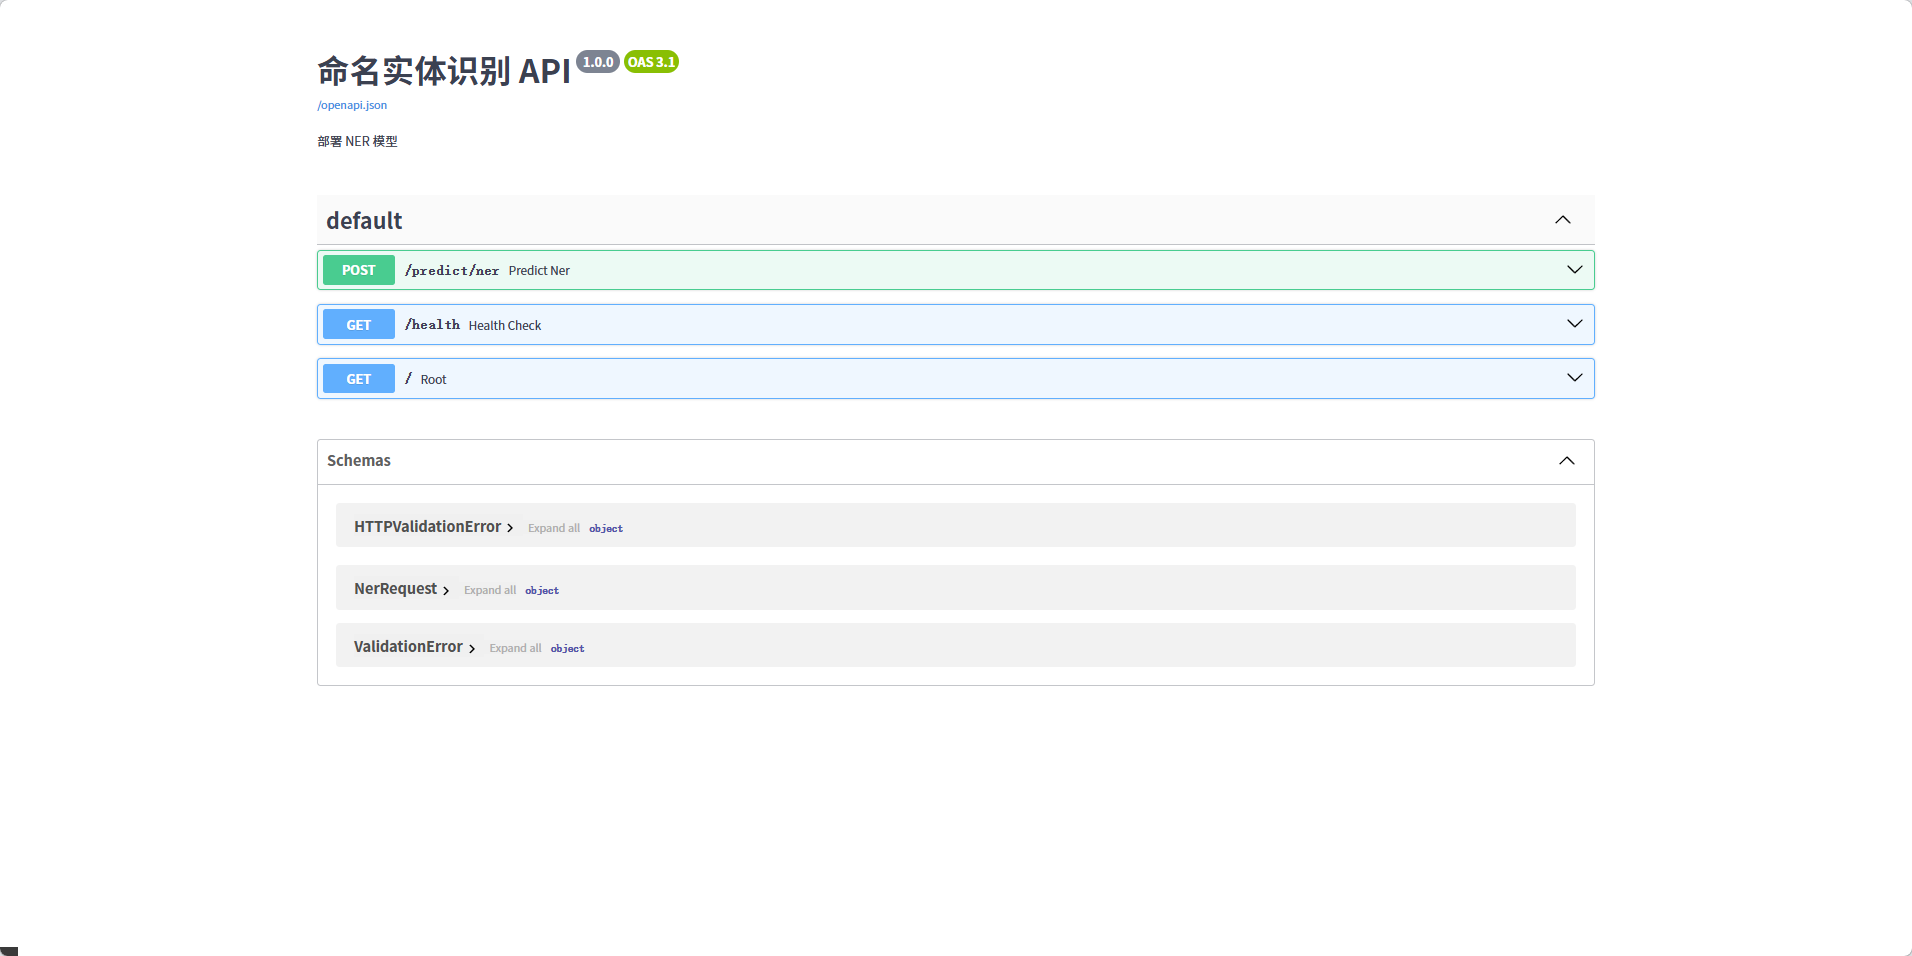
自动交互式 API 文档
接下来,在服务仍在运行的情况下,打开浏览器访问 http://127.0.0.1:8000/docs。
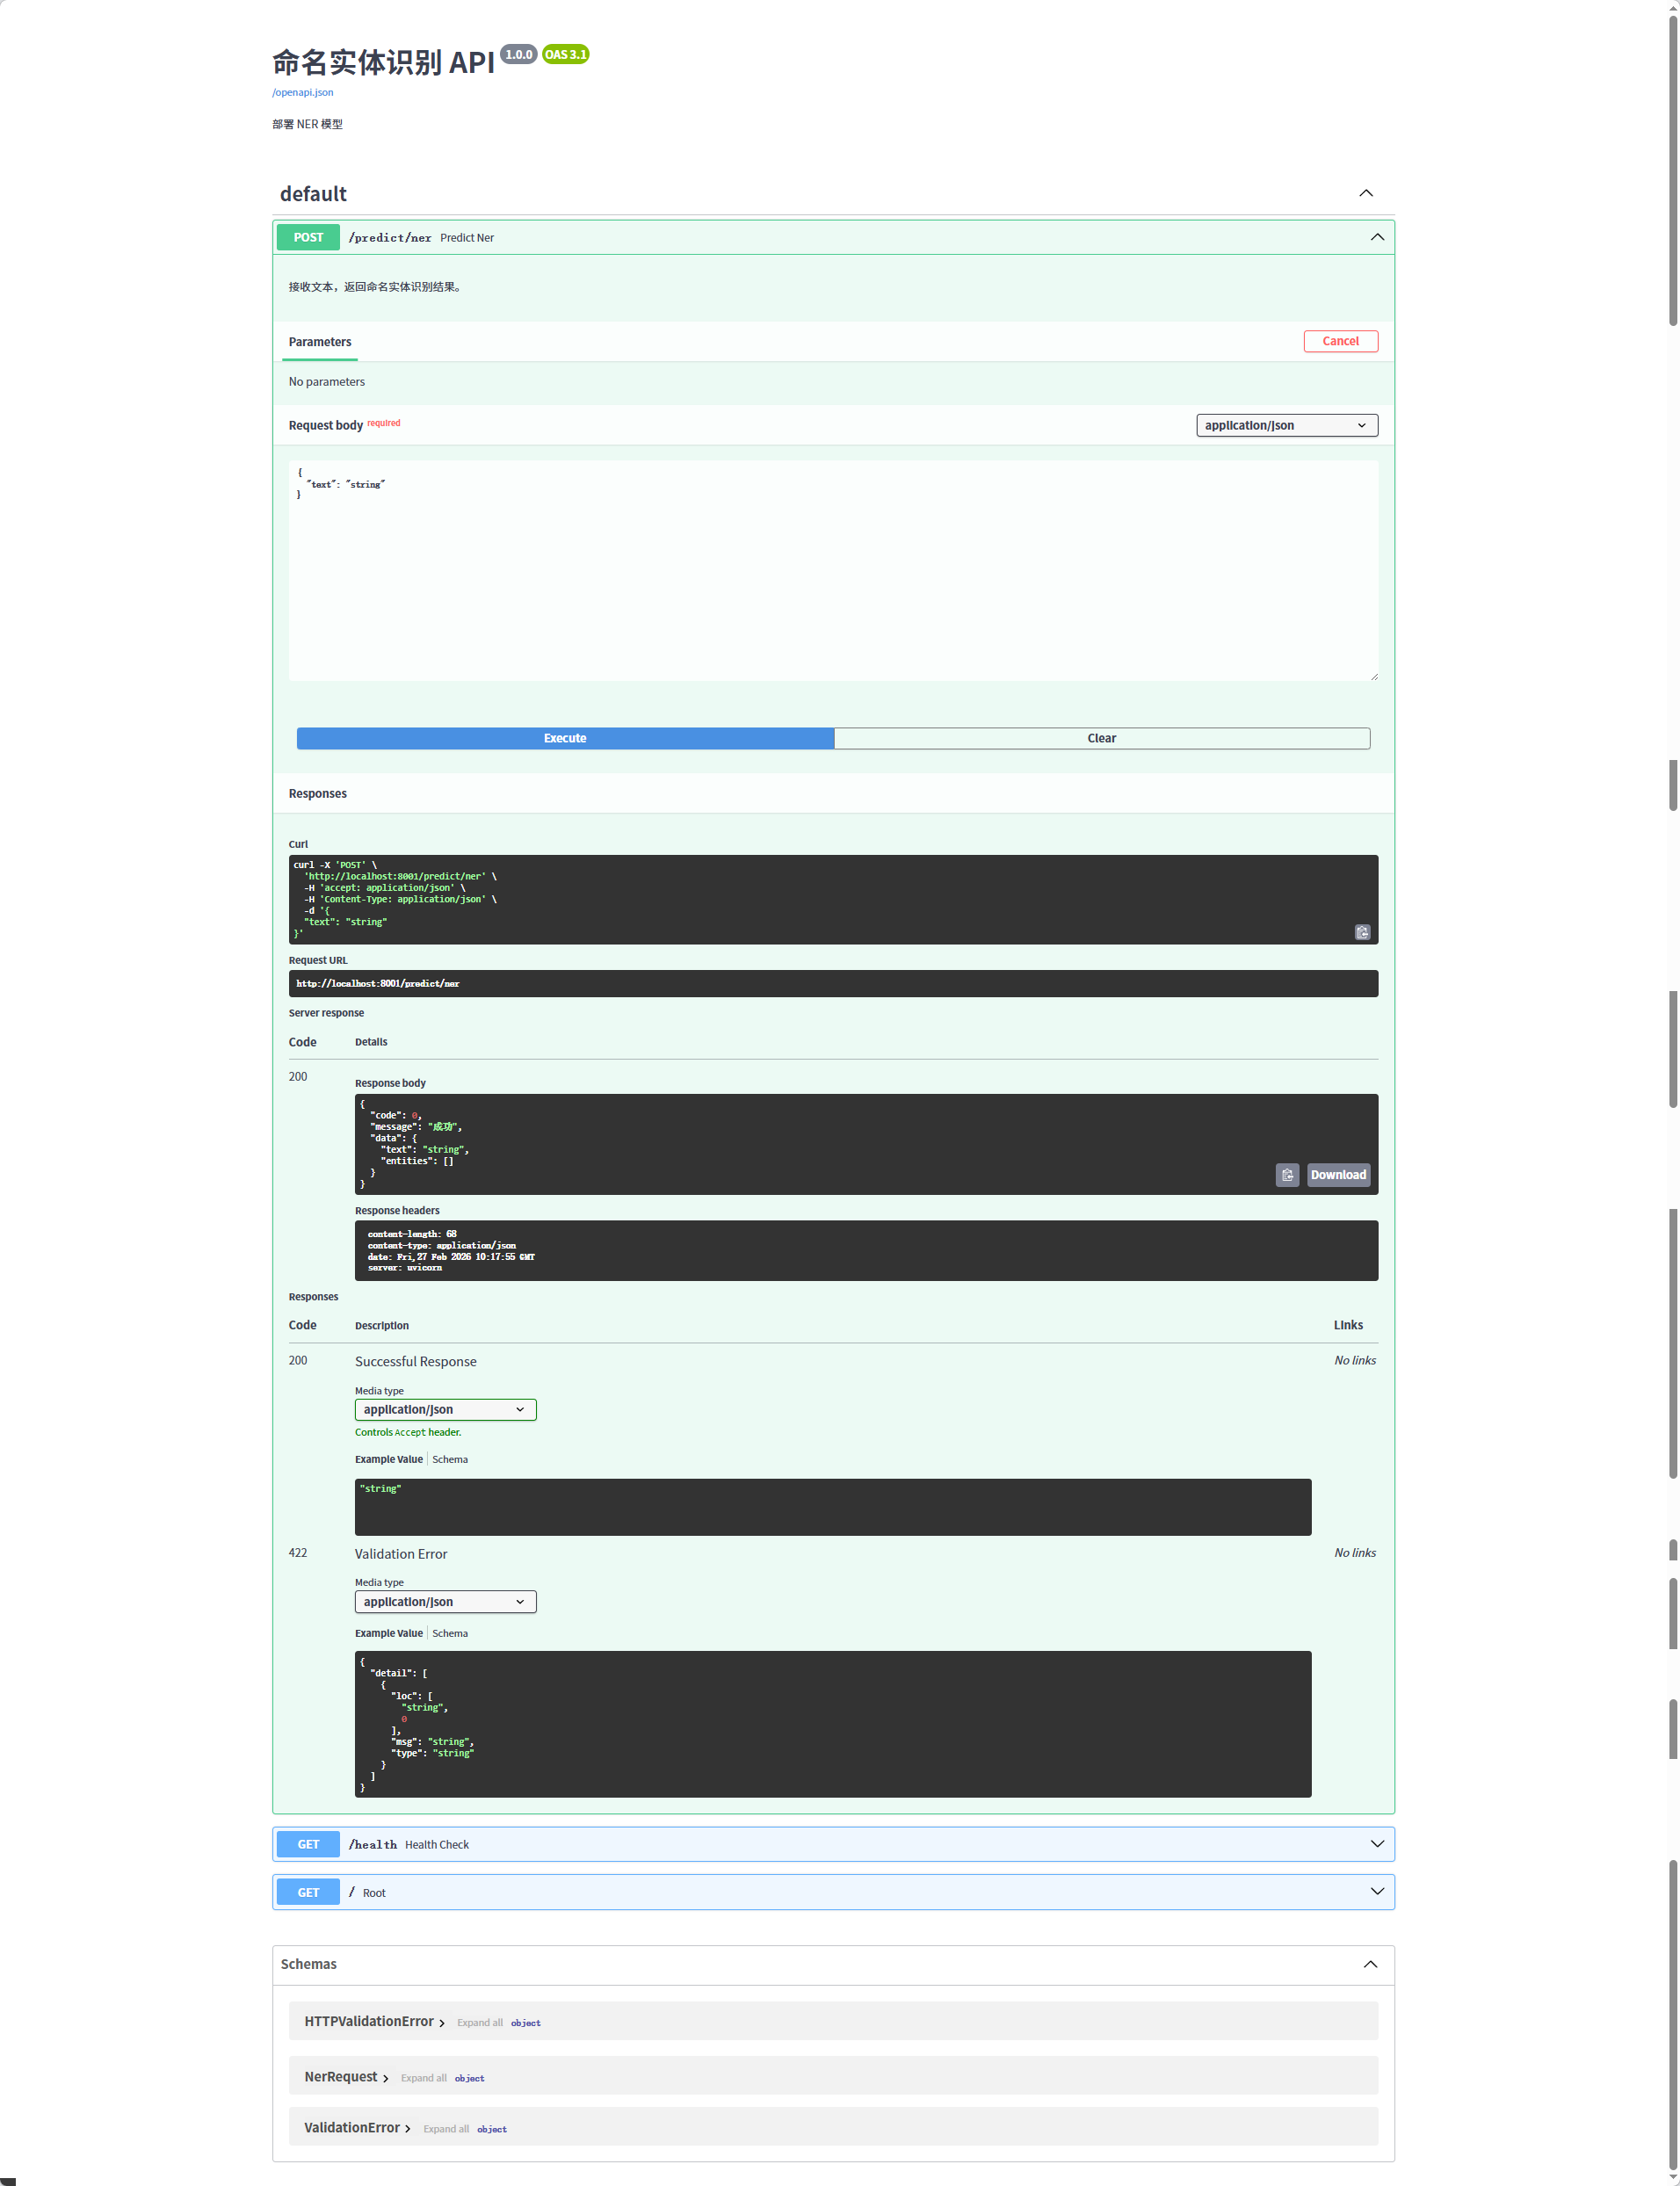
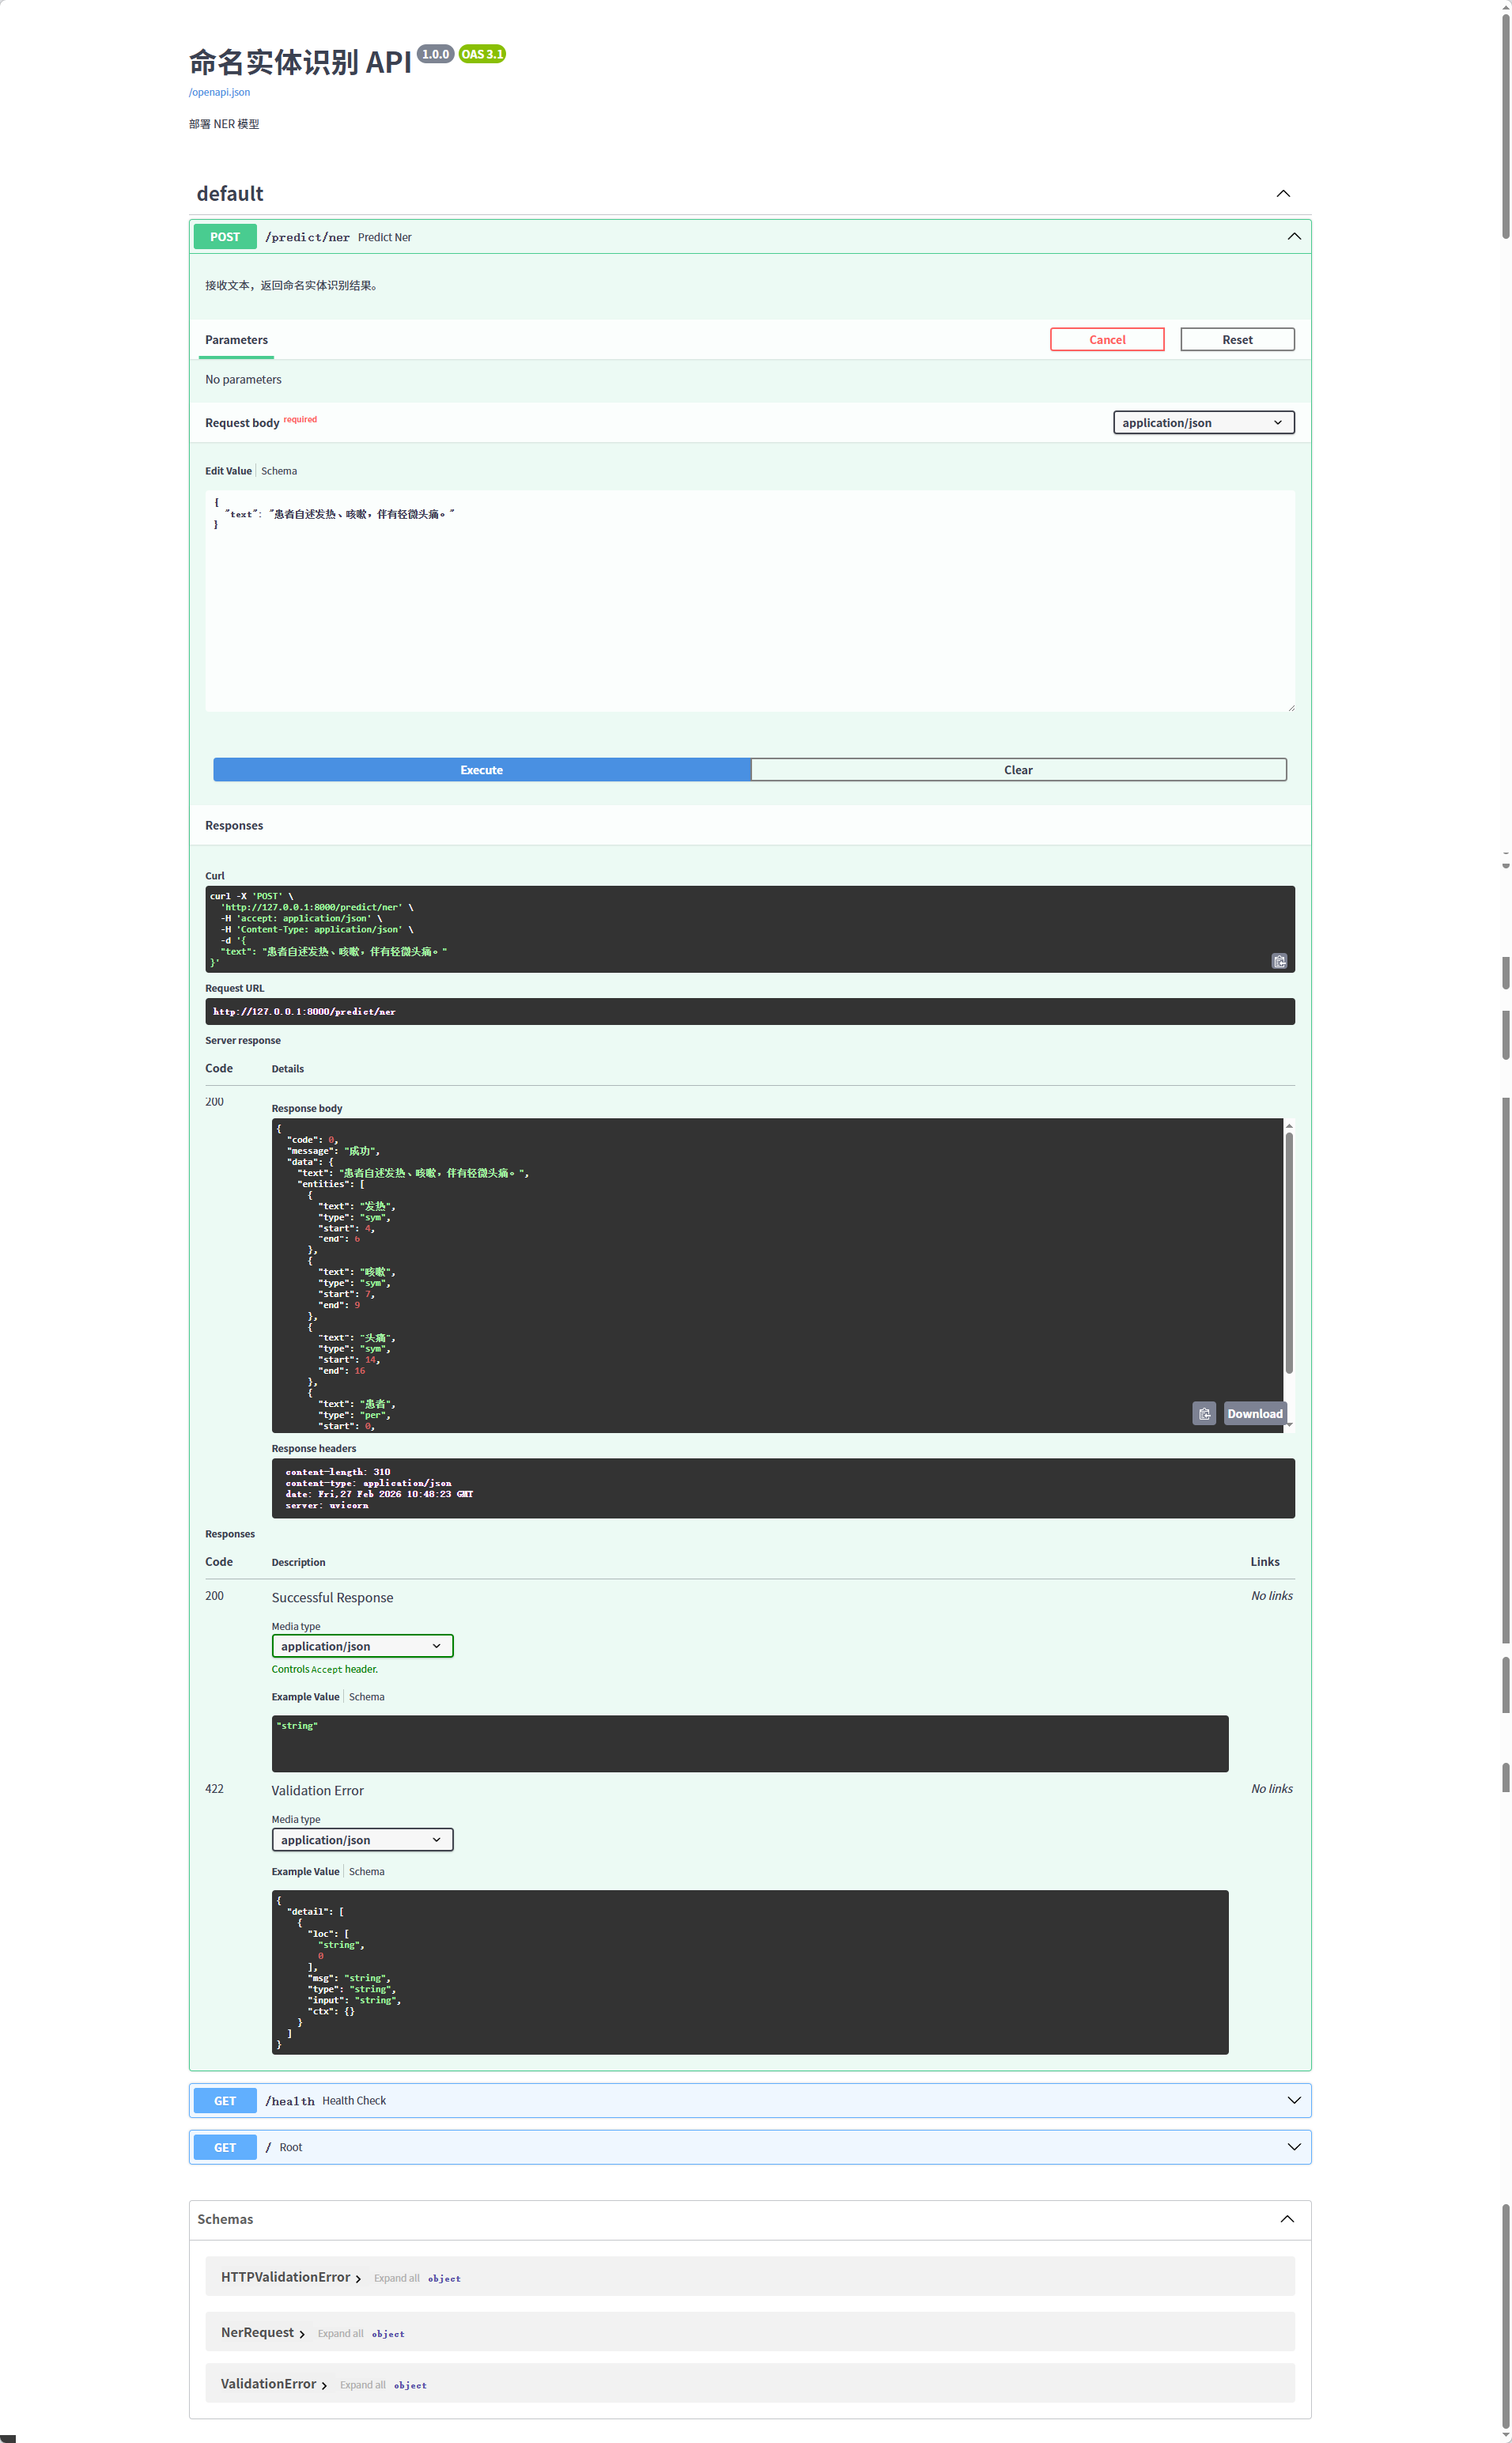
我们会看到一个由 Swagger UI 生成的、功能齐全的交互式 API 文档页面。在这个页面中,可以查看所有的 API 端点(Endpoints)、参数和返回结构,并直接进行调用和测试。
点击右上角的 “Try it out” 按钮,然后再点击蓝色的 “Execute” 按钮,页面下方会立即显示出 API 的执行结果。
astAPI 还有另一个由 ReDoc 生成的文档地址 http://127.0.0.1:8000/redoc
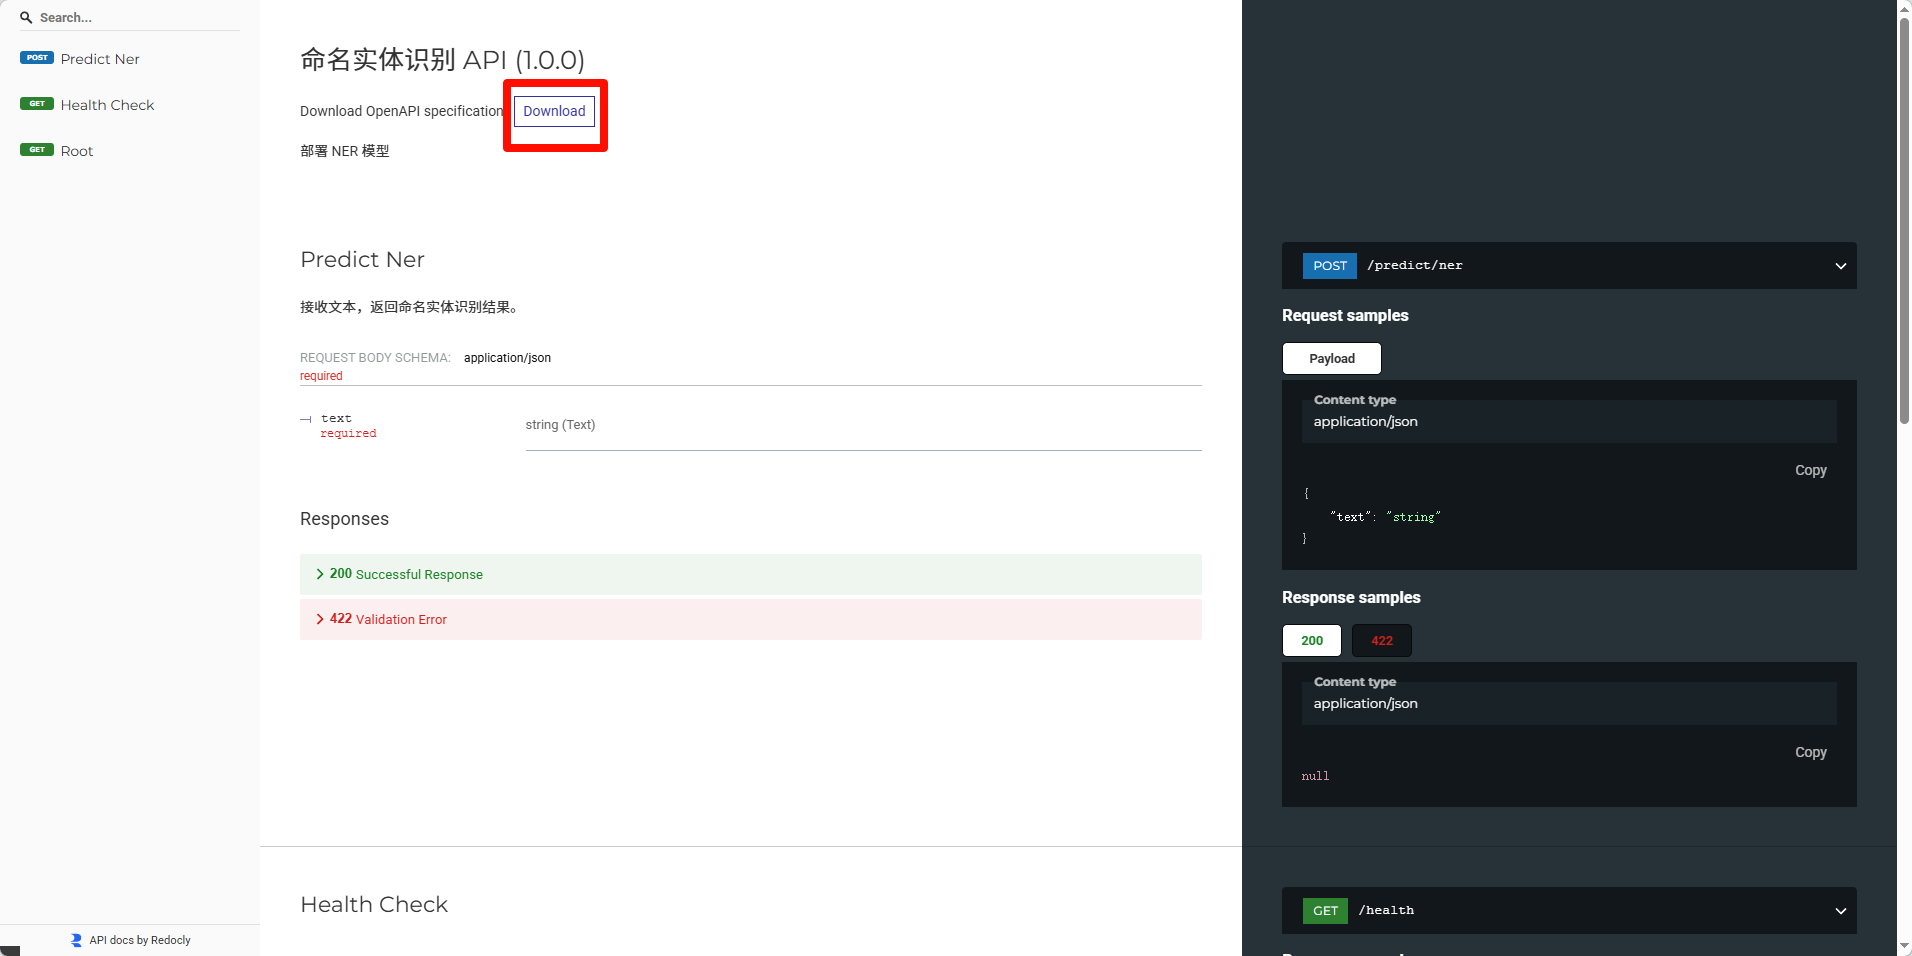
在界面顶部可以看到有个 “Download” 按钮,能够直接下载 openapi.json 文件。
main.py
# code/C14/NerPredictor/main.py
import logging
from fastapi import FastAPI, HTTPException
from pydantic import BaseModel
from predict import NerPredictor
# --- 全局配置 ---
logging.basicConfig(level=logging.INFO)
logger = logging.getLogger(__name__)
MODEL_DIR = "./checkpoints"
# --- 数据模型定义 ---
class NerRequest(BaseModel):
text: str
# --- FastAPI 应用初始化 ---
app = FastAPI(
title="命名实体识别 API",
description="部署 NER 模型",
version="1.0.0"
)
# --- 模型加载 ---
@app.on_event("startup")
async def startup_event():
logger.info(f"开始加载模型,来源: {MODEL_DIR}")
app.state.predictor = NerPredictor(model_dir=MODEL_DIR)
logger.info("模型加载成功!")
# --- API 路由定义 ---
@app.post("/predict/ner")
async def predict_ner(request: NerRequest):
"""
接收文本,返回命名实体识别结果。
"""
try:
text = request.text.strip()
if not text:
raise HTTPException(status_code=400, detail="输入文本不能为空")
logger.info(f"接收到NER请求: '{text}'")
predictor = app.state.predictor
entities = predictor.predict(text)
logger.info(f"识别出实体: {entities}")
return {
"code": 0,
"message": "成功",
"data": {
"text": text,
"entities": entities
}
}
except Exception as e:
logger.error(f"NER预测时发生错误: {e}", exc_info=True)
raise HTTPException(status_code=500, detail=f"服务器内部错误: {e}")
@app.get("/health")
async def health_check():
return {"status": "ok"}
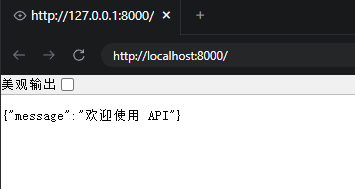
@app.get("/")
async def root():
return {"message": "欢迎使用命名实体识别 (NER) API"}访问方式 :
使用 API 文档页面
1. 打开 http://127.0.0.1:8000/docs
2. 找到 /predict/ner 接口
3. 点击 "Try it out"
4. 输入 JSON: {"text": "患者发热咳嗽"}
5. 点击 "Execute"
可以看到response为:
{
"code": 0,
"message": "成功",
"data": {
"text": "患者自述发热、咳嗽,伴有轻微头痛。",
"entities": [
{
"text": "发热",
"type": "sym",
"start": 4,
"end": 6
},
{
"text": "咳嗽",
"type": "sym",
"start": 7,
"end": 9
},
{
"text": "头痛",
"type": "sym",
"start": 14,
"end": 16
},
{
"text": "患者",
"type": "per",
"start": 0,
"end": 2
}
]
}
}
为什么用 POST 而不是 GET?
- GET :用于获取数据,参数放在 URL 中(有长度限制,不适合传大段文本)
- POST :用于提交数据,参数放在请求体中(适合传长文本,如医学病历)
NER 需要传入整段文字进行识别,所以用 POST 更合适。

有“AI”的1024 = 2048,欢迎大家加入2048 AI社区
更多推荐


 11
11 0
0- 0


 已为社区贡献13条内容

所有评论(0)