L2 LMDeploy 量化部署书生大模型实践【自存】
L2 LMDeploy 量化部署书生大模型实践本课程将以LMDeploy 工具为核心,带您掌握大模型部署全链路实战。学员将掌握如何搭建一个支持多模态任务的 OpenAI 兼容 API 服务,解决显存不足问题并通过 INT4 量化技术优化模型性能。此外,我们还将通过批处理和 KV Cache 技术,显著提升并发能力,确保大规模用户请求下的高效响应。
L2 LMDeploy 量化部署书生大模型实践
本课程将以LMDeploy 工具为核心,带您掌握大模型部署全链路实战。学员将掌握如何搭建一个支持多模态任务的 OpenAI 兼容 API 服务,解决显存不足问题并通过 INT4 量化技术优化模型性能。此外,我们还将通过批处理和 KV Cache 技术,显著提升并发能力,确保大规模用户请求下的高效响应。
1. 环境安装
在创建开发机界面选择镜像为 Cuda12.8-conda,并选择 GPU 为 30% A100
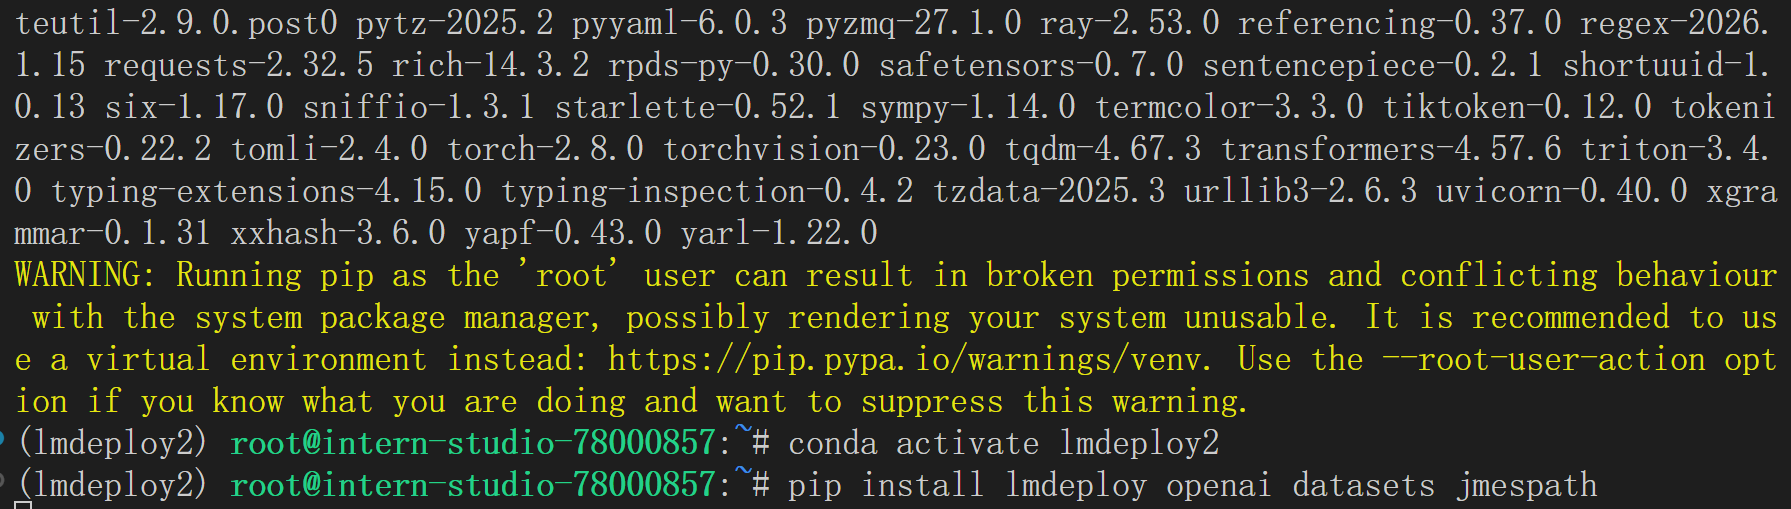
首先创建并激活 Conda 环境,安装 lmdeploy 库:
conda create -n lmdeploy2 python=3.10 -y
conda activate lmdeploy2
pip install lmdeploy openai datasets jmespath
2. 快速开始
以下示例演示了如何使用 LMDeploy 构建一个支持多模态任务的推理服务。通过配置 PytorchEngineConfig 中的关键参数,可以优化模型在并发、缓存和会话管理方面的表现:
from lmdeploy import pipeline, PytorchEngineConfig
from lmdeploy.vl import load_image
def main():
# 初始化pipeline
pipe = pipeline("/root/share/new_models/Intern-S1-mini",
backend_config=PytorchEngineConfig(
max_batch_size=32,
enable_prefix_caching=True,
cache_max_entry_count=0.1,
session_len=4096,
))
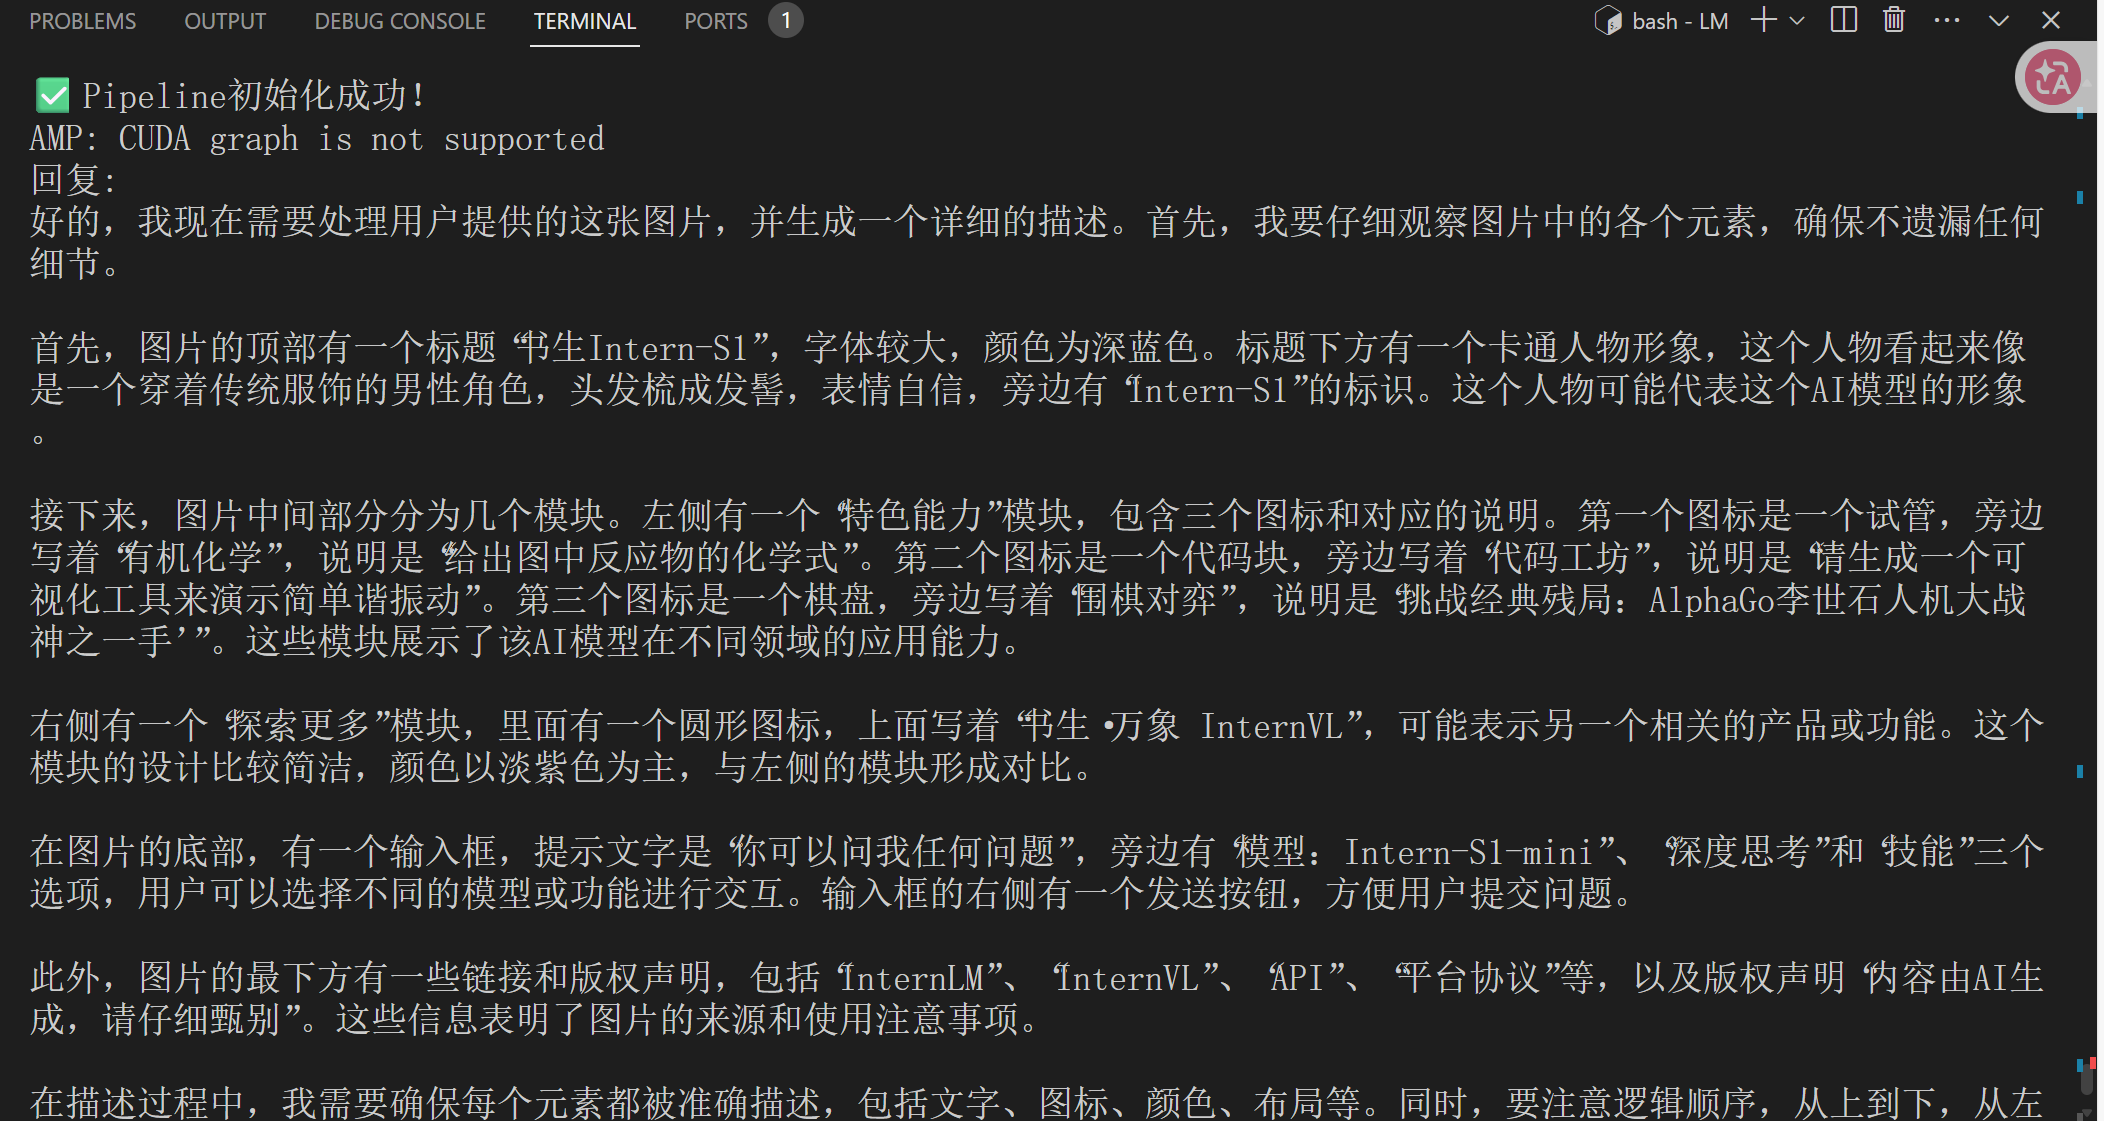
print("✅ Pipeline初始化成功!")
# 测试推理
image_path = "https://pic1.imgdb.cn/item/68d20846c5157e1a8828f9bf.jpg" # 替换为实际图片路径
prompt = "请描述这张图片的内容"
response = pipe([(prompt, load_image(image_path))])
print("回复:", response[0].text)
return pipe
if __name__ == '__main__':
pipe = main()
backend_config=PytorchEngineConfig(
    max_batch_size=32,
    enable_prefix_caching=True,
    cache_max_entry_count=0.1,
    session_len=4096,
)
配置参数说明
我们可以将 PytorchEngineConfig 的配置类比为经营一家智能快餐店,每个参数对应一个运营环节:
- max_batch_size=32:如同厨房一次可接受32个订单,显著提升请求并发处理能力;
- enable_prefix_caching=True:类似预制常用食材,对相似请求可复用中间结果,加快推理速度;
- cache_max_entry_count=0.1:控制缓存区大小,合理分配内存资源,避免浪费或不足;
- session_len=4096:设定对话记忆长度,保持上下文连贯性,同时防止内存过载。
这些参数协同作用,构建出一个高吞吐、低延迟、资源可控的推理服务。
2.1 高并发请求实战示例
在实际应用中,若需处理大量并发请求,可参考以下示例,体验 max_batch_size 带来的性能优势:
from lmdeploy import pipeline, PytorchEngineConfig
from lmdeploy.vl import load_image
import time
def main():
# 初始化pipeline - 设置批量处理能力
pipe = pipeline("/root/share/new_models/Intern-S1-mini",
backend_config=PytorchEngineConfig(
max_batch_size=32, # 一次能处理32个请求
enable_prefix_caching=True,
cache_max_entry_count=0.1,
session_len=4096,
))
print("✅ Pipeline初始化成功!")
print("🚀 模拟多个用户同时请求...")
# 准备多个不同的图片和问题(模拟多个用户)
requests = [
("描述这张图片的主要内容", "https://pic1.imgdb.cn/item/68d20846c5157e1a8828f9bf.jpg"),
("图片里有什么颜色?", "https://pic1.imgdb.cn/item/68d20846c5157e1a8828f9bf.jpg"),
("这张图片让你想到什么?", "https://pic1.imgdb.cn/item/68d20846c5157e1a8828f9bf.jpg"),
("分析图片的构图", "https://pic1.imgdb.cn/item/68d20846c5157e1a8828f9bf.jpg"),
("图片中有文字吗?", "https://pic1.imgdb.cn/item/68d20846c5157e1a8828f9bf.jpg")
]
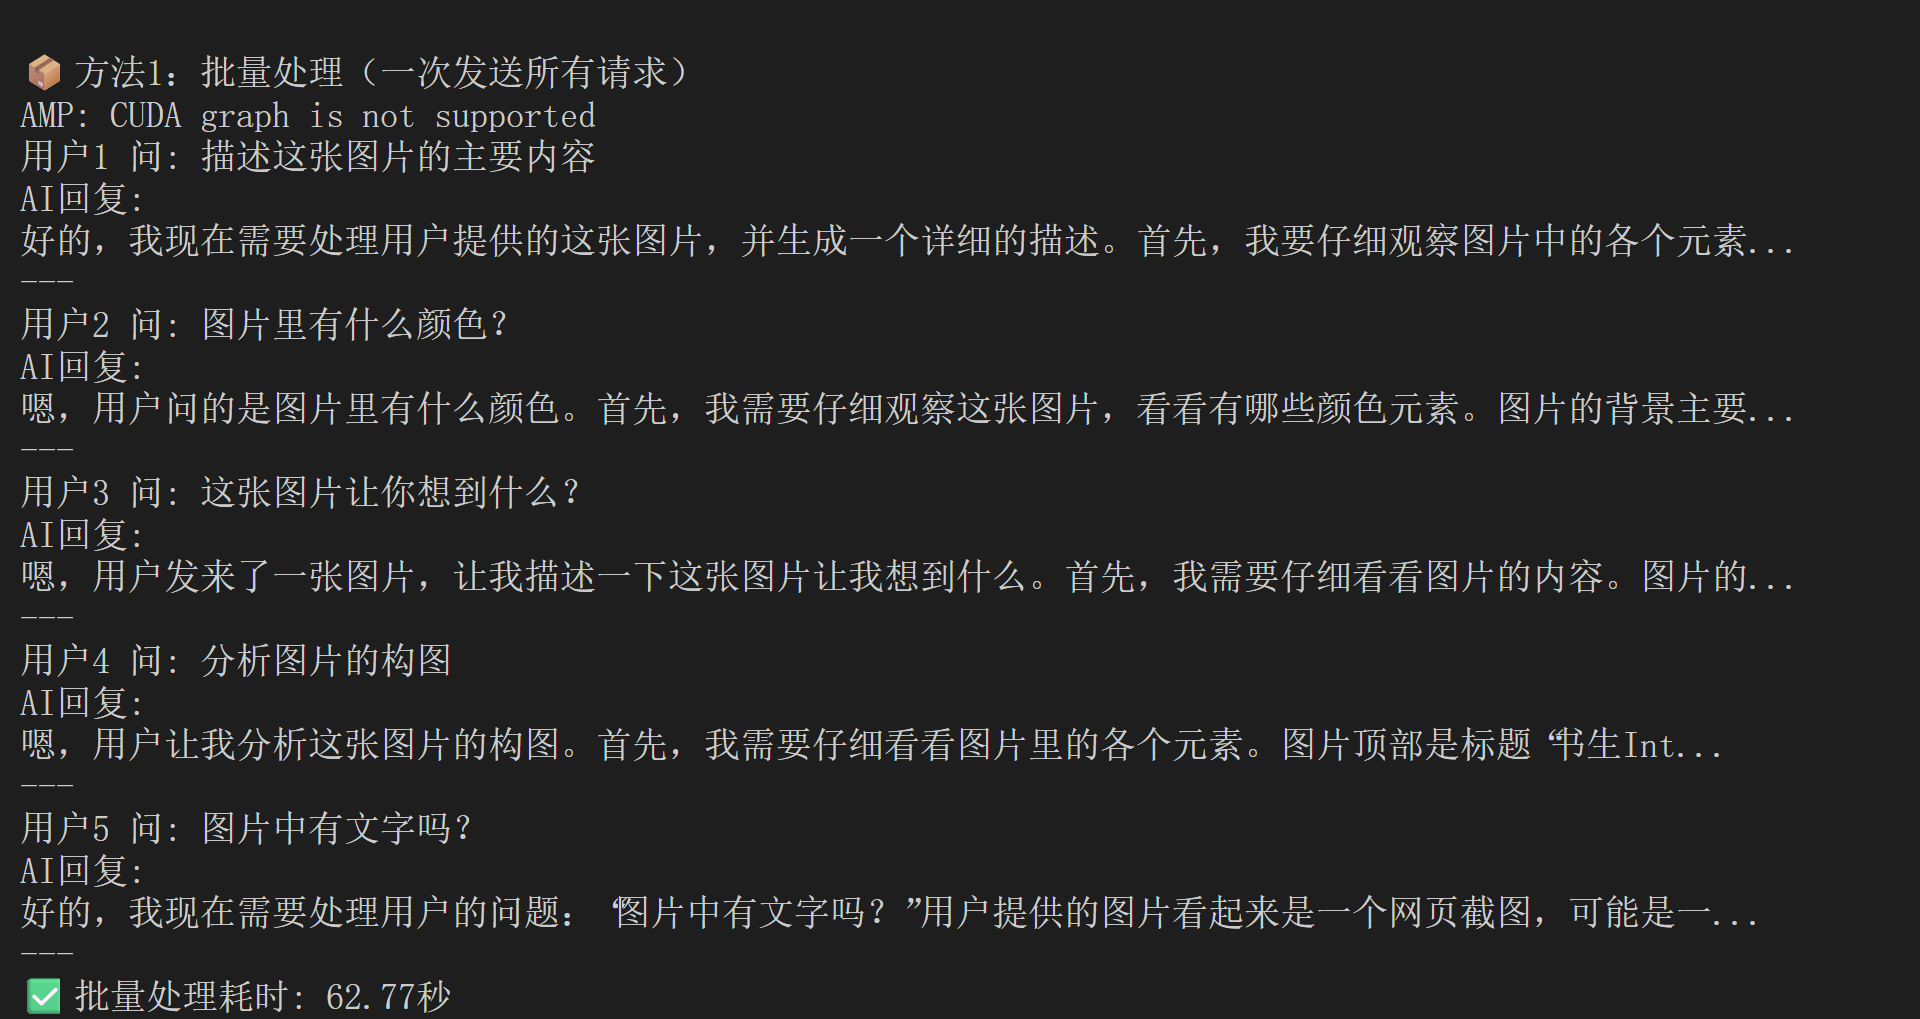
# 方法1:一次性批量发送所有请求(就像快餐店一次接多个订单)
print("\n📦 方法1:批量处理(一次发送所有请求)")
batch_inputs = []
for prompt, img_path in requests:
batch_inputs.append((prompt, load_image(img_path)))
start_time = time.time()
batch_responses = pipe(batch_inputs) # 一次处理所有请求
end_time = time.time()
for i, response in enumerate(batch_responses):
print(f"用户{i+1} 问: {requests[i][0]}")
print(f"AI回复: {response.text[:50]}...") # 只显示前50个字
print("---")
print(f"✅ 批量处理耗时: {end_time - start_time:.2f}秒")
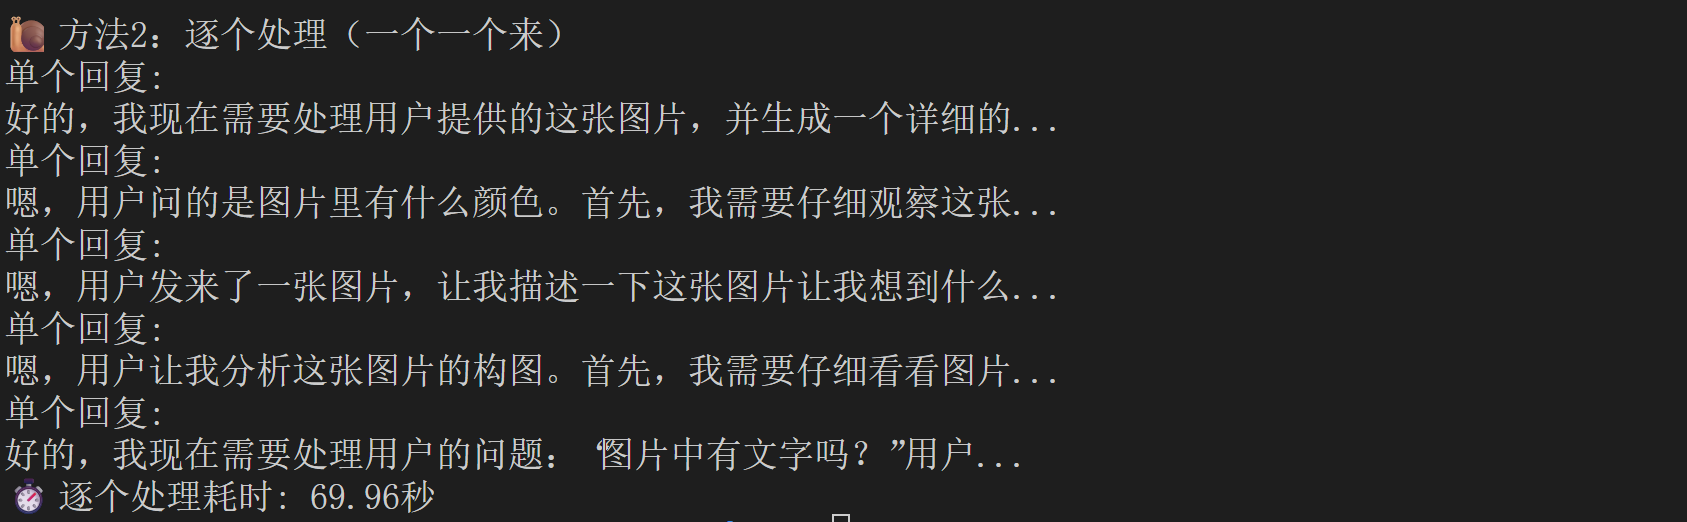
# 方法2:逐个发送请求(对比效果)
print("\n🐌 方法2:逐个处理(一个一个来)")
start_time = time.time()
for prompt, img_path in requests:
single_response = pipe([(prompt, load_image(img_path))])
print(f"单个回复: {single_response[0].text[:30]}...")
end_time = time.time()
print(f"⏱️ 逐个处理耗时: {end_time - start_time:.2f}秒")
return pipe
if __name__ == '__main__':
pipe = main()
3. 模型服务
使用以下命令即可将模型部署为 OpenAI 格式的 API 服务,
lmdeploy serve api_server /root/share/new_models/Intern-S1-mini \
  --backend pytorch \
  --server-name 0.0.0.0 \
  --server-port 23333 \
  --dtype float16 \
  --quant-policy 0

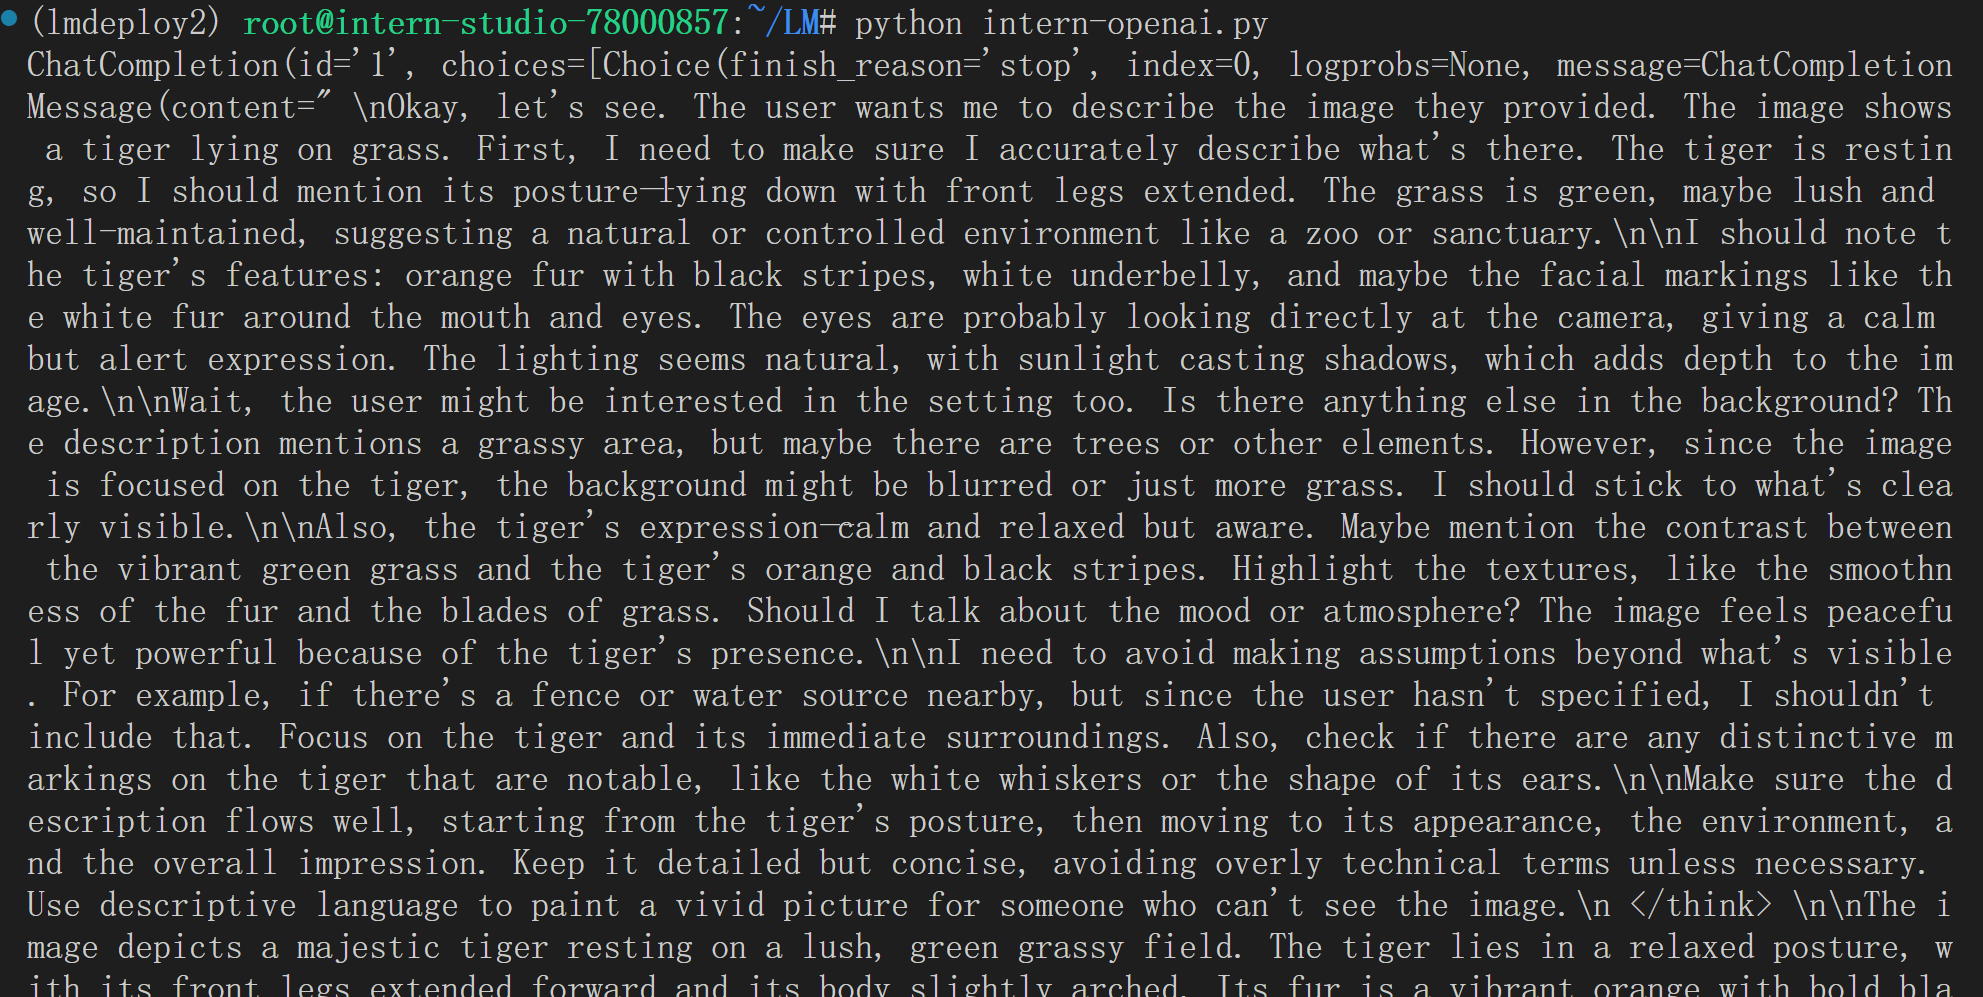
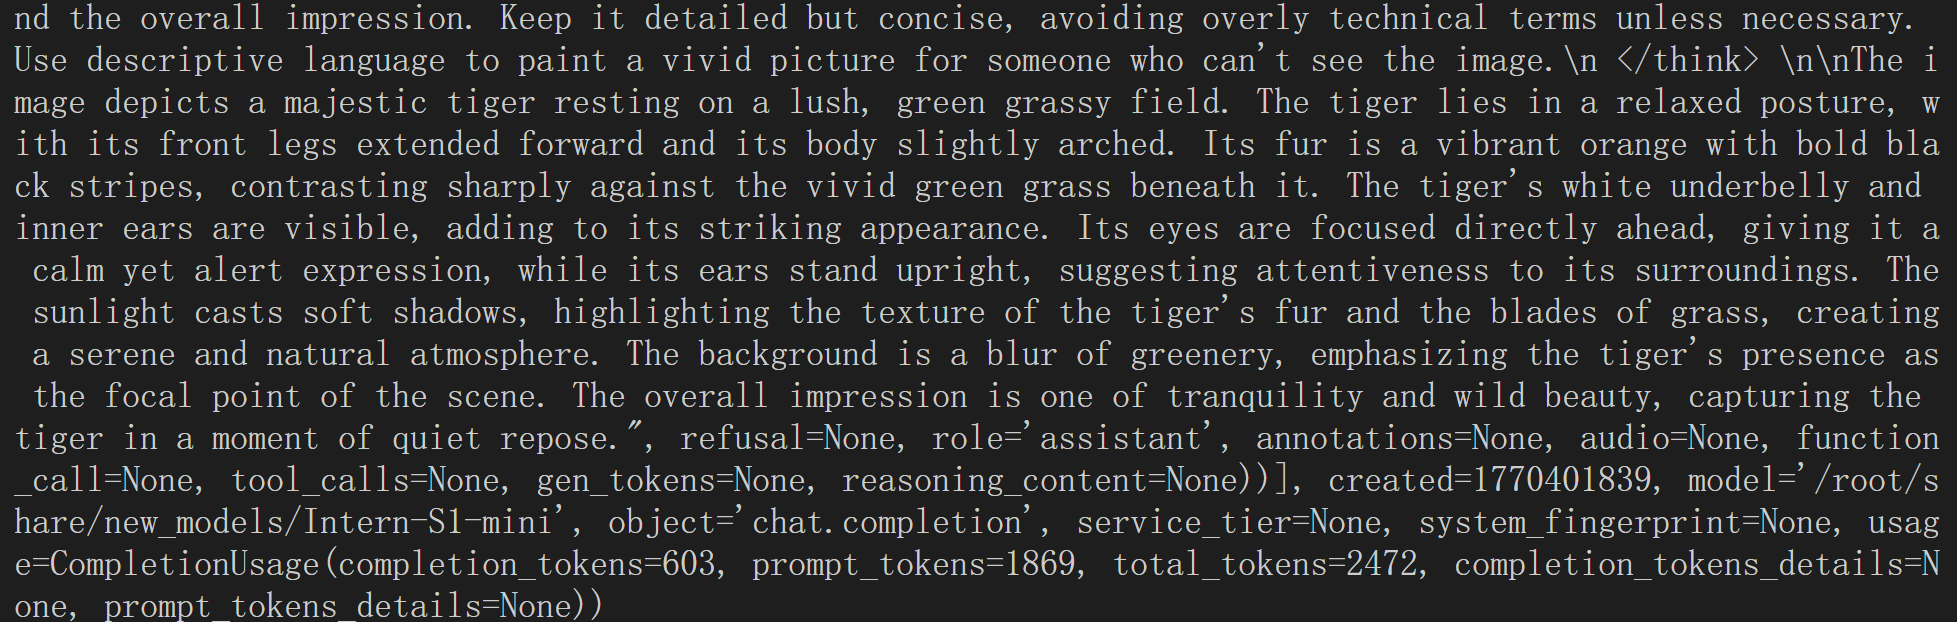
from openai import OpenAI

client = OpenAI(api_key='YOUR_API_KEY', # A dummy api_key is required
                base_url='http://0.0.0.0:23333/v1')
model_name = client.models.list().data[0].id
response = client.chat.completions.create(
    model=model_name,
    messages=[{
        'role':
        'user',
        'content': [{
            'type': 'text',
            'text': 'Describe the image please',
        }, {
            'type': 'image_url',
            'image_url': {
                'url':
                'https://raw.githubusercontent.com/open-mmlab/mmdeploy/main/tests/data/tiger.jpeg',
            },
        }],
    }],
    temperature=0.8,
    top_p=0.8)
print(response)
4. 模型量化
当显存资源充足时,可直接启动模型服务::
lmdeploy serve api_server /root/share/model_repos/internlm2-7b
然而,在显存不足的情况下,直接运行会导致启动失败,如下图。此时需要通过模型量化技术,在可接受的性能损失范围内降低显存需求,确保服务能够正常运行。
4.1 INT4 模型量化和部署
4.1.1 执行模型量化
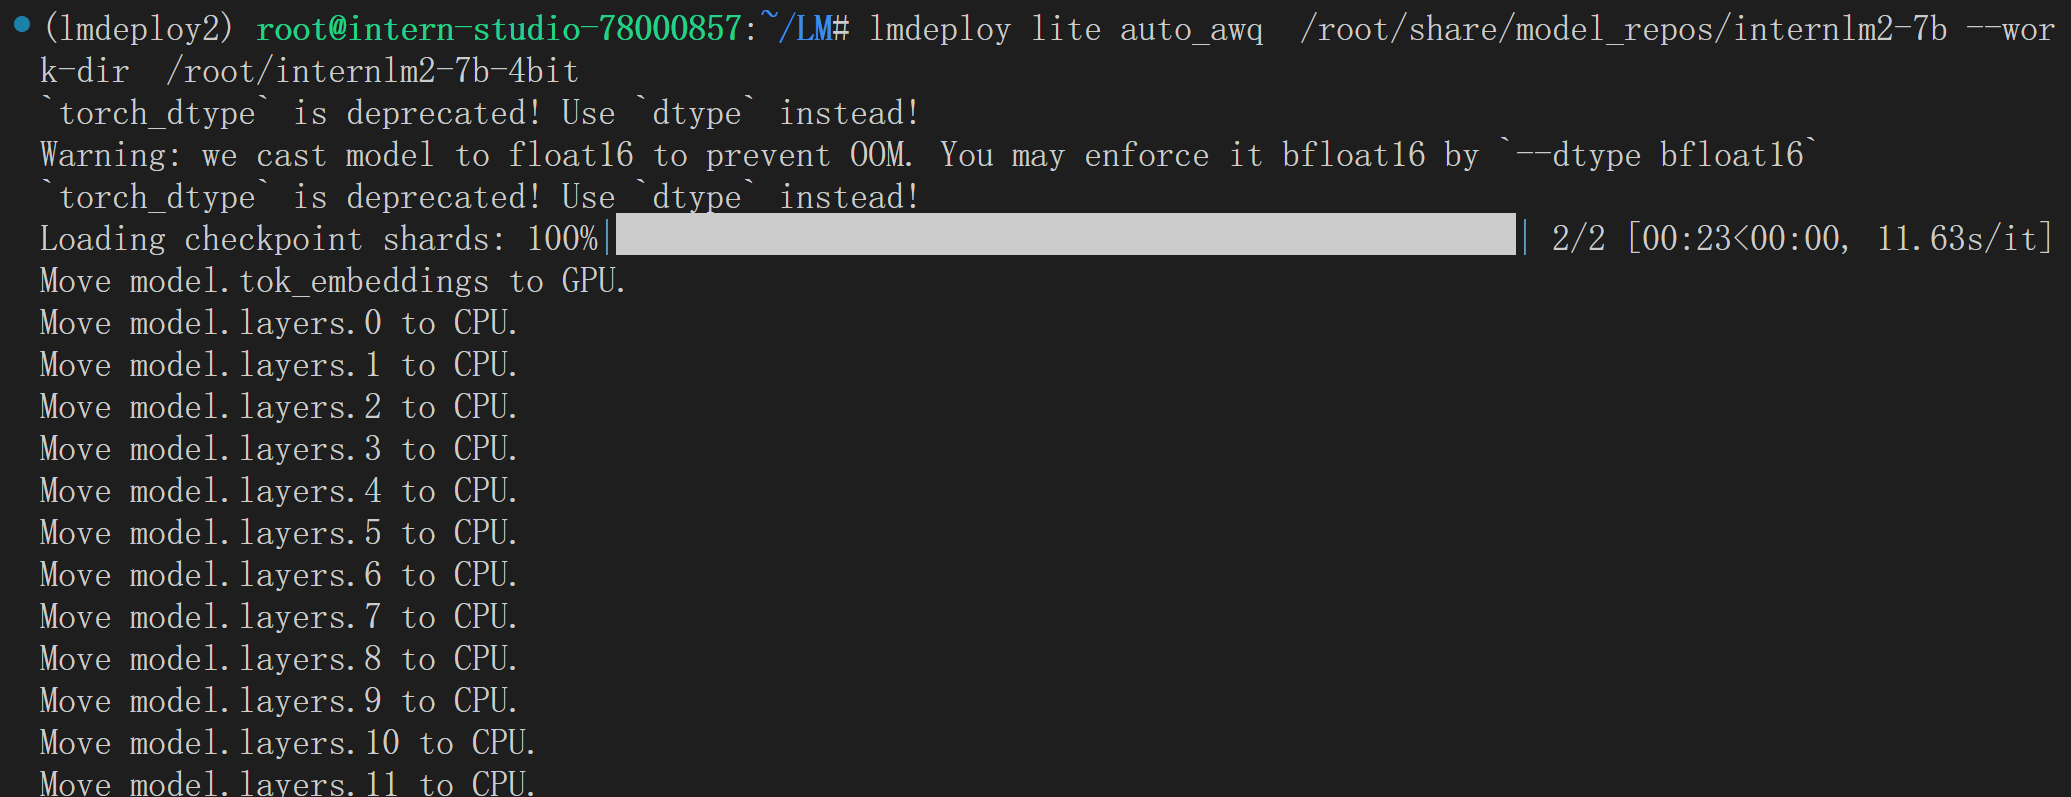
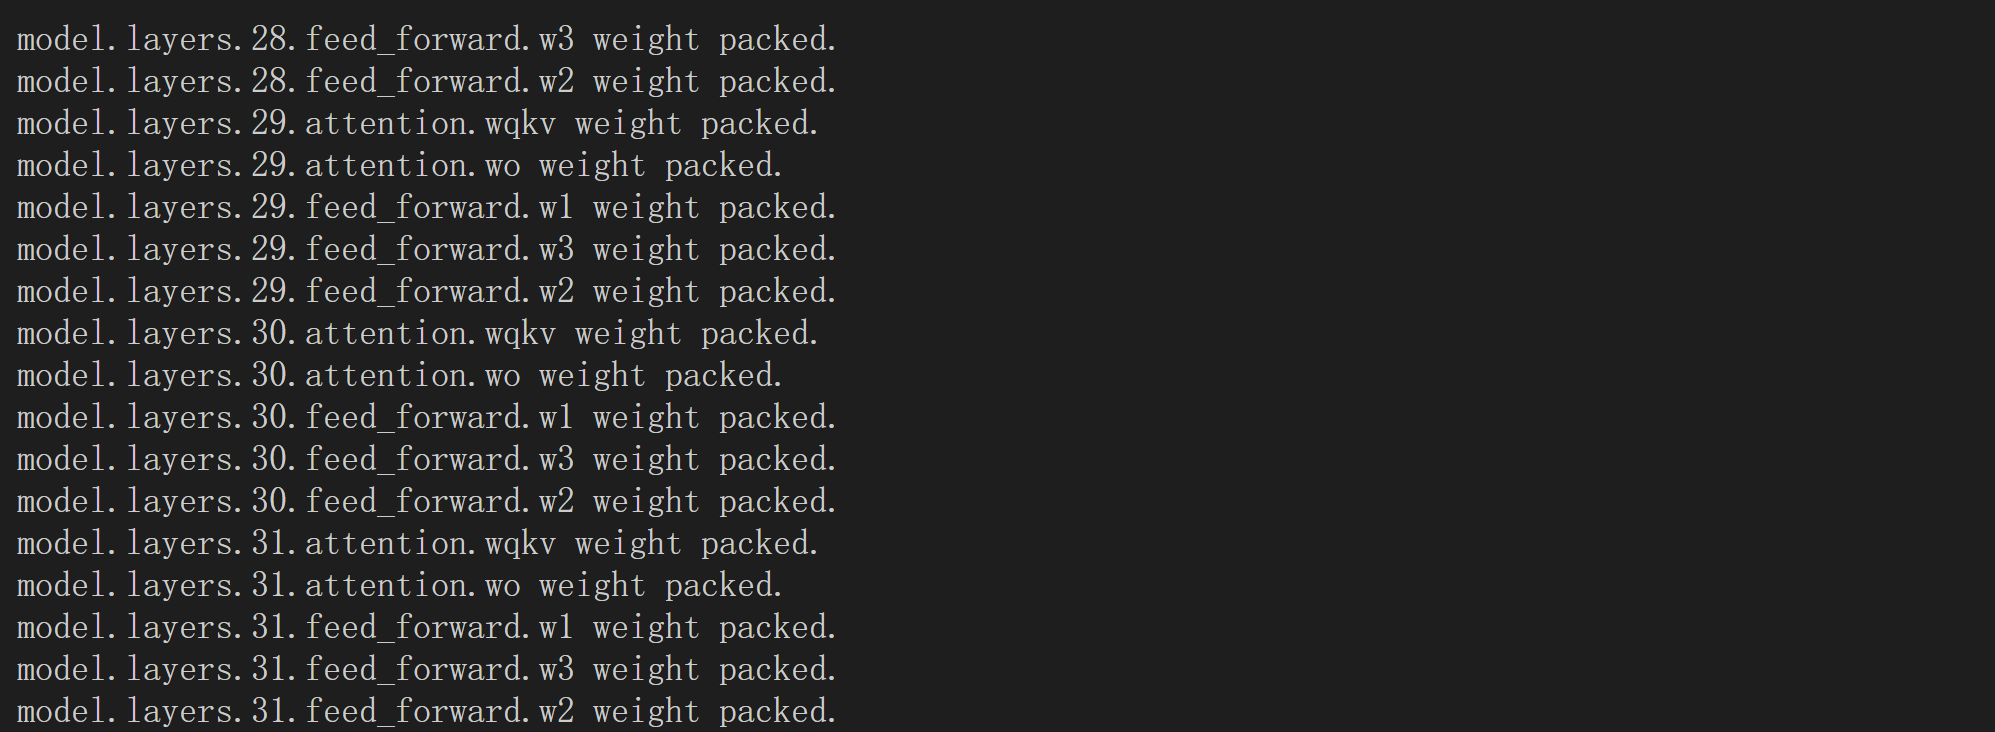
使用以下命令将原始模型转换为4-bit量化版本:
lmdeploy lite auto_awq /root/share/model_repos/internlm2-7b --work-dir /root/internlm2-7b-4bit
如遇到RuntimeError: Dataset scripts are no longer supported, but found ptb_text_only.py,可以加上–calib-dataset wikitext 启动:
lmdeploy lite auto_awq /root/share/model_repos/internlm2-7b --work-dir /root/internlm2-7b-4bit --calib-dataset wikitext
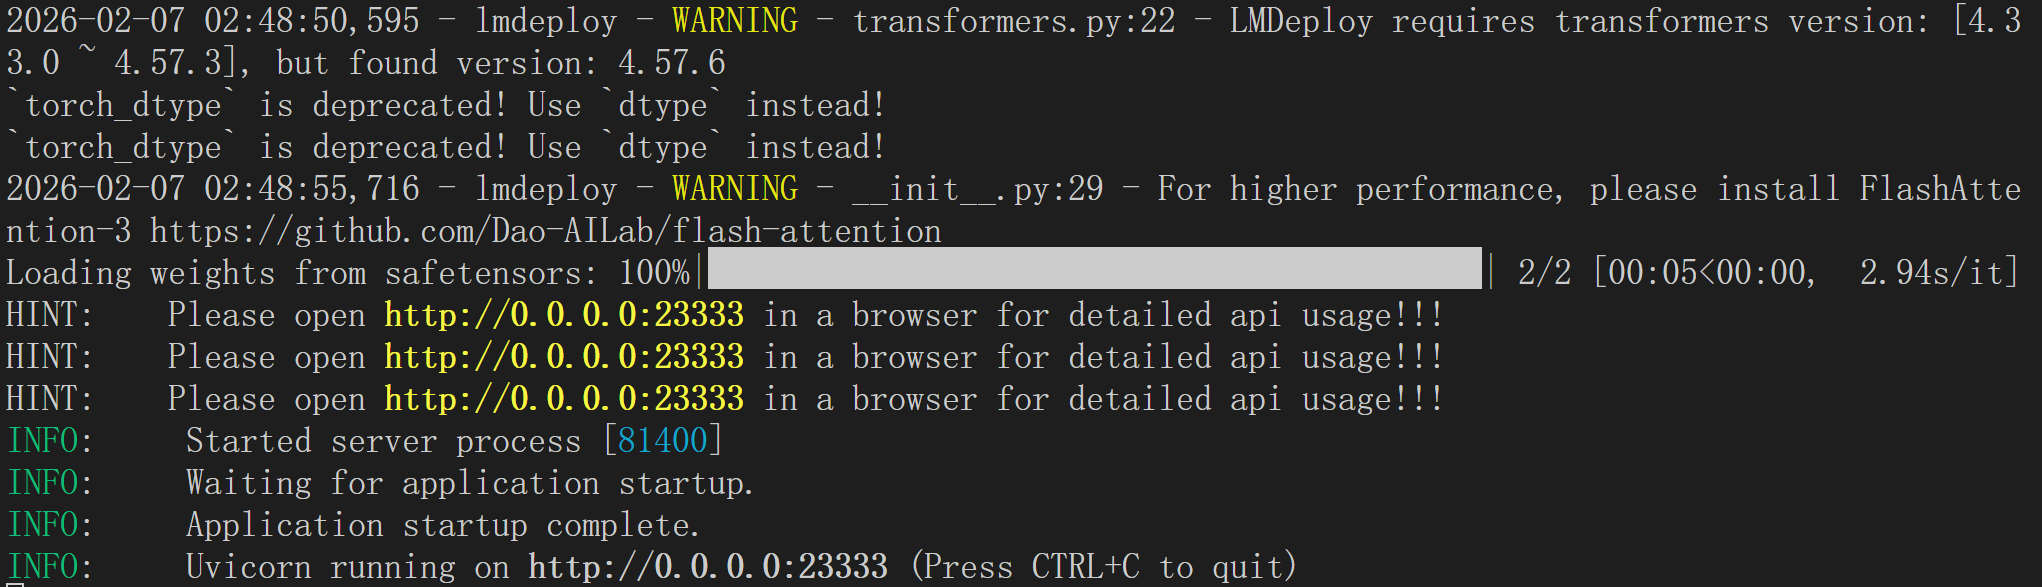
4.1.2 部署量化模型
lmdeploy serve api_server /root/internlm2-7b-4bit
(lmdeploy2) root@intern-studio-78000857:~# lmdeploy serve api_server  /root/internlm2-7b-4bit
`torch_dtype` is deprecated! Use `dtype` instead!
[TM][WARNING] [TM] `max_context_token_num` is not set, default to 32768.
2026-02-07 02:47:46,239 - lmdeploy - WARNING - turbomind.py:246 - get 547 model params
[TM][WARNING] [SegMgr] prefix caching is disabled
[TM][FATAL] core/copy.cc(58): Check failed: cudaGetDriverEntryPoint(symbol, &fpn, cudaEnableDefault, &status) == 0 (801 vs. 0)
Aborted (core dumped)
由于报错,所以使用backend pytorch
lmdeploy serve api_server /root/internlm2-7b-4bit \
  --backend pytorch \
  --server-name 0.0.0.0 \
  --server-port 23333 \
  --dtype float16 \
  --tp 1
量化服务部署成功后,可通过OpenAI兼容接口进行调用:
from openai import OpenAI

client = OpenAI(api_key='YOUR_API_KEY',  # A dummy api_key is required
                base_url='http://0.0.0.0:23333/v1')
model_name = client.models.list().data[0].id
response = client.chat.completions.create(
    model=model_name,
    messages=[{
        'role': 'user',
        'content': [{
            'type': 'text',
            'text': "上海有什么?"  # 这里将外层单引号改为双引号
        }],
    }],
    temperature=0.8,
    top_p=0.8,
    max_tokens=100)
print(response)
通过以上流程,即可在有限显存环境下成功部署并调用大语言模型服务。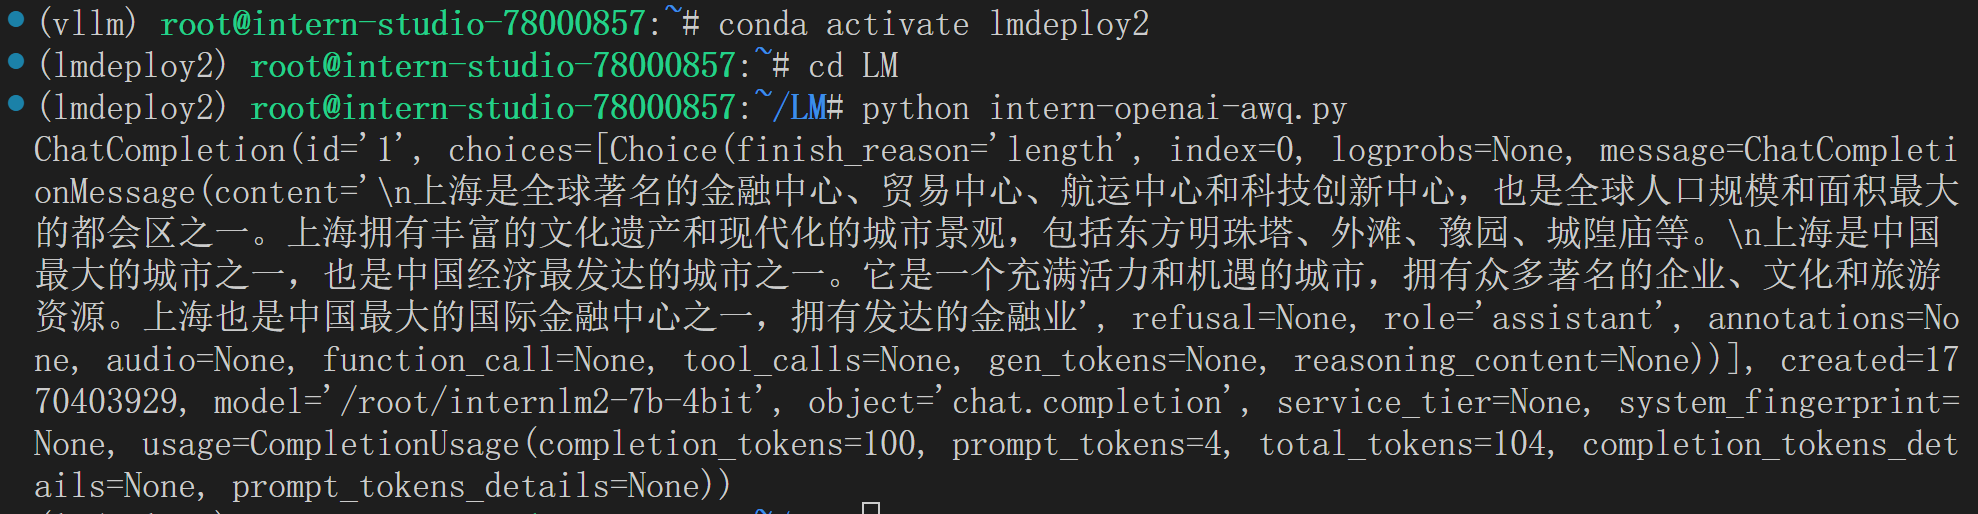
4.2 Key-Value(KV) Cache 量化
4.2.1 KV Cache量化的作用
上面的模型量化就像把厚重的纸质书扫描成电子版(📚→💾),让书本体积大幅缩小,原来只能放1000本的书架现在能存4000本。
KV Cache量化则像增加阅览座位(🪑→🪑🪑🪑),原来只能同时服务8位读者,现在能接待32位。
通过 LMDeploy 应用 kv 量化非常简单,只需要设定 quant_policy 参数。
LMDeploy 规定 qant_policy=4 表示 kv int4 量化,quant_policy=8 表示 kv int8 量化。
两者结合:既用电子书节省空间,又增加座位服务更多读者,让整个图书馆在有限场地内实现最高效运营——这就是量化技术的完美协同。
def compare_quantization_effects():
"""对比三种量化的不同效果"""
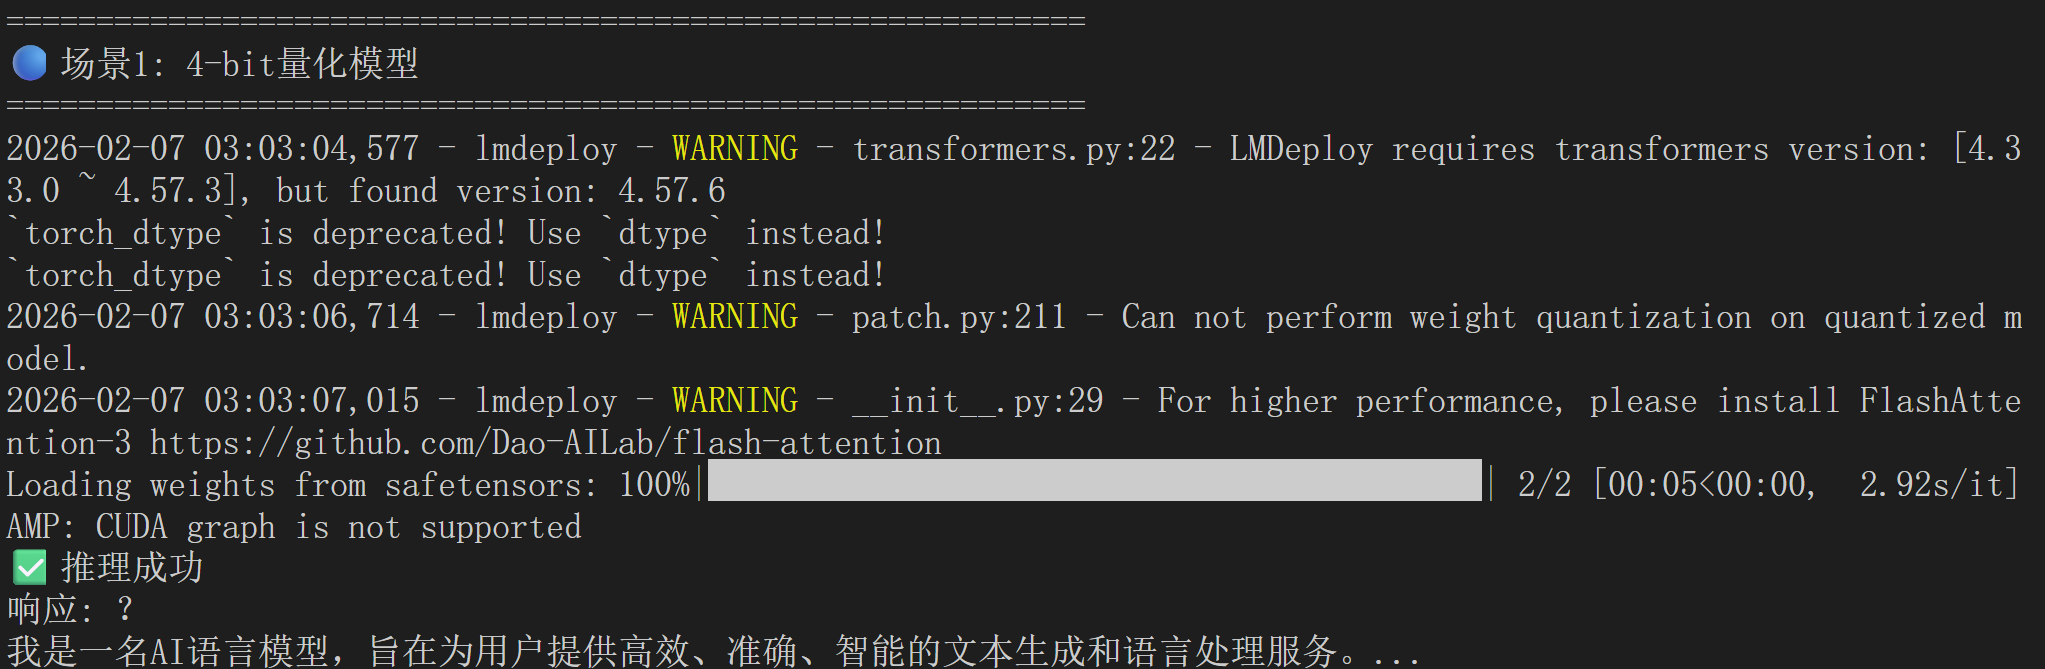
# 场景1:只有Weight量化(模型瘦身)
print("🔵 场景1: 仅Weight量化")
pipe_weight_only = pipeline(
"/root/internlm2-7b-4bit", # 量化后的模型
backend_config=PytorchEngineConfig(
model_format='awq',
quant_policy=0, # 关闭KV量化
max_batch_size=8
)
)
# ✅ 效果:小显存能跑大模型
# ❌ 限制:并发数仍然受限
# 场景2:只有KV量化(服务扩容)
print("🟢 场景2: 仅KV量化")
pipe_kv_only = pipeline(
"/root/share/model_repos/internlm2-7b", # 原始模型
backend_config=TurbomindEngineConfig(
model_format='hf',
quant_policy=4, # 开启KV量化
max_batch_size=32
)
)
# ❌ 限制:需要足够显存加载原始模型
# ✅ 效果:高并发、高吞吐
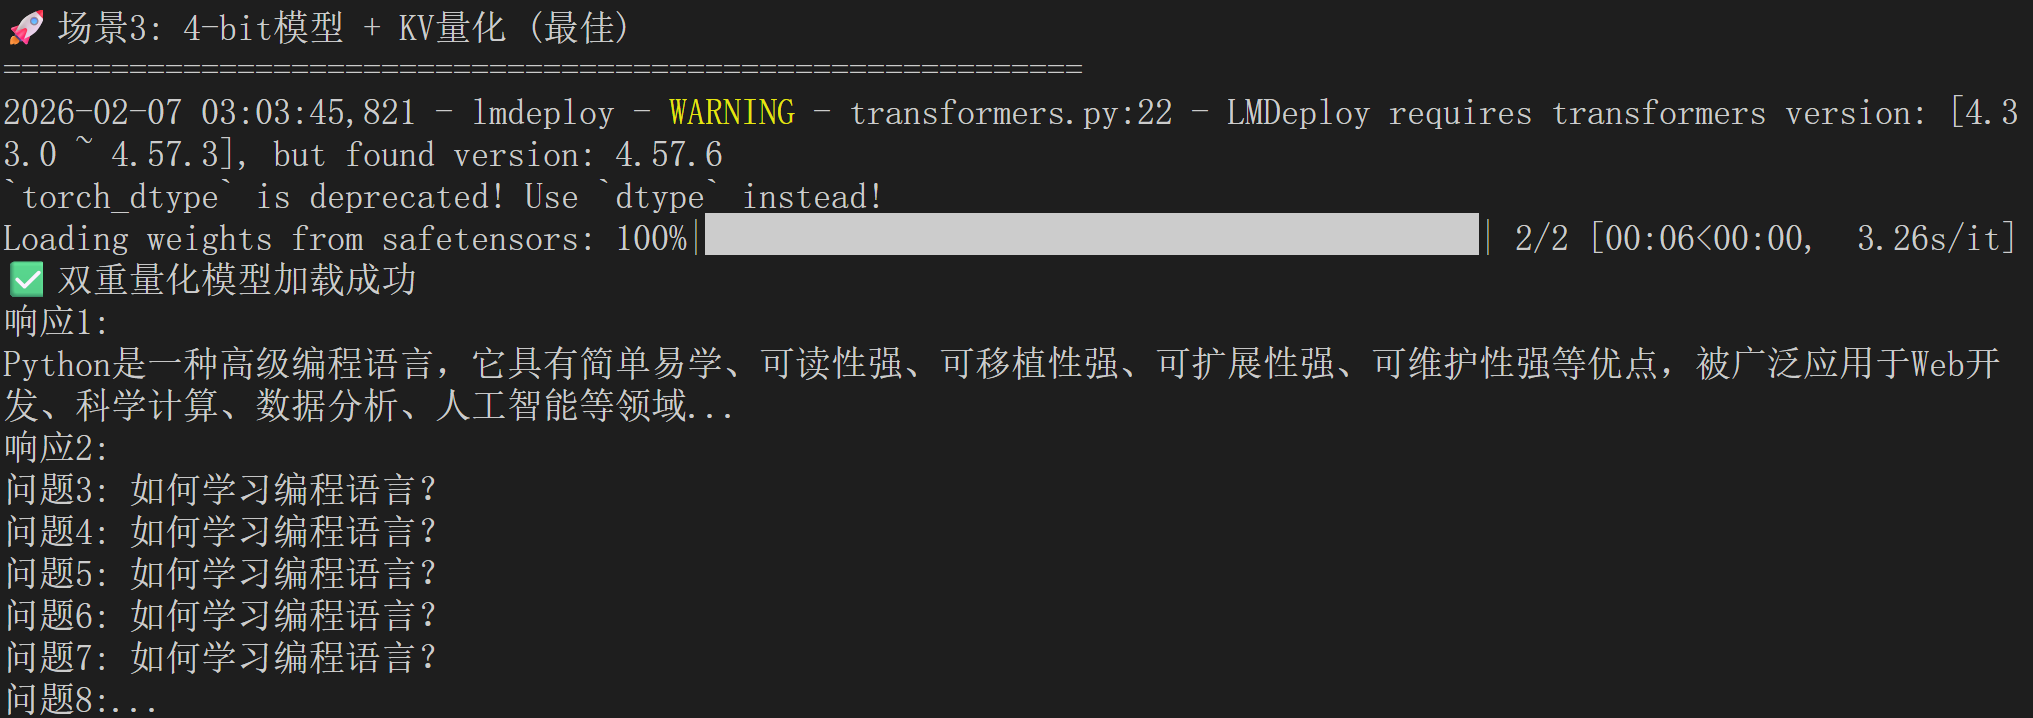
# 场景3:双重量化(最佳效果)
print("🚀 场景3: Weight + KV双重量化")
pipe_both = pipeline(
"/root/internlm2-7b-4bit", # 量化模型
backend_config=PytorchEngineConfig(
model_format='awq',
quant_policy=4, # 开启KV量化
max_batch_size=32,
cache_max_entry_count=0.6
)
)
# ✅ 效果:小显存 + 高并发
4.2.2 量化的最佳实践
那么最佳实践就是,也就是相比之前多了个–quant-policy 8 ,但会在有大量请求时候表现更佳。
lmdeploy serve api_server /root/internlm2-7b-4bit --quant-policy 8

有“AI”的1024 = 2048,欢迎大家加入2048 AI社区
更多推荐
 0
0 0
0- 0


 已为社区贡献2条内容

所有评论(0)