如何实现AI生成应用部署功能
本文介绍了AI生成应用部署的四种方式:1)基于Node.js的Server工具;2)SpringBoot接口实现静态服务;3)Nginx高性能映射;4)COS对象存储。重点讲解了SpringBoot+Nginx组合方案,详细说明了Nginx配置修改、静态资源处理、部署接口开发等实现步骤。其中部署接口包含参数校验、权限验证、deployKey生成、文件复制等功能,最终返回可访问URL。该方案兼顾开发
实现AI生成应用部署的4种方式
1、Server工具(配置简单,不过需要额外依赖于Node.js环境,独立启动web服务,性能相对较低)
2、SpringBoot接口实现静态服务资源(适用于预览 AI 生成的网页)
3、Nginx映射(额外引入Nginx组件,提供网站部署服务,性能高,适合生产环境)
4、使用COS对象存储的静态网站访问能力来同时实现存储与访问(需要有自定义域名)
因此我们可以采用组合模式SpringBoot接口实现AI生成的网页预览+Nginx映射提供网站部署服务。
Nginx映射
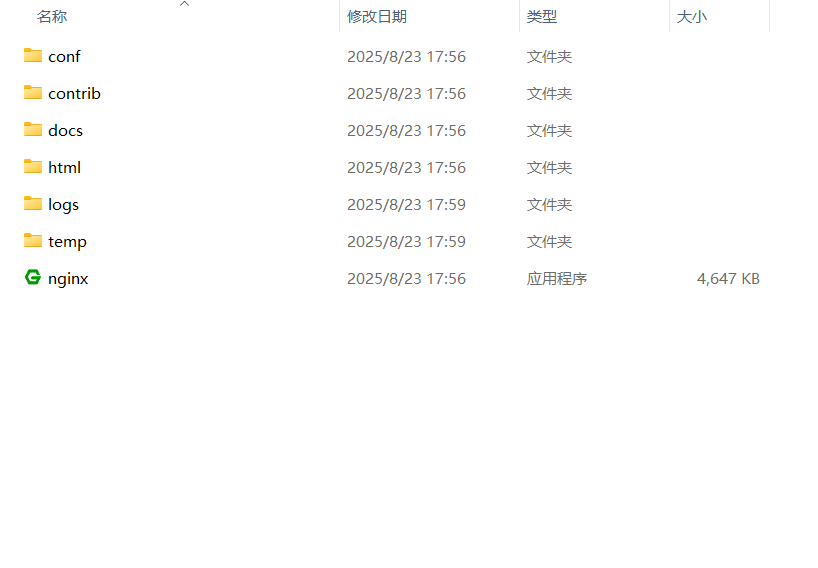
首先下载Nginx:https://nginx.org/en/download.html,然后解压到全英文的目录中
![]()
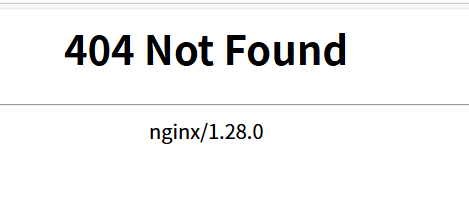
首次启动按默认配置可能会出现404问题,
![]()
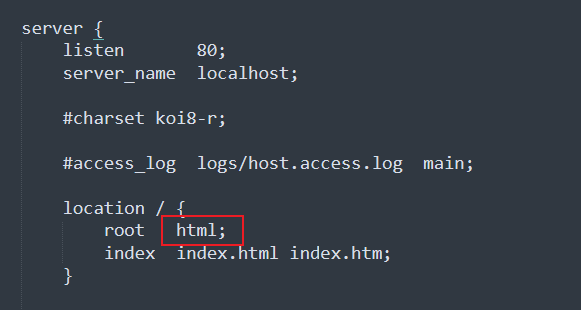
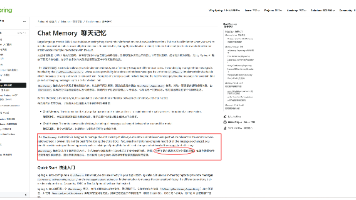
在conf里的如图位置删掉sky即可:
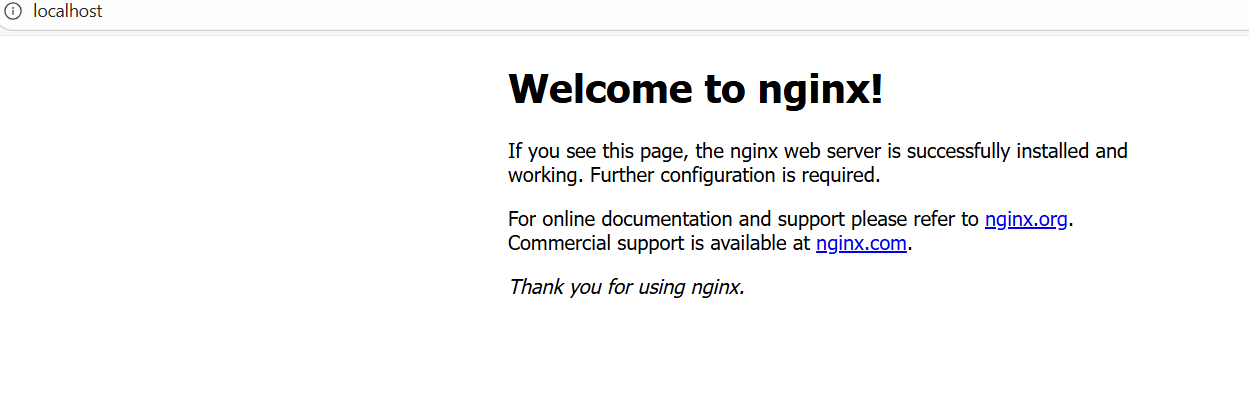
接着如果你原本就启动了Nginx需要先结束nginx的进程再重新启动即可:
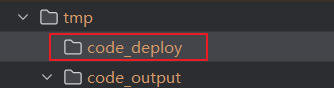
首先在后端项目的tmp目录下新建一个目录code_deploy存放部署的代码文件,与原本的output区分开来,接着需要修改conf里的配置才能实现对应项目的需求,并将原本server里的location注释掉,修改后如图:
# 静态资源服务器 - 80 端口
    server {
        listen       80;
        server_name  localhost;
        charset      utf-8;
        charset_types text/css application/javascript text/plain text/xml application/json;
        # 项目部署根目录
        root         D:/lingou-projects/AI-NoCode/xiaolou-nocode-backend/tmp/code_deploy;

        # 处理所有请求
        location ~ ^/([^/]+)/(.*)$ {
            try_files /$1/$2 /$1/index.html =404;
        }

        # location / {
        #    root   html;
        #    index  index.html index.htm;
        # }
然后按刚才的步骤先进行save保存后重新启动nginx,将原本生成的文件代码复制到code_deploy中:

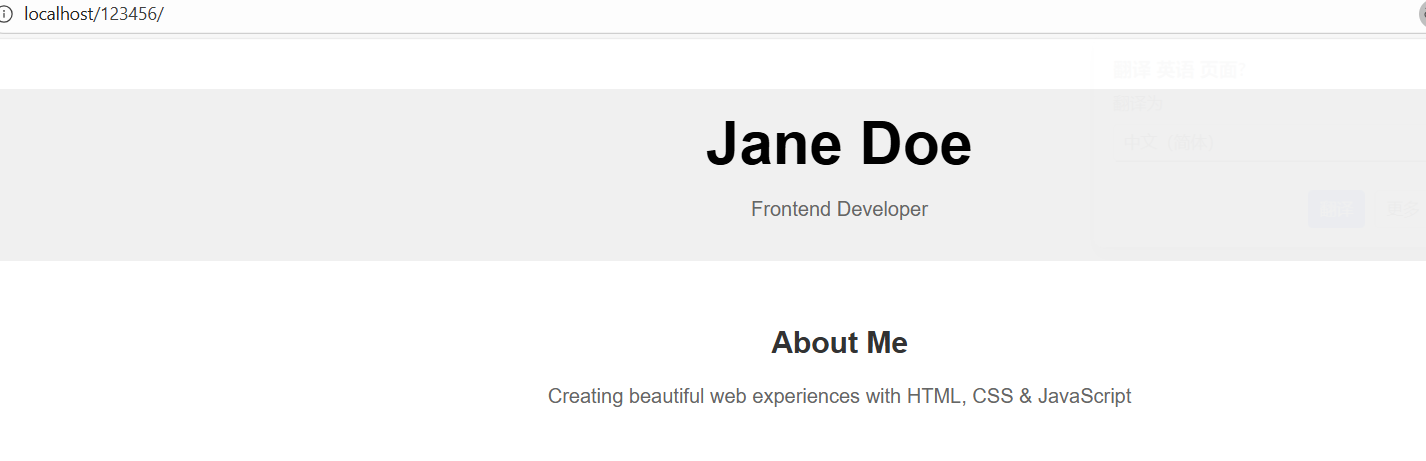
访问http://localhost/123456/进行测试效果,成功访问到我们AI生成的个人博客:
搞定Nginx,接下来来进行springboot部署的接口开发,
部署接口接受 appld 作为请求参数,返回可访问的 URL地址 ${部署域名}/{deployKey} 。
springboot部署的接口开发
部署流程如下
1.参数校验:比如是否存在 App、用户是否有权限部署该应用(仅本人可以部署)
2.生成 deployKey:deployKey 的生成逻辑(6 位大小写字母+数字),还要注意不能跟已有的 key 重复;此外,每个 app 只生成一次 deployKey,已有则不生成。
3.部署操作:本质是将 code_output 目录下的临时文件复制到 code_deploy 目录下,为了简化访问地址,直接将 deployKey 作为文件名。
首先在constant包下的AppConstant常量接口中补充3个路径的常量:
/**
 * 应用生成目录
 */
String CODE_OUTPUT_ROOT_DIR = System.getProperty("user.dir") + "/tmp/code_output";

/**
 * 应用部署目录
 */
String CODE_DEPLOY_ROOT_DIR = System.getProperty("user.dir") + "/tmp/code_deploy";

/**
 * 应用部署域名
 */
String CODE_DEPLOY_HOST = "http://localhost";
然后将CodeFileSaverTemplate类的路径常量进行修改:
protected static final String FILE_SAVE_ROOT_DIR = AppConstant.CODE_OUTPUT_ROOT_DIR;然后在controller包下编写一个用于浏览网站的接口:
@RestController
@RequestMapping("/static")
public class StaticResourceController {

    // 应用生成根目录(用于浏览)
    private static final String PREVIEW_ROOT_DIR = AppConstant.CODE_OUTPUT_ROOT_DIR;

    /**
     * 提供静态资源访问,支持目录重定向
     * 访问格式:http://localhost:8123/api/static/{deployKey}[/{fileName}]
     */
    @GetMapping("/{deployKey}/**")
    public ResponseEntity<Resource> serveStaticResource(
        @PathVariable String deployKey,
        HttpServletRequest request) {
        try {
            // 获取资源路径
            String resourcePath = (String) request.getAttribute(HandlerMapping.PATH_WITHIN_HANDLER_MAPPING_ATTRIBUTE);
            resourcePath = resourcePath.substring(("/static/" + deployKey).length());
            // 如果是目录访问(不带斜杠),重定向到带斜杠的URL
            if (resourcePath.isEmpty()) {
                HttpHeaders headers = new HttpHeaders();
                headers.add("Location", request.getRequestURI() + "/");
                return new ResponseEntity<>(headers, HttpStatus.MOVED_PERMANENTLY);
            }
            // 默认返回 index.html
            if (resourcePath.equals("/")) {
                resourcePath = "/index.html";
            }
            // 构建文件路径
            String filePath = PREVIEW_ROOT_DIR + "/" + deployKey + resourcePath;
            File file = new File(filePath);
            // 检查文件是否存在
            if (!file.exists()) {
                return ResponseEntity.notFound().build();
            }
            // 返回文件资源
            Resource resource = new FileSystemResource(file);
            return ResponseEntity.ok()
            .header("Content-Type", getContentTypeWithCharset(filePath))
            .body(resource);
        } catch (Exception e) {
            return ResponseEntity.status(HttpStatus.INTERNAL_SERVER_ERROR).build();
        }
    }

    /**
     * 根据文件扩展名返回带字符编码的 Content-Type
     */
    private String getContentTypeWithCharset(String filePath) {
        if (filePath.endsWith(".html")) return "text/html; charset=UTF-8";
        if (filePath.endsWith(".css")) return "text/css; charset=UTF-8";
        if (filePath.endsWith(".js")) return "application/javascript; charset=UTF-8";
        if (filePath.endsWith(".png")) return "image/png";
        if (filePath.endsWith(".jpg")) return "image/jpeg";
        return "application/octet-stream";
    }
}
在AppService中编写一个部署服务的代码:
/**
 * 部署应用
 *
 * @param appId
 * @param loginUser
 * @return
 */
String deployApp(Long appId, User loginUser);
实现类:
@Override
public String deployApp(Long appId, User loginUser) {
    // 1. 参数校验
    ThrowUtils.throwIf(appId == null || appId <= 0, ErrorCode.PARAMS_ERROR, "应用 ID 不能为空");
    ThrowUtils.throwIf(loginUser == null, ErrorCode.NOT_LOGIN_ERROR, "用户未登录");
    // 2. 查询应用信息
    App app = this.getById(appId);
    ThrowUtils.throwIf(app == null, ErrorCode.NOT_FOUND_ERROR, "应用不存在");
    // 3. 验证用户是否有权限部署该应用,仅本人可以部署
    if (!app.getUserId().equals(loginUser.getId())) {
        throw new BusinessException(ErrorCode.NO_AUTH_ERROR, "无权限部署该应用");
    }
    // 4. 检查是否已有 deployKey
    String deployKey = app.getDeployKey();
    // 没有则生成 6 位 deployKey(大小写字母 + 数字)
    if (StrUtil.isBlank(deployKey)) {
        deployKey = RandomUtil.randomString(6);
    }
    // 5. 获取代码生成类型,构建源目录路径
    String codeGenType = app.getCodeGenType();
    String sourceDirName = codeGenType + "_" + appId;
    String sourceDirPath = AppConstant.CODE_OUTPUT_ROOT_DIR + File.separator + sourceDirName;
    // 6. 检查源目录是否存在
    File sourceDir = new File(sourceDirPath);
    if (!sourceDir.exists() || !sourceDir.isDirectory()) {
        throw new BusinessException(ErrorCode.SYSTEM_ERROR, "应用代码不存在,请先生成代码");
    }
    // 7. 复制文件到部署目录
    String deployDirPath = AppConstant.CODE_DEPLOY_ROOT_DIR + File.separator + deployKey;
    try {
        FileUtil.copyContent(sourceDir, new File(deployDirPath), true);
    } catch (Exception e) {
        throw new BusinessException(ErrorCode.SYSTEM_ERROR, "部署失败:" + e.getMessage());
    }
    // 8. 更新应用的 deployKey 和部署时间
    App updateApp = new App();
    updateApp.setId(appId);
    updateApp.setDeployKey(deployKey);
    updateApp.setDeployedTime(LocalDateTime.now());
    boolean updateResult = this.updateById(updateApp);
    ThrowUtils.throwIf(!updateResult, ErrorCode.OPERATION_ERROR, "更新应用部署信息失败");
    // 9. 返回可访问的 URL
    return String.format("%s/%s/", AppConstant.CODE_DEPLOY_HOST, deployKey);
}
再在dto的app包下编写一个部署请求类:
@Data
public class AppDeployRequest implements Serializable {

    /**
     * 应用 id
     */
    private Long appId;

    private static final long serialVersionUID = 1L;
}
最后在AppController类编写部署网站的接口:
/**
 * 应用部署
 *
 * @param appDeployRequest 部署请求
 * @param request          请求
 * @return 部署 URL
 */
@PostMapping("/deploy")
public BaseResponse<String> deployApp(@RequestBody AppDeployRequest appDeployRequest, HttpServletRequest request) {
ThrowUtils.throwIf(appDeployRequest == null, ErrorCode.PARAMS_ERROR);
Long appId = appDeployRequest.getAppId();
ThrowUtils.throwIf(appId == null || appId <= 0, ErrorCode.PARAMS_ERROR, "应用 ID 不能为空");
// 获取当前登录用户
User loginUser = userService.getLoginUser(request);
// 调用服务部署应用
String deployUrl = appService.deployApp(appId, loginUser);
return ResultUtils.success(deployUrl);
}
测试效果
最后可以在接口文档部署接口进行测试:
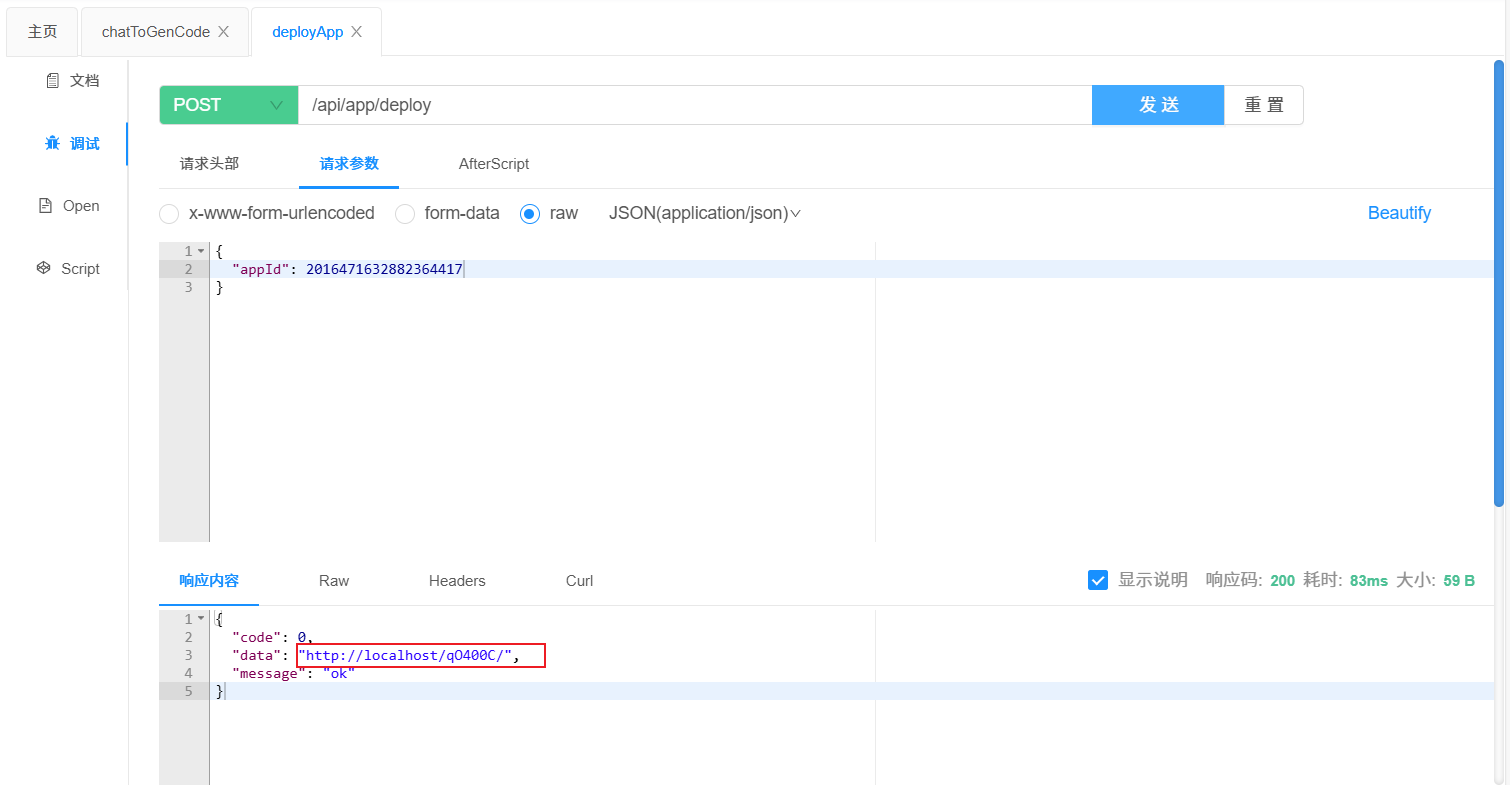
访问地址查看网站:

有“AI”的1024 = 2048,欢迎大家加入2048 AI社区
更多推荐

 27
27 0
0- 0


 已为社区贡献2条内容

所有评论(0)