V 语言开发 WASM 应用:浏览器测试最简教程
注:这里V语言生成wasm,直接使用命令行为:V run main.v,这个亲测可用,我使用了其他命令行:v -b wasm -os browser main.v,可以生成wasm,但是js调用不起作用。注意:上面代码使用是官方所给代码。测试使用了自定义函数代码(使用。属性标记需暴露给 JS 的函数),生成不了。
·
(1)环境准备与工具安装
- V 语言安装(官网或包管理器)
- 这里不使用Emscripten 工具链编译 WASM,使用V语言原生编译生成wasm
- 这里使用node.js创建静态服务器,浏览器中打开页面
(2)编写基础 V 代码
- 创建一个main.v文件,定义add函数导出WASM文件(如加法运算)
- 示例代码如下:
-
import main
import os

fn main() {
    mut m := wasm.Module{}
    mut func := m.new_function('add', [.i32_t, .i32_t], [.i32_t])
    {
        func.local_get(0) // | local.get 0
        func.local_get(1) // | local.get 1
        func.add(.i32_t) // | i32.add
    }
    m.commit(func, true) // `export: true`

    mod := m.compile() // []u8

    os.write_file_array('add.wasm', mod)!
}
注意:上面代码使用是官方所给代码。测试使用了自定义函数代码(使用
[export]属性标记需暴露给 JS 的函数),生成不了。 - 如下代码形式(不行):
-
[export]
fn add(a int, b int) int {
    return a + b
}
(3)编译为 WASM
- 使用
v run main.v生成 WASM 文件。这里生成了add.wasm文件
注:这里V语言生成wasm,直接使用命令行为:V run main.v,这个亲测可用,我使用了其他命令行:v -b wasm -os browser main.v,可以生成wasm,但是js调用不起作用。
(4)浏览器测试环境搭建
- 安装node.js,使用这个工具创建静态服务器测试wasm
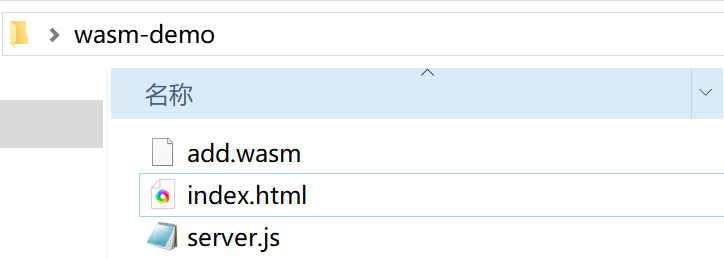
- 创建一个文件夹,把上面生成add.wasm文件放进去
- 创建一个server.js文件,把创建静态服务器代码添加进去
- server.js文件代码如下:
-
// server.js:Node.js 原生静态服务器 const http = require('http'); const fs = require('fs'); const path = require('path'); const port = 8080; // 服务器端口(可改,如 3000) // 定义文件类型映射(关键:WASM 文件需指定正确的 Content-Type) const mimeTypes = { '.html': 'text/html; charset=utf-8', '.wasm': 'application/wasm', // WASM 必须的 MIME 类型 '.js': 'application/javascript', '.css': 'text/css' }; // 创建服务器 const server = http.createServer((req, res) => { // 解析请求的文件路径(默认加载 index.html) const filePath = path.join(__dirname, req.url === '/' ? 'index.html' : req.url); // 获取文件扩展名,匹配 MIME 类型 const extname = path.extname(filePath); const contentType = mimeTypes[extname] || 'application/octet-stream'; // 读取并返回文件 fs.readFile(filePath, (err, content) => { if (err) { // 404 处理 res.writeHead(404, { 'Content-Type': 'text/plain' }); res.end(`文件未找到:${req.url}`); return; } // 成功返回文件(设置正确的 MIME 类型) res.writeHead(200, { 'Content-Type': contentType }); res.end(content); }); }); // 启动服务器 server.listen(port, () => { console.log(`✅ 本地服务器已启动!`); console.log(`👉 浏览器访问:http://localhost:${port}`); console.log(`🔴 停止服务器:按 Ctrl + C`); }); - 创建一个index.html文件
- index.html文件代码如下:
-
<!DOCTYPE html> <html lang="en"> <head> <meta charset="UTF - 8"> <meta name="viewport" content="width=device - width, initial - scale = 1.0"> <title>WebAssembly Math Operations</title> </head> <body> <label for="num1">Number 1:</label> <input type="number" id="num1"> <br> <label for="num2">Number 2:</label> <input type="number" id="num2"> <br> <button onclick="calculate('add')">Add</button> <div id="result"></div> <script> let wasmModule; async function loadWasm() { const response = await fetch('add.wasm'); const buffer = await response.arrayBuffer(); const module = await WebAssembly.instantiate(buffer); wasmModule = module.instance.exports; } function calculate(operation) { if (!wasmModule) { alert('WebAssembly module not loaded yet.'); return; } const num1 = parseInt(document.getElementById('num1').value); const num2 = parseInt(document.getElementById('num2').value); let result; if (operation === 'add') { result = wasmModule.add(num1, num2); } document.getElementById('result').innerText = `Result of ${operation}: ${result}`; } loadWasm(); </script> </body> </html> - 整个文件夹与文件如图
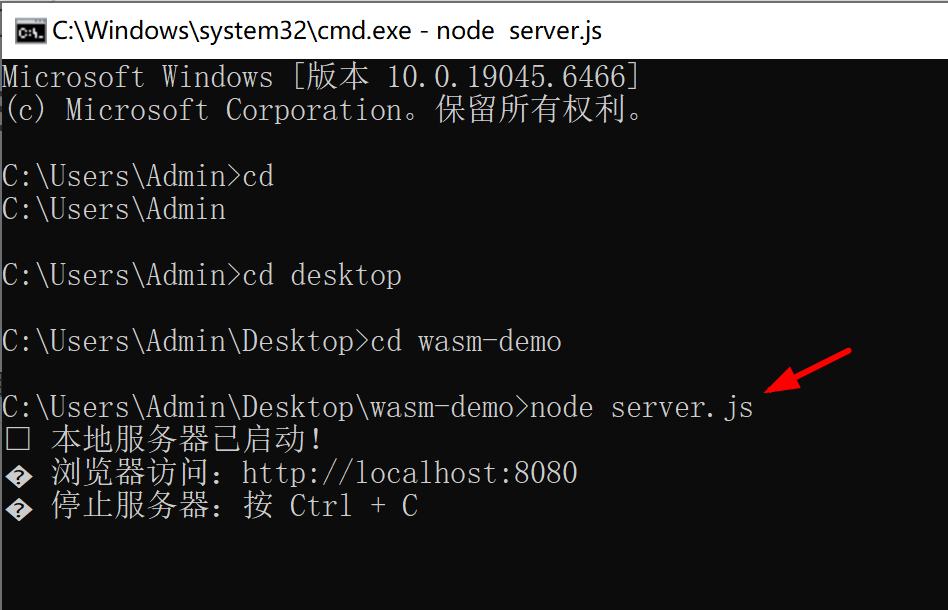
(5)启动node.js创建静态服务器并打开浏览器测试
- 打开命令行输入运行显示如下
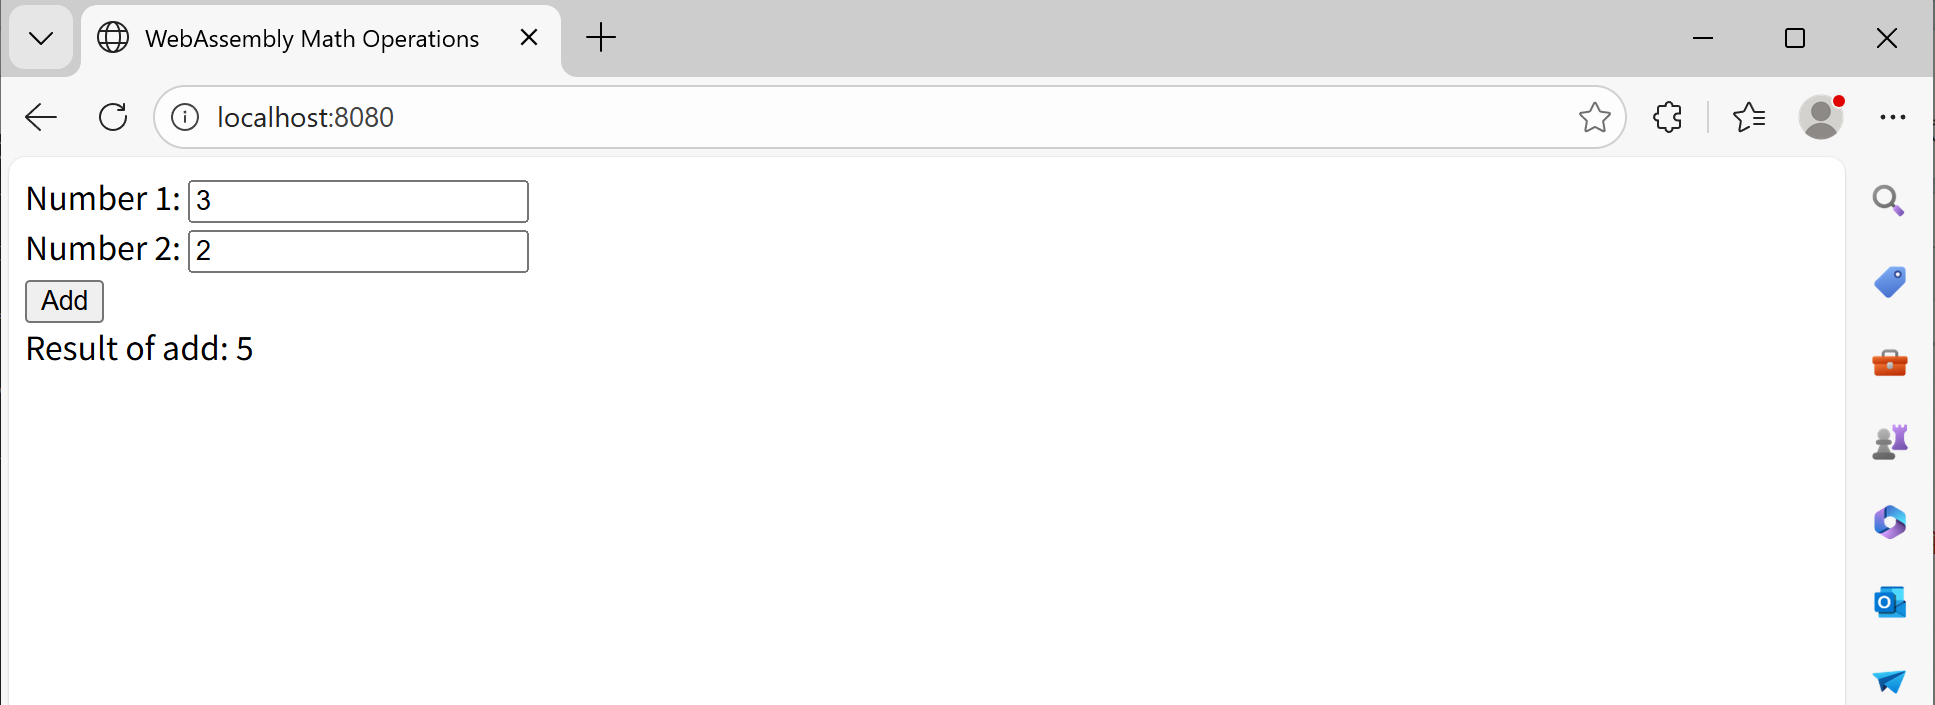
- 打开浏览器,地址输入:http://localhost:8080
提示
- 由于是学习阶段,查找了一些资料,但资料太少,这里仅提供下自己实测成功案例
- 如有V语言版本更替导致上述案例失败,请安装V0.5.0版本测试下
参考资源

有“AI”的1024 = 2048,欢迎大家加入2048 AI社区
更多推荐


 28
28 0
0- 0


 已为社区贡献1条内容

所有评论(0)