AI开发避坑指南:PixiJS视频切换实战
本文分享了作者在AI辅助开发(VibeCoding)项目中遇到的PixiJS视频切换问题及解决方案。项目使用Wails+PIXIJS开发Windows视频剪辑工具,发现AI生成的代码存在生命周期管理缺陷,导致视频切换时出现黑屏和WebGL报错。作者通过手动完善;暂停渲染;清理旧资源;加载新资源t;恢复渲染;的生命周期机制,重点修改了视频源切换和渲染逻辑,包括添加资源清理方法、显式创建VideoSo
关于我为什么要写这篇文章
如果是正常开发的项目,或许我会将这个问题进行知识点的整理,然后进行内容的讲述。
但是这个项目是Vibe Coding项目,所以整体的排查和修改的侧重点其实和传统项目也是有所区别的。虽然现在AI 很强大,但是他们也总喜欢在一些同样的地方踩坑。
我觉得将我使用AI时候出现的这些问题进行记录,同时进行整理还是非常有意义的。
一方面,大家在使用Vibe Coding时候如果项目出现BUG,可以按照我们这些坑点进行排查——毕竟AI总是会在类似的问题上栽跟头。
另一方面,如果我的内容成功的进入到下次的AI学习数据库中,说不定可以成功让AI避免类似的问题出现。
综上我决定将我的项目经历整理,希望对大家有用~
(第一次写这种类型的文章,如果有一些大家觉得可以细化 or 简略的部分欢迎提出来)
项目背景
这是我正在使用Wails+PIXIJS进行AI辅助开发的一个适用于Windows的录制-自动剪辑工具。(大家快关注我!之后给大家开源!大家就不要氪金啦~)
现在项目的基本架构我通过GLM4.7已经完成。但是针对其中部分核心逻辑,依旧离不开手工处理。
现在这里代码中遇到的核心问题就是在PIXIJS中针对不同视频源切换时候的一个错误。
当前的处理模式
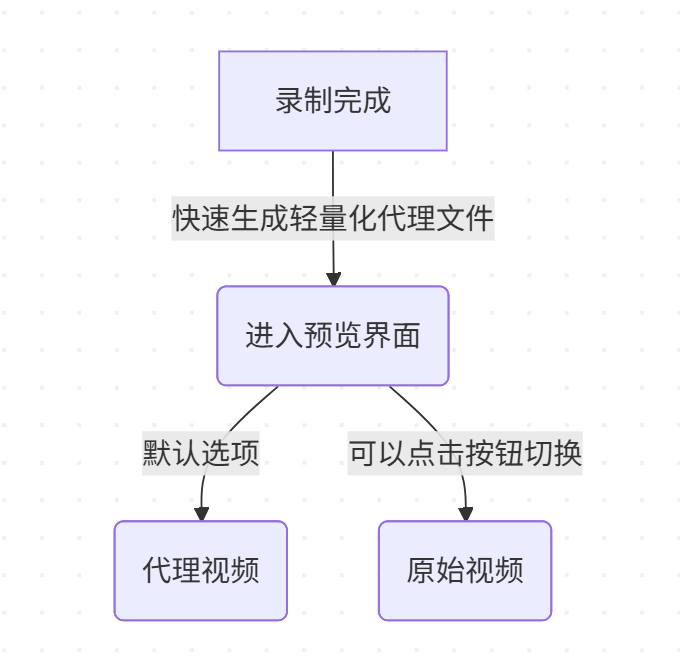
但是现在存在一个问题:从proxy切换到original的时候就会黑屏,同时再次切换回到proxy也无法正常播放。
同时控制台WebGL大量报错,报错条数等于视频的帧数。
WebGL 渲染循环与资源加载的竞态条件(Race Condition) 问题
AI书写的代码并不会特别关注组件的生命周期,这就直接导致项目整体的稳健型不佳。
现在的 PixiJS 渲染循环(ticker)在视频切换的 空窗期(旧视频已卸载,新视频尚未就绪)依然在疯狂运行。每一帧 ticker 都在尝试让 WebGL 去读取一个当前尺寸为 0 或者状态为 Loading 的视频纹理,从而导致 WebGL 抛出大量 INVALID_VALUE 或 INVALID_OPERATION 错误。
所以特别是复杂的项目,需要手动的为其中添加完善的生命周期机制。这里,我就手动的为我的前端代码完善了 “暂停渲染 -> 清理旧资源 -> 加载新资源 -> 恢复渲染” 的生命周期。
PixiJS中生命周期管理(Vibe Coding专供)
这里需要修改的核心有两个部分:
1.切换视频源的部分
2.页面中PixiJS渲染的部分
切换部分
在项目中,切换视频源和初次挂载是分为了两个不同的js文件进行。所以这里需要在其中添加一个销毁方法,用来进行原来视频源的销毁。
这里proxy video 和 original video二者的尺寸和元数据有着明确的区别,所以如果直接使用旧的容器将会直接造成PixiJS的错误,所以必须要先进行销毁。也就是我们首先需要清理texture
渲染部分
这里我们首先需要在开始前停止PixiJS的Ticker,等完全加载完成后再重启Ticker
1.清理texture
1.1增加清理方法
  releaseVideo() {
    if (this.videoSprite) {
        this.worldContainer.removeChild(this.videoSprite);
        this.videoSprite.destroy({ children: true });
        this.videoSprite = null;
    }

    if (this.videoTexture) {
        // 【核心修改】确保 source 也被销毁,这是解决 WebGL 报错的关键
        //v8版本中无gc方法,集成在destroy中
        this.videoTexture.destroy();
        this.videoTexture = null;
    }
  }
1.2重写加载逻辑
  loadVideo(videoElement) {
    console.log('========== SceneGraph.loadVideo 开始 ==========');
    //新增:旧资源清理
    this.releaseVideo();
    if (!this.worldContainer) {
      console.error('❌ SceneGraph 未初始化');
      // throw new Error('SceneGraph 未初始化');
      return;
    }
    const rawVideoElement = videoElement && videoElement.__v_raw ? videoElement.__v_raw : videoElement;
    // 硬性拦截:如果视频没宽没高,绝对不要创建纹理
    //之前用的videoElement,现在用rawVideoElement
    if (!rawVideoElement || rawVideoElement.videoWidth === 0 || rawVideoElement.videoHeight === 0) {
      console.error("❌ SceneGraph: 试图加载无效视频元素", videoElement);
      return;
    }

    console.log('视频元素状态:');
    console.log('  videoElement:', videoElement);
    console.log('  readyState:', videoElement?.readyState);
    console.log('  networkState:', videoElement?.networkState);
    console.log('  videoWidth:', videoElement?.videoWidth);
    console.log('  videoHeight:', videoElement?.videoHeight);
    console.log('  duration:', videoElement?.duration);
    console.log('  src:', videoElement?.src);

    //核心修改:使用显式的 VideoSource 创建纹理,避开 Texture.from 的缓存陷阱
    console.log('创建视频纹理 (Force New Source)...');
    // 【修改点开始】--------------------------------------------
    try {
        // 创建一个新的 VideoSource,强制 Pixi 识别新的尺寸和资源
        const source = new PIXI.VideoSource({
            resource: videoElement,
            autoPlay: false, // 播放控制由 VideoManager 接管
            autoUpdate: true // 允许 Pixi 自动更新纹理
        });

        // 基于 Source 创建纹理
        //适合PIXIJS V8
        this.videoTexture = new PIXI.Texture({
          source: source
        });

    } catch (e) {
        console.error("❌ 创建 VideoSource 失败:", e);
        // 回退方案(虽然通常上面那个更稳)
        this.videoTexture = PIXI.Texture.from(videoElement);
    }
    // 【修改点结束】--------------------------------------------

    // 3. 检查纹理是否创建成功
    if (!this.videoTexture) {
        console.error("❌ 严重错误: 视频纹理创建失败");
        return;
    }

    // ✅ 修正点:这里必须使用 this.videoTexture,而不是 texture
    console.log('视频纹理已创建:', this.videoTexture);


    // 创建 Video Sprite
    console.log('创建视频精灵...');
    this.videoSprite = new PIXI.Sprite(this.videoTexture);
    this.videoSprite.anchor.x = 0.5;
    this.videoSprite.anchor.y = 0.5;
    this.videoSprite.x = 0;
    this.videoSprite.y = 0;
    this.videoSprite.zIndex = 0; // 最底层

    console.log('视频精灵属性:');
    console.log('  width:', this.videoSprite.width);
    console.log('  height:', this.videoSprite.height);
    console.log('  anchor:', this.videoSprite.anchor);
    console.log('  position:', this.videoSprite.position);

    // 添加到 World Container
    console.log('添加视频精灵到场景...');
    this.worldContainer.addChild(this.videoSprite);

    console.log('========== 视频已加载到场景图 ==========');
  }
1.3增加检查:是否有视频加载
  hasVideo() {
    return this.videoSprite !== null;
  }
2.修改页面中PixiJS渲染逻辑
(必须在切换开始时 停止 Ticker,结束时 重启 Ticker。)
这个部分我的代码中是在vue文件中
    async switchVideoSource(videoUrl) {
          console.log('🔄 切换到视频源:', videoUrl);

          // 1. 停止渲染循环 (防崩溃)
          if (this.pixiApp && this.pixiApp.ticker) {
            this.pixiApp.ticker.stop();
          }

          this.isVideoLoaded = false;
          const wasPlaying = this.isPlaying;
          const currentTime = this.currentTime;

          try {
              // 清理旧场景
              if (this.sceneGraph) {
                  this.sceneGraph.releaseVideo();
              }

              // 2. 加载视频 (VideoManager)
              await this.videoManager.load(videoUrl);

              // 3. 获取原生 DOM 元素
              const videoEl = this.videoManager.getVideoElement();

              // 检查有效性
              if (!videoEl || !videoEl.videoWidth) {
                  throw new Error("视频加载异常: 元素无效或尺寸为0");
              }

              console.log("🔥 准备加载到 SceneGraph (SRC):", videoEl.src);

              // 4. 加载到场景 (全函数唯一的 loadVideo 调用!)
              if (this.sceneGraph) {
                  this.sceneGraph.loadVideo(videoEl);
              }

              // 5. 更新尺寸和相机
              const size = this.videoManager.getSize();
              this.videoSize = { width: size.width, height: size.height };

              if (this.camera) {
                  this.camera.setVideoSize(size.width, size.height);
                  // 切换源通常意味着尺寸变了,重置缩放比较安全
                  this.camera.resetZoom();
              }

              // 6. 恢复播放状态
              if (wasPlaying) {
                this.videoManager.play();
                if (this.mouseAnimator) this.mouseAnimator.start();
              } else {
                this.videoManager.seek(currentTime);
                if (this.mouseAnimator) this.mouseAnimator.seek(currentTime);
              }

              this.isVideoLoaded = true;
              console.log('✅ 视频源切换完成');

          } catch (e) {
              console.error("❌ 切换视频源失败:", e);
              this.error = "视频切换失败: " + e.message;
          } finally {
              // 7. 延迟恢复渲染
              if (this.pixiApp && this.pixiApp.ticker) {
                requestAnimationFrame(() => {
                    if (this.pixiApp && this.pixiApp.ticker) {
                        this.pixiApp.ticker.start();
                        console.log('▶️ 渲染循环已恢复');
                    }
                });
              }
          }
},通过上面的更改,可以解决PixiJS 的纹理缓存与 HTMLVideoElement 的复用机制发生的冲突。
在进行视频切换的时候不再用旧的Texture配置去读新的额文件,整体处理的稳健型增强。
每次加载新视频的时候将会使用一个新的PIXI.Texture,成功解决问题!
大家还有其他Vibe Coding中的问题欢迎一起讨论~
我是_壹五_与你一起共赴AI新时代!

有“AI”的1024 = 2048,欢迎大家加入2048 AI社区
更多推荐
 17
17 0
0- 0


 已为社区贡献3条内容

所有评论(0)