Nginx Handler 模块实现:从启动流程到多进程 slab 的完整链路
/ 访问计数在main配置结构里记一块。
目录
前一篇我们写了 Filter + 共享内存 + rbtree 限流。
其实在 Nginx 里,真正“产出响应”的角色是 Handler 模块,Filter 更像是“后期加工”。
这篇就基于你这张图,重点讲三件事:
- Nginx 启动时模块是怎么被加载、配置的
- 一个自定义 Handler 是如何接管请求的(请求处理流程)
- 在 Handler 中如何用 多进程共享的 slab 做跨进程数据(简单计数器示例)
一、Nginx 启动流程:模块是何时被“接入流水线”的?
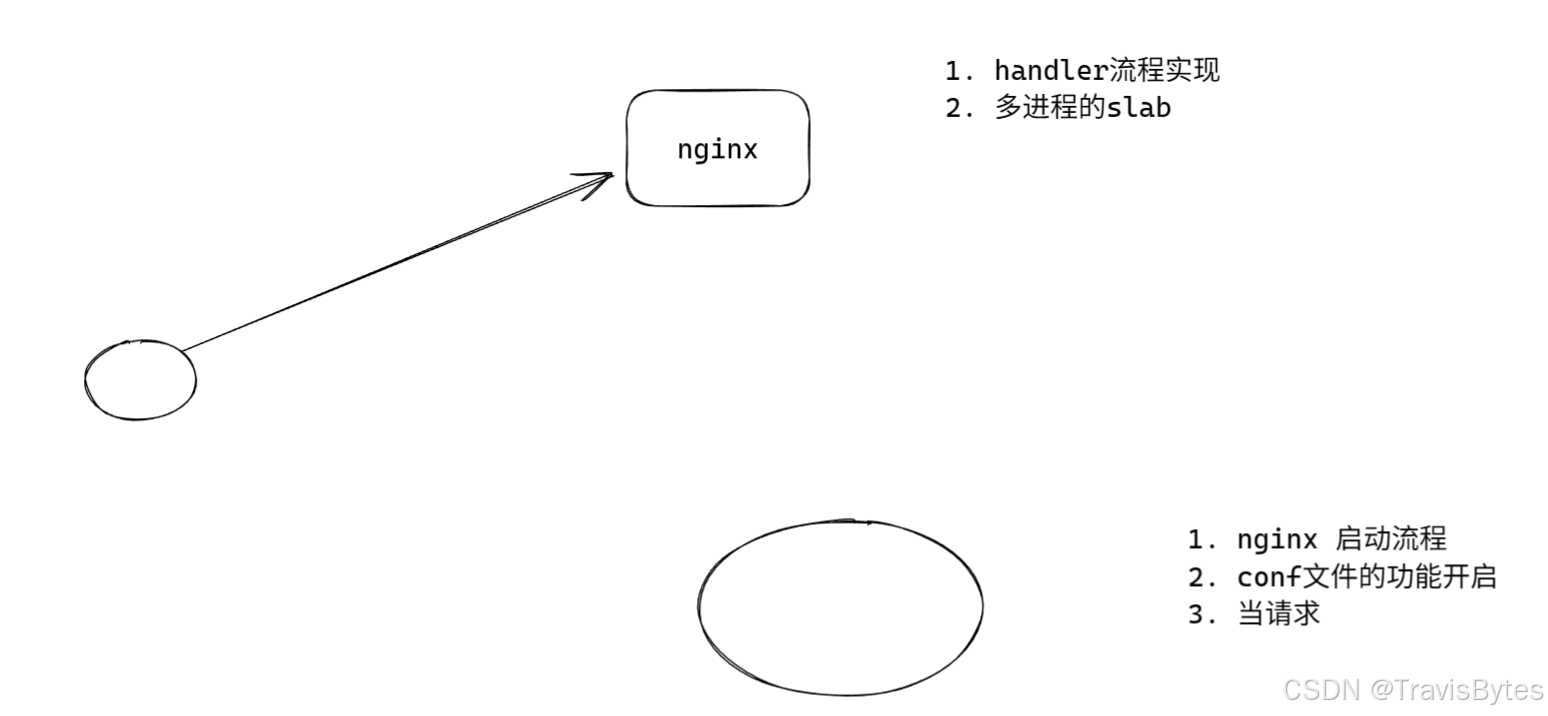
三点:
- nginx 启动流程
- conf 文件的功能开启
- 当请求
我们按这个顺序来讲。
1.1 启动阶段的几个关键步骤
以 nginx 启动为例,流程大致是:
-
读取配置路径
- 一般是
nginx -c conf/nginx.conf,没传就用默认路径。
- 一般是
-
加载所有模块(静态/动态)
- 编译期
--with-xxx的是静态模块;load_module加载的是动态模块。
- 编译期
-
解析 nginx.conf
- 从
main→http→server→location一路往下解析。 - 每条指令(directive)对应某个模块的
set函数。
- 从
-
创建 & 合并配置结构体
-
每个 HTTP 模块可以实现:
create_main_conf / create_srv_conf / create_loc_confmerge_srv_conf / merge_loc_conf
-
-
postconfiguration
- 配置解析完后,Nginx 调用每个模块的
postconfiguration。 - 这一步里,Handler 模块会把自己的函数挂到某个 Phase,或者挂到
location->handler上。
- 配置解析完后,Nginx 调用每个模块的
所以:想让模块生效,必须在 conf 里“启用它” + 在 postconfiguration 里“接上钩子”。
1.2 conf 文件是怎么“开启功能”的?
以我们要写的 handler 为例,假设在某个 location 里配置:
location /hello {
    demo_hello on;
}
当解析到 demo_hello 这条指令时,Nginx 会调用我们模块里对应的 set 函数,比如:
static char *
ngx_http_demo_hello(ngx_conf_t *cf, ngx_command_t *cmd, void *conf)
{
    ngx_http_demo_loc_conf_t *dlcf = conf;
    dlcf->enable = 1;   // 打开开关

    return NGX_CONF_OK;
}
后面 postconfiguration 里就可以根据这个 enable,决定是否把我们的 handler 挂到该 location 上。
二、写一个最小可用的 Handler:接管某个 location 的响应
先写一个“最小 hello 模块”,只要命中 /hello 就返回一行字符串。
2.1 模块框架
照惯例需要三样东西:
ngx_http_module_t上下文ngx_command_t指令数组ngx_module_t模块描述
#include <ngx_config.h>
#include <ngx_core.h>
#include <ngx_http.h>

typedef struct {
    ngx_flag_t  enable;   // 是否启用
} ngx_http_demo_loc_conf_t;

static void *ngx_http_demo_create_loc_conf(ngx_conf_t *cf);
static char *ngx_http_demo_hello(ngx_conf_t *cf, ngx_command_t *cmd, void *conf);
static ngx_int_t ngx_http_demo_handler(ngx_http_request_t *r);
static ngx_int_t ngx_http_demo_init(ngx_conf_t *cf);

static ngx_command_t ngx_http_demo_commands[] = {
    {
        ngx_string("demo_hello"),
        NGX_HTTP_LOC_CONF | NGX_CONF_FLAG,
        ngx_http_demo_hello,
        NGX_HTTP_LOC_CONF_OFFSET,
        offsetof(ngx_http_demo_loc_conf_t, enable),
        NULL
    },
    ngx_null_command
};

static ngx_http_module_t ngx_http_demo_module_ctx = {
    NULL,                  /* preconfiguration */
    ngx_http_demo_init,    /* postconfiguration */

    NULL,                  /* create main conf */
    NULL,                  /* init main conf */

    NULL,                  /* create srv conf */
    NULL,                  /* merge srv conf */

    ngx_http_demo_create_loc_conf, /* create loc conf */
    NULL                   /* merge loc conf */
};

ngx_module_t ngx_http_demo_module = {
    NGX_MODULE_V1,
    &ngx_http_demo_module_ctx,
    ngx_http_demo_commands,
    NGX_HTTP_MODULE,
    NULL, NULL, NULL, NULL, NULL, NULL, NULL,
    NGX_MODULE_V1_PADDING
};
2.2 创建 loc 配置 & 指令回调
static void *
ngx_http_demo_create_loc_conf(ngx_conf_t *cf)
{
    ngx_http_demo_loc_conf_t  *conf;

    conf = ngx_pcalloc(cf->pool, sizeof(ngx_http_demo_loc_conf_t));
    if (conf == NULL) {
        return NULL;
    }

    conf->enable = NGX_CONF_UNSET;

    return conf;
}

static char *
ngx_http_demo_hello(ngx_conf_t *cf, ngx_command_t *cmd, void *conf)
{
    ngx_http_demo_loc_conf_t *dlcf = conf;

    // 这里直接用 Nginx 的 flag 解析器,把 on/off 写入 enable
    char *rv = ngx_conf_set_flag_slot(cf, cmd, conf);
    if (rv != NGX_CONF_OK) {
        return rv;
    }

    return NGX_CONF_OK;
}
2.3 在 postconfiguration 里挂上 handler
这里我们走“location 专属 handler”的方式:
命中该 location 时,直接把处理权交给我们的 handler。
static ngx_int_t
ngx_http_demo_init(ngx_conf_t *cf)
{
    ngx_http_core_loc_conf_t  *clcf;
    ngx_http_demo_loc_conf_t  *dlcf;

    clcf = ngx_http_conf_get_module_loc_conf(cf, ngx_http_core_module);
    dlcf = ngx_http_conf_get_module_loc_conf(cf, ngx_http_demo_module);

    if (dlcf->enable) {
        clcf->handler = ngx_http_demo_handler;
    }

    return NGX_OK;
}
这里还有一种玩法是挂到某个 Phase 链(像限流那篇那样),但 Handler 一般更直接:拿到 location 就是我说了算。
2.4 Handler 流程:构造响应并发出去
一个经典的同步 handler 基本步骤:
- 检查请求方法(GET/HEAD/POST…)
- 创建响应 body 缓冲区(从
r->pool分配) - 设置
status / content_type / content_length - 调用
ngx_http_send_header(r) - 调用
ngx_http_output_filter(r, &out)发 body - 返回
NGX_OK/NGX_DONE
示例:
static ngx_int_t
ngx_http_demo_handler(ngx_http_request_t *r)
{
    // 1. 仅允许 GET / HEAD
    if (!(r->method & (NGX_HTTP_GET|NGX_HTTP_HEAD))) {
        return NGX_HTTP_NOT_ALLOWED;
    }

    ngx_str_t   type = ngx_string("text/plain");
    ngx_str_t   response = ngx_string("Hello from demo handler!\n");

    // 2. 为 body 分配缓冲
    ngx_buf_t    *b;
    ngx_chain_t   out;

    b = ngx_pcalloc(r->pool, sizeof(ngx_buf_t));
    if (b == NULL) {
        return NGX_HTTP_INTERNAL_SERVER_ERROR;
    }

    b->pos  = response.data;
    b->last = response.data + response.len;
    b->memory = 1;     // 数据在内存中,不需要释放
    b->last_buf = 1;   // 最后一个 buffer

    out.buf  = b;
    out.next = NULL;

    // 3. 设置响应头
    r->headers_out.status = NGX_HTTP_OK;
    r->headers_out.content_length_n = response.len;
    r->headers_out.content_type = type;

    // 4. 先发响应头
    ngx_int_t rc = ngx_http_send_header(r);
    if (rc == NGX_ERROR || rc > NGX_OK || r->header_only) {
        return rc;
    }

    // 5. 发 body
    return ngx_http_output_filter(r, &out);
}
到这里,一个完整的 Handler 链路就走通了:
nginx 启动解析 conf → postconfiguration 挂 handler → 请求命中 /hello → demo_handler 构造响应 → 输出
三、Handler 流程再细拆:它在整个 Phase 链中的位置
虽然我们用的是 clcf->handler 的方式,但整个请求还是要经过 Phase 链:
POST_READ(读完请求行/头)SERVER_REWRITE/REWRITEPREACCESSACCESS(鉴权、限流、黑白名单)TRY_FILES等内部跳转CONTENT(此处会调用我们的clcf->handler)LOG(写 access log)
可以这么理解:
- ACCESS 阶段 更适合“拦截 / 校验”
- CONTENT 阶段(handler) 负责“产生内容”
- Filter 链 负责“对响应做后处理”
四、多进程的 slab:Handler 中的共享计数器示例
图里第二个关键词是 “多进程的 slab”。
Handler 默认只用 r->pool,只能在单个请求内使用。如果我们想在 Handler 里做“全局计数”(多 worker 共享),就要上共享内存 + slab。
这里做一个很简单的例子:统计某个 Handler 被访问了多少次,然后在响应里吐出来。
4.1 定义共享内存中的结构
typedef struct {
    ngx_atomic_t  counter;    // 访问计数
} ngx_http_demo_shctx_t;
在 main 配置结构里记一块 ngx_shm_zone_t *:
typedef struct {
    ngx_shm_zone_t      *shm_zone;
} ngx_http_demo_main_conf_t;
4.2 在指令中申请共享内存
比如给模块加一个 demo_counter_zone 指令,在 http 下配置:
http {
    demo_counter_zone  zone=demo_cnt:1m;

    server {
        location /hello {
            demo_hello on;
        }
    }
}
解析时:
static char *
ngx_http_demo_counter_zone(ngx_conf_t *cf, ngx_command_t *cmd, void *conf)
{
    ngx_http_demo_main_conf_t *mcf = conf;

    // 解析 zone 名和大小(略)

    ngx_str_t  name = ...;
    size_t     size = ...;

    mcf->shm_zone = ngx_shared_memory_add(cf, &name, size,
                                          &ngx_http_demo_module);
    if (mcf->shm_zone == NULL) {
        return NGX_CONF_ERROR;
    }

    mcf->shm_zone->init = ngx_http_demo_shm_init;

    return NGX_CONF_OK;
}
ngx_http_demo_shm_init:
static ngx_int_t
ngx_http_demo_shm_init(ngx_shm_zone_t *shm_zone, void *data)
{
    ngx_http_demo_shctx_t *ctx;

    if (data) {
        // reload:复用旧值
        shm_zone->data = data;
        return NGX_OK;
    }

    ctx = shm_zone->shm.addr;
    ngx_memzero(ctx, sizeof(*ctx));

    shm_zone->data = ctx;

    return NGX_OK;
}
4.3 Handler 中使用共享计数器
在 demo_handler 里,把计数器加 1,然后写到响应里:
static ngx_int_t
ngx_http_demo_handler(ngx_http_request_t *r)
{
    ngx_http_demo_main_conf_t *mcf;
    ngx_http_demo_shctx_t     *ctx;
    ngx_atomic_t               n;

    mcf = ngx_http_get_module_main_conf(r, ngx_http_demo_module);
    if (mcf->shm_zone == NULL) {
        return NGX_HTTP_INTERNAL_SERVER_ERROR;
    }

    ctx = mcf->shm_zone->data;

    // 多进程安全的原子自增
    n = ngx_atomic_fetch_add(&ctx->counter, 1) + 1;

    // 构造响应内容
    u_char buf[64];
    ngx_snprintf(buf, sizeof(buf), "Visited: %uA times\n", n);

    ngx_str_t response = { ngx_strlen(buf), buf };

    // 后面发送响应的代码和前面 hello 示例一样,只是把 response 换成这个 buf

    ...
}
这里的关键点:
ctx住在共享内存里,所有 worker 看到的是同一块地址;counter用ngx_atomic_fetch_add自增,保证多进程并发安全;- 这就是“多进程的 slab”最常见的用法场景之一:
基于共享内存维护轻量级全局状态,Handler / Filter / Access 都可以访问。
真正的 slab 管理(小块分配、回收)在
ngx_slab_alloc_locked / ngx_slab_free_locked里,我们在这个简单计数器例子里只用到一块固定大小的结构,更多是演示“多进程共享 + 原子操作”的概念。
五、把三篇内容串起来:Nginx 模块开发的“最小闭环”
到这里,你这三张图的内容基本可以总结成一个闭环:
-
Filter + 黑白名单 / 限流
- 挂在 Phase 链上(ACCESS / header / body filter)做“拦截 + 后处理”。
- 强调共享内存 + rbtree + queue。
-
共享内存 + slab + 多进程
- 用 shm_zone 管理多 worker 共享的状态。
- slab 负责在共享内存上分配小对象。
-
Handler 模块(本篇)
- 启动时:解析 conf、创建/合并配置、postconfiguration 挂接 handler。
- 请求时:在 CONTENT 阶段接管响应生成。
- 配合 shm/slab,可以在 handler 中使用全局状态(计数器、缓存等)。
参考:

有“AI”的1024 = 2048,欢迎大家加入2048 AI社区
更多推荐


 12
12 0
0- 0


 已为社区贡献2条内容

所有评论(0)