Installation and Configuration of Univention Corporate Server
A while ago, we published a detailed Introduction to Univention Corporate Server where you learned the basics about this solution for managing identities, permissions, and applications. It is 100% ope
A while ago, we published a detailed Introduction to Univention Corporate Server where you learned the basics about this solution for managing identities, permissions, and applications. It is 100% open source and available for free. Professional support and maintenance subscriptions can be added for everyone on demand. Today, I will explain how to install and configure Univention Corporate Server (UCS).
First to note, there are various possibilities how you can use UCS:
- On-premises
- As virtual machine images
- On Amazon Web Services (AWS) and [https://aws.amazon.com/marketplace/pp/B071GDRQ3C]
- As the basis for a continuously growing number of appliances for other software like ownCloud.
All of the above deployments share the system configuration. But as the on-premises setup needs additional steps for the hardware, let us first start with the basic installation before going to the configuration.
Table of Contents
Discover more
Kernel
Ubuntu
software
Linux distribution
Software
Backup
OSTechNix
OS
Linux Distributions
Open-source software
- Install Univention Corporate Server (UCS)
- Virtual Machines, Appliance Images and AWS Marketplace
- Configure UCS
- Start managing UCS with the Univention Management Console
Install Univention Corporate Server (UCS)
The base installation guides you through setting up the hardware basis of your server and focuses on configuring your hardware for the future usage.
Discover more
Debian
Linux Distributions
Linux
Operating system
Kernel
Backup
OSTechNix
Opensource
Ubuntu
Bash
The first three questions set the language setting for the installation.

Afterward, you have to set a temporary root password. On UCS, the root user, like on any Unix-like system, is used for the local administration. You will later be required to set a separate password for the domain administrator which will also reset the password for the root user.
Discover more
Bash
OSTechNix
Data recovery
Linux
Ubuntu Linux
Linux Distributions
Opensource
Debian GNU/Linux
Open-source software
Open Source

Next, you have to set up the hard disk. If you are planning to use UCS for a hard disk intensive application, like a mail server, special settings might be needed. However, for a general purpose server the guided settings should be sufficient.
Discover more
BASH
Opensource
Data recovery
Kernel
OSTechNix
OS
Linux distribution
Linux Distributions
Linux Distribution
Software
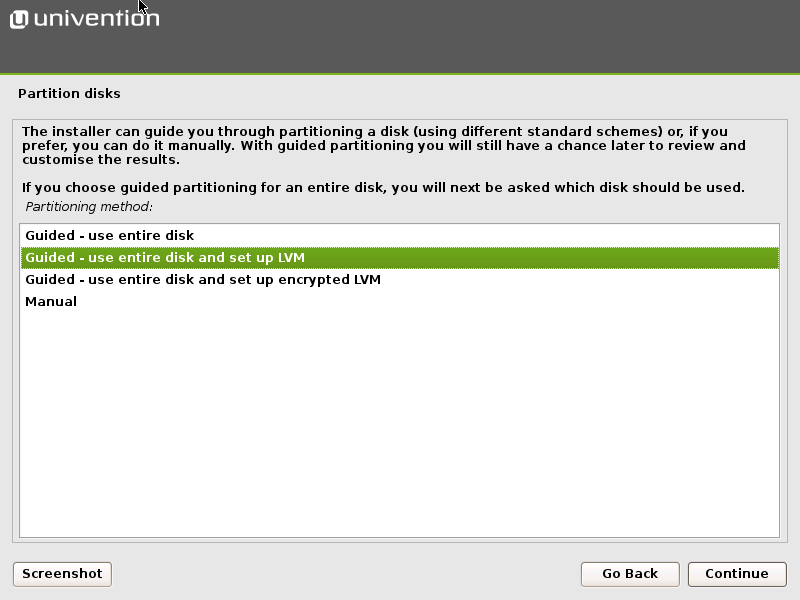
In case you are planning to use the UCS server for storing the users home directory or if the users are allowed to log in to the server via the command line or as a terminal server, you will want to separate the /home directory onto a separate partition. Application servers on the other hand will benefit from separating not only /home but also /var and /tmp. In all these cases, the separation helps to keep the server functional in case of a misbehaving user or software.
Discover more
Debian GNU/Linux
Linux Distributions
Linux
Open-source software
Kernel
opensource
OSTechNix
Operating system
Data recovery
Bash

The last three dialogs confirm writing the changes to disk and starting the base installations.
Discover more
Data recovery
OS
Linux Distributions
OSTechNix
Operating system
Linux
Backup
Open-source software
Debian GNU/Linux
Bash
When completed, the installation will take you to the management interface for the basic setup. Please continue with the configuration section for the in-depth configuration of this tutorial.
Virtual Machines, Appliance Images and AWS Marketplace
Virtual Machines and Appliance images skip the base installation. Once you connect to their virtual monitor, you will directly enter the configuration dialog.
The Marketplace AWS likewise does not require a basic installation. To get to the configuration, make sure the HTTPS port is open and navigate to the IP provided by AWS. On the welcome screen click on “Setup Wizard”. Here you will be required to enter “root” as the username and your instance ID as the password:

Configure UCS
No matter where your UCS runs, the following steps are the same across all variants. First, you will need to confirm the location settings. Simply enter the name of the city you are located in or that is closest to you, and the installer will select the language and time zone. You can change the settings to personalize the experience.
Discover more
Data recovery
Debian
Open-source software
Linux Distribution
Opensource
Kernel
Software
opensource
OSTechNix
Linux distribution
Currently, the installer only supports English and German. However, additional languages, such as French, can later be added for both the system and the management system.

On the next screen, you can customize your network settings. If you already have UCS or AD servers up and running and plan to extend the domain, point the DNS server towards an existing domain controller. Otherwise, select your Internet service provider's DNS server or a third party one such as Google’s 8.8.8.8.
Discover more
Linux Distribution
Opensource
Ubuntu
Ubuntu Linux
software
Backup
Open Source
Linux distribution
OS
Operating system

UCS offers the option to extend your domain which implies that UCS has a notion of a multi-server domain. The next screen thus represents the choices of whether to create a new UCS domain, extend a UCS domain or join a Microsoft domain.
Discover more
Opensource
Data recovery
Operating system
Linux distribution
OSTechNix
WSL
Linux
Backup
Bash
Linux Distribution
Creating a new domain will turn your server into a domain controller master, which is the leading management system in a UCS domain and should exist exactly once.
Extending the UCS domain gives you three options:
- First option: Create a domain controller backup, which is in essence a copy of the master that can take up the role if the master ever fails.
- Second option: Create a domain controller slave, which is a directory server that does not contain all information needed to perform administrative services but offers a local directory to services running on top of it.
- Last option: Create a member server, which does not contain a directory but is more lightweight and ideally suited for most applications such as a file and print server.
Let us assume this is your first UCS server. Thus, we will now create a new domain.
Discover more
Software
Data recovery
opensource
Debian GNU/Linux
Linux Distributions
Operating system
Open-source software
Ubuntu Linux
Ubuntu
Backup

Next, you need to specify the administrative passwords. This step will change the root password set during the basis installation and also alter the password for the user “administrator”. On AWS it will also modify the sudo password for the SSH user “loginuser”.
The difference between the three is the following. The administrator user is used to change the properties of the domain, such as adding users or joining computers to the domain. The root user, in contrast, is used to perform work on the command line of the local server, such as starting services or reading log files. The loginuser lastly is the account that can log in to the server via SSH, as root logins are disabled by default here.
It will also ask for the name of your company which is optional, to set some cosmetic preferences. Lastly, for on-premises installation and in appliances, it will ask for an e-mail address to send you an activated license. For on-premises, the activated license is only needed if you want to install third party apps from the Univention App Center. The appliances in most cases require the e-mail to operate.

The following section contains one of the most important steps:
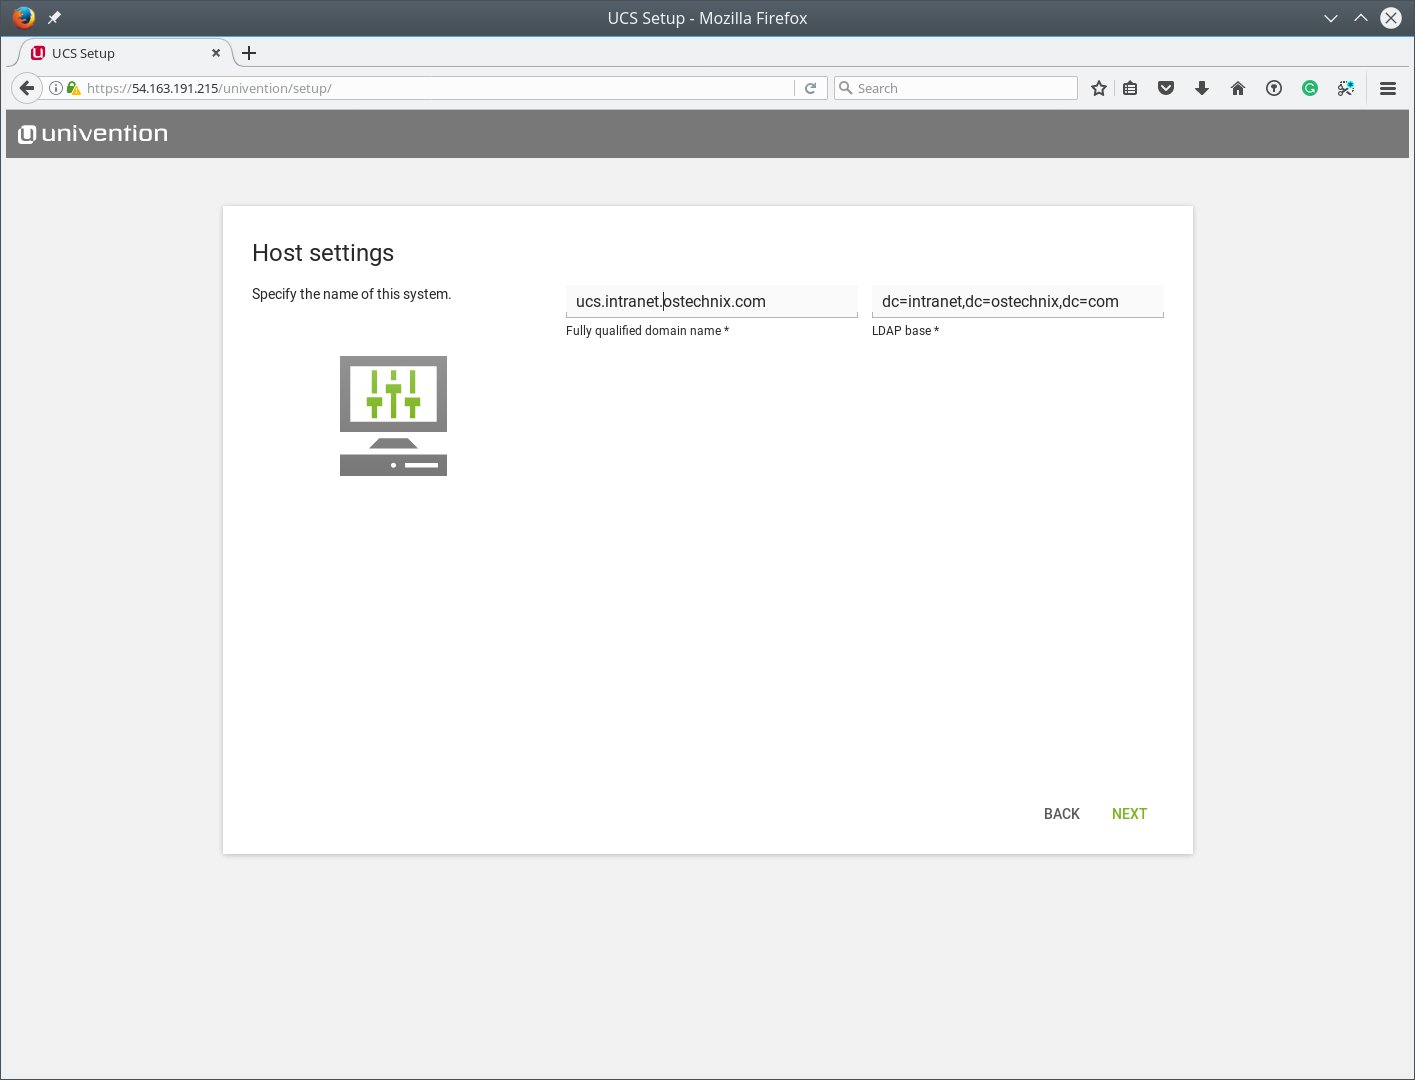
Choosing host and domain names
Now you have to choose the host name and domain name for the master. Let us take the example ucs.intranet.ostechnix.com. The “ucs” will be the host name of the server while “intranet.ostechnix.com” is the domain name. The first part of the domain name, here “intranet”, will also be used for the Windows login.
We highly recommend using a subdomain of your external domain. The main reason behind it is that you stay in full control of the domain and there will not be any collision down the road. DO NOT use your external domain, as this will mean that you either have to copy all DNS records or will not be able to reach your servers. We also recommend against using a domain ending in “.local”. While these have been popular, “.local” is now used for multicast DNS. Consequently, a client in a “.local” domain now sends two DNS requests, one standard one, and one multicast request, doubling the network traffic.
Please note, neither the host name nor the domain name can be changed later.
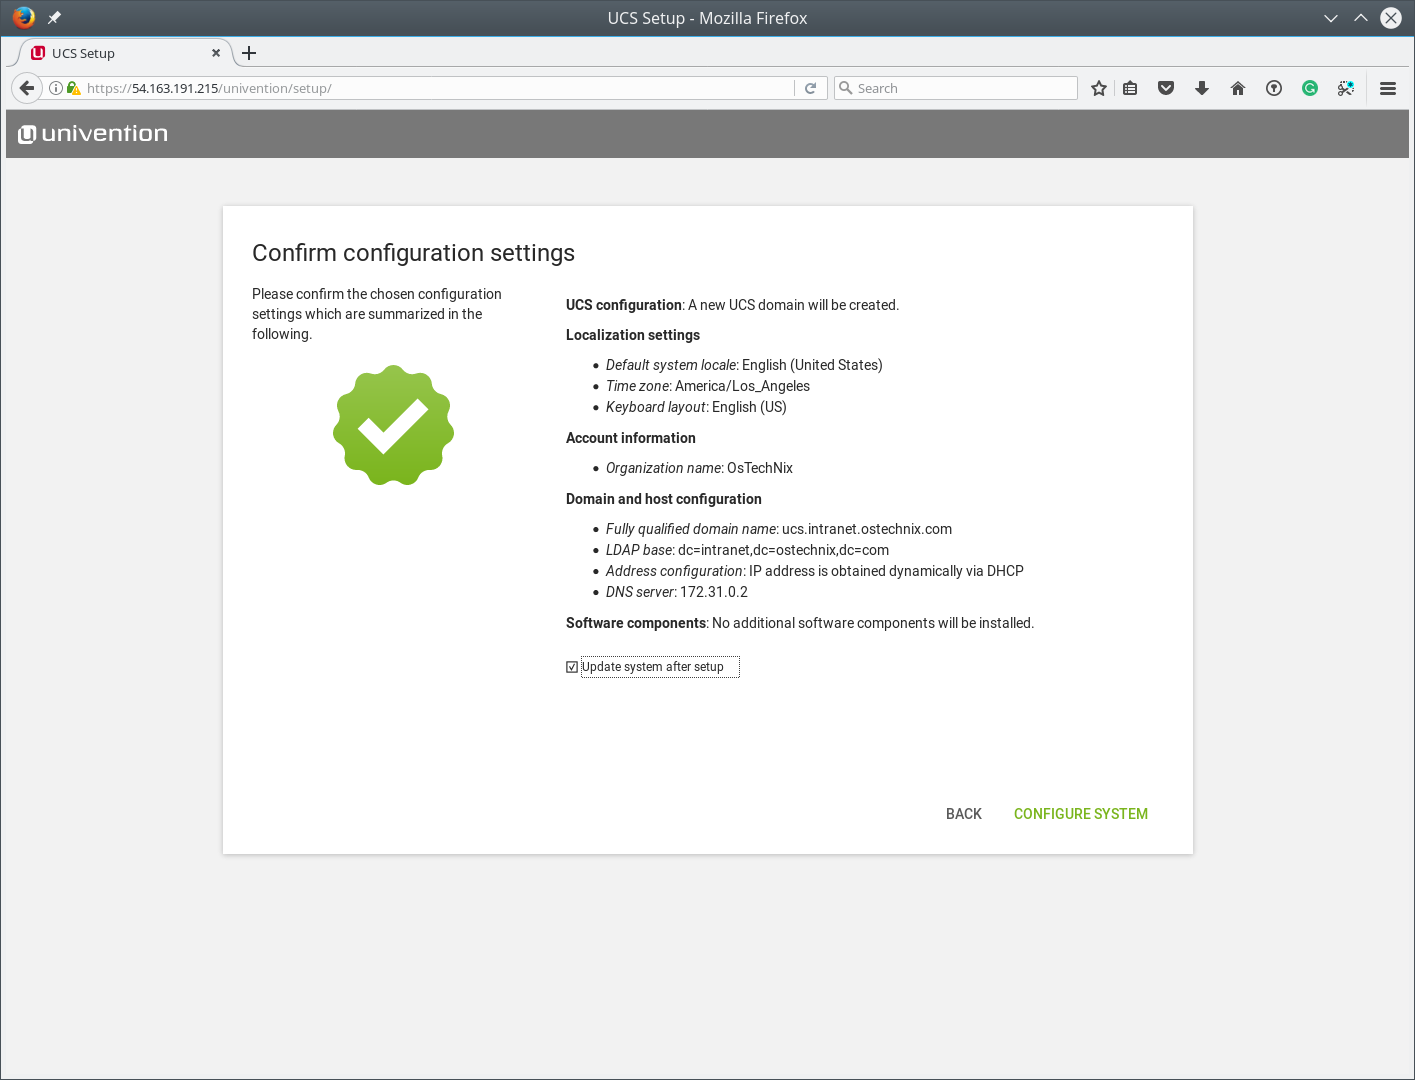
You can now choose to install software, all of them will be available later through the App Center. The last step is to confirm the settings and start the configuration process. If needed, you can go back and make changes before confirming.
Start managing UCS with the Univention Management Console
With the setup completed, it is time to use the management system to start managing your domain. The Appliance and on-premises installations will now show you how to reach the Univention Management Console. On AWS you should see the login window. Now you can log in with the username “Administrator” and the password set during the configuration.

Integrate Windows and Mac OS X clients
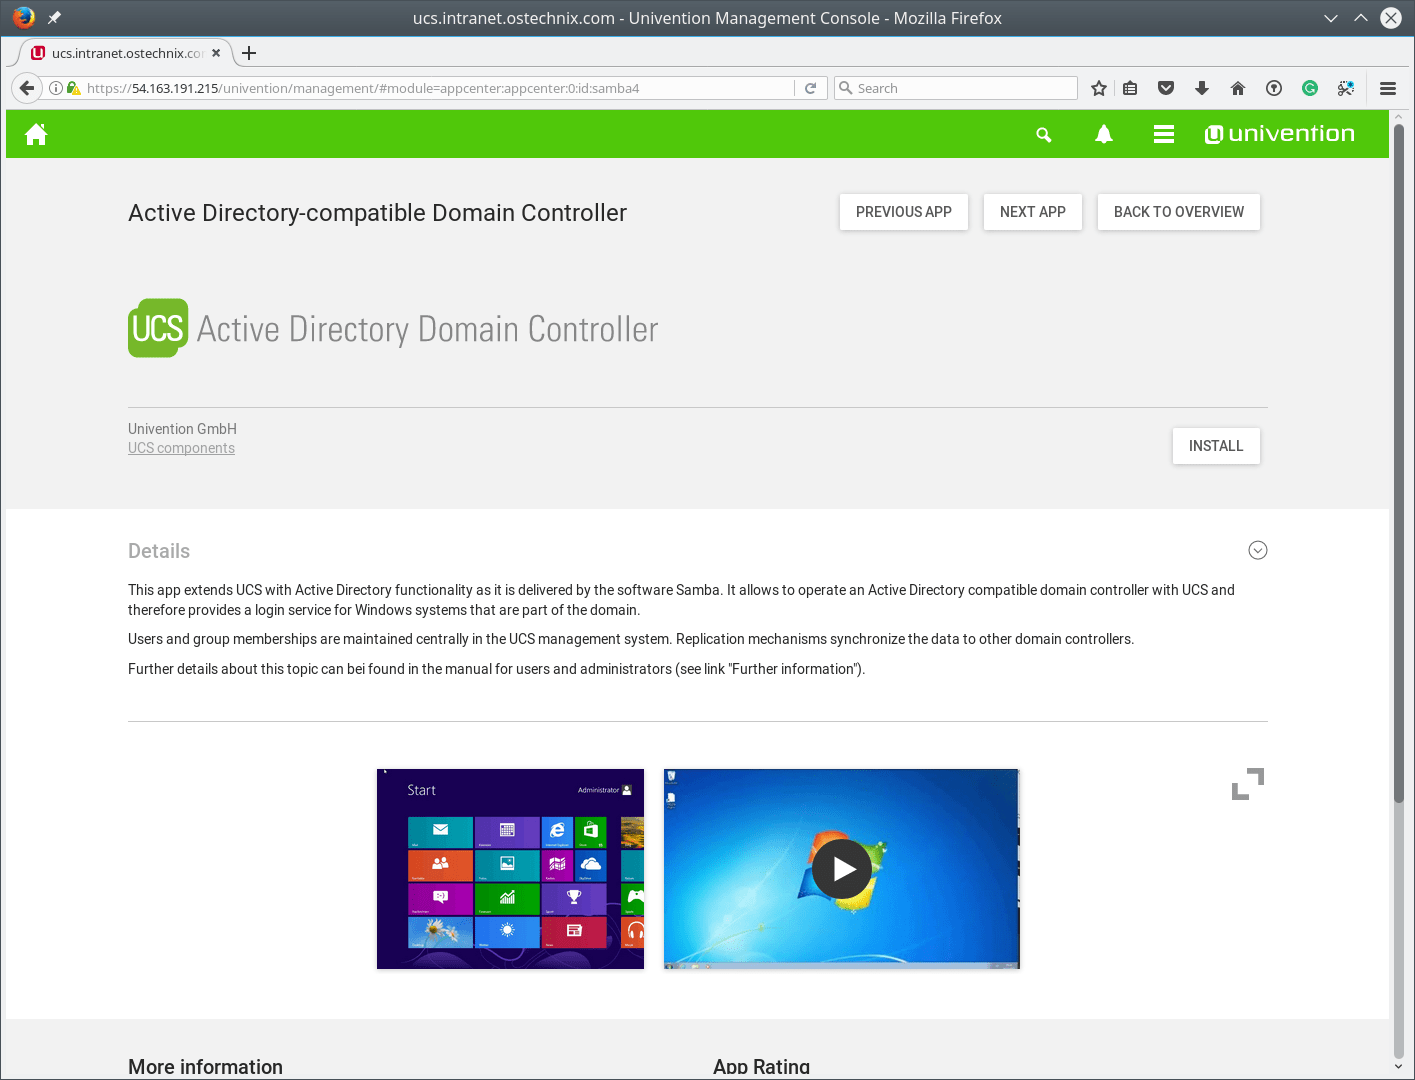
Let us now install the Active Directory-compatible Domain Controller on UCS to allow us to manage Windows and Mac OS X clients and to get a first glimps of the App Center. Open the App Center module and enter domain controller in the search field.

Click on the Active Directory-compatible Domain Controller and select install. The server will show you a list of the changes it will apply and ask you to confirm these.
The server will now install the selected software and integrate it to the management system. You can go back to the overview page by clicking on the Home button or closing the current module.
Add a user
Now it is time to add our first user. In 'Favorites' or under 'Users' select the user module. UCS has a couple of administrative users that are needed to run the domain, please do not delete them.
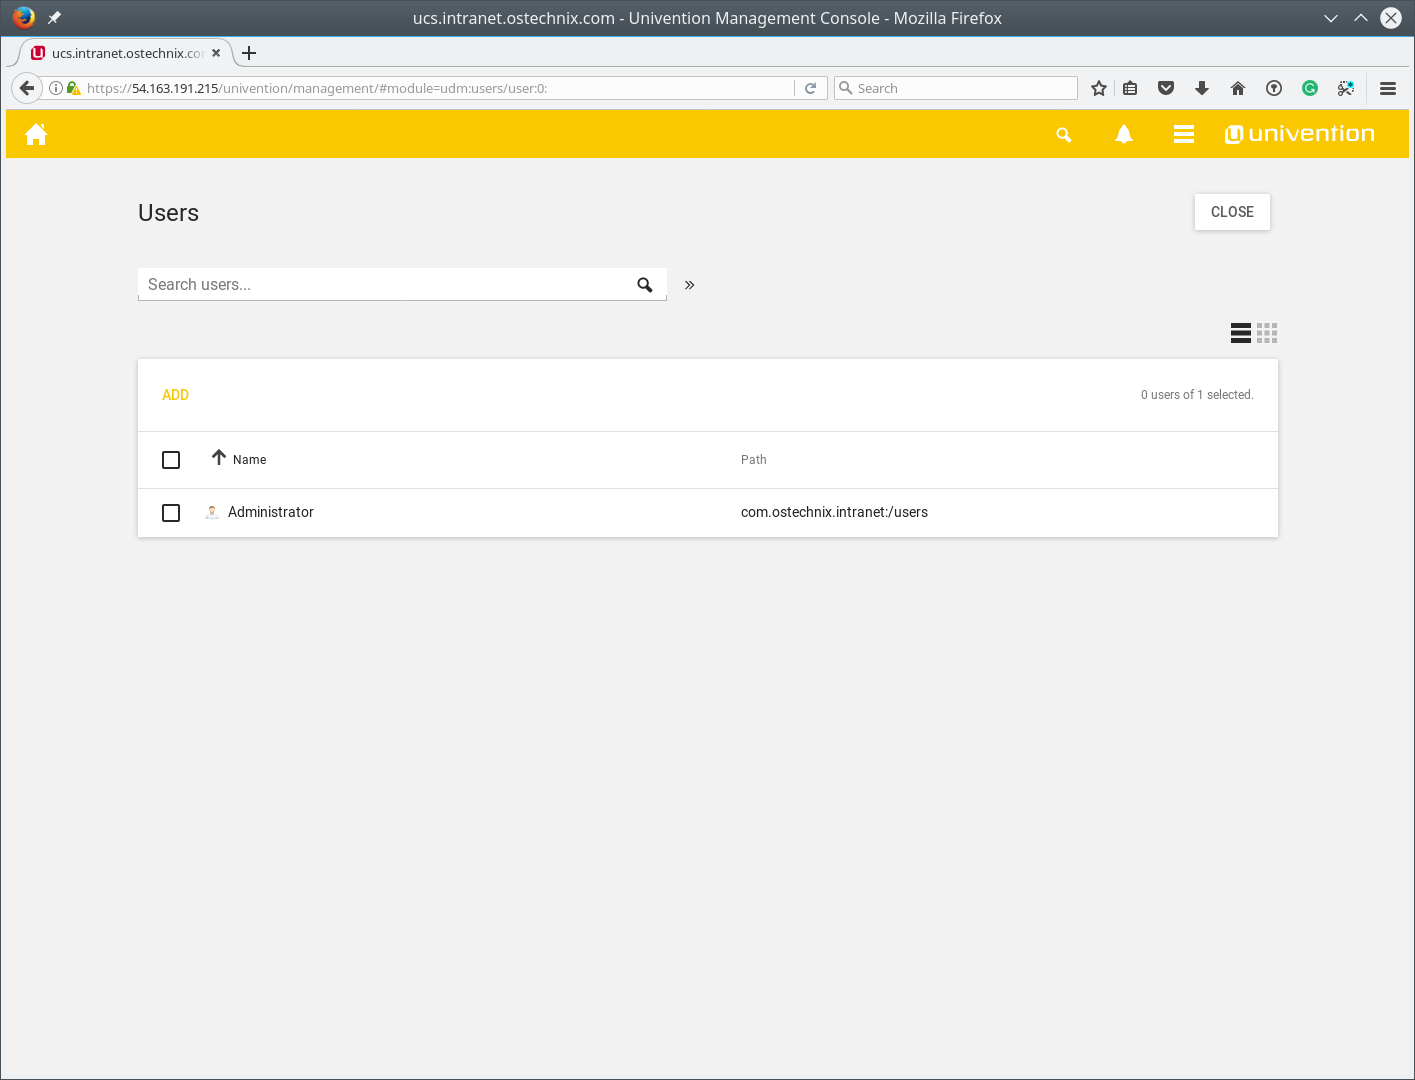
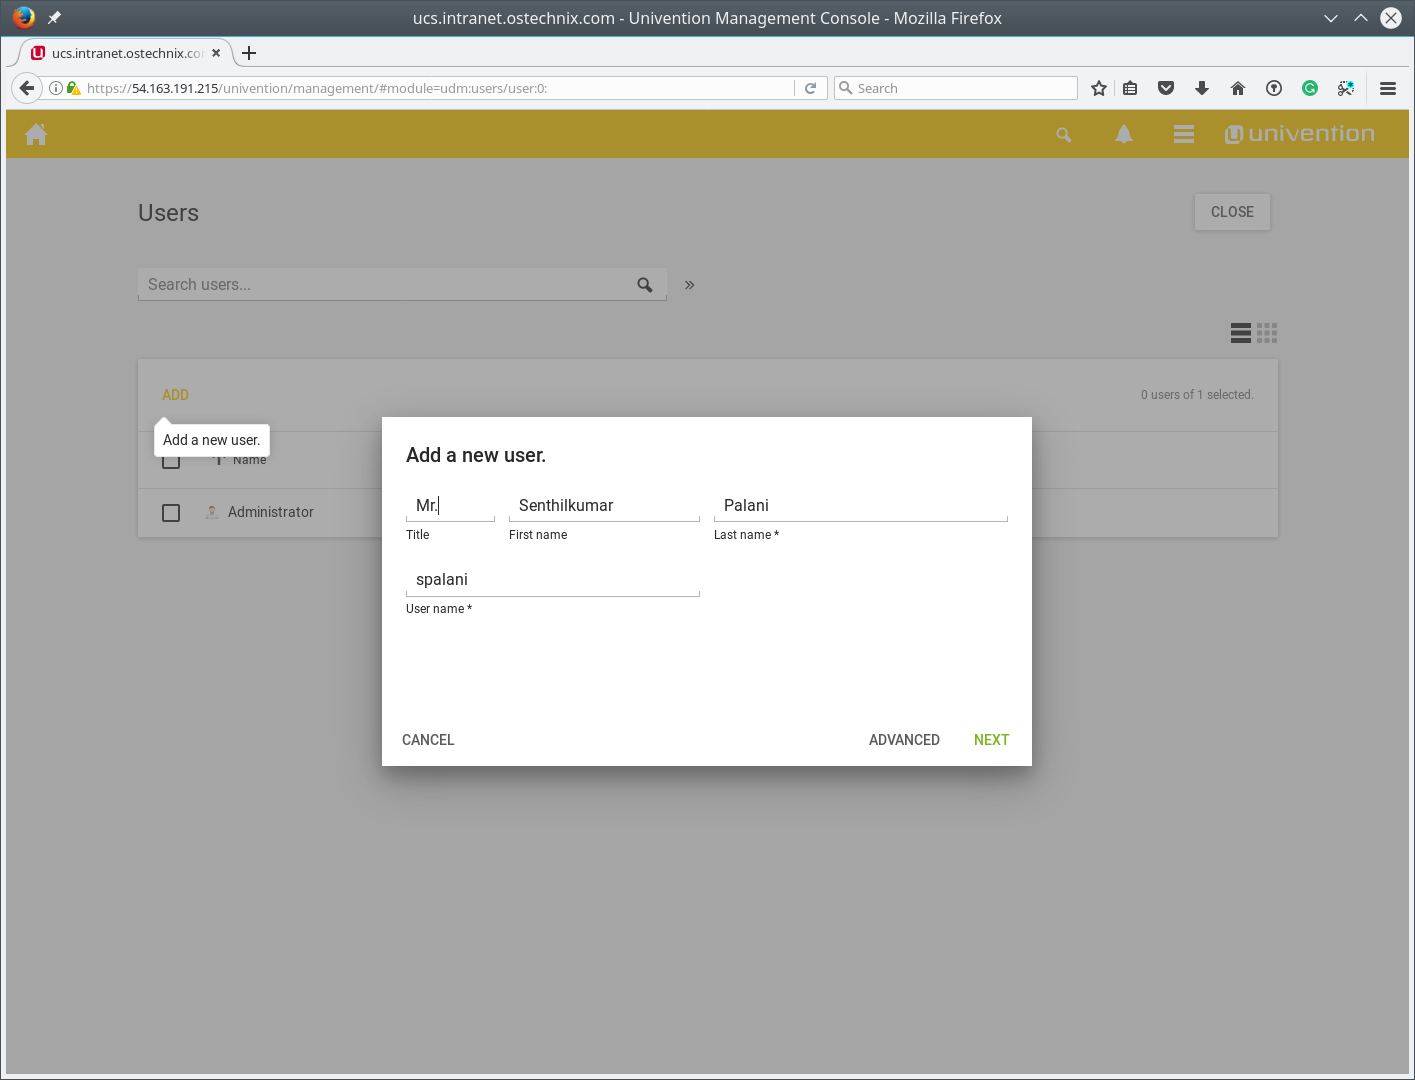
Select “Add” to create a new user. The new dialog will allow you to create a user with just a few simple questions. If you want to edit all fields, press the “Advanced” button. If you have settings that always apply to a user, UCS allows you to create a template for these users that is prepopulated with static settings or settings created from your input such as the username. More on this in the UCS manual [http://docs.software-univention.de/manual-4.2.html#users:templates].
For now, let us give the user a first name, last name, and a username before hitting the 'Next' button.
After hitting Next, you now need to give the user a password. If you have a password policy in place, it has to be taken into account unless you overwrite it. Please note, the password policy will still apply to future password changes.

Conclusion
You now have your first UCS server ready to use. Next, you can join a Windows system or include some additional software such as ownCloud or SuiteCRM to provide more services to your users. With the Univention App Catalog https://www.univention.com/products/univention-app-center/app-catalog/, Univention provides a handy overview of all applications where you can get further ideas on how to extend your IT environment with a UCS server.

有“AI”的1024 = 2048,欢迎大家加入2048 AI社区
更多推荐
 8
8 0
0- 0


 已为社区贡献147条内容

所有评论(0)