Spring Boot项目搭建
一.使用 IntelliJ IDEA 创建
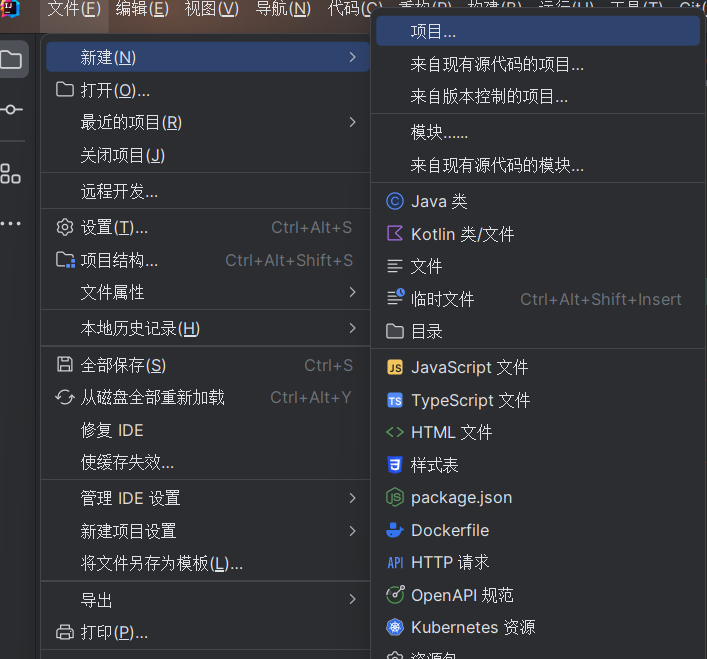
1. 在主菜单中,前往文件(F)- 新建(N)- 项目(P)。
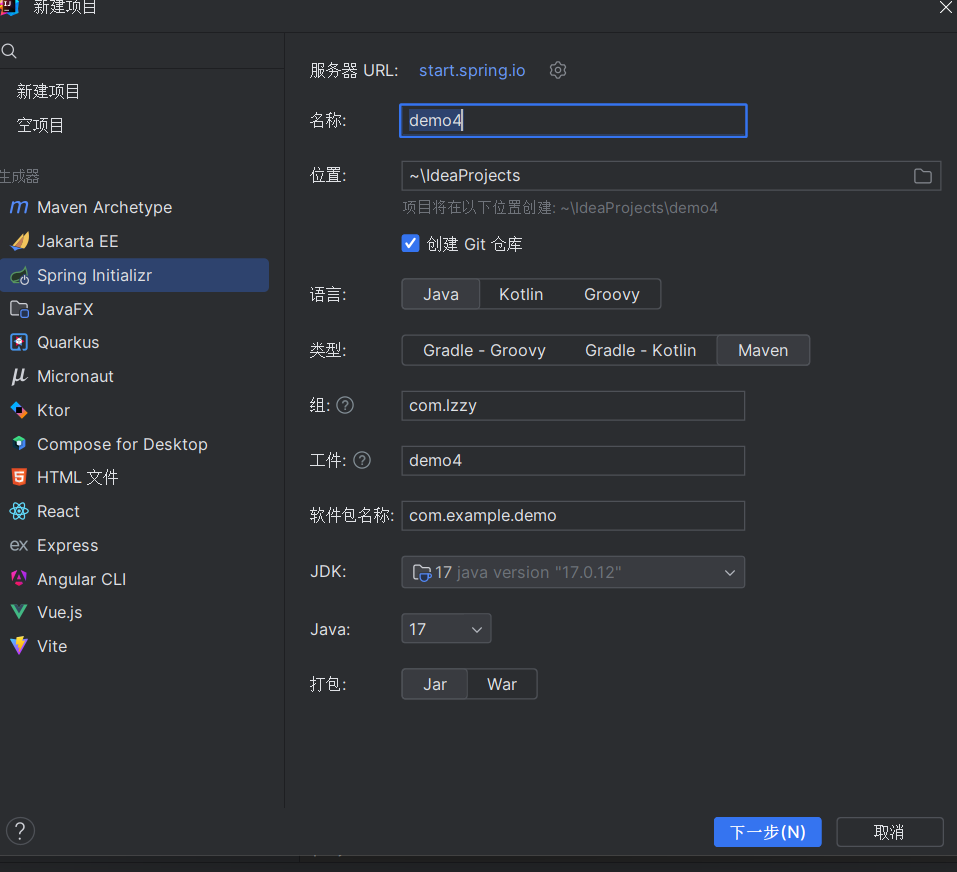
2. 在新建项目对话框中,选择 Spring Boot。
3. 进行基本项目配置,包括服务器 URL、项目名称、位置、语言、类型、组、工件、软件包名称、JDK、Java 版本、打包方式等。
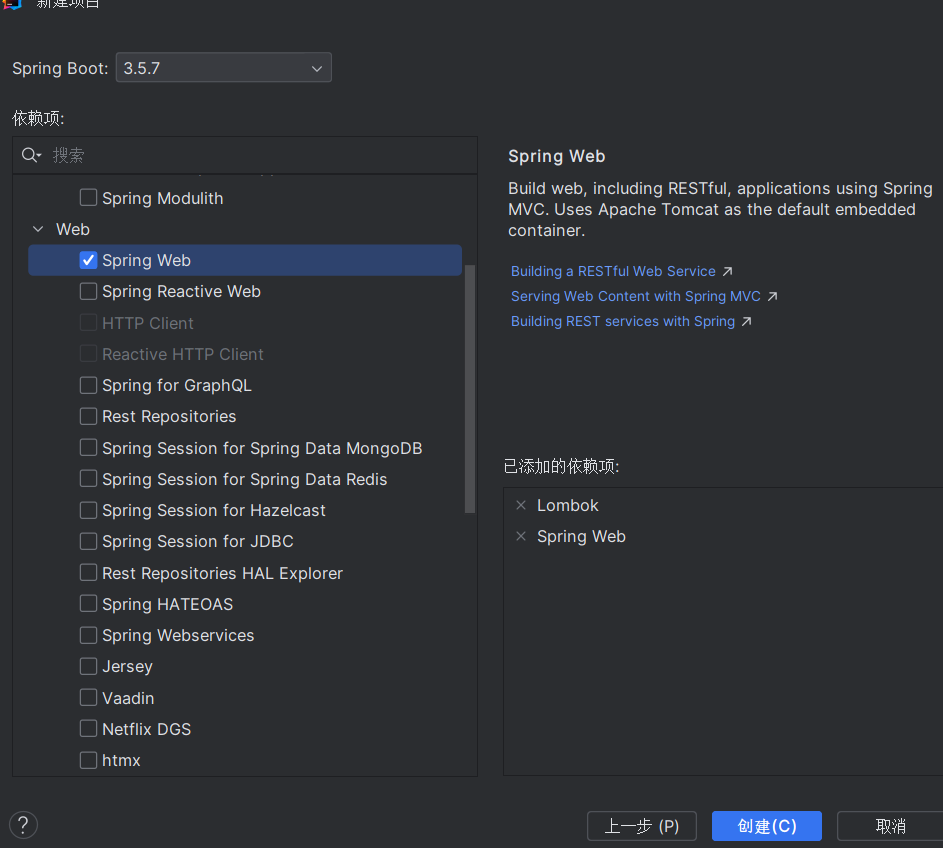
4. 点击 “Next”,在选择依赖对话框中,根据需要选择相应的依赖项,如 Spring Web、Spring Data JPA 等,然后点击 “Finish” 完成项目创建。
二.完整的项目开发流程
-
1.项目初始化
-
环境准备
# 开发环境
- JDK 8/11
- Maven 3.6+
- MySQL 5.7/8.0
- Redis 5.0+
- IDE (IntelliJ IDEA/Eclipse)
-
-
项目创建
-
使用Spring Initializr生成项目,选择依赖:Web、JPA、MySQL、Security、Mail、Redis等。
-
项目结构规划 :
-
src/main/java/
├── com/example/boke/
│ ├── controller/ # 控制层
│ ├── service/ # 业务层
│ ├── repository/ # 数据访问层
│ ├── entity/ # 实体类
│ ├── config/ # 配置类
│ └── utils/ # 工具类
src/main/resources/
├── static/ # 静态资源
├── templates/ # 模板文件
├── mapper/ # MyBatis映射文件
├── application.yml # 主配置
└── i18n/ # 国际化资源 -
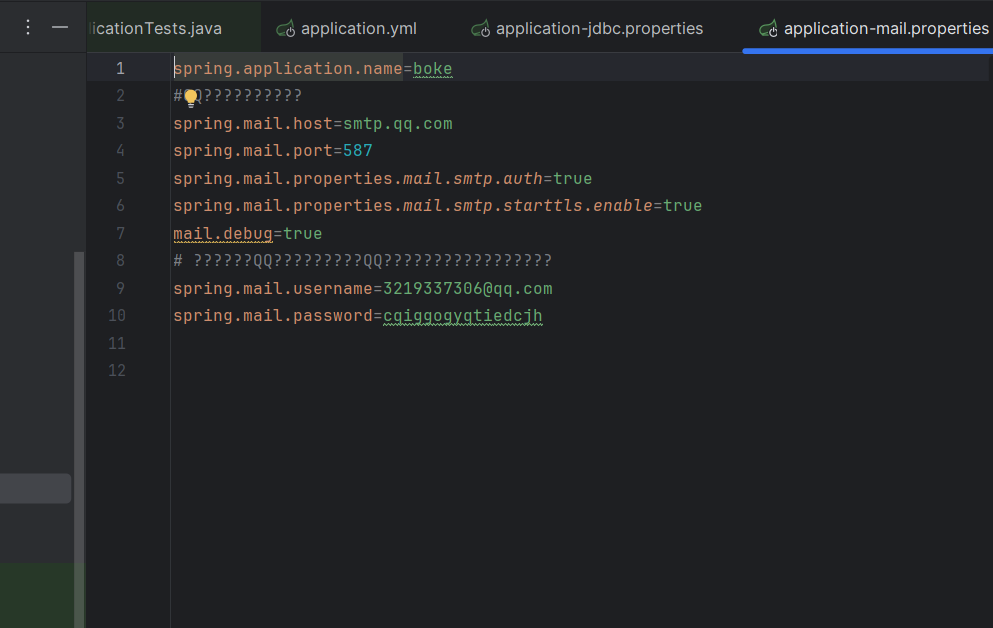
配置文件:application.yml、application-jdbc.properties、application-mail.properties、application-redis.properties等。
-

-
-
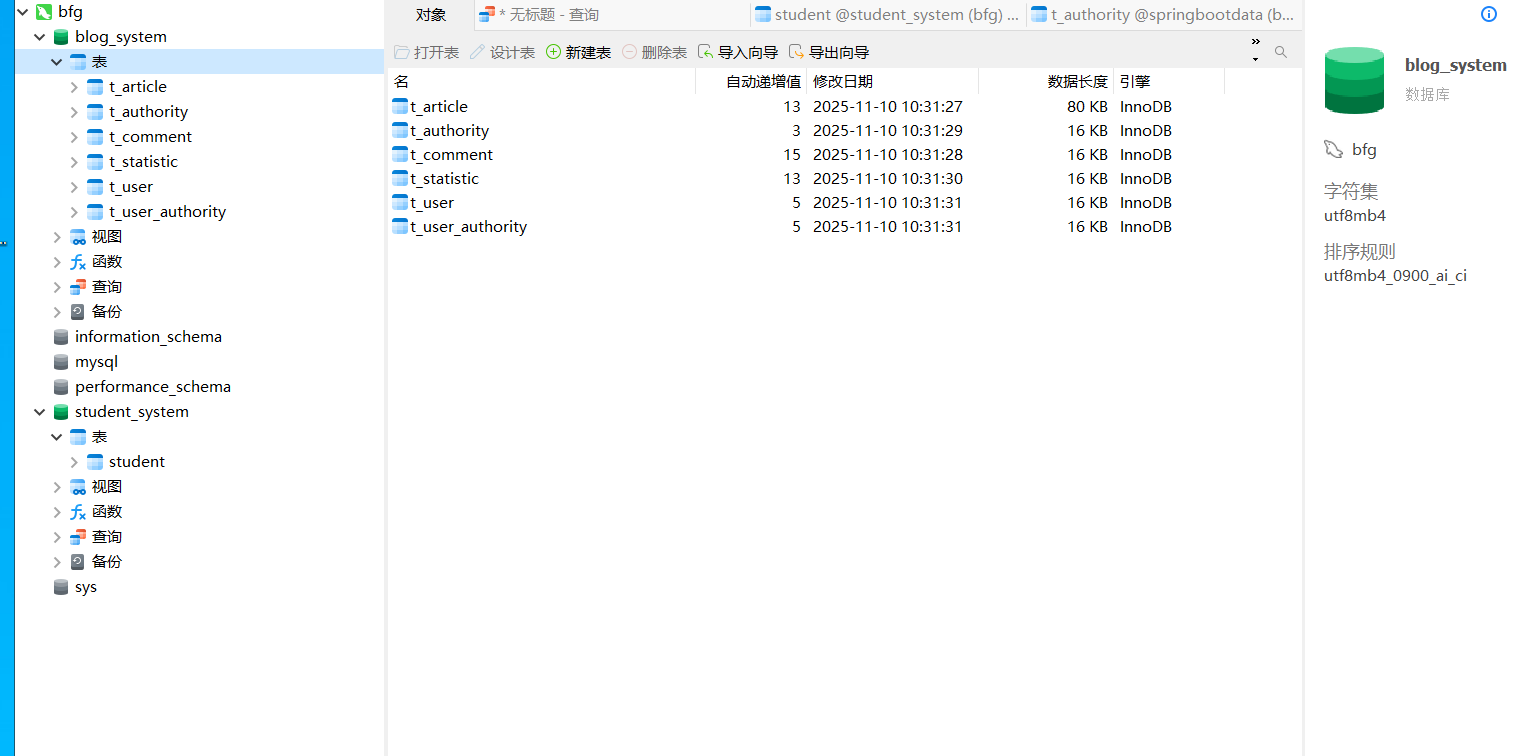
2.数据库设计
-
article(文章表)
-
user(用户表)
-
comment(评论表)
-
authority(权限表)
-
user_authority(用户权限关联表)
-
statistic(统计信息表,用于存储访问量、评论量等)
-
-
3.配置文件调整
-
配置数据源(Druid连接池):图片中显示了Druid的配置。
-
配置邮件(QQ邮箱):图片中显示了邮件配置,包括host、port、username、password等。
-
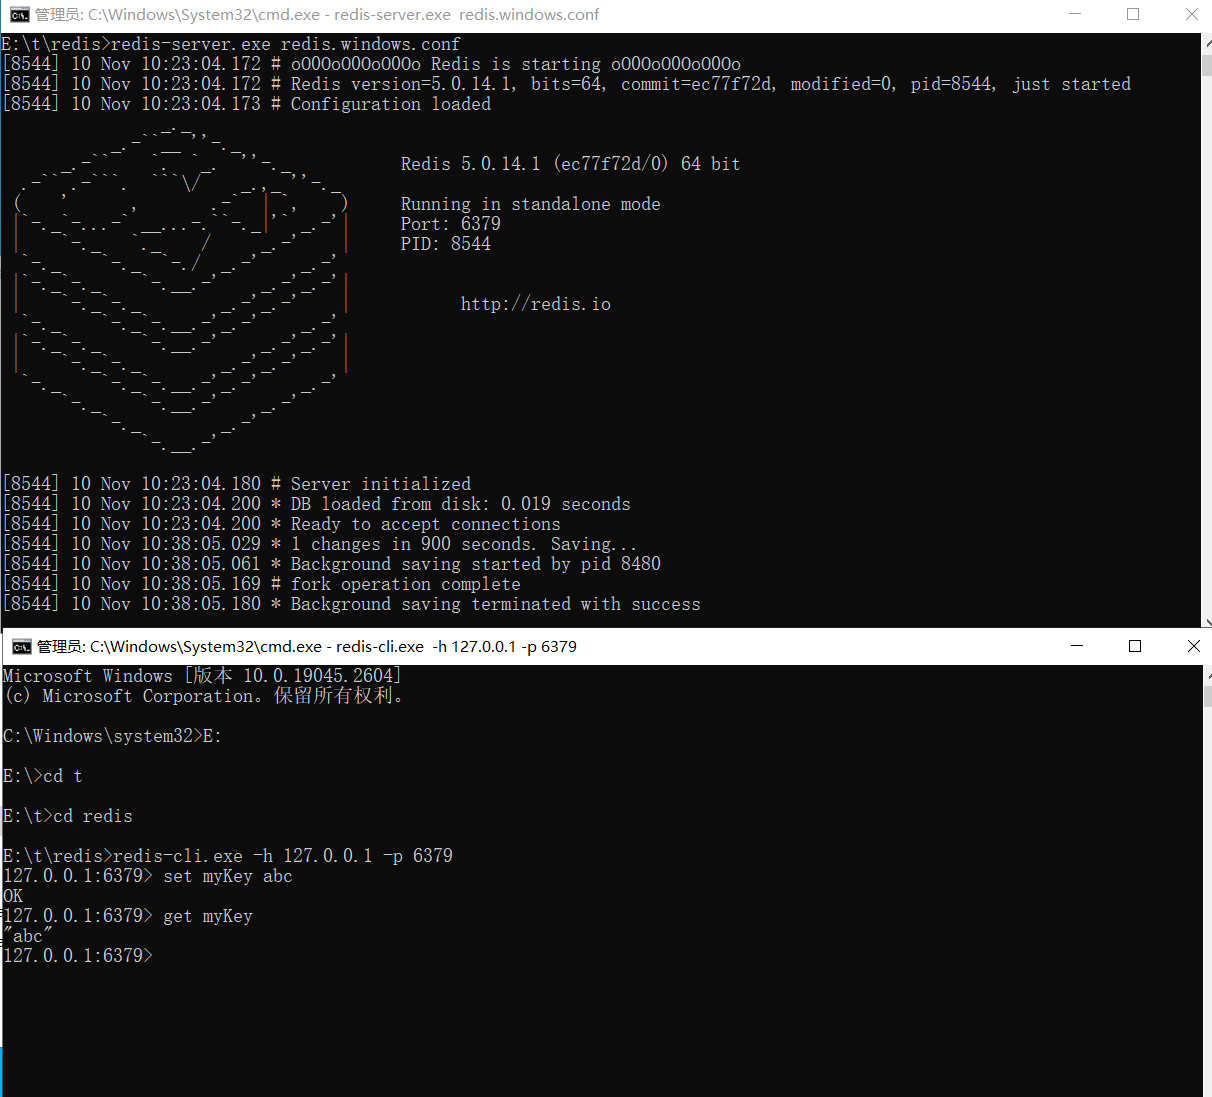
配置Redis:Redis的配置,以及Redis服务器的运行。
-
配置定时任务
-

-
4.Redis配置
-
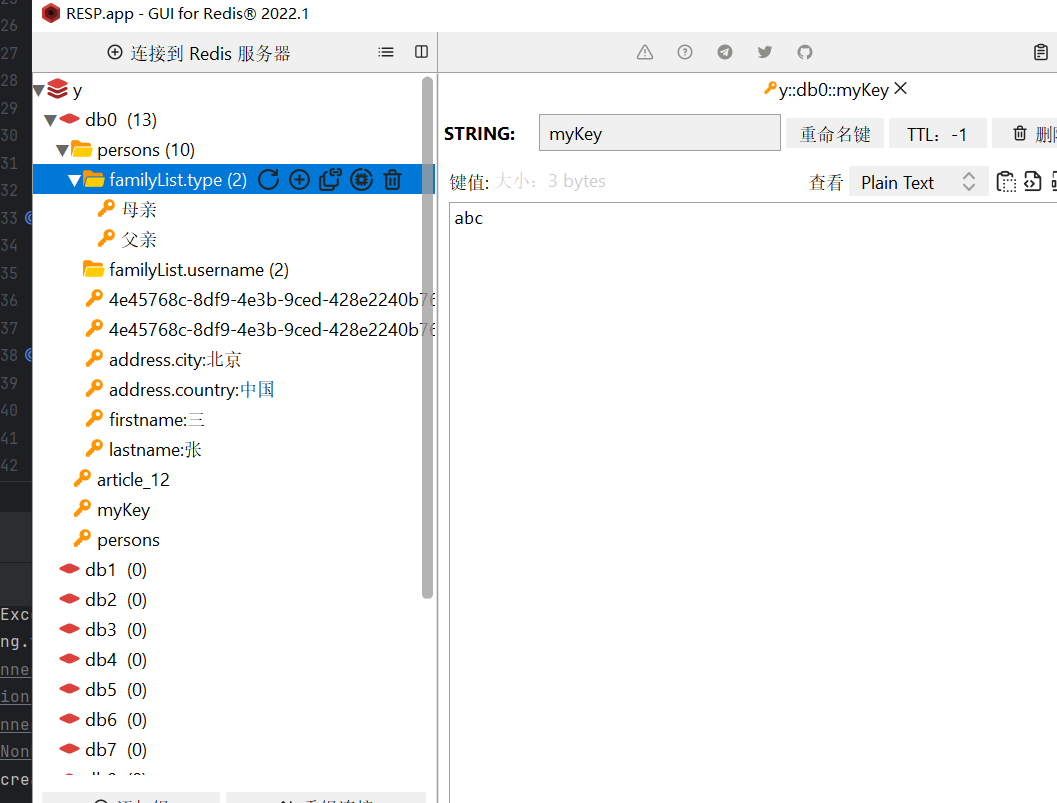
RESP连接成功
-
5.实体层,创建实体类
实现文章分页展示效果需要同时实现文章查询以及文章统计数据查询
-
6.数据访问层,创建Dao层接口文件
创建对应的Mapper接口文件,编写文章类Article和统计类Statistic对应的数据访问方法。
-
7.业务处理层实现
-
例如:
-
UserService:处理用户相关业务。
-
ArticleService:处理文章增删改查、统计访问量等。
-
CommentService:处理评论业务。
-
StatisticService:统计访问量和评论量,用于邮件发送。
-
8.控制层(Controller)开发
-
例如:
-
LoginController:处理登录、注销。
-
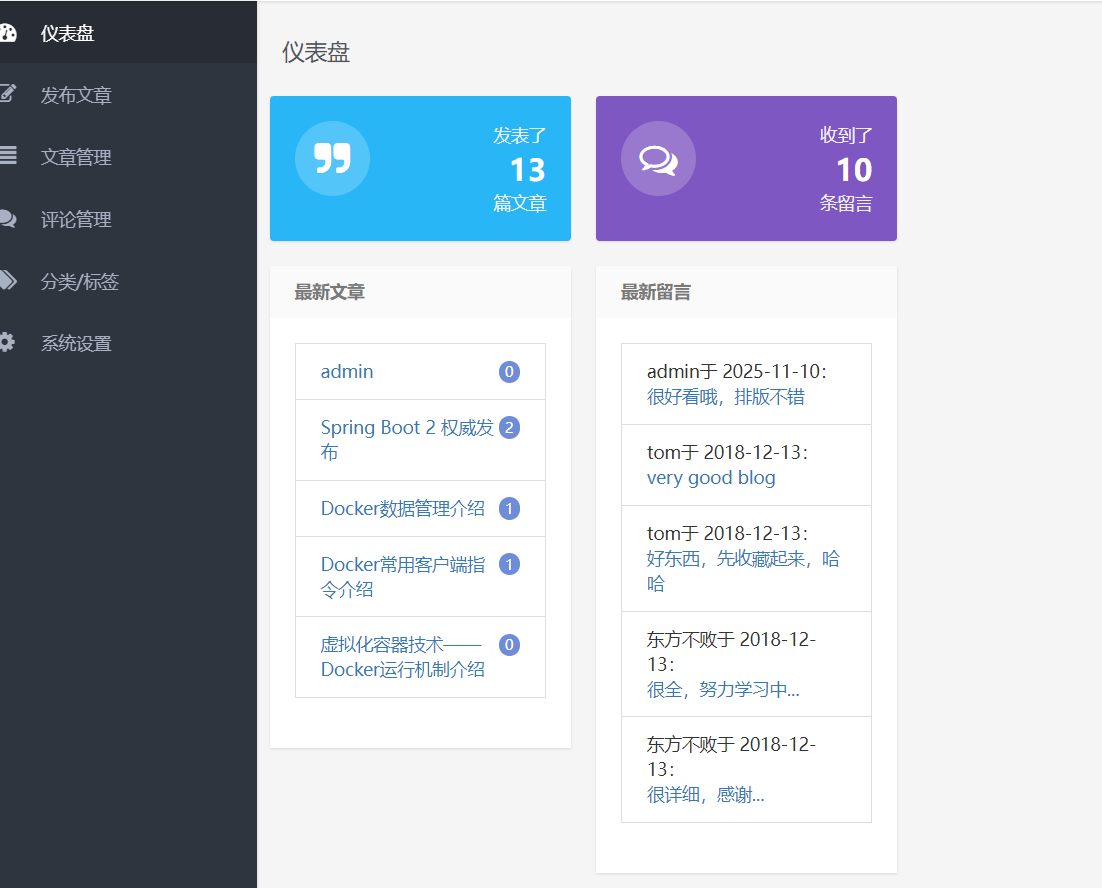
AdminController:后台管理,包括仪表盘、文章管理、评论管理、分类/标签、系统设置等。
-
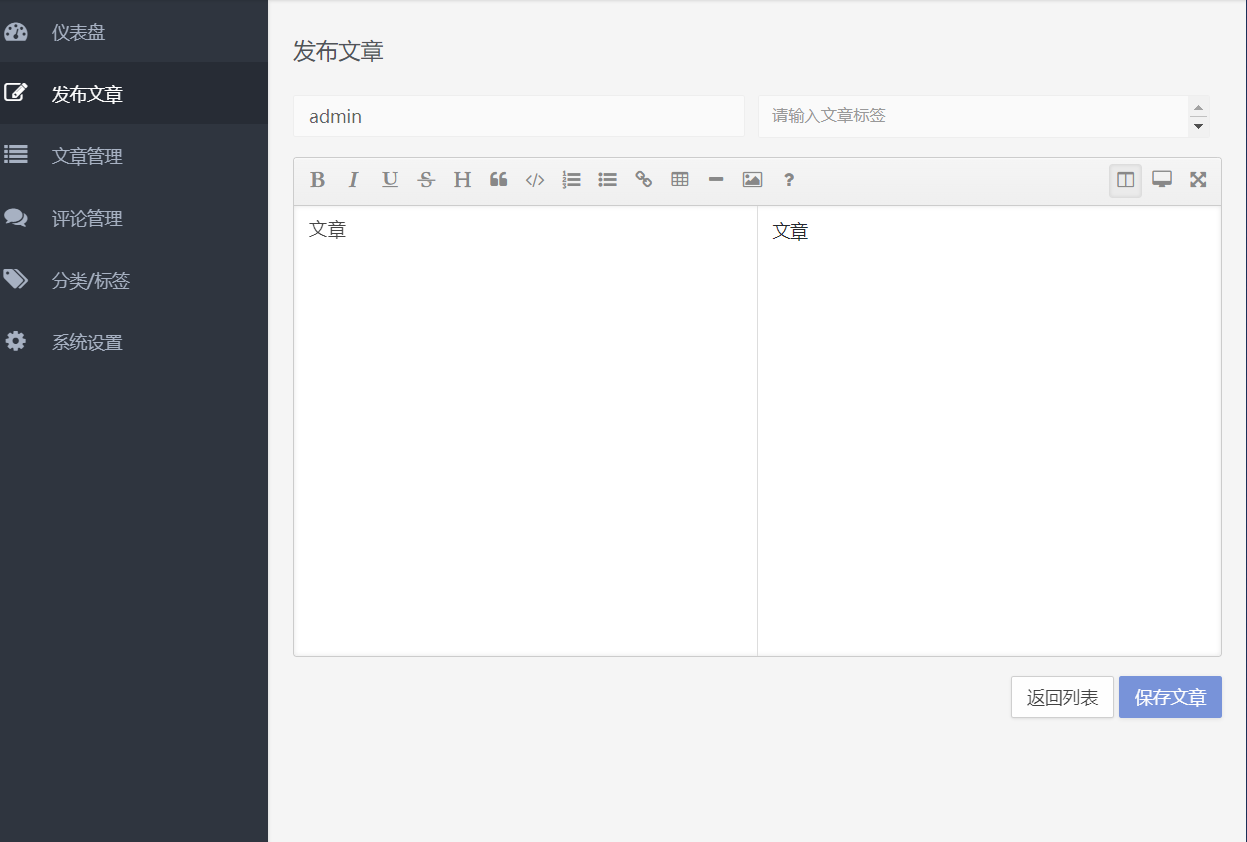
ArticleController:处理文章发布、修改、删除、预览等。
-
CommentController:处理评论的添加、删除等。
-
9.前端页面开发
-
使用Thymeleaf模板引擎,整合前端资源。
-
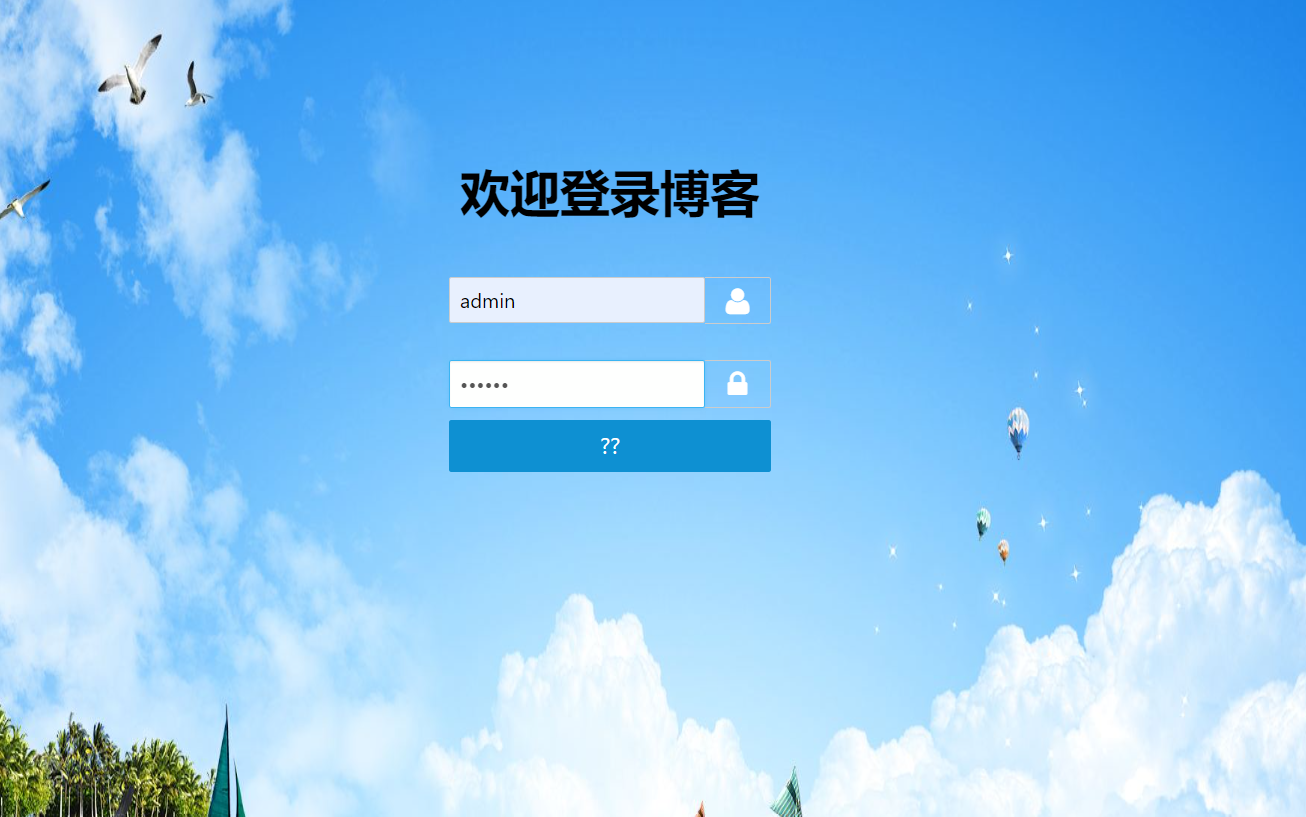
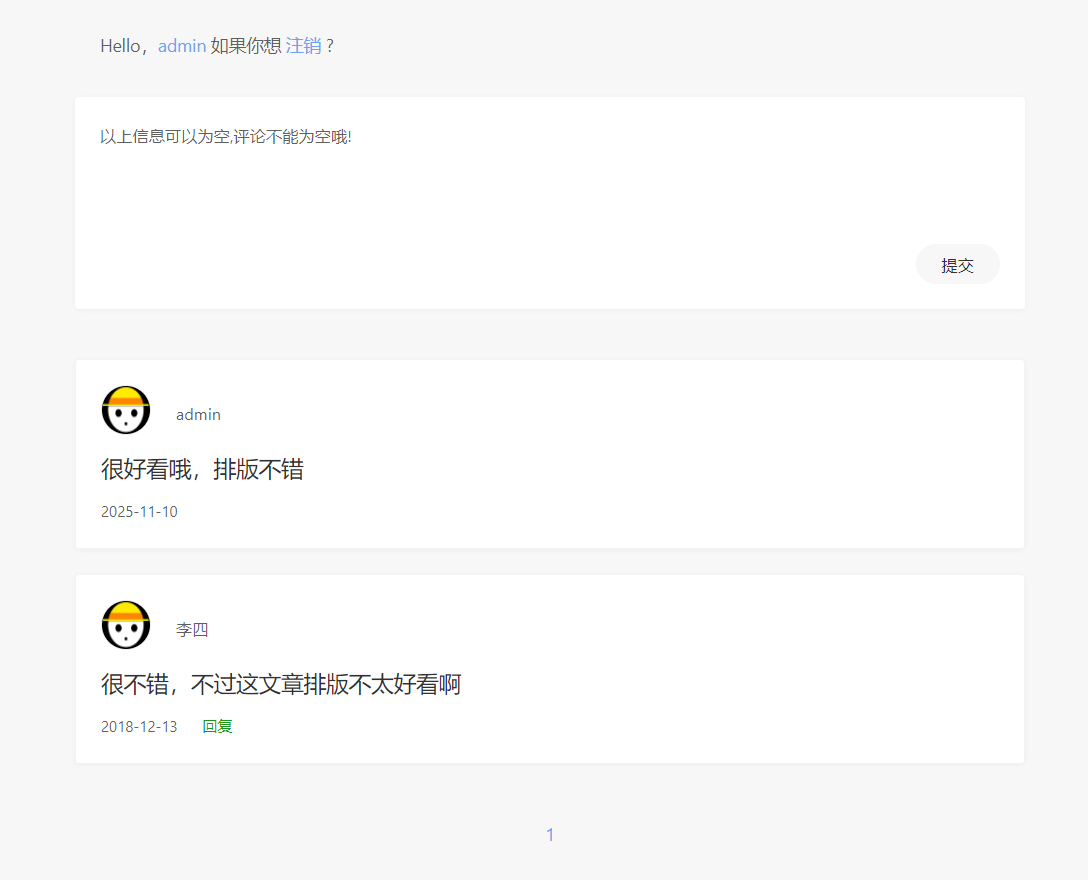
页面包括:登录页、后台管理页(仪表盘、文章管理、评论管理、分类/标签、系统设置)、文章发布页、文章列表页、评论列表页等。
-
实现前端页面功能
-
<!DOCTYPE html> <html lang="en" xmlns:th="http://www.thymeleaf.org" th:with="title='文章管理',active='article'"> <header th:replace="back/header::headerFragment(${title},${active})"></header> <head> <meta th:name="_csrf" th:content="${_csrf.token}"/> <!-- 默认的header name是X-CSRF-TOKEN --> <meta th:name="_csrf_header" th:content="${_csrf.headerName}"/> </head> <body class="fixed-left"> <div id="wrapper"> <div th:replace="back/header::header-body"></div> <div class="content-page"> <div class="content"> <div class="container"> <div class="row"> <div class="col-sm-12"> <h4 class="page-title">文章管理</h4> </div> <div class="col-md-12"> <table class="table table-striped table-bordered"> <thead> <tr> <th width="35%">文章标题</th> <th width="15%">发布时间</th> <th>浏览量</th> <th>所属分类</th> <th>操作</th> </tr> </thead> <tbody> <th:block th:each="article : ${articles.list}"> <tr th:id="${article.id}"> <td> <a th:href="@{'/article/'+${article.id}}" th:text="${article.title}" target="_blank"></a> </td> <td><th:block th:text="${commons.dateFormat(article.created)}"/></td> <td><th:block th:text="${article.hits}"/></td> <td><th:block th:text="${article.categories}"/></td> <td> <a th:href="@{'/admin/article/'+${article.id}}" class="btn btn-primary btn-sm waves-effect waves-light m-b-5"> <i class="fa fa-edit"></i> <span>编辑</span></a> <a href="javascript:void(0)" th:onclick="'delArticle('+${article.id}+');'" class="btn btn-danger btn-sm waves-effect waves-light m-b-5"> <i class="fa fa-trash-o"></i> <span>删除</span></a> <a class="btn btn-warning btn-sm waves-effect waves-light m-b-5" href="javascript:void(0)"> <i class="fa fa-rocket"></i> <span>预览</span></a> </td> </tr> </th:block> </tbody> </table> <div th:replace="comm/paging :: pageAdminNav(${articles})"></div> </div> </div> <div th:replace="back/footer :: footer-content"></div> </div> </div> </div> </div> <div th:replace="back/footer :: footer"></div> <script type="text/javascript"> function delArticle(id) { // 获取<meta>标签中封装的_csrf信息 var token = $("meta[name='_csrf']").attr("content"); var header = $("meta[name='_csrf_header']").attr("content"); if(confirm('确定删除该文章吗?')){ $.ajax({ type:'post', url : '/admin/article/delete', data: {id:id}, dataType: 'json', beforeSend : function(xhr) { xhr.setRequestHeader(header, token); }, success: function (result) { if (result && result.success) { window.alert("文章删除成功"); window.location.reload(); } else { window.alert(result.msg || '文章删除失败') } } }); } } </script> </body> </html> -
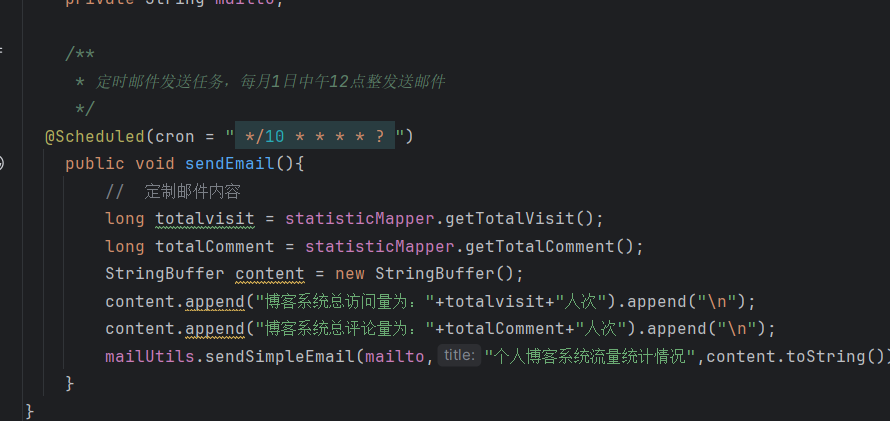
10.定时邮件发送
-
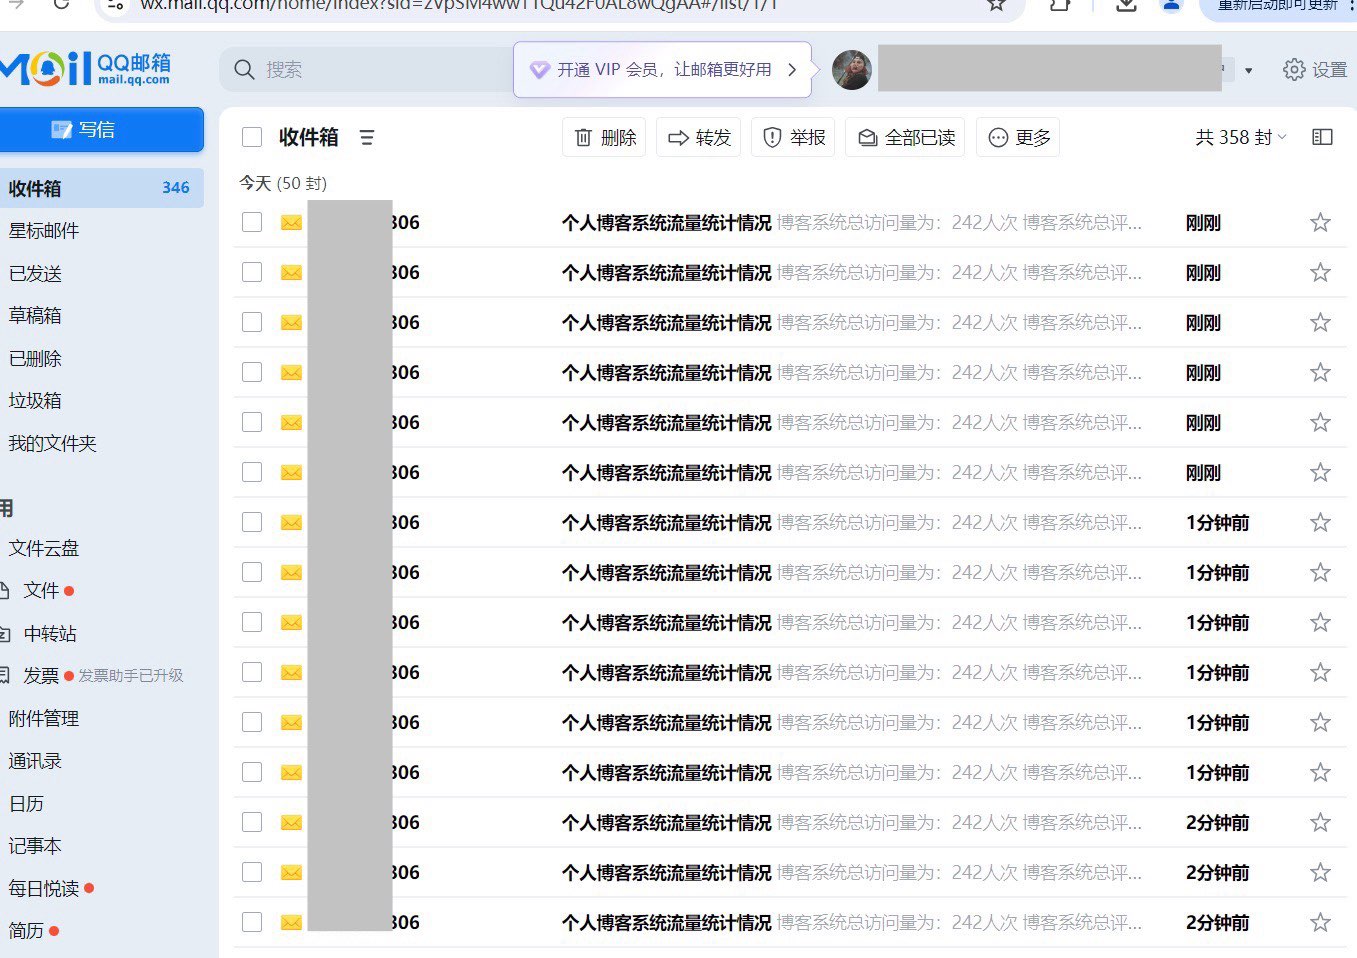
最终效果展示:


-
邮件发送成功展示
-

有“AI”的1024 = 2048,欢迎大家加入2048 AI社区
更多推荐


 6
6 0
0- 0


 已为社区贡献2条内容

所有评论(0)