HarvardX TinyML小笔记3(番外6:视觉探测)(TODO)
本文介绍了基于嵌入式AI的多模型(Multi-Tenancy)视觉人形检测实现方案。系统采用OV7675摄像头获取176×144灰度图像,经裁剪处理成96×96尺寸并归一化到-128~128范围。模型推理后分别输出人形(person_score)和非人形(no_person_score)两个独立置信度分数,通过比较分值控制LED指示灯(红灯表示检测到人,绿灯反之)。相比多模态(MultiModal
1 原理
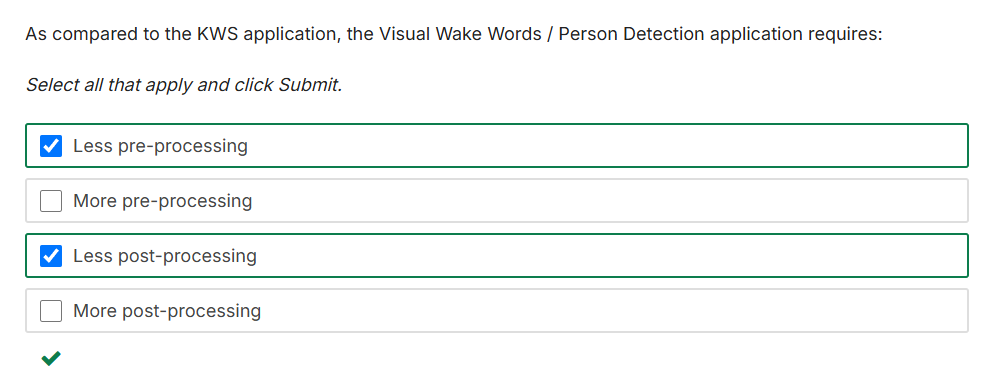
看来AI的应用和应用之间,差别也是非常大。相比语音识别,视觉人形探测在各方面都简单一些。
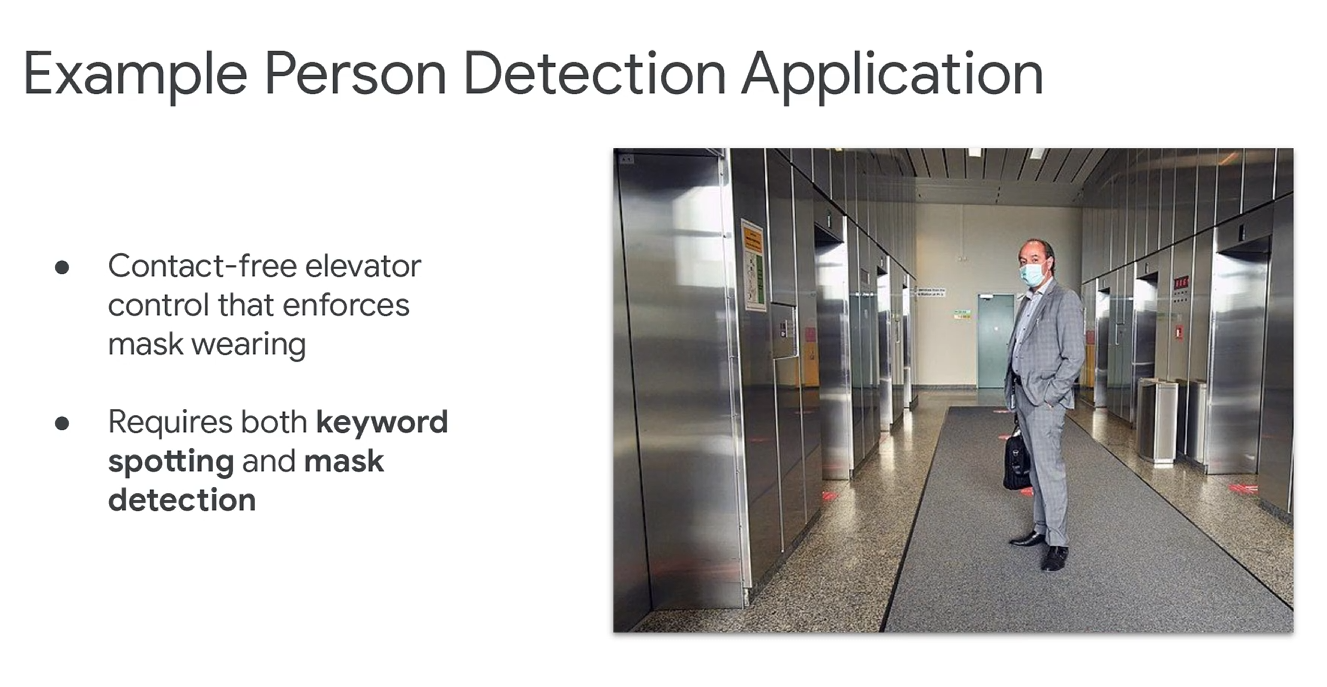
训练模型时,可以综合视频和音频。这里有一个典型场景,在疫情时期,如果希望不接触按键,同时电梯监测乘客是不是带了口罩。
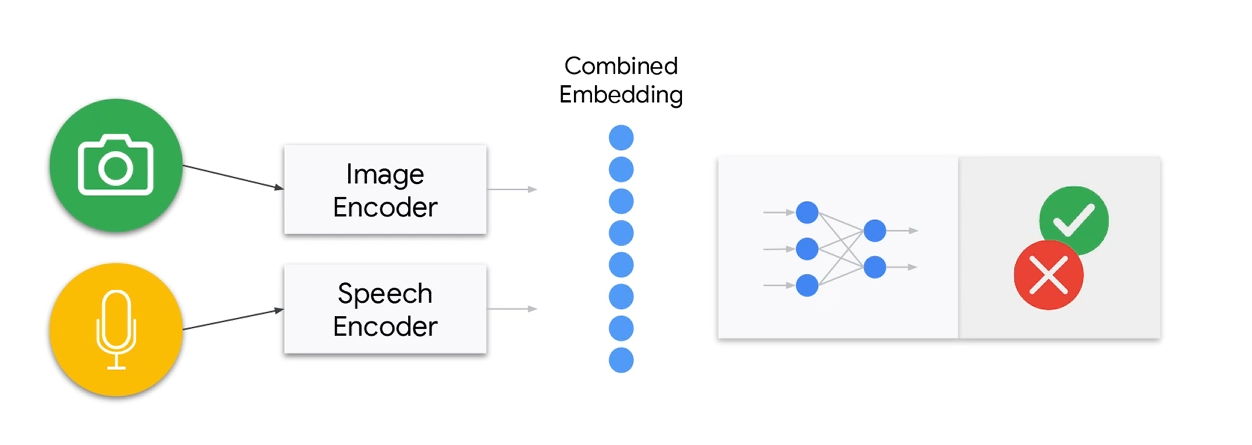
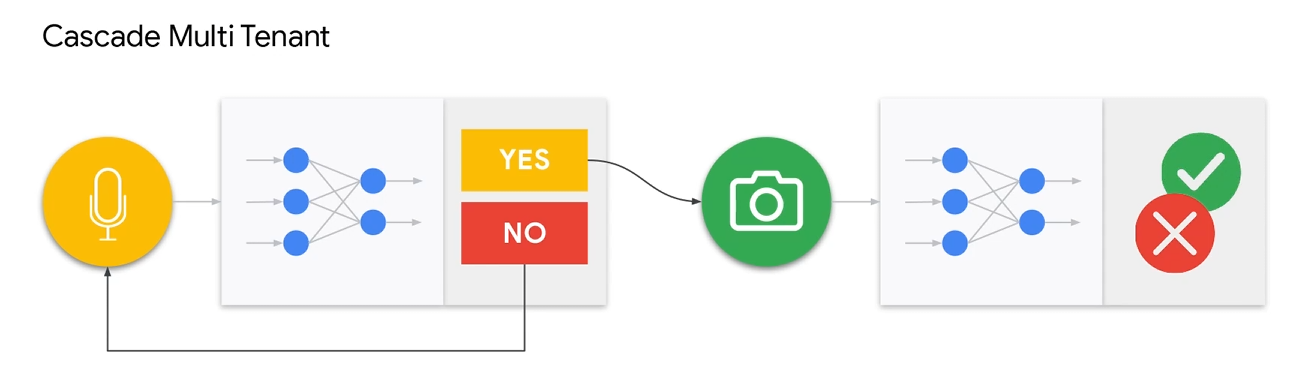
这里的有两种,第一种叫做MultiModal,一种是Multi-Tenancy。前阵就是多个传感器最后融合成一个模型,后者就是多个模型并行或者串行处理。
查了一下,目前在嵌入式AI领域,后者居多。在这个教程中,使用的也是后一种。
MultiModal
Multi-Tenancy
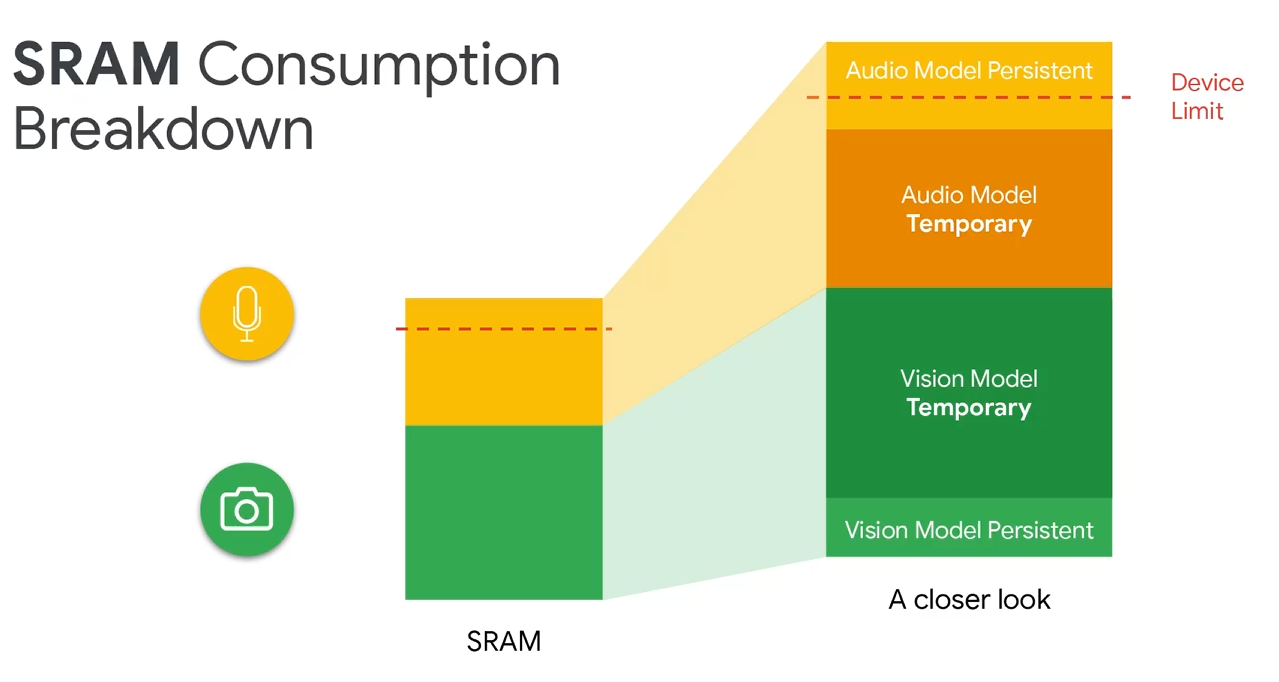
不过多模型,有一个内存限制的问题。主要是在SRAM方面。
具体怎么解决,等待后面更新。。。
更换到OV7675。
Changes for the OV7670
To use the OV7670 instead of the OV7675, simply make the change you made in the camera test! Change the fourth argument of the call to Camera.begin() as highlighted below, from OV7675 to OV7670. That’s it! The library will handle the rest! You can find the camera initialization in:
// Initialize the OV7675 camera
void if(!Camera.begin(QCIF, GRAYSCALE, 5, OV7675)) {
Serial.println(“Failed to initialize camera”);
While (1);
}
就是Arduino里面的例子。
TfLiteStatus GetImage(tflite::ErrorReporter* error_reporter, int image_width,
                      int image_height, int channels, int8_t* image_data) {

  byte data[176 * 144]; // Receiving QCIF grayscale from camera = 176 * 144 * 1

  static bool g_is_camera_initialized = false;
  static bool serial_is_initialized = false;

  // Initialize camera if necessary
  if (!g_is_camera_initialized) {
    if (!Camera.begin(QCIF, GRAYSCALE, 5, OV7675)) {
      TF_LITE_REPORT_ERROR(error_reporter, "Failed to initialize camera!");
      return kTfLiteError;
    }
    g_is_camera_initialized = true;
  }

  // Read camera data
  Camera.readFrame(data);

  int min_x = (176 - 96) / 2;
  int min_y = (144 - 96) / 2;
  int index = 0;

  // Crop 96x96 image. This lowers FOV, ideally we would downsample but this is simpler.
  for (int y = min_y; y < min_y + 96; y++) {
    for (int x = min_x; x < min_x + 96; x++) {
      image_data[index++] = static_cast<int8_t>(data[(y * 176) + x] - 128); // convert TF input image to signed 8-bit
    }
  }

  return kTfLiteOk;
}
2 代码
大概是三个部分。
2.1 读取图像
// Get an image from the camera module
TfLiteStatus GetImage(tflite::ErrorReporter* error_reporter, int image_width,
                      int image_height, int channels, int8_t* image_data) {

  byte data[176 * 144]; // Receiving QCIF grayscale from camera = 176 * 144 * 1

  static bool g_is_camera_initialized = false;
  static bool serial_is_initialized = false;

  // Initialize camera if necessary
  if (!g_is_camera_initialized) {
    if (!Camera.begin(QCIF, GRAYSCALE, 5, OV7675)) {
      TF_LITE_REPORT_ERROR(error_reporter, "Failed to initialize camera!");
      return kTfLiteError;
    }
    g_is_camera_initialized = true;
  }

  // Read camera data
  Camera.readFrame(data);

  int min_x = (176 - 96) / 2;
  int min_y = (144 - 96) / 2;
  int index = 0;

  // Crop 96x96 image. This lowers FOV, ideally we would downsample but this is simpler.
  for (int y = min_y; y < min_y + 96; y++) {
    for (int x = min_x; x < min_x + 96; x++) {
      image_data[index++] = static_cast<int8_t>(data[(y * 176) + x] - 128); // convert TF input image to signed 8-bit
    }
  }

  return kTfLiteOk;
}
这里会把图片转成96×96,此外会将灰度值切换到-128到128。
2.2 模型推理
// The name of this function is important for Arduino compatibility.
void loop() {
  // Get image from provider.
  if (kTfLiteOk != GetImage(error_reporter, kNumCols, kNumRows, kNumChannels,
                            input->data.int8)) {
    TF_LITE_REPORT_ERROR(error_reporter, "Image capture failed.");
  }

  // Run the model on this input and make sure it succeeds.
  if (kTfLiteOk != interpreter->Invoke()) {
    TF_LITE_REPORT_ERROR(error_reporter, "Invoke failed.");
  }

  TfLiteTensor* output = interpreter->output(0);

  // Process the inference results.
  int8_t person_score = output->data.uint8[kPersonIndex];
  int8_t no_person_score = output->data.uint8[kNotAPersonIndex];
  RespondToDetection(error_reporter, person_score, no_person_score);
}
这里送到模型里面学习,得到person_score的概率和no_person_score的概率。person_score 和 no_person_score 是独立的“置信度分数”,不是互补概率。加起来可能超过1或者小于1,所以这里要单独获取。
2.3 控制LED
void RespondToDetection(tflite::ErrorReporter* error_reporter,
                        int8_t person_score, int8_t no_person_score) {
  static bool is_initialized = false;
  if (!is_initialized) {
    // Pins for the built-in RGB LEDs on the Arduino Nano 33 BLE Sense
    pinMode(LEDR, OUTPUT);
    pinMode(LEDG, OUTPUT);
    pinMode(LEDB, OUTPUT);
    is_initialized = true;
  }

  // Note: The RGB LEDs on the Arduino Nano 33 BLE
  // Sense are on when the pin is LOW, off when HIGH.

  // Switch the person/not person LEDs off
  digitalWrite(LEDG, HIGH);
  digitalWrite(LEDR, HIGH);

  // Flash the blue LED after every inference.
  digitalWrite(LEDB, LOW);
  delay(100);
  digitalWrite(LEDB, HIGH);

  // Switch on the green LED when a person is detected,
  // the red when no person is detected
  if (person_score > no_person_score) {
    digitalWrite(LEDG, LOW);
    digitalWrite(LEDR, HIGH);
  } else {
    digitalWrite(LEDG, HIGH);
    digitalWrite(LEDR, LOW);
  }

  TF_LITE_REPORT_ERROR(error_reporter, "Person score: %d No person score: %d",
                       person_score, no_person_score);
}
就是比概率,人的概率大的显示红灯,人的概率小显示绿灯。

有“AI”的1024 = 2048,欢迎大家加入2048 AI社区
更多推荐


 3
3 0
0- 0


 已为社区贡献17条内容

所有评论(0)