Dify之插件开发
本文介绍了如何将Crawl4AI网页爬虫开发为Dify插件的过程。主要步骤包括:搭建Dify插件模板环境(Windows系统)、创建插件模板(Python语言)、开发插件逻辑(实现爬虫功能)、调试部署(通过VSCODE和Anaconda环境)。重点说明了工具参数配置(yaml文件)和核心逻辑实现(Python类),并提供了调试过程中常见问题的解决方案。该插件支持URL过滤功能,可将爬虫服务集成到D
背景:
本来想基于crawl4ai开发一个网页爬虫,但考虑到部署的不方便,就想到了将其插件开发充一个Dify的插件工具。
材料:
1、Dify1.7.2版本本地部署环境
2、crawl4ai环境
3、miniconda 环境
4、参考官方文档:Dify 插件开发:Hello World 指南 - Dify Docs
制作(以windows为例):
搭建Dify 插件模板环境
1、在github上下载dify插件模板生成工具(注意根据自己的操作系统下载):https://github.com/langgenius/dify-plugin-daemon/releases

2、修改“dify-plugin-windows-amd64.exe”为“dify.exe”,方便操作

3、直接在当前目录打开cmd命令窗口后执行“dify version” 即可看到版本信息

4、至此,dify 插件模板生成环境搭建完成。
创建Dify插件模板
1、在命令行执行“dify plugin init”
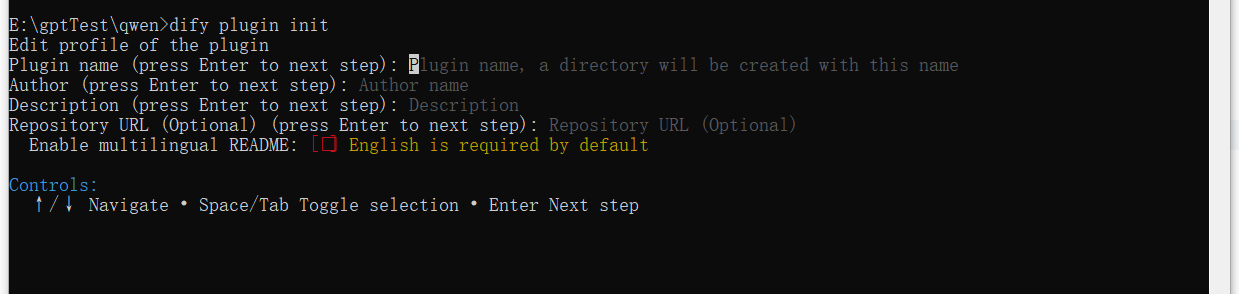
2、通过键盘上下移动输入:
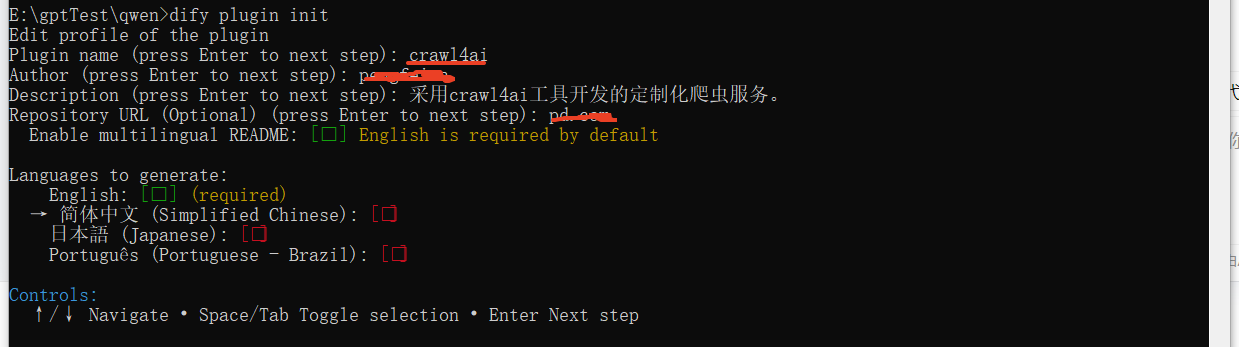
Plugin name : 插件名称
Author:插件作者
Description: 插件描述.
Repository URL : 站URL(可以不填)
3、下一步,选择简体中文
4、选择开发语言:python

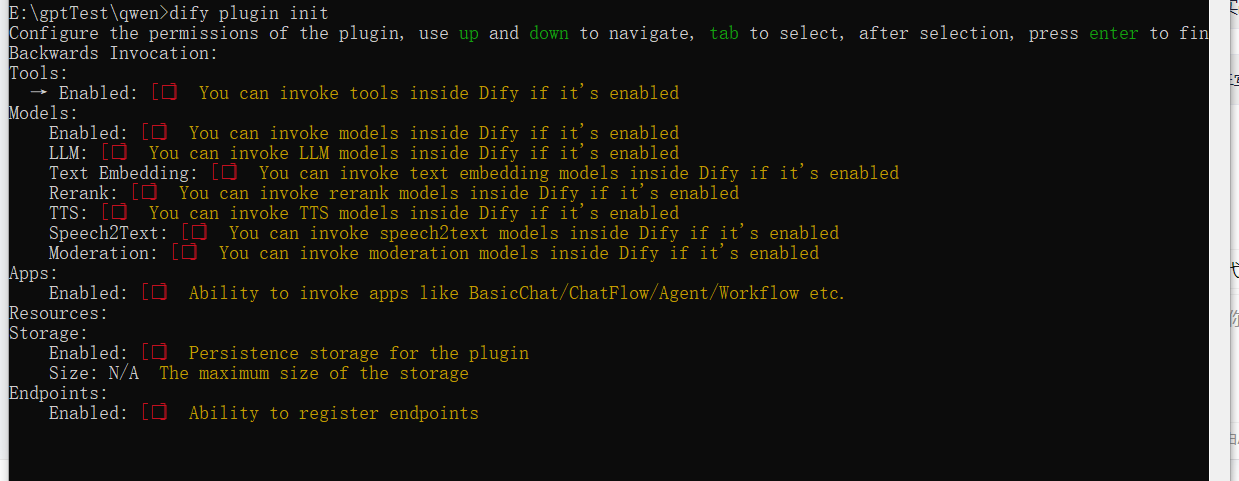
5、选择开发工具 :tool(我只用到这个,可以自己选择)后一直enter 到版本选择
6、选择dify version

7、Dify插件项目模板创建成功,位于dify.exe同级目录下

8、至此Dify插件模板创建工作完成
开发Dify插件(基于vscodeIDE)
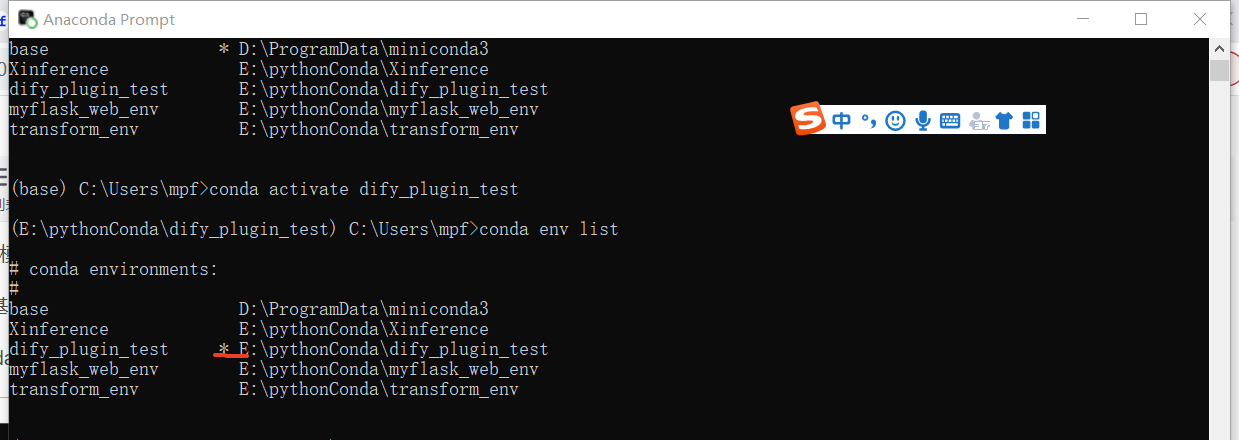
1、打开Anaconda Prompt 命令行窗口 执行“conda env list”查看当前python虚拟环境
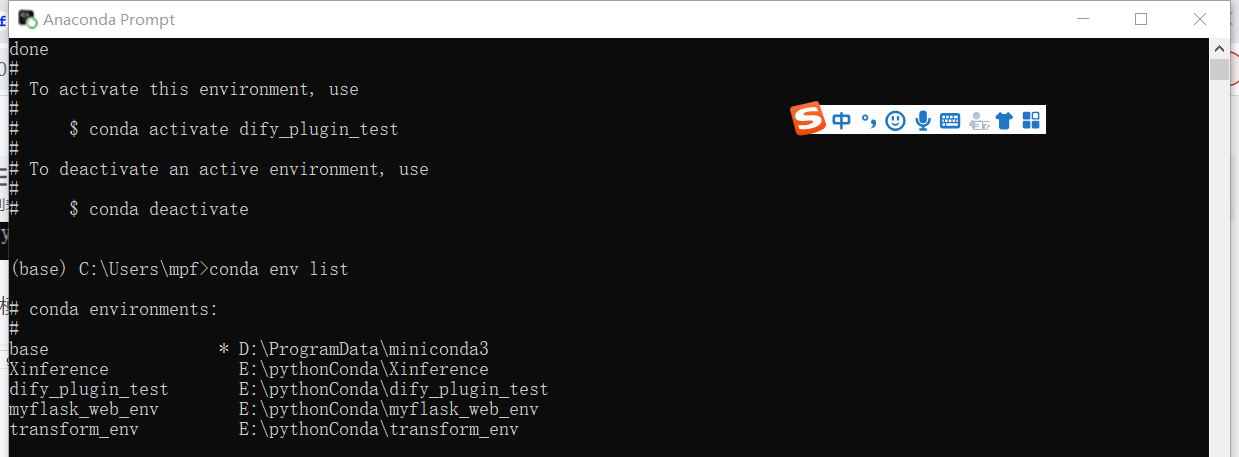
2、执行命令"conda create -n dify_plugin_test python=3.12.6" 创建名为dify_plugin_test的python环境且Python版本为3.12.6
3、在dify_plugin_test 环境下执行命令“pip install dify_plugin”进行插件安装
4、执行命令“conda activate dify_plugin_test”命令激活dify_plugin_test环境
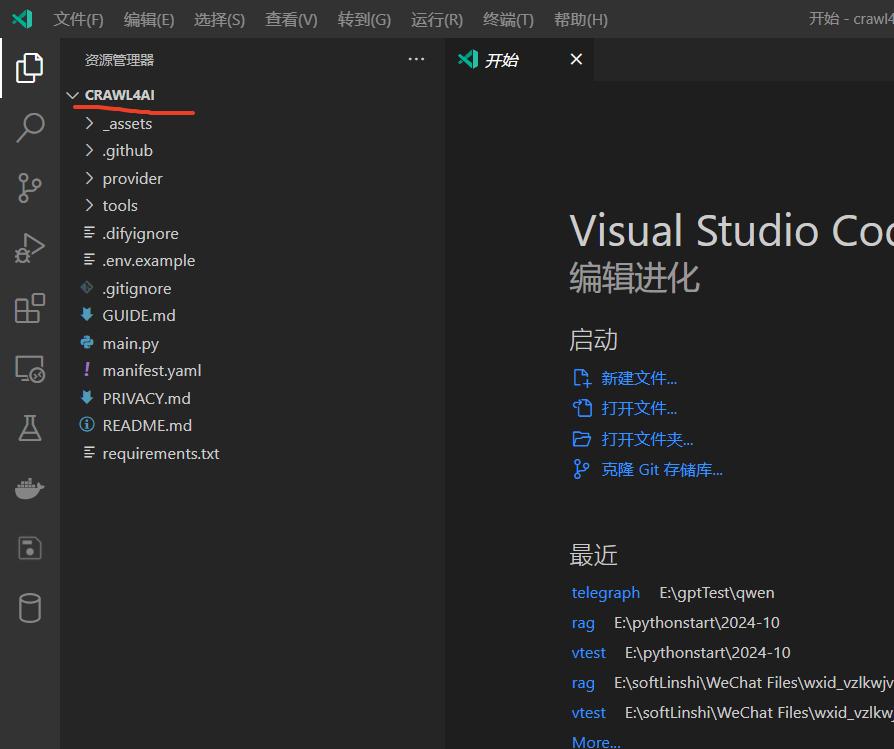
5、vscode 导入项目
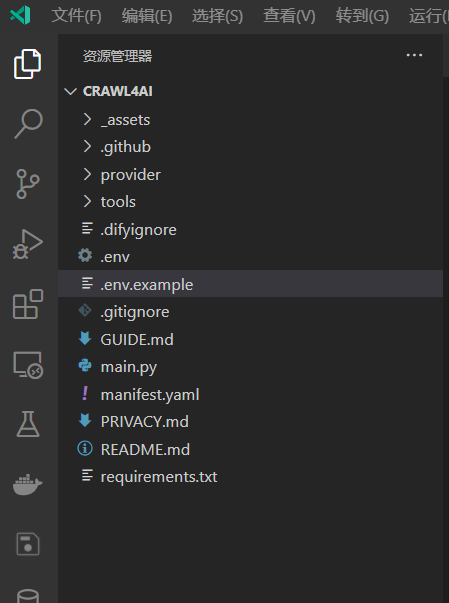
6、复制一份.env.example 文件并重命名为.env
7、编辑.env 文件
INSTALL_METHOD=remote
REMOTE_INSTALL_URL=debug.dify.ai
REMOTE_INSTALL_PORT=5003
REMOTE_INSTALL_KEY=********-****-****-****-************
7.1 登录Dify 并点击右上角的“插件”按钮(切记低版本Dify不支持插件扩展,本文是Dify 1.7.2)

7.2 点击“插件调试的按钮”获得对应的调试KEY、URL
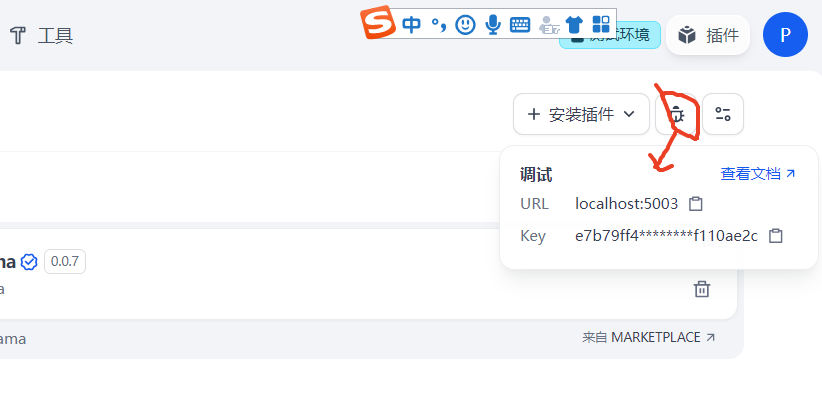
7.3、配置
REMOTE_INSTALL_KEY:对Dify中获得的key
REMOTE_INSTALL_URL: 对应Dify中获得的URL(记得带端口号哦)
其他2个可以不变
8、实现工具逻辑
编辑项目tools工具目录下的crawl4ai.py和crawl4ai.yaml
8.1 编辑工具参数(crawl4ai.yaml)文件
文件位于 crawl4ai\tools\crawl4ai.yaml
identity:
name: "crawl4ai"
author: "*****"
label:
en_US: "crawl4ai"
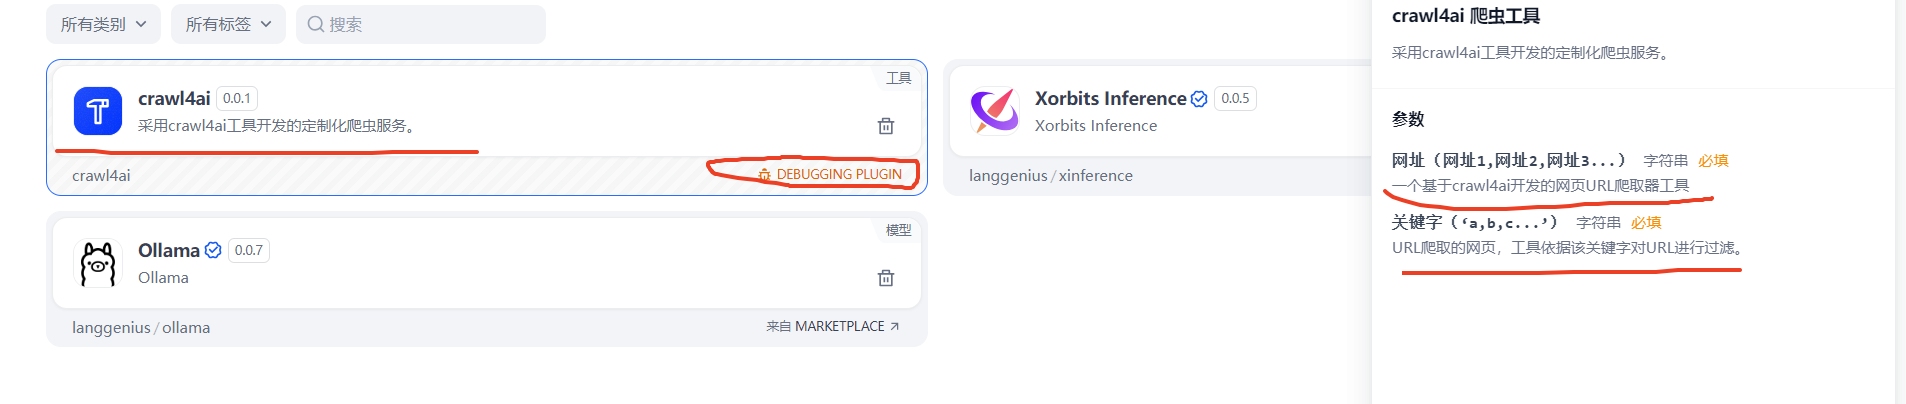
zh_Hans: "crawl4ai 爬虫工具"
pt_BR: "crawl4ai"
description:
human:
en_US: "Publish content to crawl4ai as a new page."
zh_Hans: "采用crawl4ai工具开发的定制化爬虫服务。"
pt_BR: "Publish content to crawl4ai as a new page."
llm: "A tool that takes a title and markdown content, then publishes it as a new page on crawl4ai, returning the URL of the published page. Use this when the user wants to publish formatted text content publicly via crawl4ai."
parameters:
- name: p_url
type: string
required: true
label:
en_US: url string
zh_Hans: 网站URL
pt_BR: url string
human_description:
en_US: "Publish content to crawl4ai as a new page."
zh_Hans: "采用crawl4ai工具开发的定制化爬虫服务。"
pt_BR: "Publish content to crawl4ai as a new page."
llm_description: "The title of the post. Should be a concise and meaningful plain text string."
form: llm
- name: p_filter_url_keyword
type: string
required: true
label:
en_US: filter url by keyword string
zh_Hans: 通过URL中的关键字过滤URL
pt_BR: filter url by keyword string
human_description:
en_US: "filter url by keyword string."
zh_Hans: "采用crawl4ai工具开发的定制化爬虫服务,通过该字段内容过滤爬取页面的uRL,多个关键字使用,分割。"
pt_BR: "filter url by keyword string."
llm_description: "The title of the post. Should be a concise and meaningful plain text string."
form: llm
extra:
python:
source: tools/crawl4ai.py8.2 编辑工具逻辑(crawl4ai.py)
文件位于crawl4ai\tools\crawl4ai.py 目录下
class Crawl4aiTool(Tool):
    def _invoke(self, tool_parameters: dict[str, Any]) -> Generator[ToolInvokeMessage]:
        """
        根据输入的标题和内容,创建一个新的 Telegraph 页面。

        Args:
            tool_parameters: 一个包含工具输入参数的字典:
                - p_url (str): 带爬取网页URL。
                - p_filter_keyword (str): 带爬取网页中URL过滤关键字。

        Yields:
            ToolInvokeMessage: 包含成功爬取URL列表。

        Raises:
            Exception: 如果页面创建失败,则抛出包含错误信息的异常。
        """
        # 2. 获取工具输入参数
        p_url = tool_parameters.get("p_url", "") # 使用 .get 提供默认值
        p_filter_keyword = tool_parameters.get("p_filter_keyword", "")
        if not p_url:
            raise Exception("URL参数内容不能为空。")
        if not p_filter_keyword:
            raise Exception("关键字参数不能为空,负责数据量太大。")

        # 4. 返回结果(create_text_message 可选参数N多个,)
        yield self.create_text_message('测试返回参数'+p_filter_keyword)
9、运行插件切换页面到main.py后执行“python main.py”或者直接右键执行即可
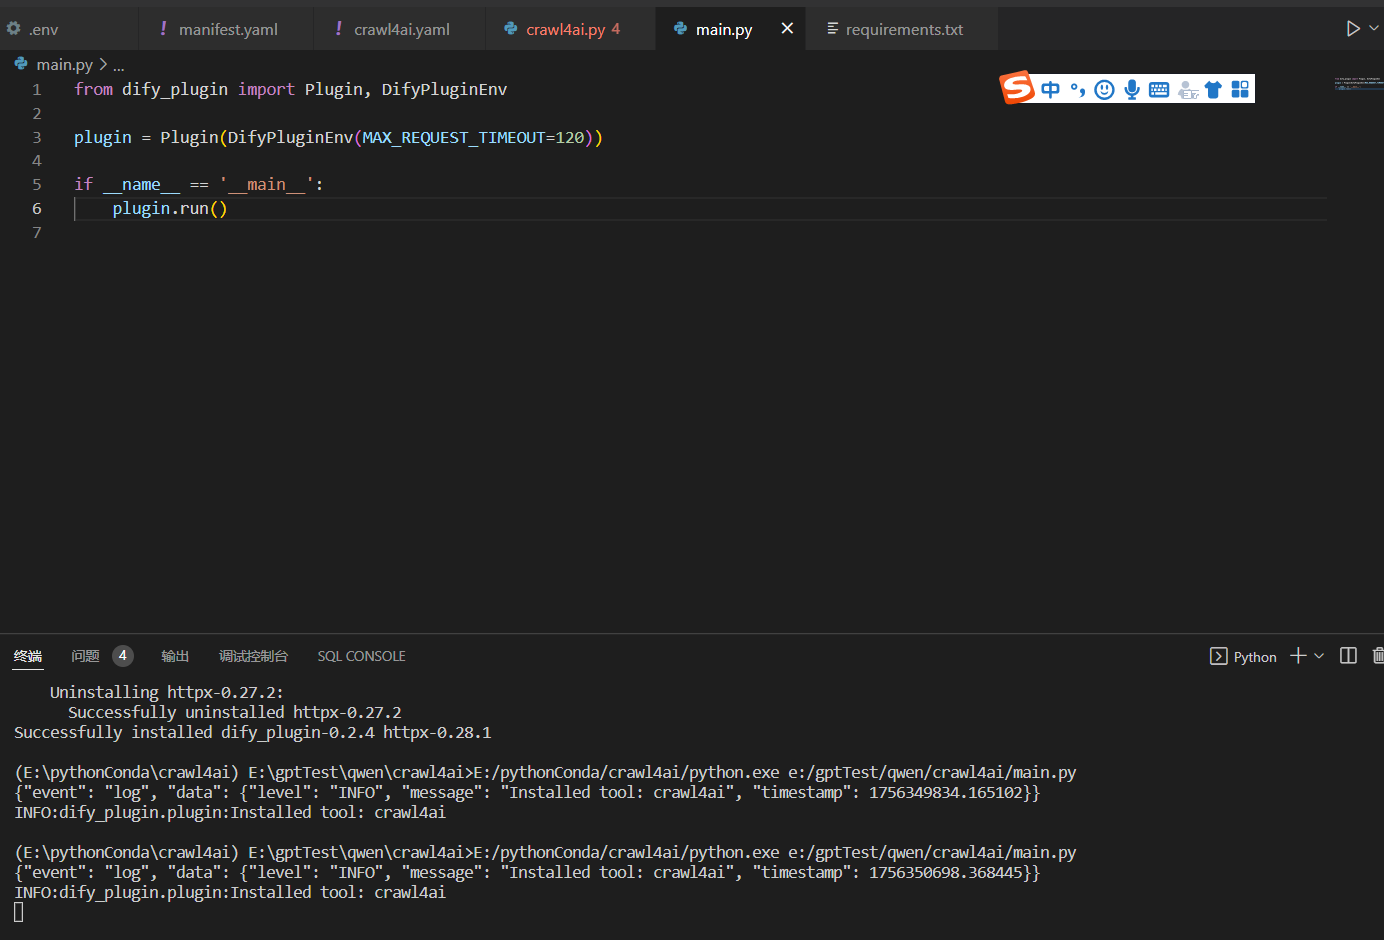
10、在Dify上查看插件是否注册成功
11、至此插件开发与调试环节已完全打通。
使用插件
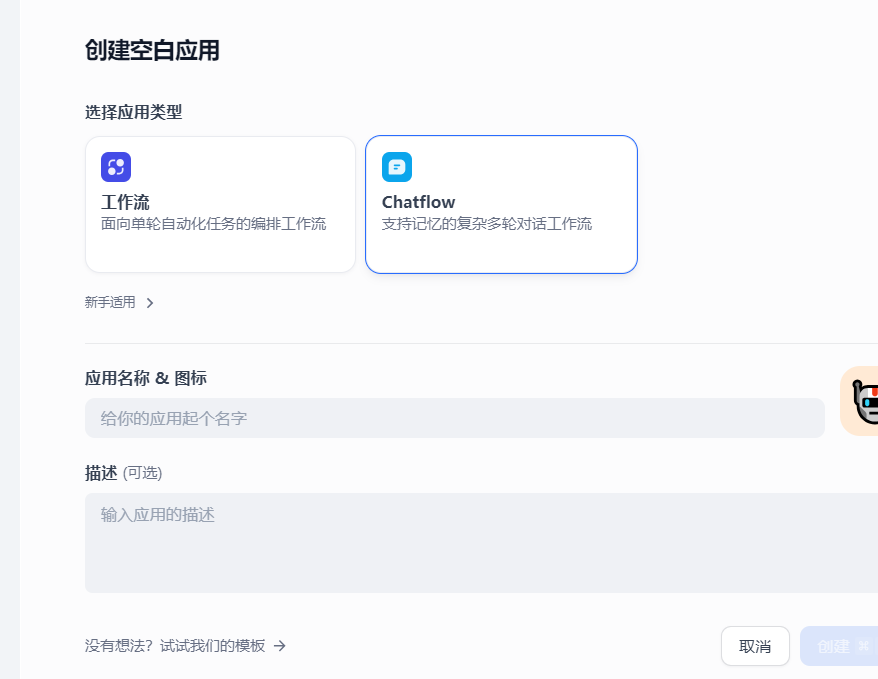
1、在dify 的工作室中创建聊天Flow
2、在工作流中添加自己的工具插件
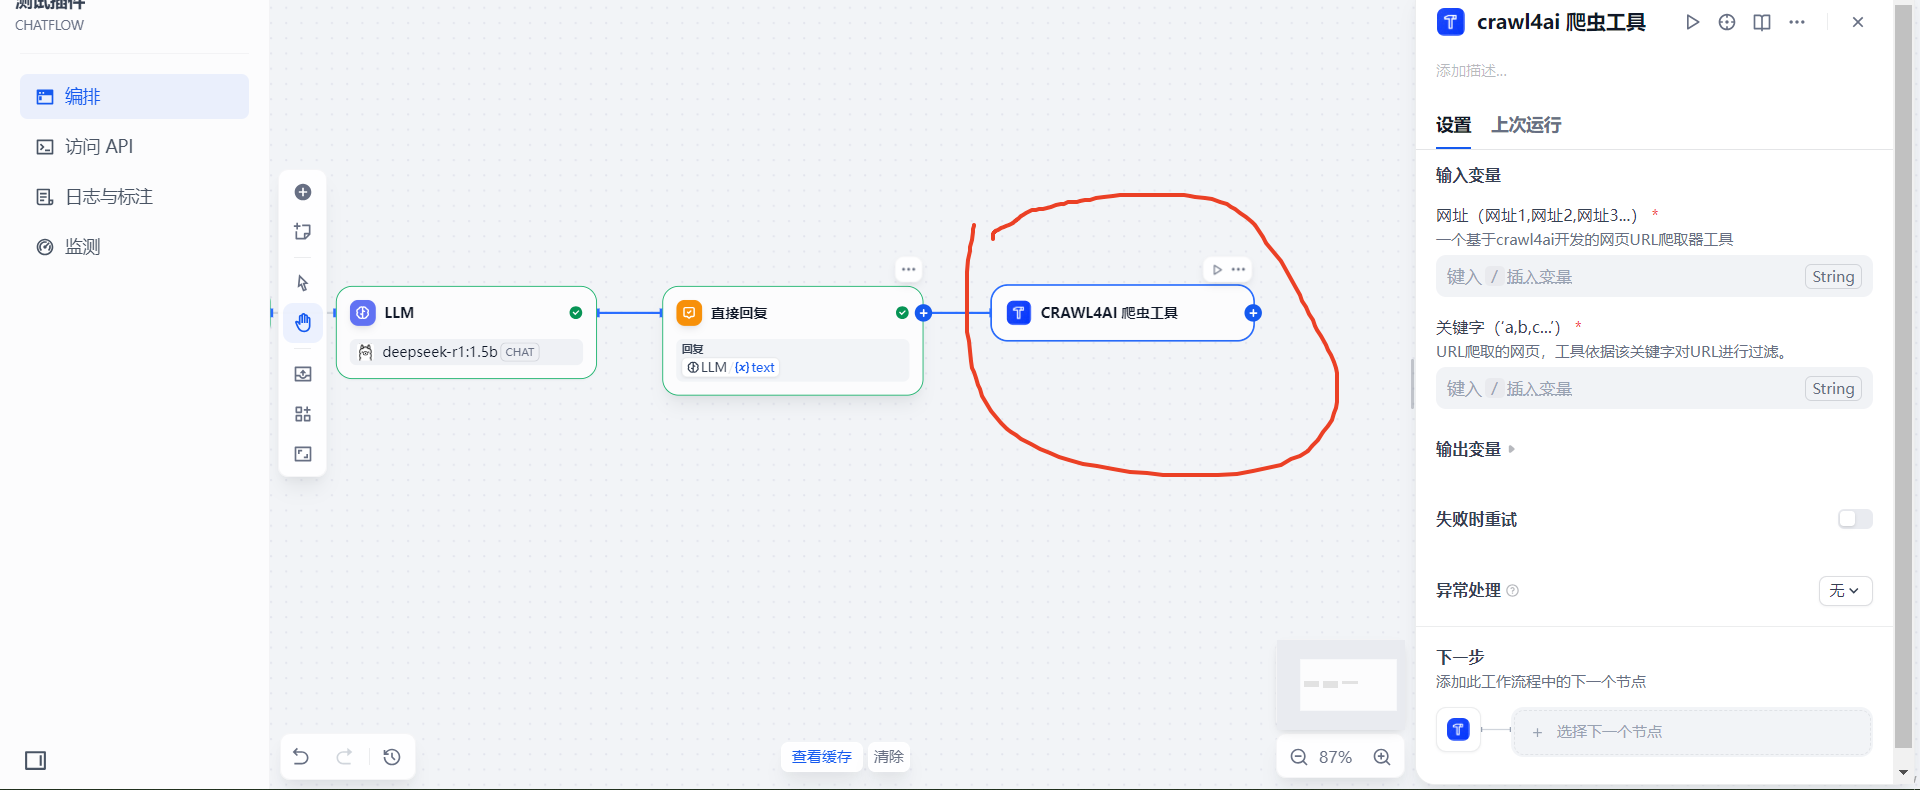
3、变量分别引入上一个环节的输出
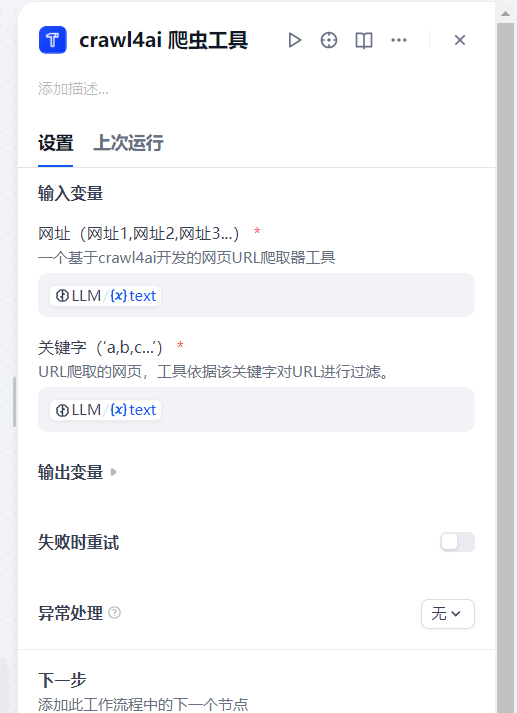
4、至此已完成插件开发的所有流程
开发与调试中的问题
1、RROR:dify_plugin.core.server.tcp.request_reader:Failed to read data from XXXXXX:5003
可能性1:调试秘钥过期(.env 里的那个key)
可能性2:dify_plugin 插件的版本问题,采用pip show dify_plugin 进行查看是否符合requirements.txt中的版本,我这里是Version: 0.2.4,对应的dify 1.7.2能成功
2、Dify 插件调试中报 Error:Field validation for 'Repo' failed on the 'url' tag"
可能性1:插件创建时随便给Repo URL 项填写了无效的网站,只需要在项目manifest.yaml 中删除该项或者修改争取即可。
下篇继续优化插件之权限校验

有“AI”的1024 = 2048,欢迎大家加入2048 AI社区
更多推荐
 15
15 0
0- 0


 已为社区贡献4条内容

所有评论(0)