Spring AI ChatClient集成Deepseek
本文介绍了如何通过Spring AI集成DeepSeek大模型实现智能对话功能。首先需要在DeepSeek官网申请API密钥并配置到系统变量中。Spring AI通过ChatModel统一集成各大语言模型,包括DeepSeekChatModel和OpenAIChatModel等。文章详细说明了引入依赖的配置方法,包括添加spring-ai-starter-model-deepseek依赖和设置仓库
Spring AI ChatClient集成Deepseek
下文将简述如何通过spring ai集成deepseek实现智能对话。在开始之前你需要在deepseek官网申请一个apikey,并设置到系统变量中,保障安全性。
ChatModel
在集成deepseek前,我们先要了解一个chat model,chat model是spring 集成的各大大语言模型,比如deepseek就有DeepSeekChatModel,openAI就有openAIChatModel;各自大模型的chatModel继承了spring ai的chatModel类,并重写了call方法和stream用于调用大模型。只需要添加相应配置,再调用chatModel就可实现调用。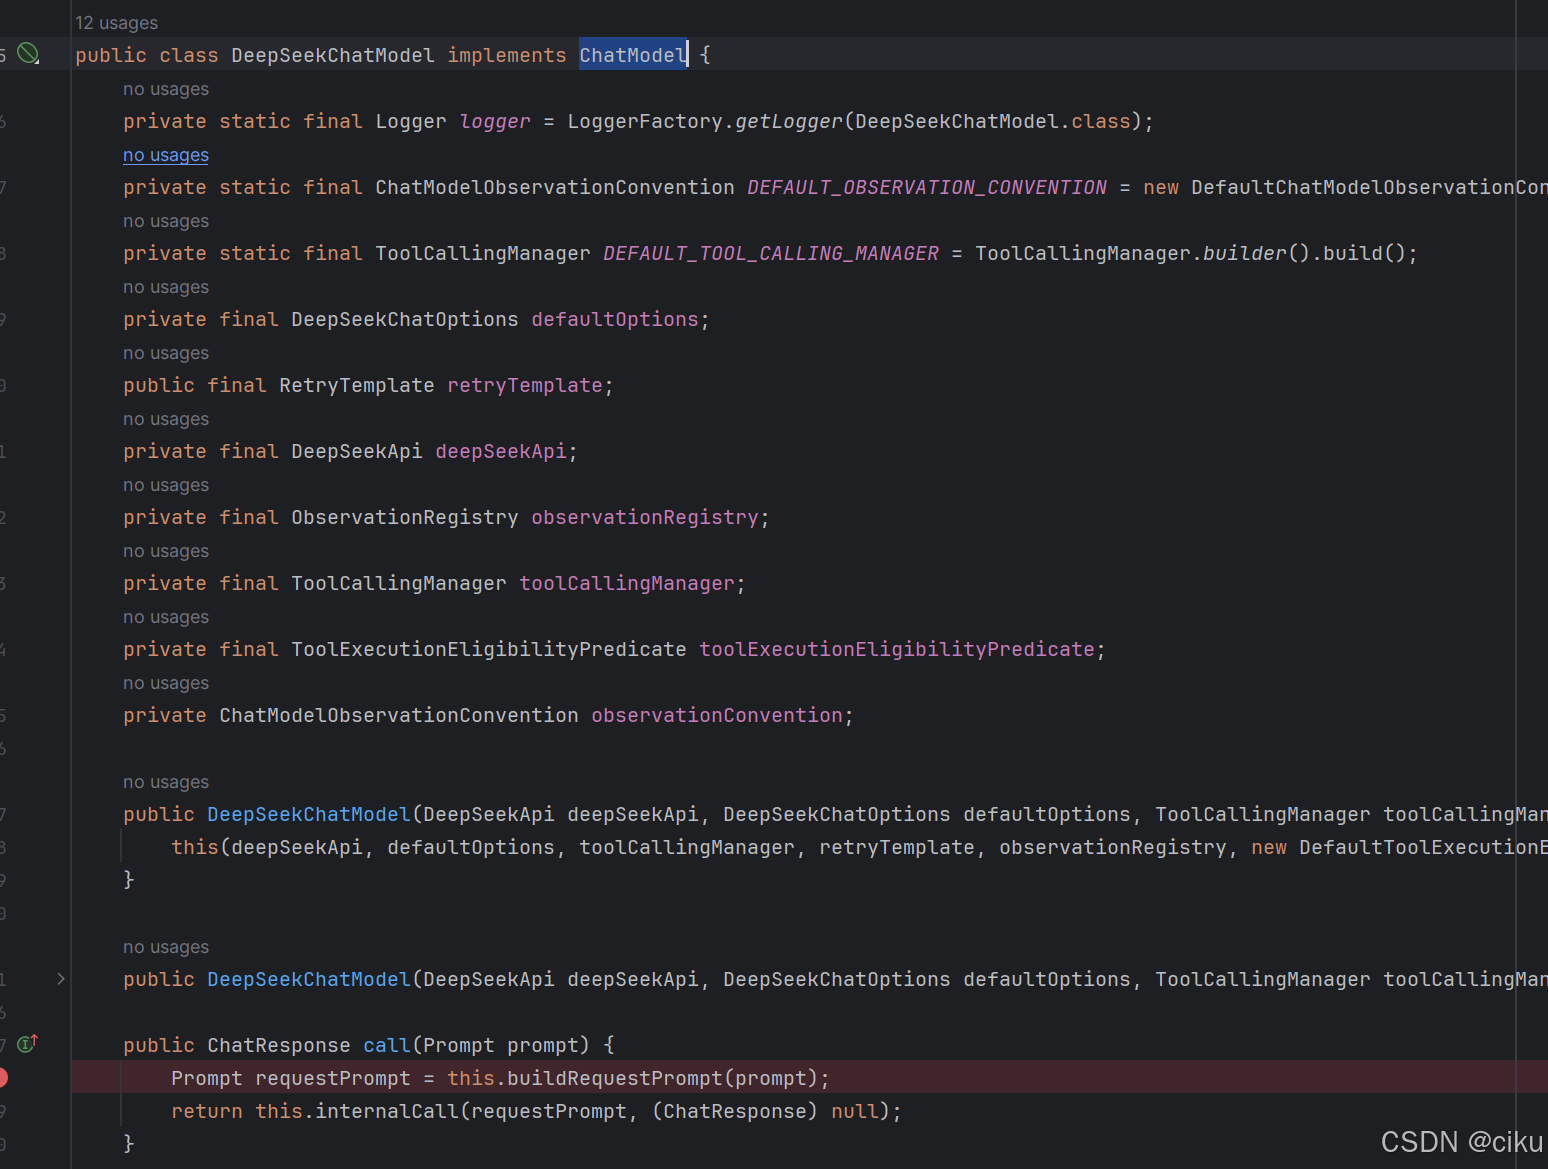
Spring ai 1.0.1版本集成的大模型
目前版本支持的大模型如下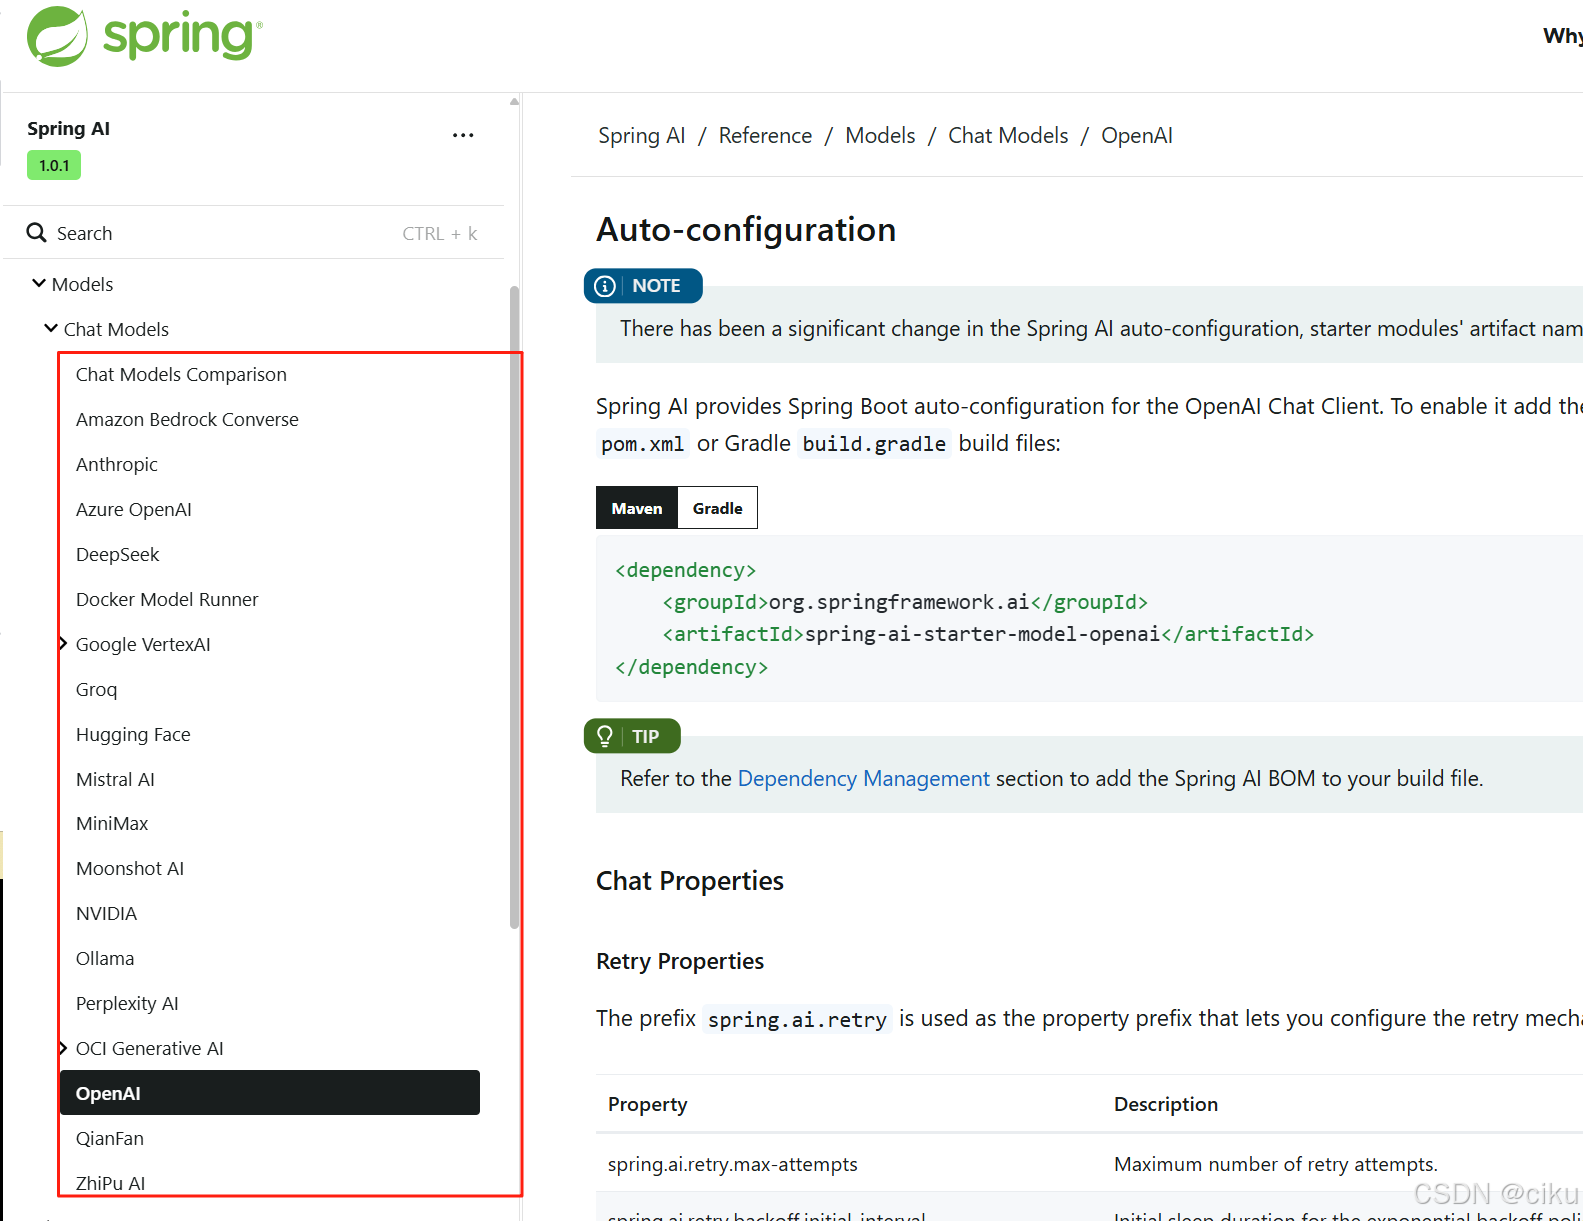
每种大模型的依赖都很相似,如引入openai,artifactId 就是spring-ai-starter-model-openai,引入deepseek,就是spring-ai-starter-model-deepseek
<dependency>
    <groupId>org.springframework.ai</groupId>
    <artifactId>spring-ai-starter-model-openai</artifactId>
</dependency>
Chat Client
chat client是Spring ai提供统一调用大模型的对象,通过ChatClient.Builder可以指定chatModel类型。
import org.springframework.ai.chat.ChatClient;
import org.springframework.context.annotation.Bean;
import org.springframework.context.annotation.Configuration;

@Configuration
public class ChatClientConfig {

    @Bean
    public ChatClient openAiChatClient(OpenAiChatModel chatModel) {
        return ChatClient.create(chatModel);
    }

    @Bean
    public ChatClient anthropicChatClient(AnthropicChatModel chatModel) {
        return ChatClient.create(chatModel);
    }
}
以上简要介绍了一下Chat model和Chat client 下面正式介绍代码实现。
1.引入依赖
spring 提供了chatModel
 <dependencies>
        <dependency>
            <groupId>org.springframework.boot</groupId>
            <artifactId>spring-boot-starter-web</artifactId>
        </dependency>
        <dependency>
            <groupId>org.springframework.boot</groupId>
            <artifactId>spring-boot-starter-test</artifactId>
            <scope>test</scope>
        </dependency>
        <!-- https://mvnrepository.com/artifact/org.springframework.boot/spring-boot-starter-webflux -->
        <dependency>
            <groupId>org.springframework.boot</groupId>
            <artifactId>spring-boot-starter-webflux</artifactId>
            <version>3.5.3</version>
        </dependency>
        <dependency>
            <groupId>org.springframework.ai</groupId>
            <artifactId>spring-ai-starter-model-deepseek</artifactId>
        </dependency>
    </dependencies>
  <dependencyManagement>
        <dependencies>
            <dependency>
                <groupId>org.springframework.ai</groupId>
                <artifactId>spring-ai-bom</artifactId>
                <version>1.0.0-SNAPSHOT</version>
                <type>pom</type>
                <scope>import</scope>
            </dependency>
        </dependencies>
    </dependencyManagement>
    <repositories>
        <repository>
            <id>spring-milestones</id>
            <url>https://repo.spring.io/milestone</url>
            <snapshots><enabled>false</enabled></snapshots>
        </repository>
        <repository>
            <id>spring-snapshots</id>
            <name>Spring Snapshots</name>
            <url>https://repo.spring.io/snapshot</url>
            <releases>
                <enabled>false</enabled>
            </releases>
        </repository>
        <repository>
            <name>Central Portal Snapshots</name>
            <id>central-portal-snapshots</id>
            <url>https://central.sonatype.com/repository/maven-snapshots/</url>
            <releases>
                <enabled>false</enabled>
            </releases>
            <snapshots>
                <enabled>true</enabled>
            </snapshots>
        </repository>
    </repositories>
2.添加配置
在application.yml/properties中,只需要配置api-key就可以了, base-url和model都已经默认帮你配置了
spring:
  application:
    name: deepseekTest
  ai:
    deepseek:
      api-key: ${DEEPSEEK_API_KEY}
3.新增测试类测试代码
DeepSeekChatModel 如果默认的baseurl和model满足你的需求,只需要自动注入即可;不满足可以定义配置类,设置对应参数。通过 ChatClient.builder(deepSeekChatModel) .build();
就可以构建一个ChatCilent,并通过prompt传输问题,prompt有两种构造器,一种是直接传输String 字符串,一种是new Prompt对象。client提供了call和stream两种格式。
call一次性返回所有文本:String content = client.prompt("你好") .call().content();
stream是流式输出,数据类型是Flux:Flux<String> flux = client.prompt(new Prompt("你好,你是谁")) .stream().content();
要使用flux需要引入webflux相关依赖 。
完整代码如下:
@SpringBootTest
public class DeepseekTest {
    @Autowired
    private DeepSeekChatModel deepSeekChatModel;
    @Test
    public void testCall() {
        ChatClient client = ChatClient.builder(deepSeekChatModel)
                .build();
        String content = client.prompt("你好")
                .call().content();
        System.out.println(content);
    }
  @Test
    public void testStream() {
        ChatClient client = ChatClient.builder(deepSeekChatModel)
                .build();
        Flux<String> flux = client.prompt(new Prompt("你好,你是谁"))
                .stream().content();
        flux.toIterable().forEach(System.out::print);
    }
}
4.测试结果
调用call方法:
调用stream方法: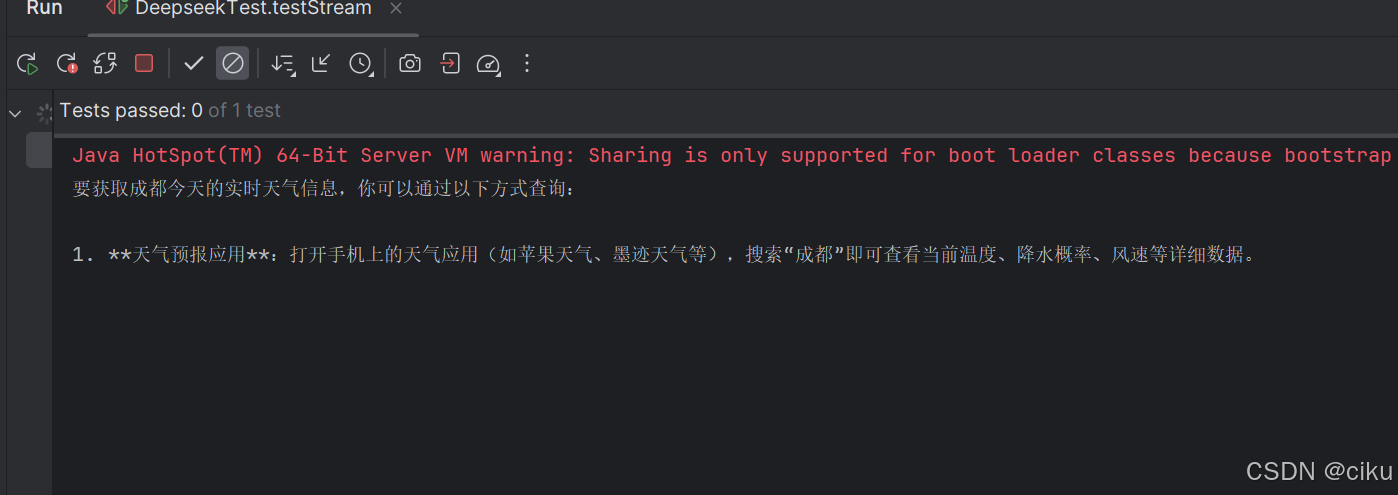
以上简单的操作步骤就可以接入deepseek实现智能对话了!

有“AI”的1024 = 2048,欢迎大家加入2048 AI社区
更多推荐


 5
5 0
0- 0


 已为社区贡献10条内容

所有评论(0)