11.anaconda中的jupyter使用、及整合dataspell
anaconda中的jupyter使用及DataSpell整合
目录
概述
前置安装如有问题:
1.Python、anaconda介绍、安装及使用
重要,整合vscode,现行在 vscode 上使用已可以,后序需要重新安装,将其整理
jupyter
jupyter notebook
1.生成配置文件
# 生成jupyter notebook的配置文件
jupyter notebook --generate-config
一般在 anaconda 下进行
修改notebook保存目录
# 打开生成的配置文件,根据 c.ServerApp.root_dir(新) c.ServerApp.notebook_dir(老版本) 快速定位
c.ServerApp.root_dir = 'D:\\python\\jupyter'

如果还是默认路径,查看
- 1.在开始菜单找到“Jupyte Notebook”快捷键,鼠标右击 – 更多 – 打开文件位置
- 2.找到对应的“Jupyte Notebook”快捷图标,鼠标右击 – 属性 – 目标,去掉后面的 “%USERPROFILE%/”,然后点击“应用”,“确定”

# 以下两个命令,需要在anaconda与虚拟环境中都要执行一次,相当于能使用虚拟环境。
# python 3.9以下使用
conda install nb_conda
# python 3.9及以上使用
conda install nb_conda_kernels
conda install ipykernel

conda install nb_conda_kernels ipykernel

实际测试

问题
【QA-Anaconda】问题:无法添加包:The current user does not have write permissions to the target environment.
方案一:速度最快的解决方式
方案二:修改文件夹的权限
问题2,无法获取token


只留一个括号即可

jupyter lab
在安装好 jupyter notebook 后,最新版本 conda 中直接启动
补充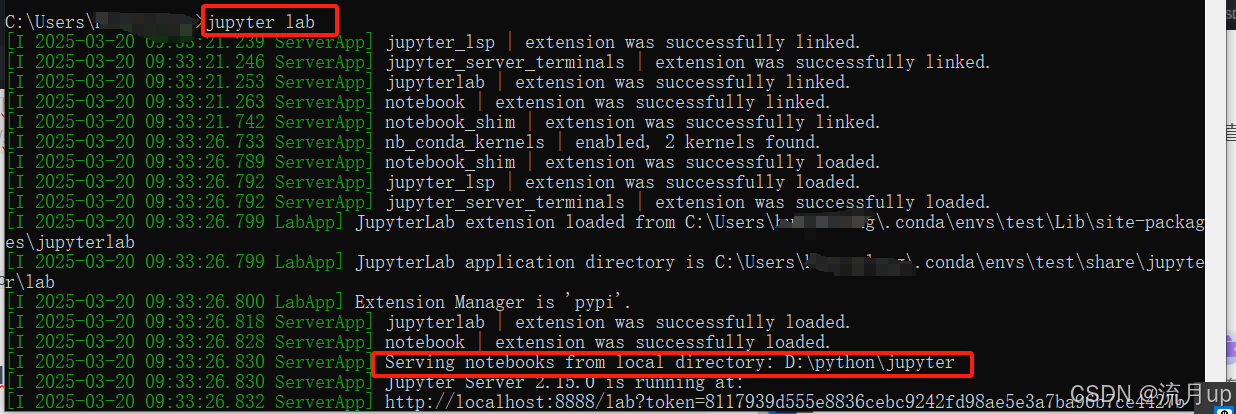
插件安装
debugger
随着jupyter lab官方插件debugger的横空出世,在jupyter lab中进行debug变得不再痛苦
官网
conda install -c conda-forge xeus-python
conda install -c conda-forge jupyterlab
# 安装
jupyter labextension install @jupyterlab/debugger
jupyterlab-lsp
https://github.com/jupyter-lsp/jupyterlab-lsp
jupyterlab-variableinspector
jupyterlab-variableinspector插件可以展示当前界面内的所有变量情况
详细介绍见项目文档:https://github.com/jupyterlab-contrib/jupyterlab-variableInspector
安装命令:jupyter labextension install @lckr/jupyterlab_variableinspector
也可以在https://pypi.org/project/lckr-jupyterlab-variableinspector/#history
下载对应版本的包,再使用pip install,把文件拖到后面回车直接安装。
jupyter labextension install @lckr/jupyterlab_variableinspector
安装完成后重启Lab,右键任一代码块,点击画圈处:Open Variable lnspector打开变量管理插件
jupyterlab-execute-time
jupyterlab-execute-time可以记录每个代码块的最近一次运行的具体时间和运行耗时,同时为正在运行的代码块记录时间。非常实用!
jupyter labextension install jupyterlab-execute-time
jupyterlab-toc
jupyterlab-toc帮助我们在notebook界面利用markdown来创建目录,辅助我们更好地整合梳理数据分析工作流
# 安装命令
jupyter labextension install @jupyterlab/toc
jupyter-matplotlib
jupyter-matplotlib帮助我们在notebook界面配合matplotlib实现交互式的作图,只需要在绘图之前执行魔法命令%matplotlib widget,之后绘制的所有matplotlib图表即可自动转换为交互式的:
# 安装命令
conda install ipympl
jupyter labextension install @jupyter-widgets/jupyterlab-manager jupyter-matplotlib

conda install -c conda-forge nodejs
npm install
jupyterlab-plotly
jupyterlab-plotly是一款帮助plotly图像在jupyter lab中正常渲染的插件
jupyterlab-kite
帮助我们建立代码补全神器kite与jupyter lab之间的通道,帮助我们在jupyter lab使用kite代码补全服务
conda install jupyter-kite
jupyter labextension install @kiteco/jupyterlab-kite
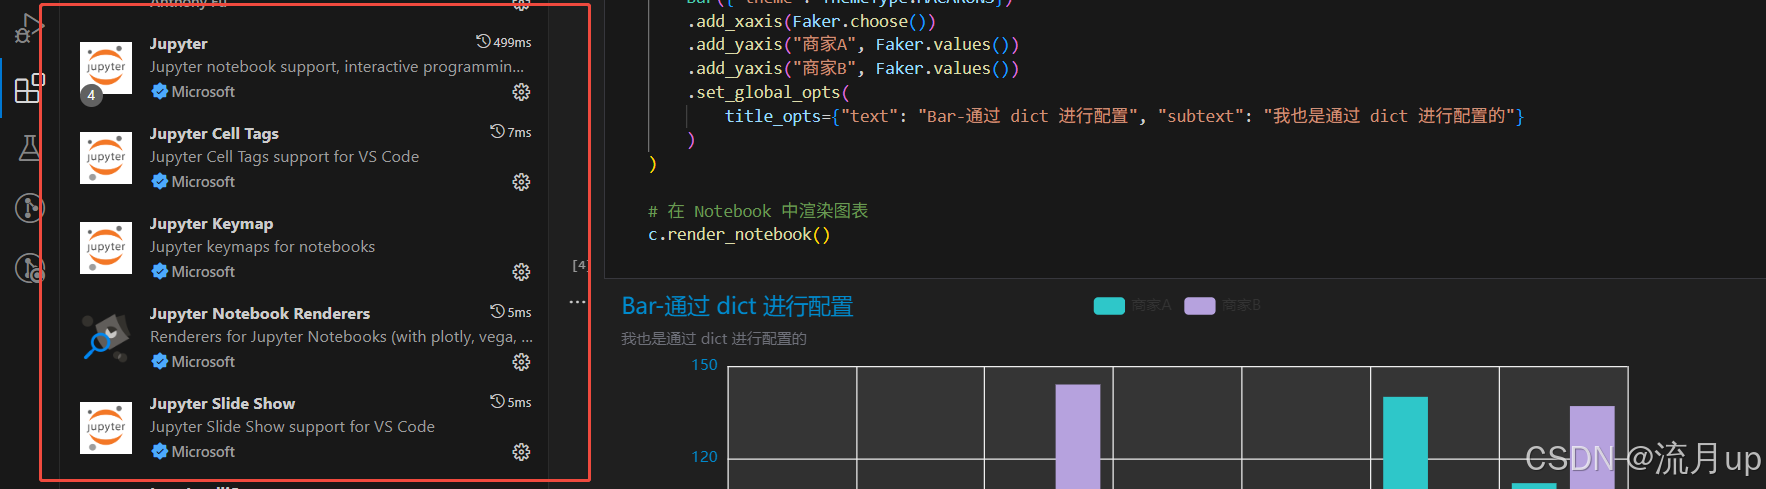
整合 vscode
安装 DataSpell
注意
安装软件没什么特别的,注意下面勾选
DataSpell 安装完成之后需要配置环境,这里暂不配置
配置运行环境
添加一个 jupyter 连接
选择 url
jupyter notebook 需要密码,做以下配置,密码:123456
成功执行
DataSpell 使用
创建 jupyter notebook文件,文档的扩展名为 .ipynb

关键
再不显示对应环境
就可以基本解决
常用快捷键
- 两种模式通用快捷键
- shit+enter,执行本单元代码,并跳转到下一单元格
- ctrl+enter,执行本单元代码,留在本单元格
- 命令模式,按esc进入
- Y,cell切换到code模式
- M,cell切换到markdown模式
- A,在当前cell的上面添加cell
- B,在当前cell的下面添加cell
- 双击D:删除当前cell
- 编辑模式,按enter进入
- 多光标操作:ctrl键点击鼠标
- 回退:ctrl+z
- 重做:ctrl+y
- 补全代码:变量、方法后跟tab
- 为一行或多行添加、取消注释 ctrl+/

有“AI”的1024 = 2048,欢迎大家加入2048 AI社区
更多推荐


 26
26 0
0- 0


 已为社区贡献2条内容

所有评论(0)