Docker(Nginx)部署Vue
·
一、准备一个vue的项目
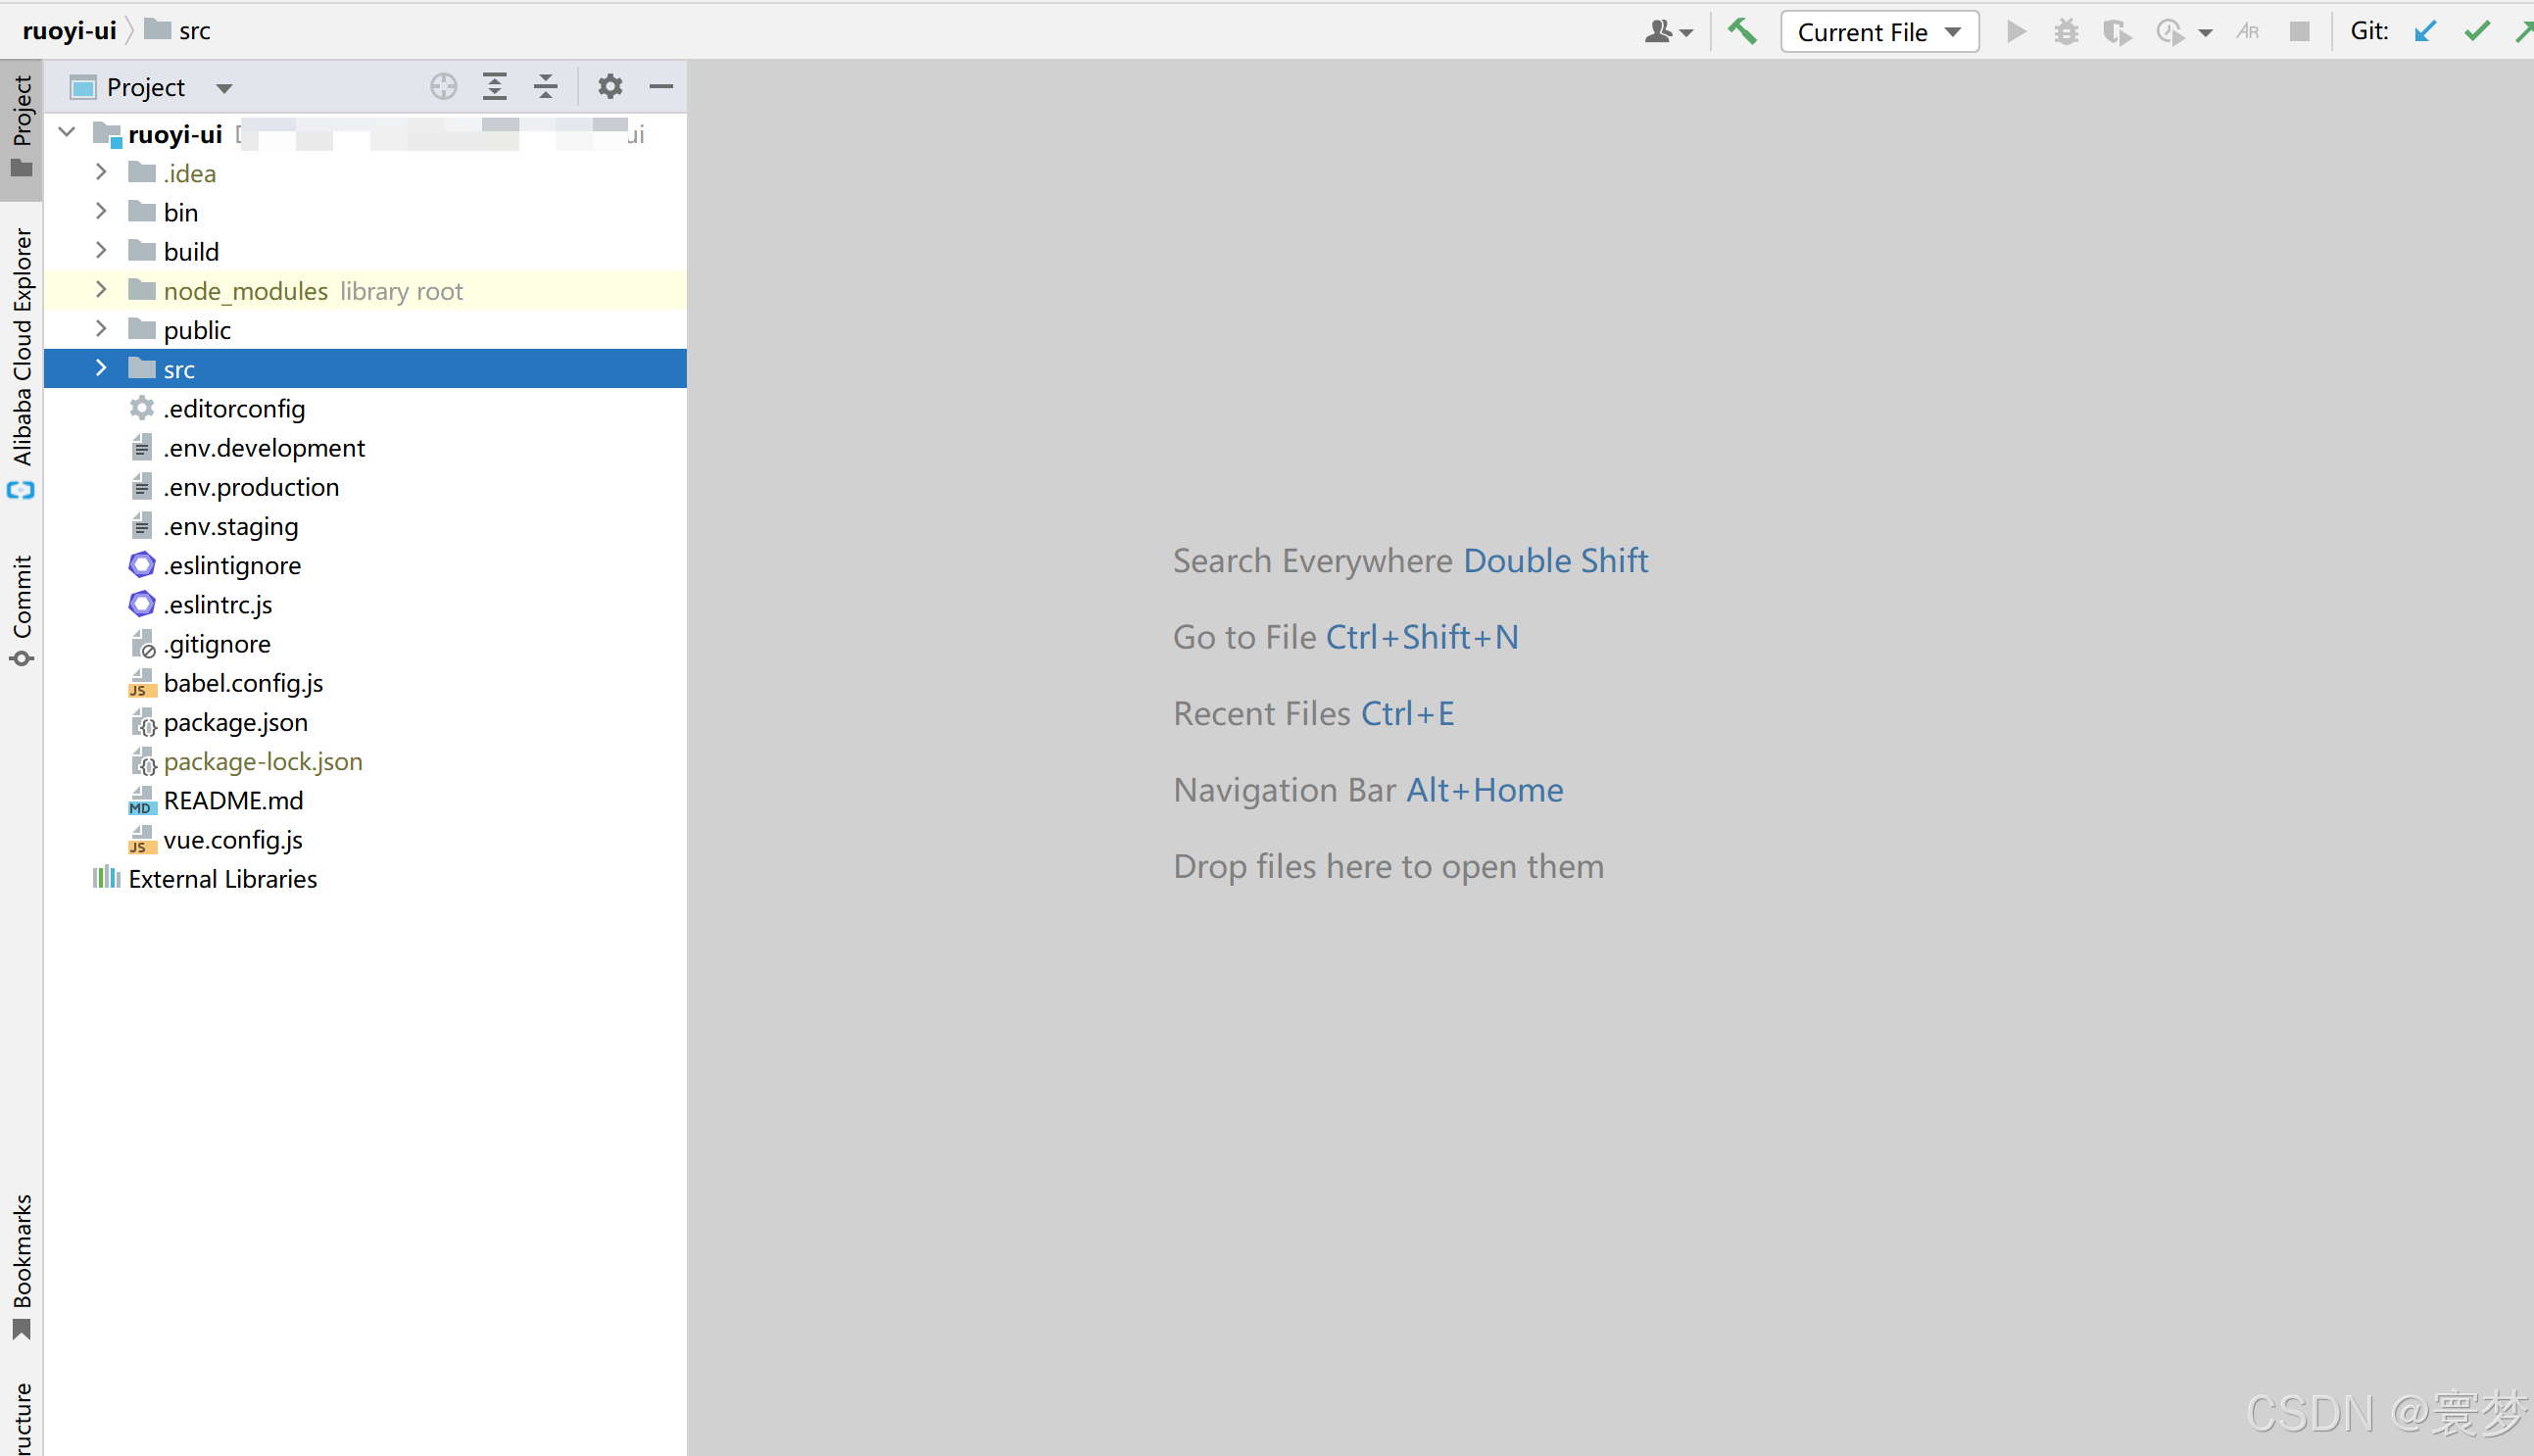
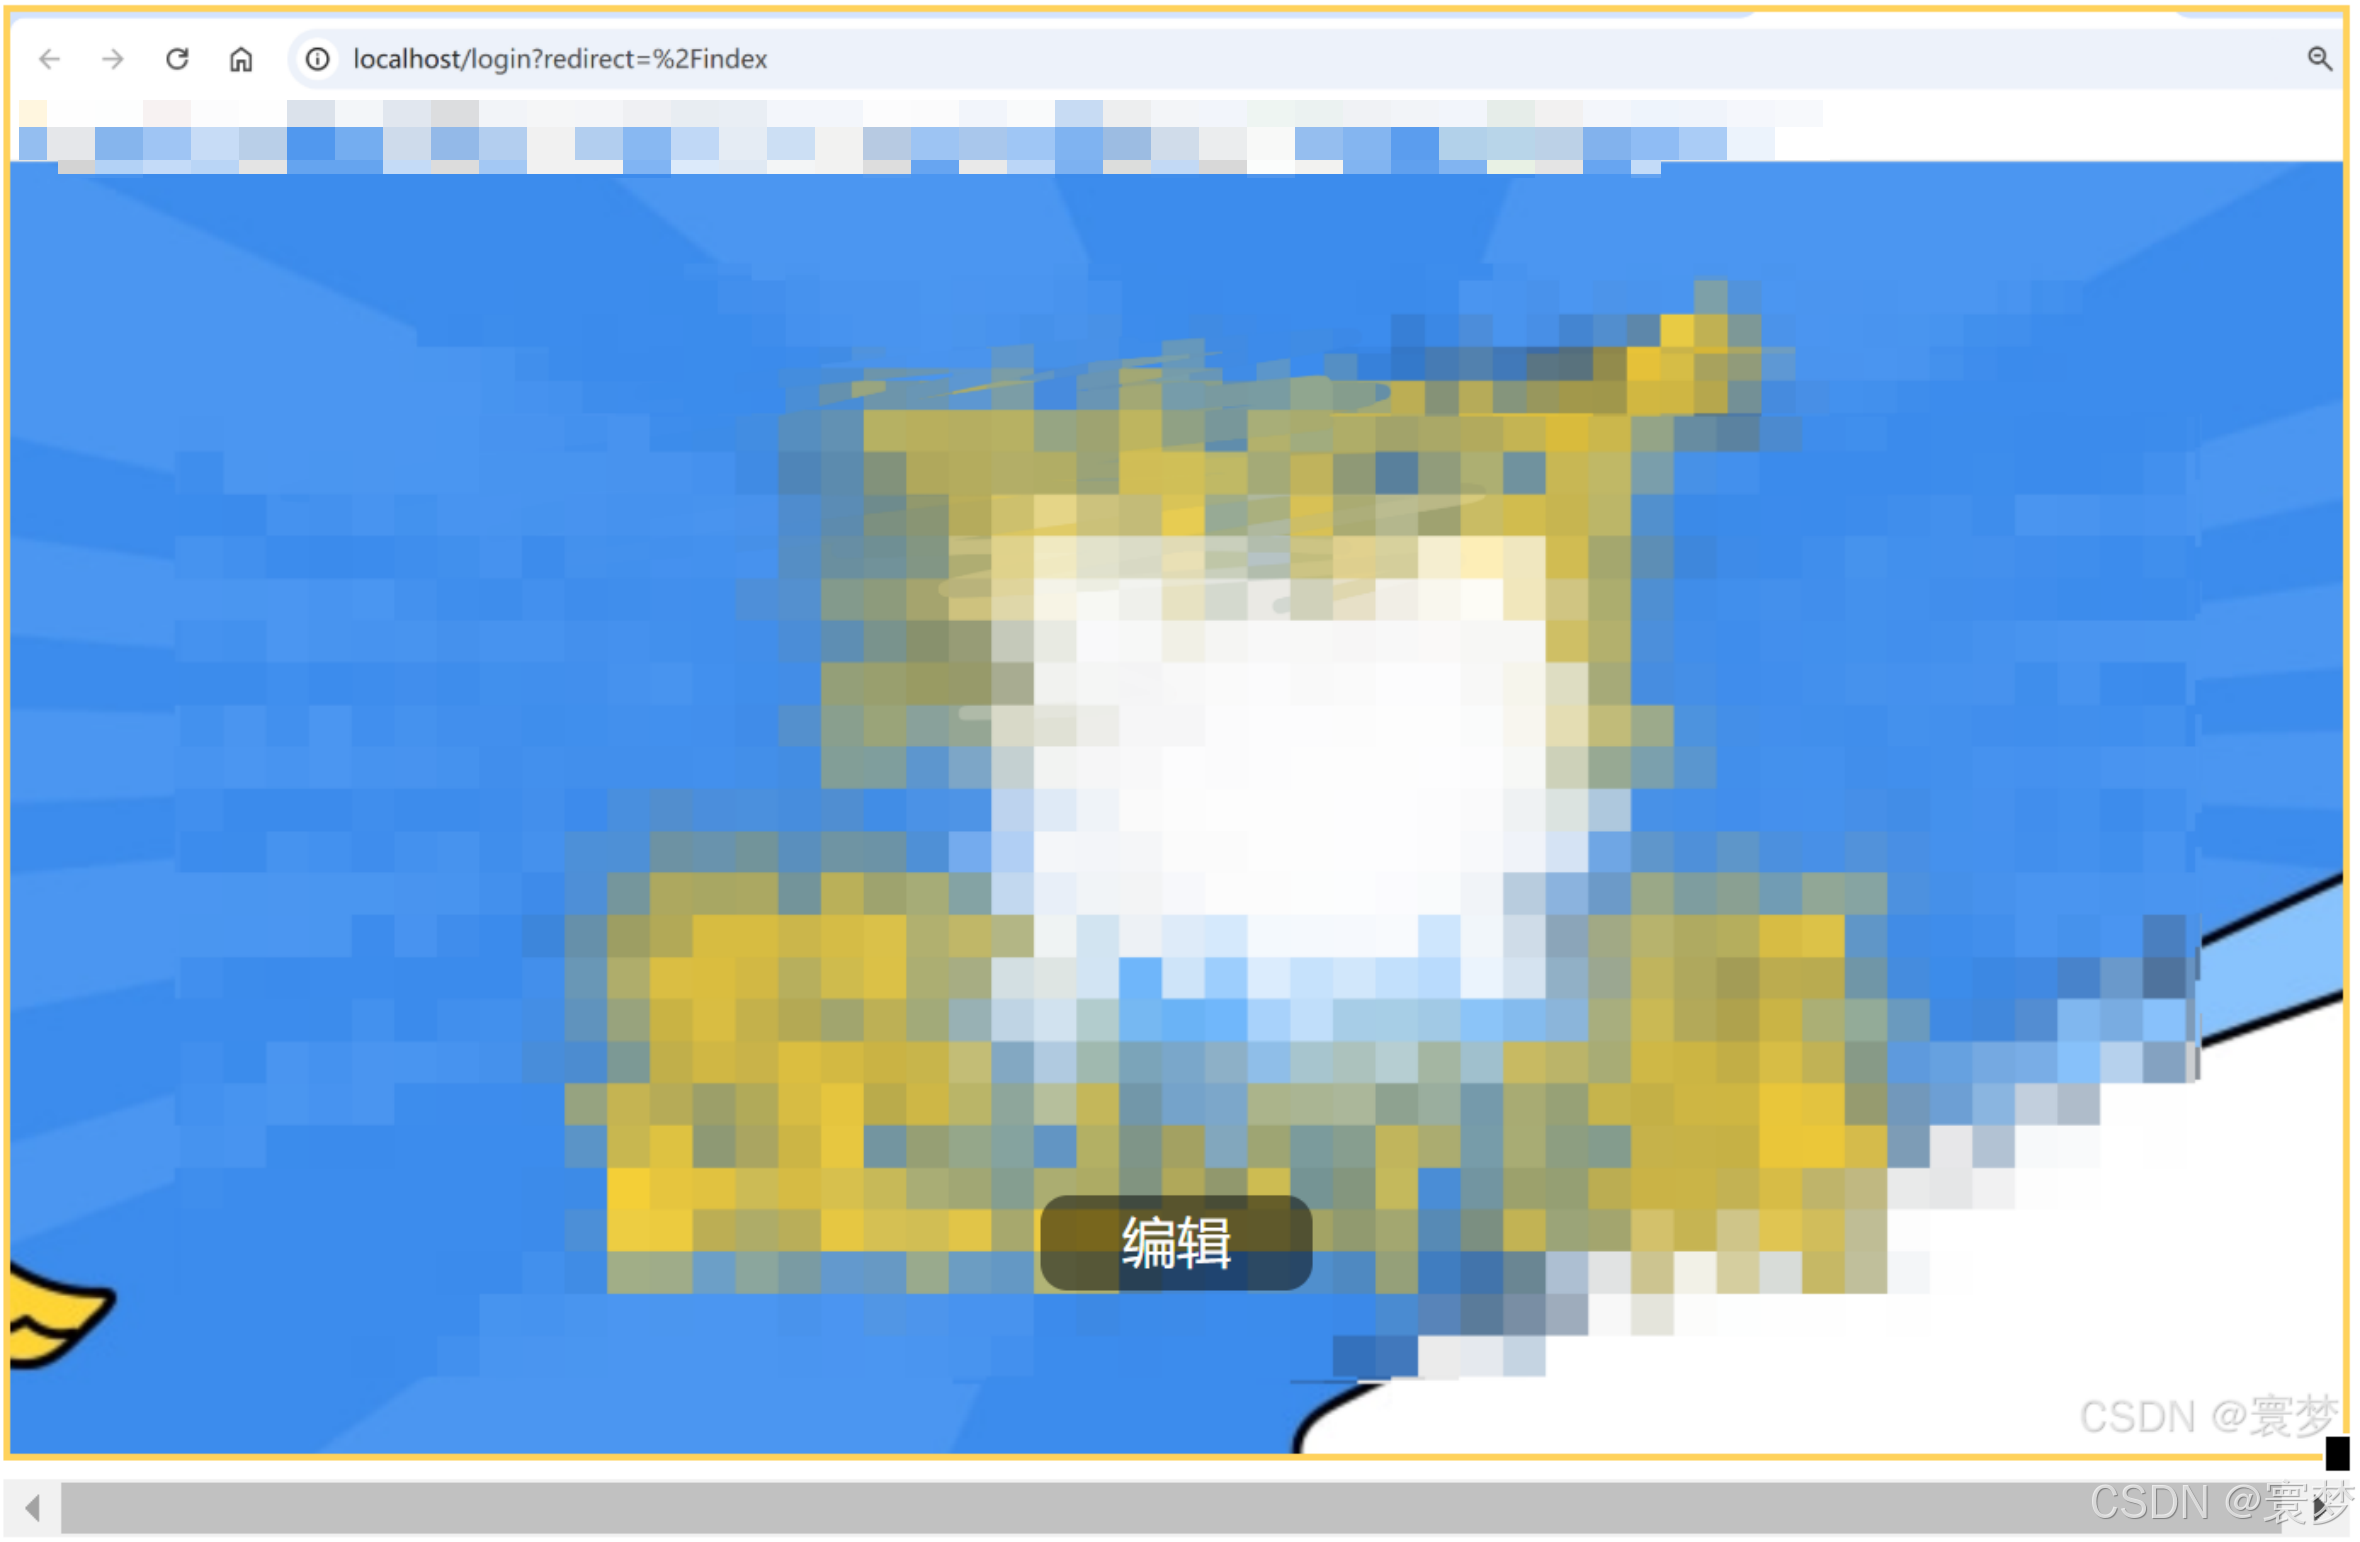
二、项目本地启动,保证本地能访问通
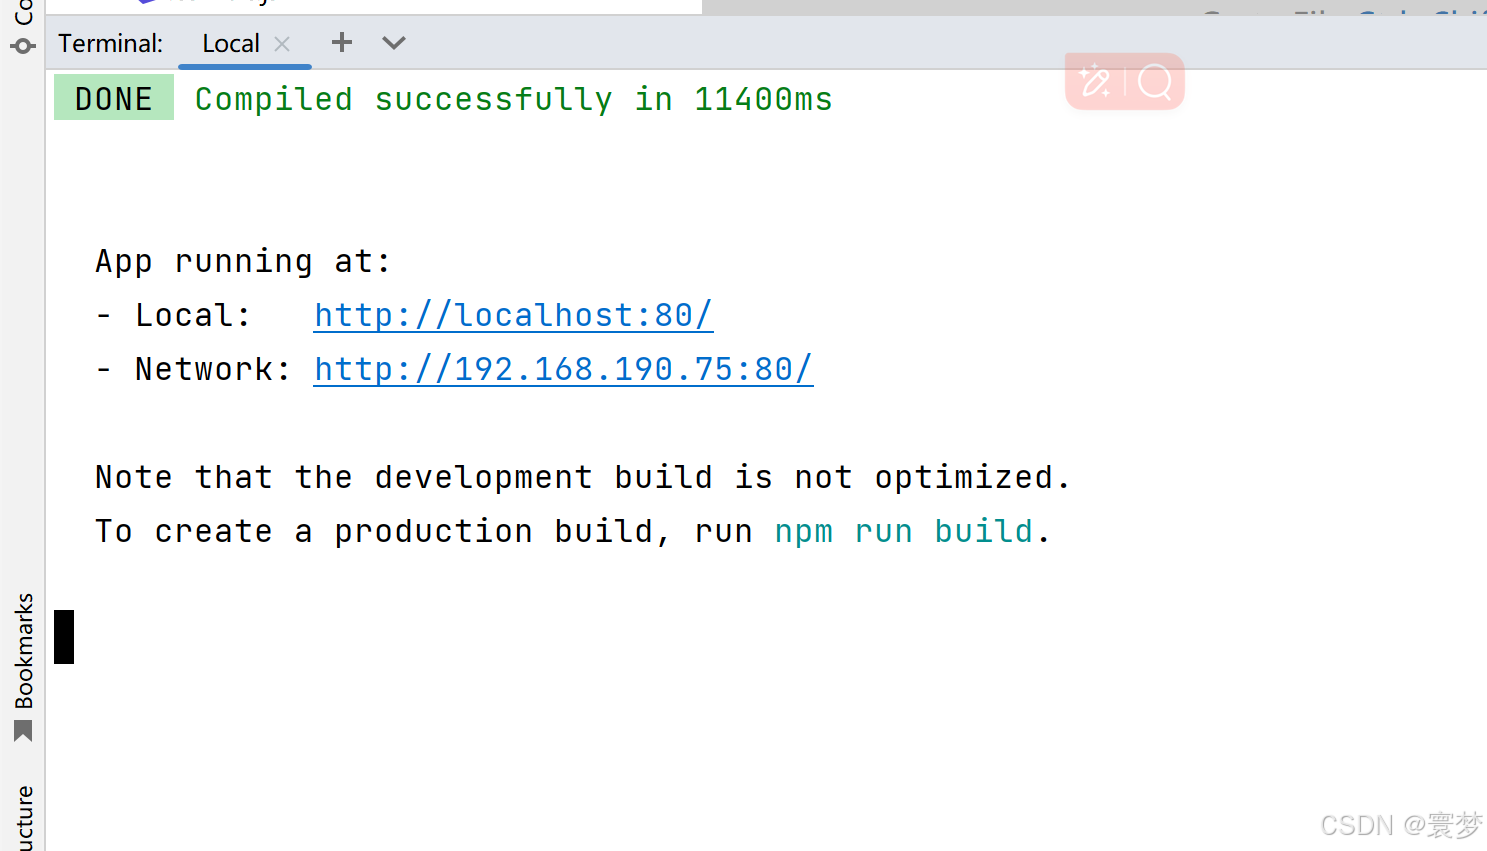
三、打包
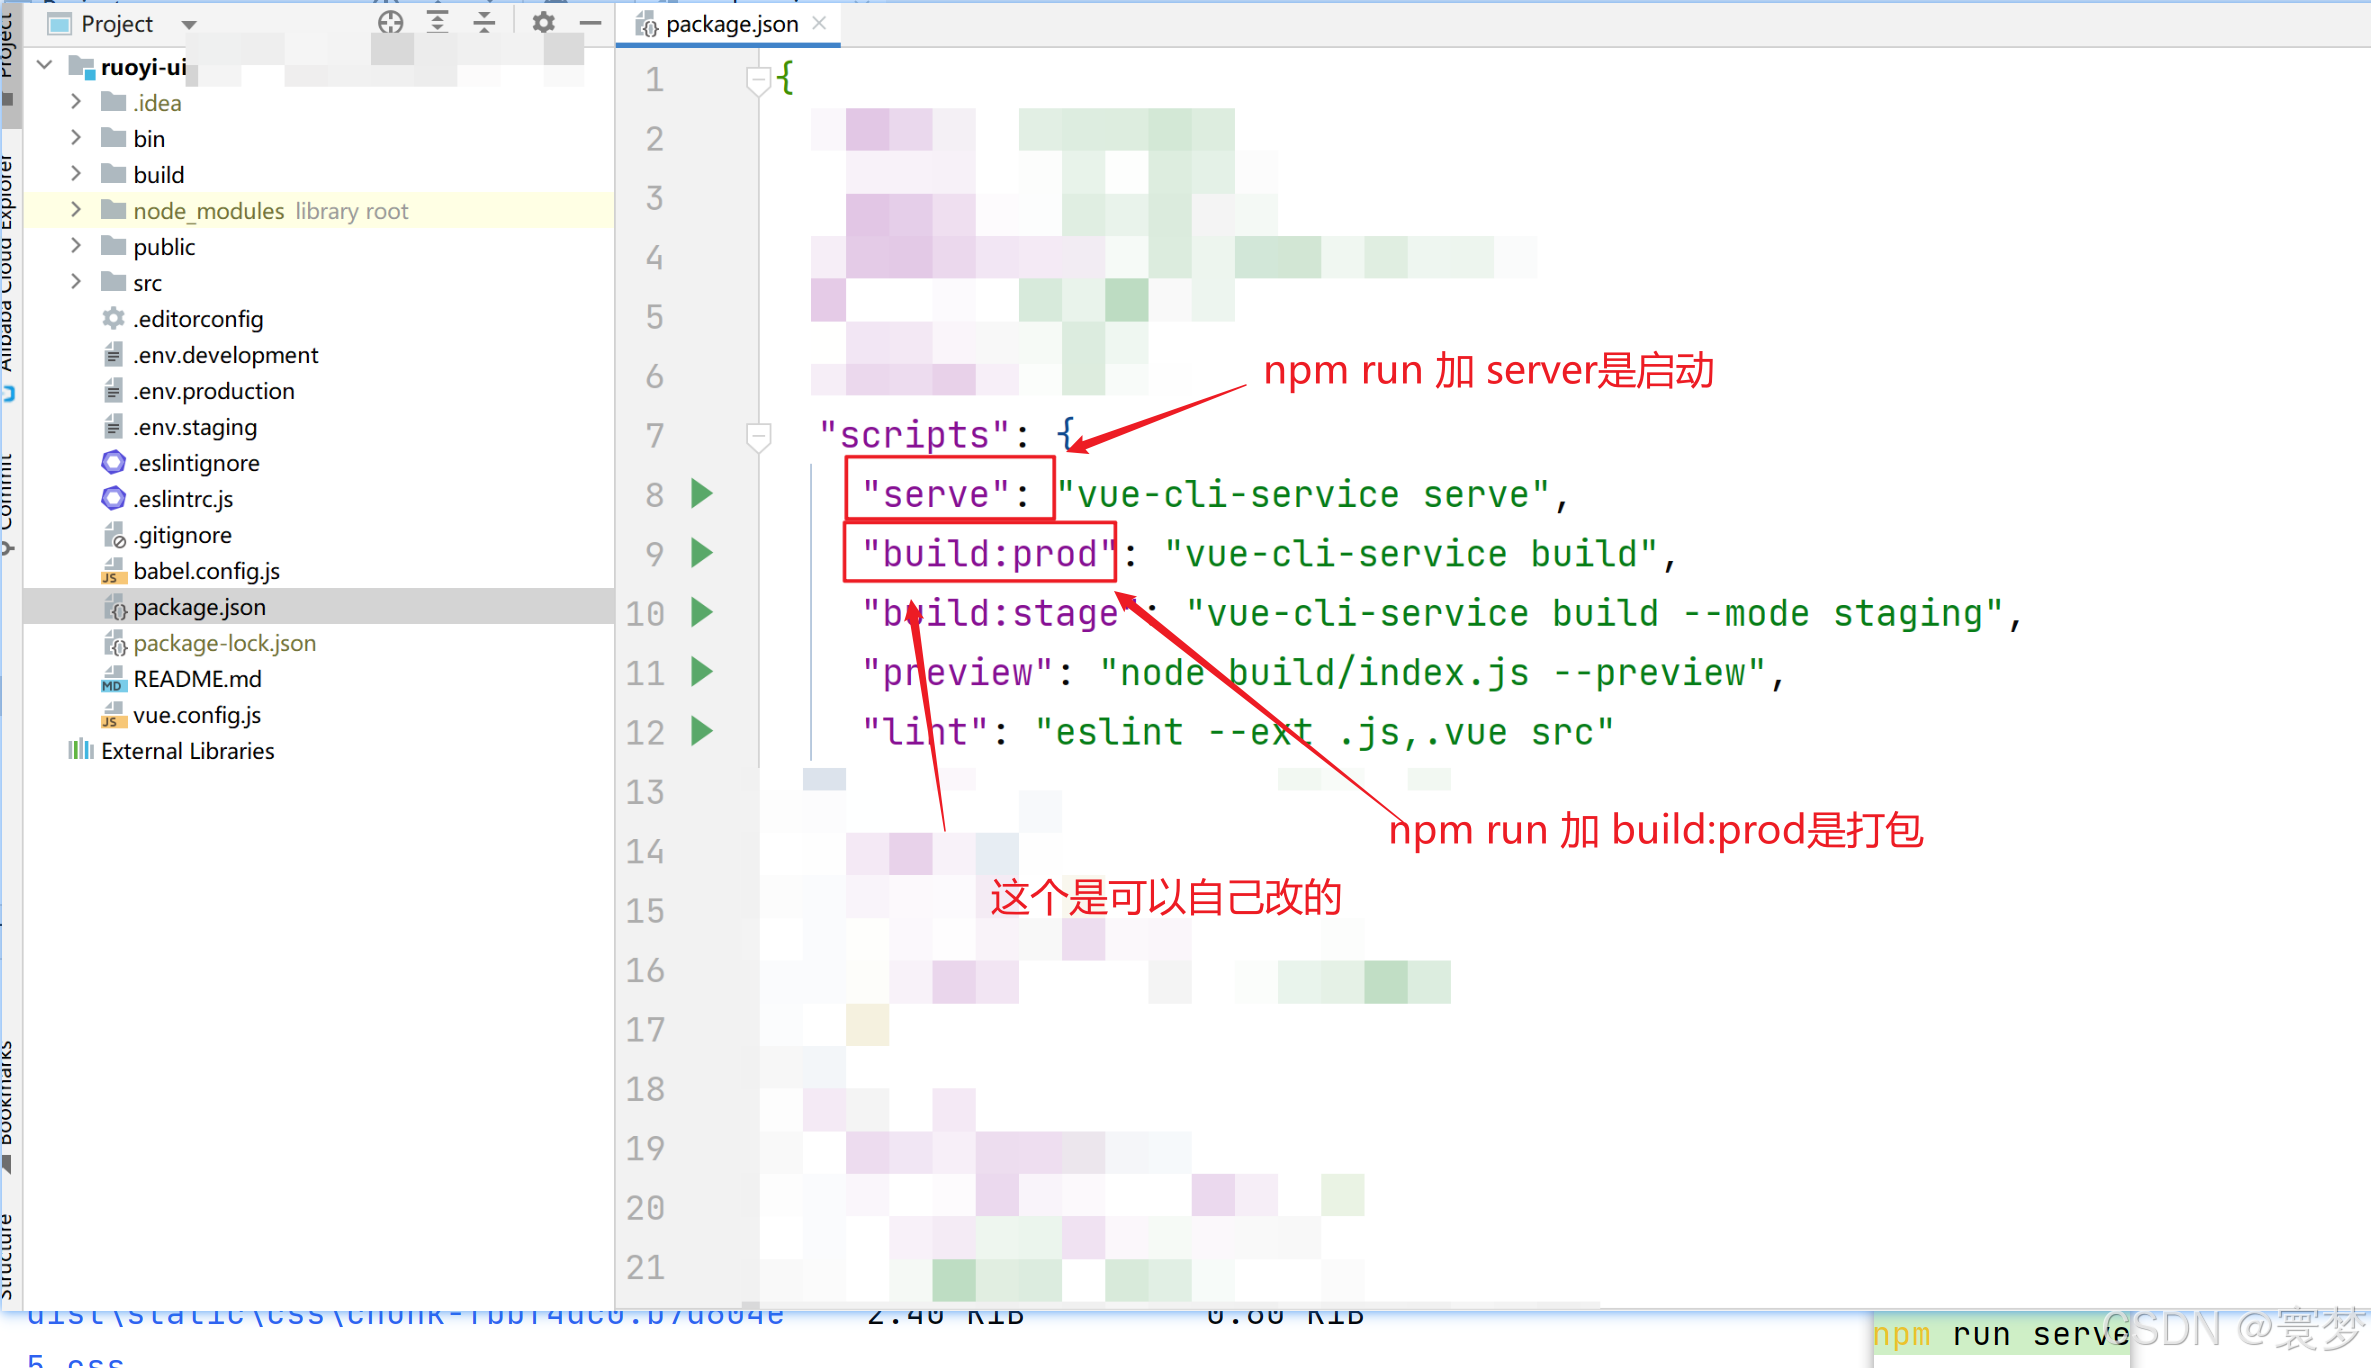
1.在项目股目录中找到package.json文件
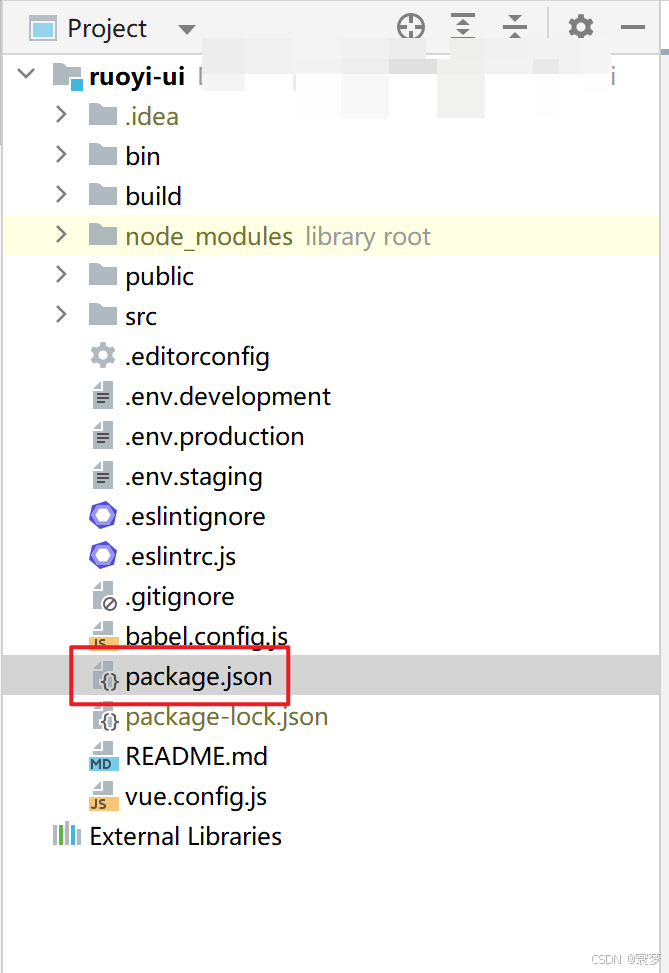
2.打包vue项目
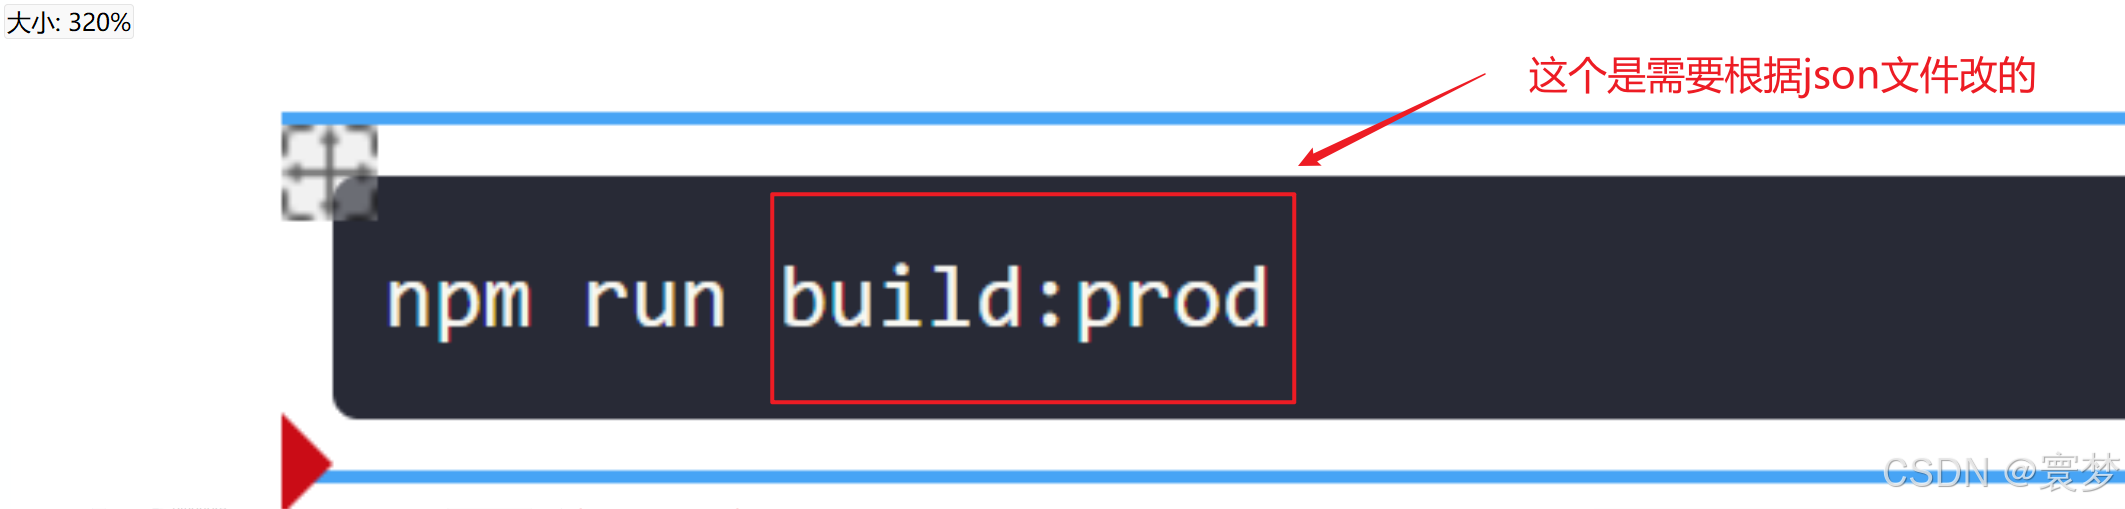
运行打包命令
npm run build:prod
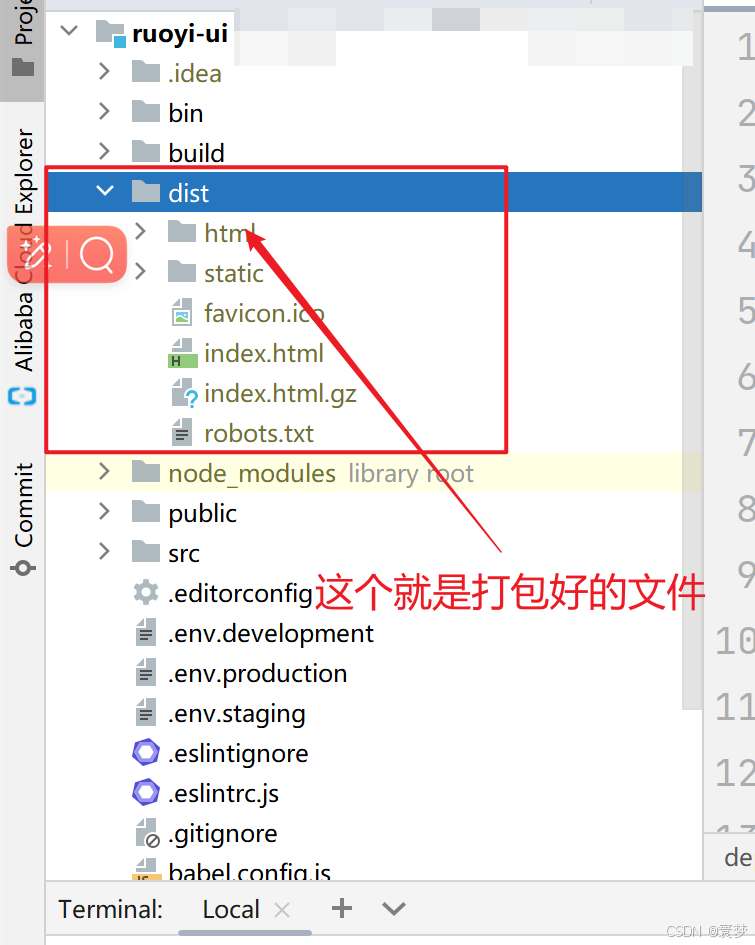
3.打包成功
四、服务器部署
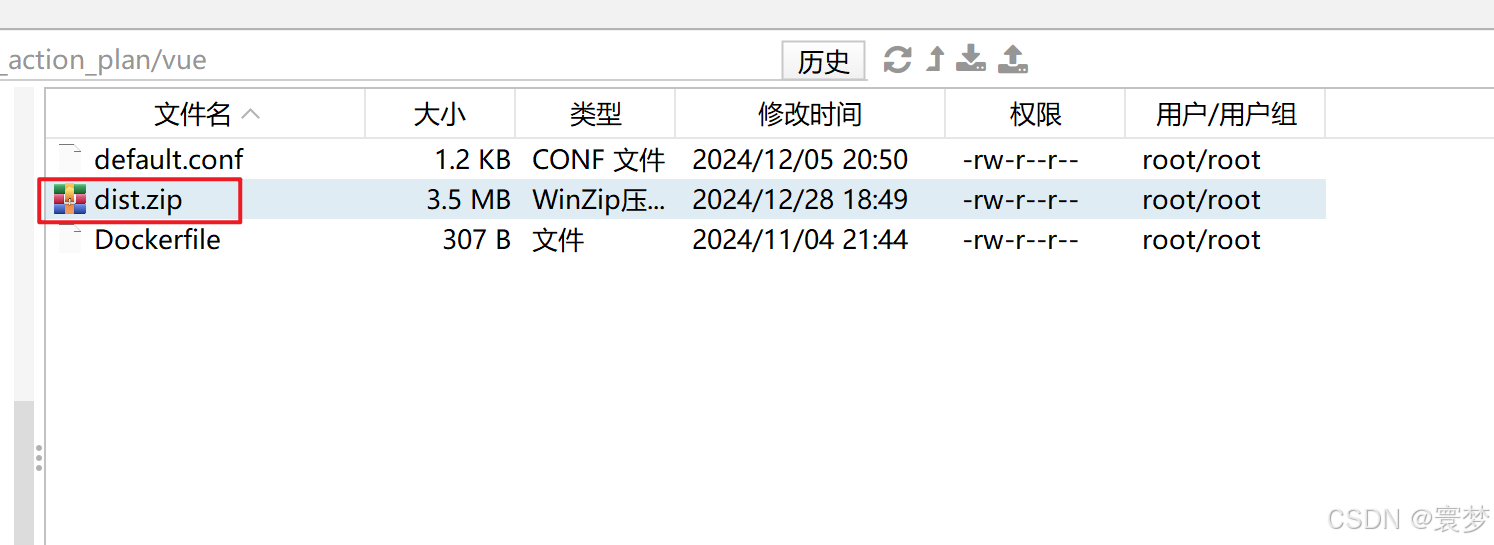
1.打包文件上传服务器
文件位置自定义,推荐打包上传这样快
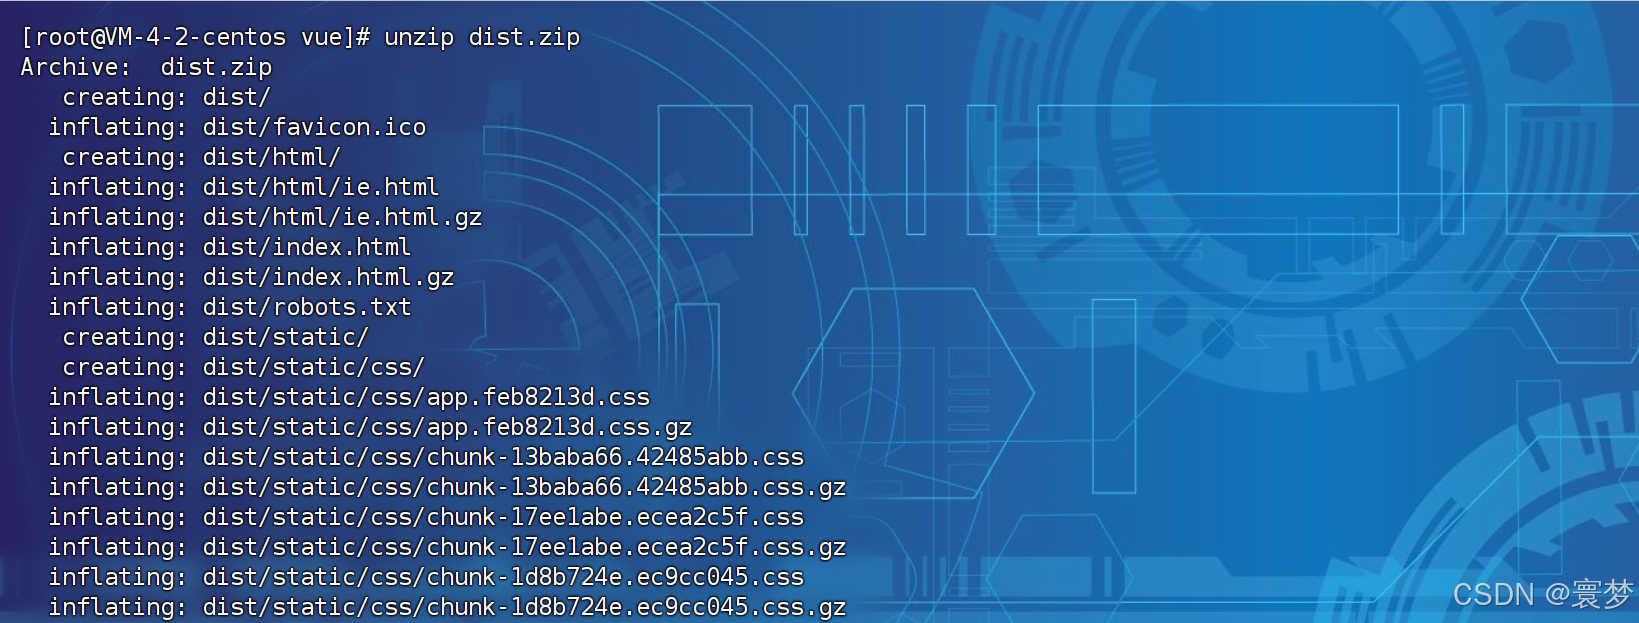
2.文件解压缩
unzip 文件名
 3.创建文件
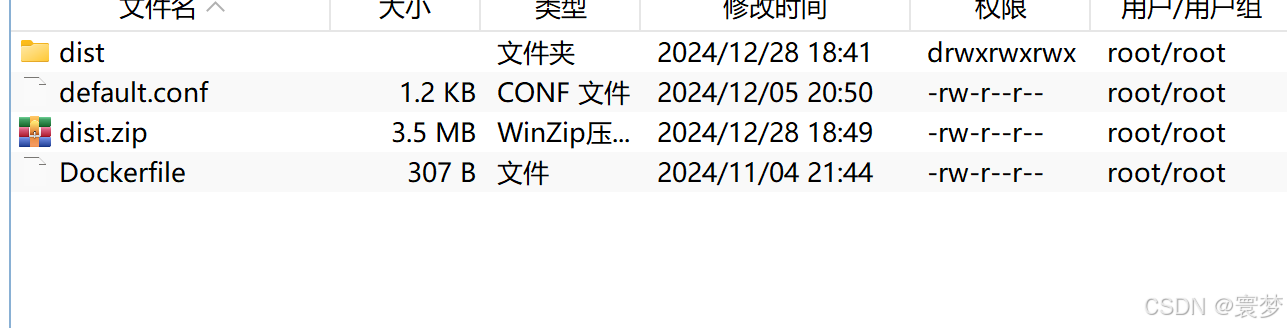
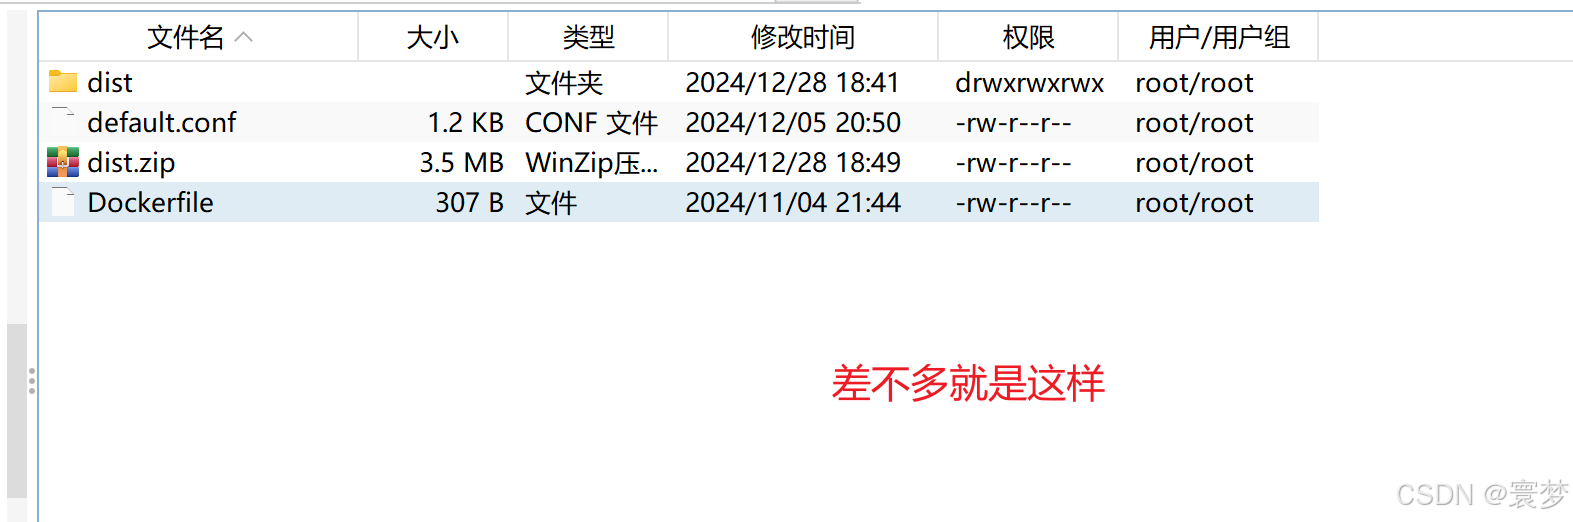
创建Dockerfile 和default.conf文件
vim default.conf
vim Dockerfile
4.编辑文件
(1)default.conf文件
server {
    listen       80;
    server_name  127.0.0.1;

    #charset koi8-r;
    #access_log  /var/log/nginx/log/host.access.log  main;

    location / {
        root   /usr/share/nginx/html;
        try_files $uri $uri/ /index.html
        index  index.html index.htm;
    }

    location /prod-api/ {
        proxy_pass  http://127.0.0.1:18080/;
    }

    #error_page  404              /404.html;

    # redirect server error pages to the static page /50x.html
    #
    error_page   500 502 503 504  /50x.html;
    location = /50x.html {
        root   html;
    }

    # proxy the PHP scripts to Apache listening on 127.0.0.1:80
    #
    #location ~ \.php$ {
    #    proxy_pass   http://127.0.0.1;
    #}

    # pass the PHP scripts to FastCGI server listening on 127.0.0.1:9000
    #
    #location ~ \.php$ {
    #    root           html;
    #    fastcgi_pass   127.0.0.1:9000;
    #    fastcgi_index  index.php;
    #    fastcgi_param  SCRIPT_FILENAME  /scripts$fastcgi_script_name;
    #    include        fastcgi_params;
    #}

    # deny access to .htaccess files, if Apache's document root
    # concurs with nginx's one
    #
    #location ~ /\.ht {
    #    deny  all;
    #}
}
代理可以根据需求配置,不强求
(2)Dockerfile文件
# 使用nginx镜像
FROM nginx
# 作者
MAINTAINER cmh
# 删除nginx 默认配置
RUN rm /etc/nginx/conf.d/default.conf
# 添加我们自己的配置 default.conf 在下面
ADD default.conf /etc/nginx/conf.d/
# 把刚才生成dist文件夹下的文件copy到nginx下面去
COPY dist/  /usr/share/nginx/html/
配置文件要和dist文件放在同一目录下
5.打包镜像,容器启动
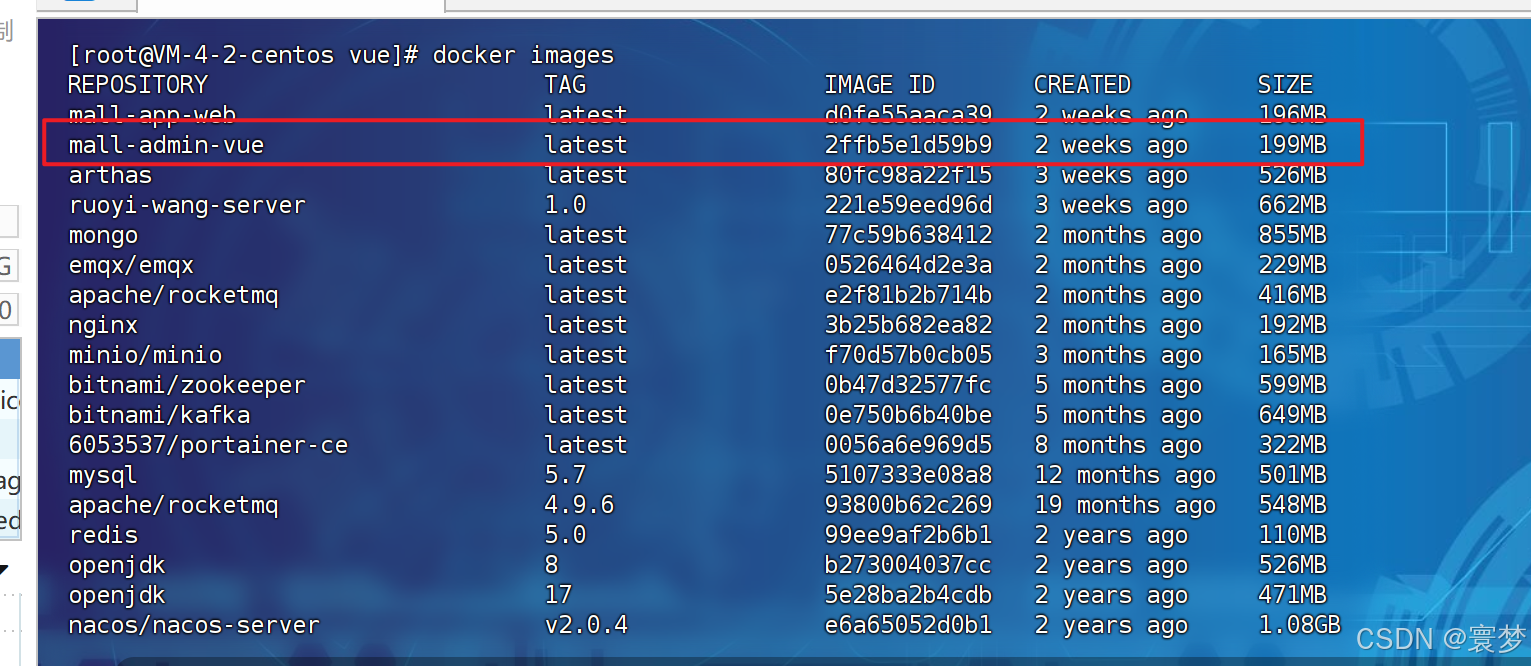
(1)打包镜像
“ . ” 这个点不要省略
docker build -t mall-admin-vue .
(2)容器运行
docker run -d --name mall-admin-vue -p 8088:80 mall-admin-vue
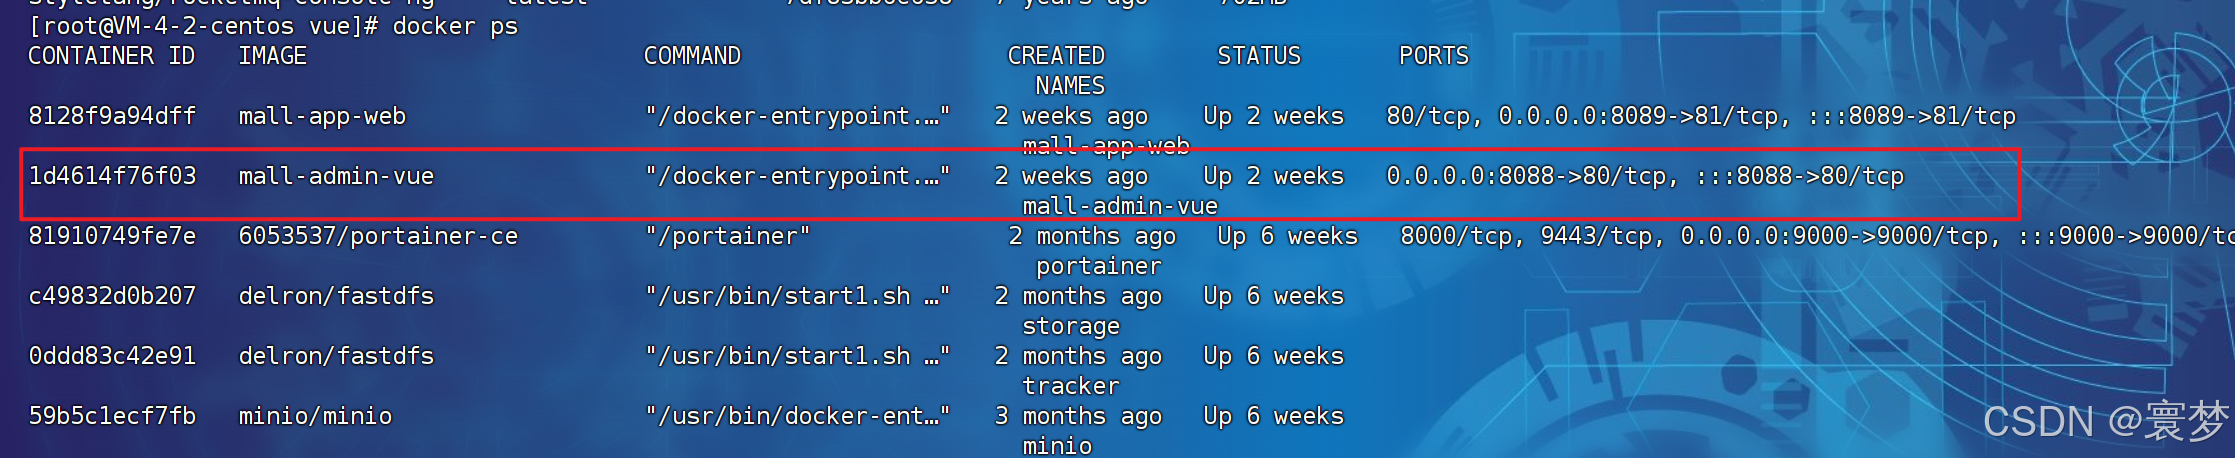
五、测试
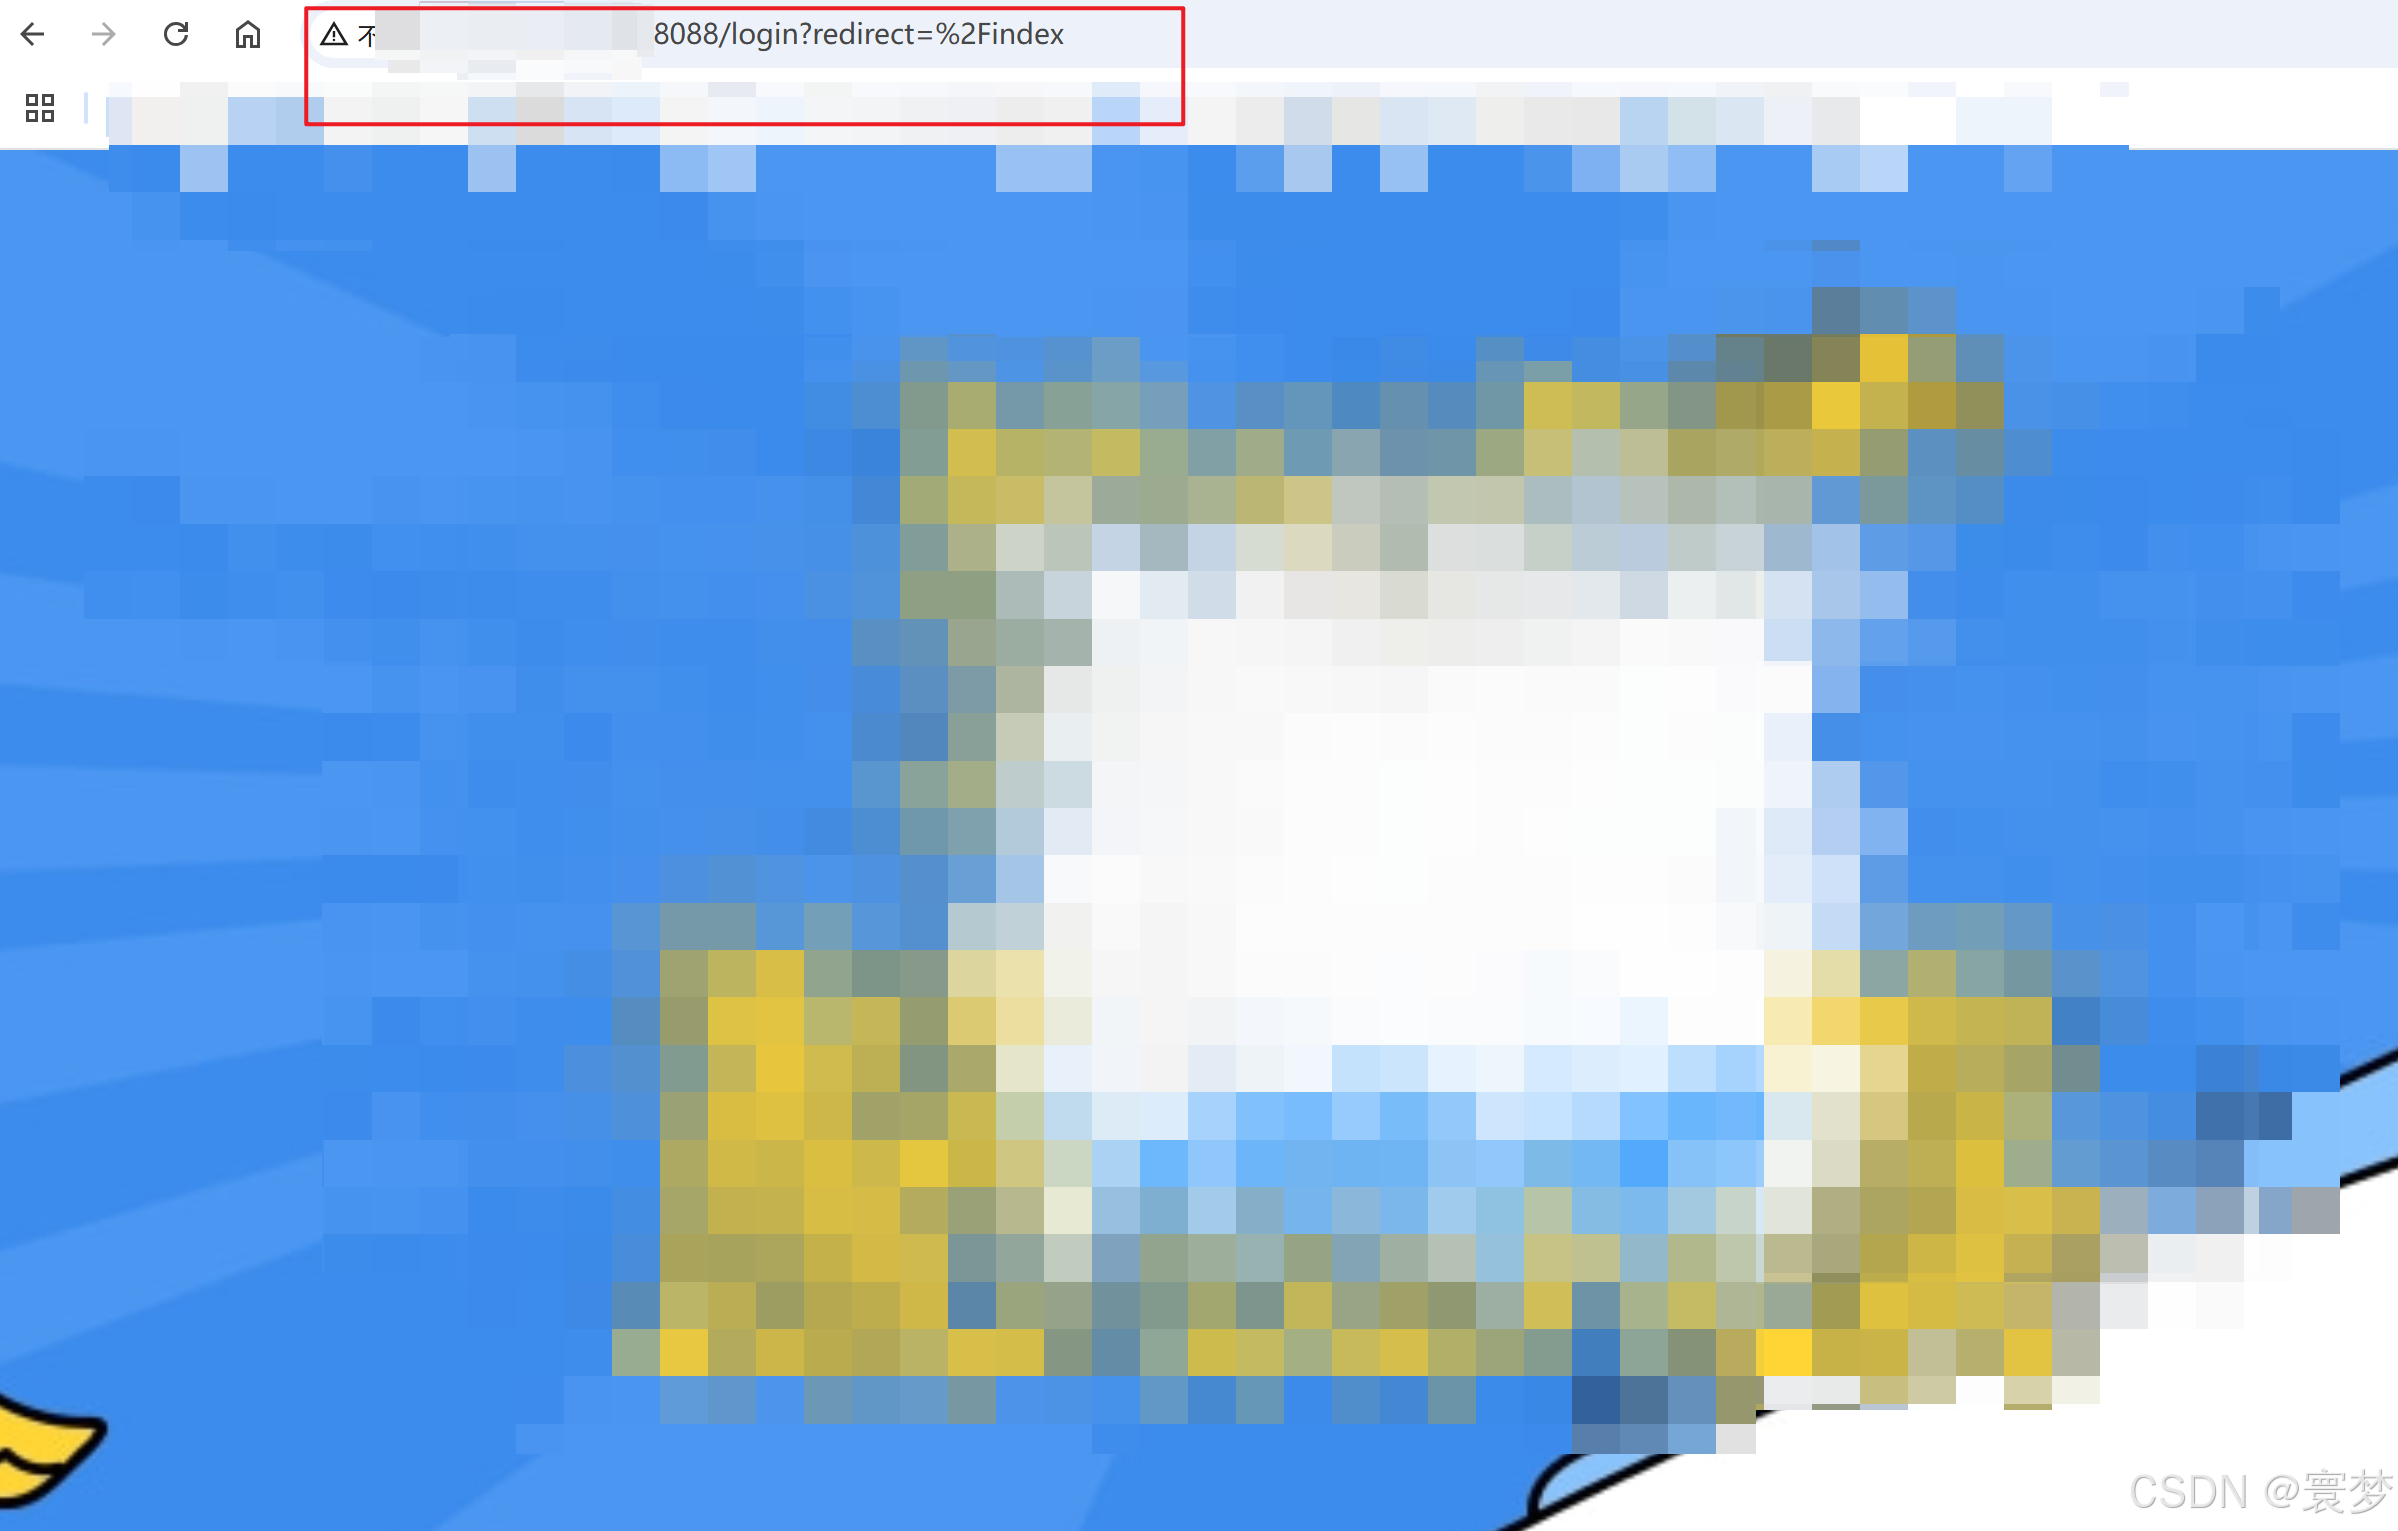
浏览器通过ip+端口访问

有“AI”的1024 = 2048,欢迎大家加入2048 AI社区
更多推荐

 13
13 0
0- 0


 已为社区贡献2条内容

所有评论(0)