Sy3文件系统管理
linux操作系统sy3实验内容文件系统管理,从创建磁盘分区开始,建立文件系统格式,然后挂载使用;以及查看文件的权限和修改。适用于本科课程:linux操作系统应用的实验。
1、实验内容
2、实验内容
3、实验报告
…
4、思考题
|
实验环境: 宿主机为win11 Vmware workstaion 17 目标机的OS: Ubuntu 2004 网络:NAT 获取地址:192.168.248.131/24 DNS,DHCP:192.168.248.2
|
|
|
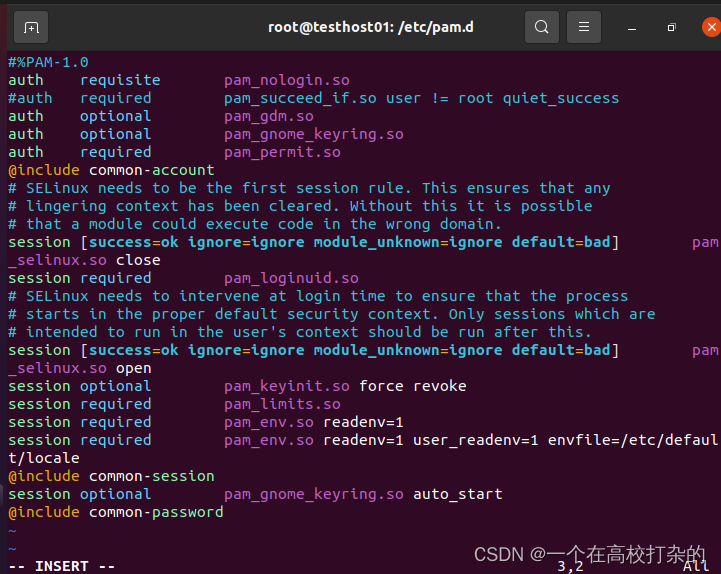
实验前启用root登录: 为了方便使用虚拟机GUI的root可以登录,先启用下root的登录权限配置。 网上查了下主要是解决系统禁止root账户登录GUI。 S1,登录test普通用户的GUI后su - root账户操作,进入etc目录下 编辑vim pam.d/gdm-autologin 文件 把文件中的 auth required pam_succeed_if.so user != root quiet_success 注释掉。
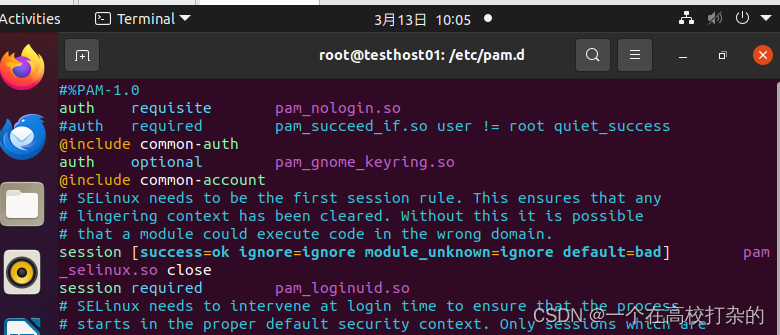
S2,进入etc目录下 编辑vim pam.d/gdm-password 文件 把文件中的 auth required pam_succeed_if.so user != root quiet_success 注释掉。
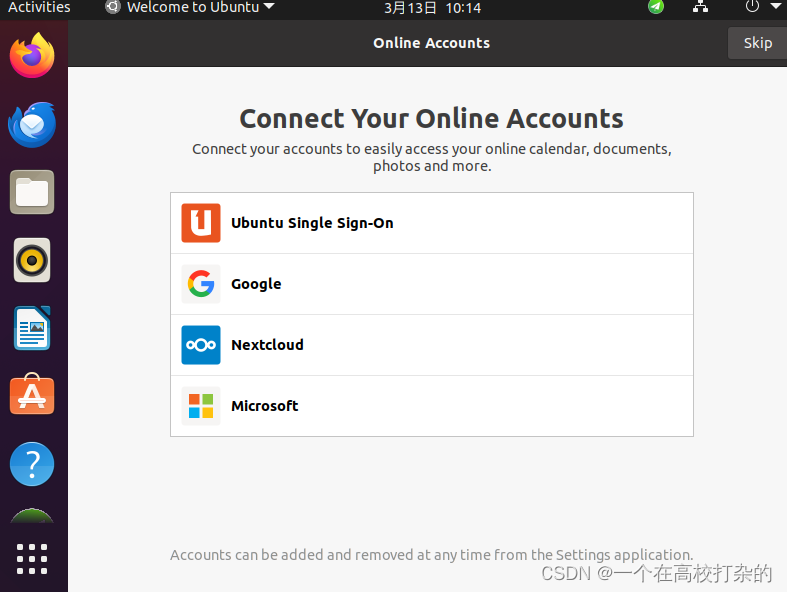
S3,init 6重起就可以了。不需要重置root的密码(原先在test账户下就直接使用sudo password root创建的root账户和密码)
|
|
|
实验内容: 1.在虚拟机添加一个硬盘(磁盘)用fdisk创建分区(parted建立另外一个磁盘) 2.用mkfs建立ms-dos,ext3/4或xfs文件系统 3.用mount命令挂载新建的文件系统 4.用df查看安装的文件系统情况 5.mount自己的u盘文件系统并查看格式 6.ls -l查看文件详细信息 7.修改文件的特殊权限(任选一个文件) 8.umount命令卸载之前挂载的文件系统 |
|
|
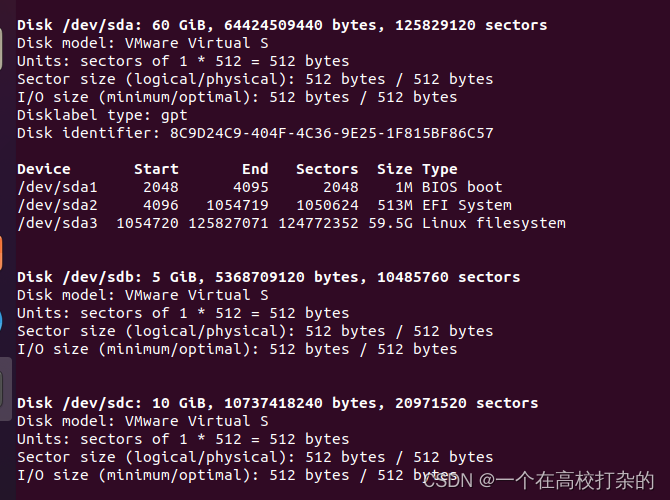
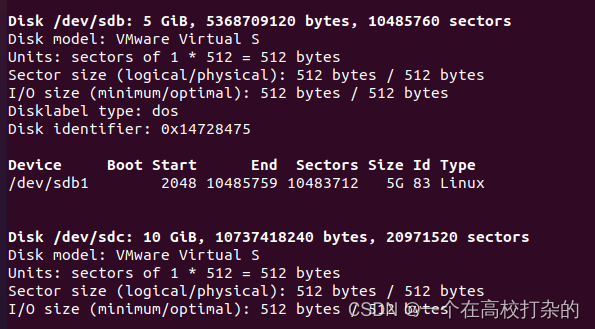
实验记录,以下作为参考 (实验不会按步骤写,防止0成本copy,需要童鞋们自己完成) 新增两块磁盘(操作见录屏)一块5GB,另外一块10GB大小 A、用fdisk操作第一块盘sdb,磁盘格式分区,并建立对应的文件系统。 root@testhost01:~/Desktop# fdisk -l |grep 'Disk /dev/sd*' Disk /dev/sda: 60 GiB, 64424509440 bytes, 125829120 sectors Disk /dev/sdb: 5 GiB, 5368709120 bytes, 10485760 sectors Disk /dev/sdc: 10 GiB, 10737418240 bytes, 20971520 sectors root@testhost01:~/Desktop#
操作命令如下;fdisk /dev/sdb mM p n n 弹出created a new partition 1 of type 'Linux' and of size 5 GiB. p w Command (m for help): w The partition table has been altered. Calling ioctl() to re-read partition table. Syncing disks. 再查看fdisk -l
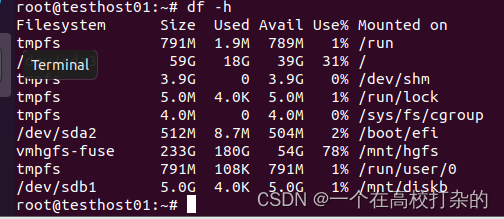
root@testhost01:~/Desktop# mkfs.msdos /dev/sdb1 mkfs.fat 4.1 (2017-01-24) root@testhost01:~/Desktop# fdisk -l 然后就可以使用了 root@testhost01:~# mount /dev/sdb1 /mnt/diskb mount: /mnt/diskb: /dev/sdb1 already mounted on /mnt/diskb. root@testhost01:~# 可以查看下df -h
B、用parted操作第二块盘sdc,同样先磁盘格式化分区,在建立系统后,挂载使用。
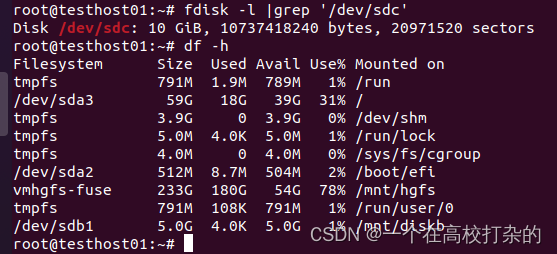
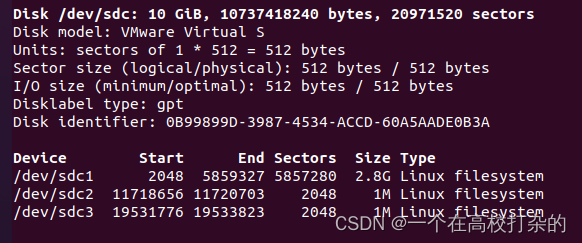
root@testhost01:~# parted /dev/sdc GNU Parted 3.3 Using /dev/sdc Welcome to GNU Parted! Type 'help' to view a list of commands. (parted) help (parted) mklabel gpt (parted) mkpart p1 1 3G (parted) mkpart 3G 6G End? 6G (parted) mkpart 6G 10G End? 10G (parted) print Model: VMware, VMware Virtual S (scsi) Disk /dev/sdc: 10.7GB Sector size (logical/physical): 512B/512B Partition Table: gpt Disk Flags: Number Start End Size File system Name Flags 1 1049kB 3000MB 2999MB p1 2 6000MB 6001MB 1049kB 3G 3 10.0GB 10.0GB 1049kB 6G (parted) quit Information: You may need to update /etc/fstab. root@testhost01:~# fdisk -l |grep '/dev/sdc*'
然后格式化分区,使用mkfs把sdc1格式化为ext4,后转换为ntfs,把sdc2格式化为ext3,把sdc3格式化为ext2 root@testhost01:~# mkfs. mkfs.bfs mkfs.ext2 mkfs.ext4 mkfs.minix mkfs.ntfs mkfs.cramfs mkfs.ext3 mkfs.fat mkfs.msdos mkfs.vfat root@testhost01:~# mkfs.ext4 /dev/sdc1 mke2fs 1.45.6 (20-Mar-2020) Creating filesystem with 732160 4k blocks and 183264 inodes Filesystem UUID: 8456f6f6-0ac1-4580-b730-50b44d8739fb Superblock backups stored on blocks: 32768, 98304, 163840, 229376, 294912 Allocating group tables: done Writing inode tables: done Creating journal (16384 blocks): done Writing superblocks and filesystem accounting information: done root@testhost01:~# mkfs.ext3 /dev/sdc2 mke2fs 1.45.6 (20-Mar-2020) Filesystem too small for a journal Creating filesystem with 256 4k blocks and 128 inodes Allocating group tables: done Writing inode tables: done Writing superblocks and filesystem accounting information: done root@testhost01:~# mkfs.ntfs /dev/sdc3 Device is too small (1023kiB). Minimum NTFS volume size is 1MiB. root@testhost01:~# mkfs.ntfs /dev/sdc1 Cluster size has been automatically set to 4096 bytes. Initializing device with zeroes: 100% - Done. Creating NTFS volume structures. mkntfs completed successfully. Have a nice day. root@testhost01:~# mkfs.ext2 /dev/sdc3 mke2fs 1.45.6 (20-Mar-2020) Creating filesystem with 256 4k blocks and 128 inodes Allocating group tables: done Writing inode tables: done Writing superblocks and filesystem accounting information: done root@testhost01:~#
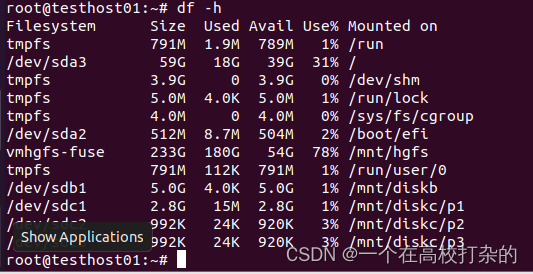
最后就是挂载使用mount root@testhost01:~# mkdir -p /mnt/diskc/p{1..3} root@testhost01:~# ls /mnt/diskc/ p1 p2 p3 root@testhost01:~# mount /dev/sdc1 /mnt/diskc/p1 root@testhost01:~# mount /dev/sdc2 /mnt/diskc/p2 root@testhost01:~# mount /dev/sdc3 /mnt/diskc/p3 root@testhost01:~#
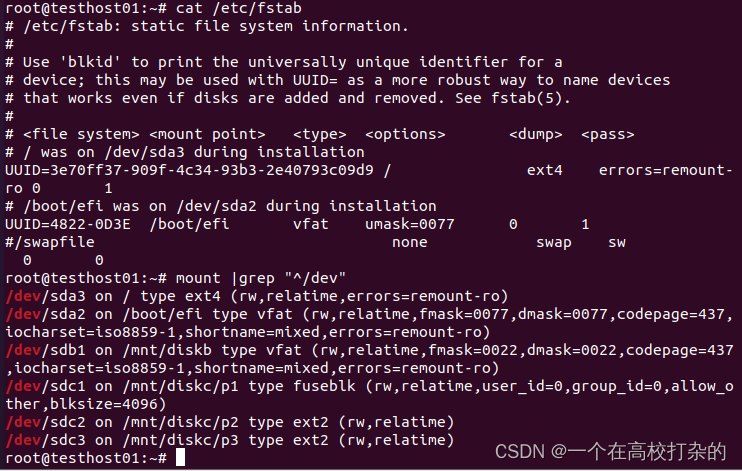
C、umount的使用 如果需要卸载文件系统,直接使用umount “源文件” 或者umount “目标文件” 首先先查看挂载了哪些磁盘,可以使用df -h或者mount |grep "^/dev"
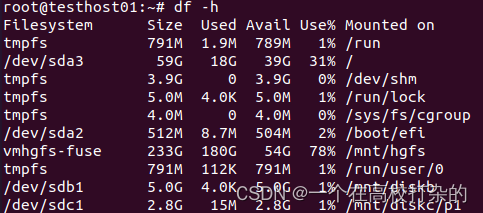
root@testhost01:~# umount /mnt/diskc/p3 root@testhost01:~# umount /dev/sdc2 后查看:
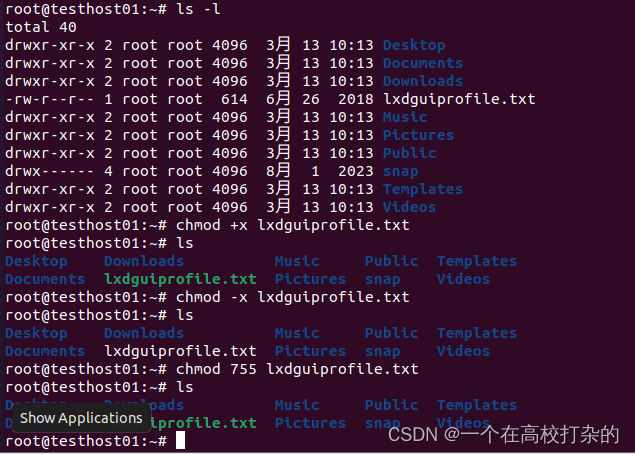
D、查看文件类型ls -l或者ll
需要解释文件权限。 E、修改文件类:chmod +x filename或者chmod 755 filename,操作如下
查看修改权限前后的变化,请自行理解。 本次实验结束。 |


有“AI”的1024 = 2048,欢迎大家加入2048 AI社区
更多推荐


 14
14 0
0- 0


 已为社区贡献5条内容

所有评论(0)