【2026前端转 AI 全栈指南】第 2 章:开发环境准备
第 2 章 · 开发环境准备
本章目录
开场白
【2026前端转 AI 全栈指南】第 1 章:前言 · 后端架构 · 章节导览 我们讲了 为什么要做这套教程、v1 要跑通哪条链路。
本章的目标:把开发环境配齐,并把 TypeScript 练到能跟后续 NestJS / Nuxt 代码。
本章不包含: NestJS 项目创建、Nuxt 项目创建、MongoDB(分别在 NestJS 教学 / 后续实战章 / 第 4 章数据库 展开)。
学完本章你将拥有:
- Node.js ≥ 20、pnpm ≥ 9、Git、VS Code 插件与设置就绪
- 能独立创建并运行一个
ts-practice/练习工程 - 掌握本教程必备的 TS 语法,并完成 3 个小实战

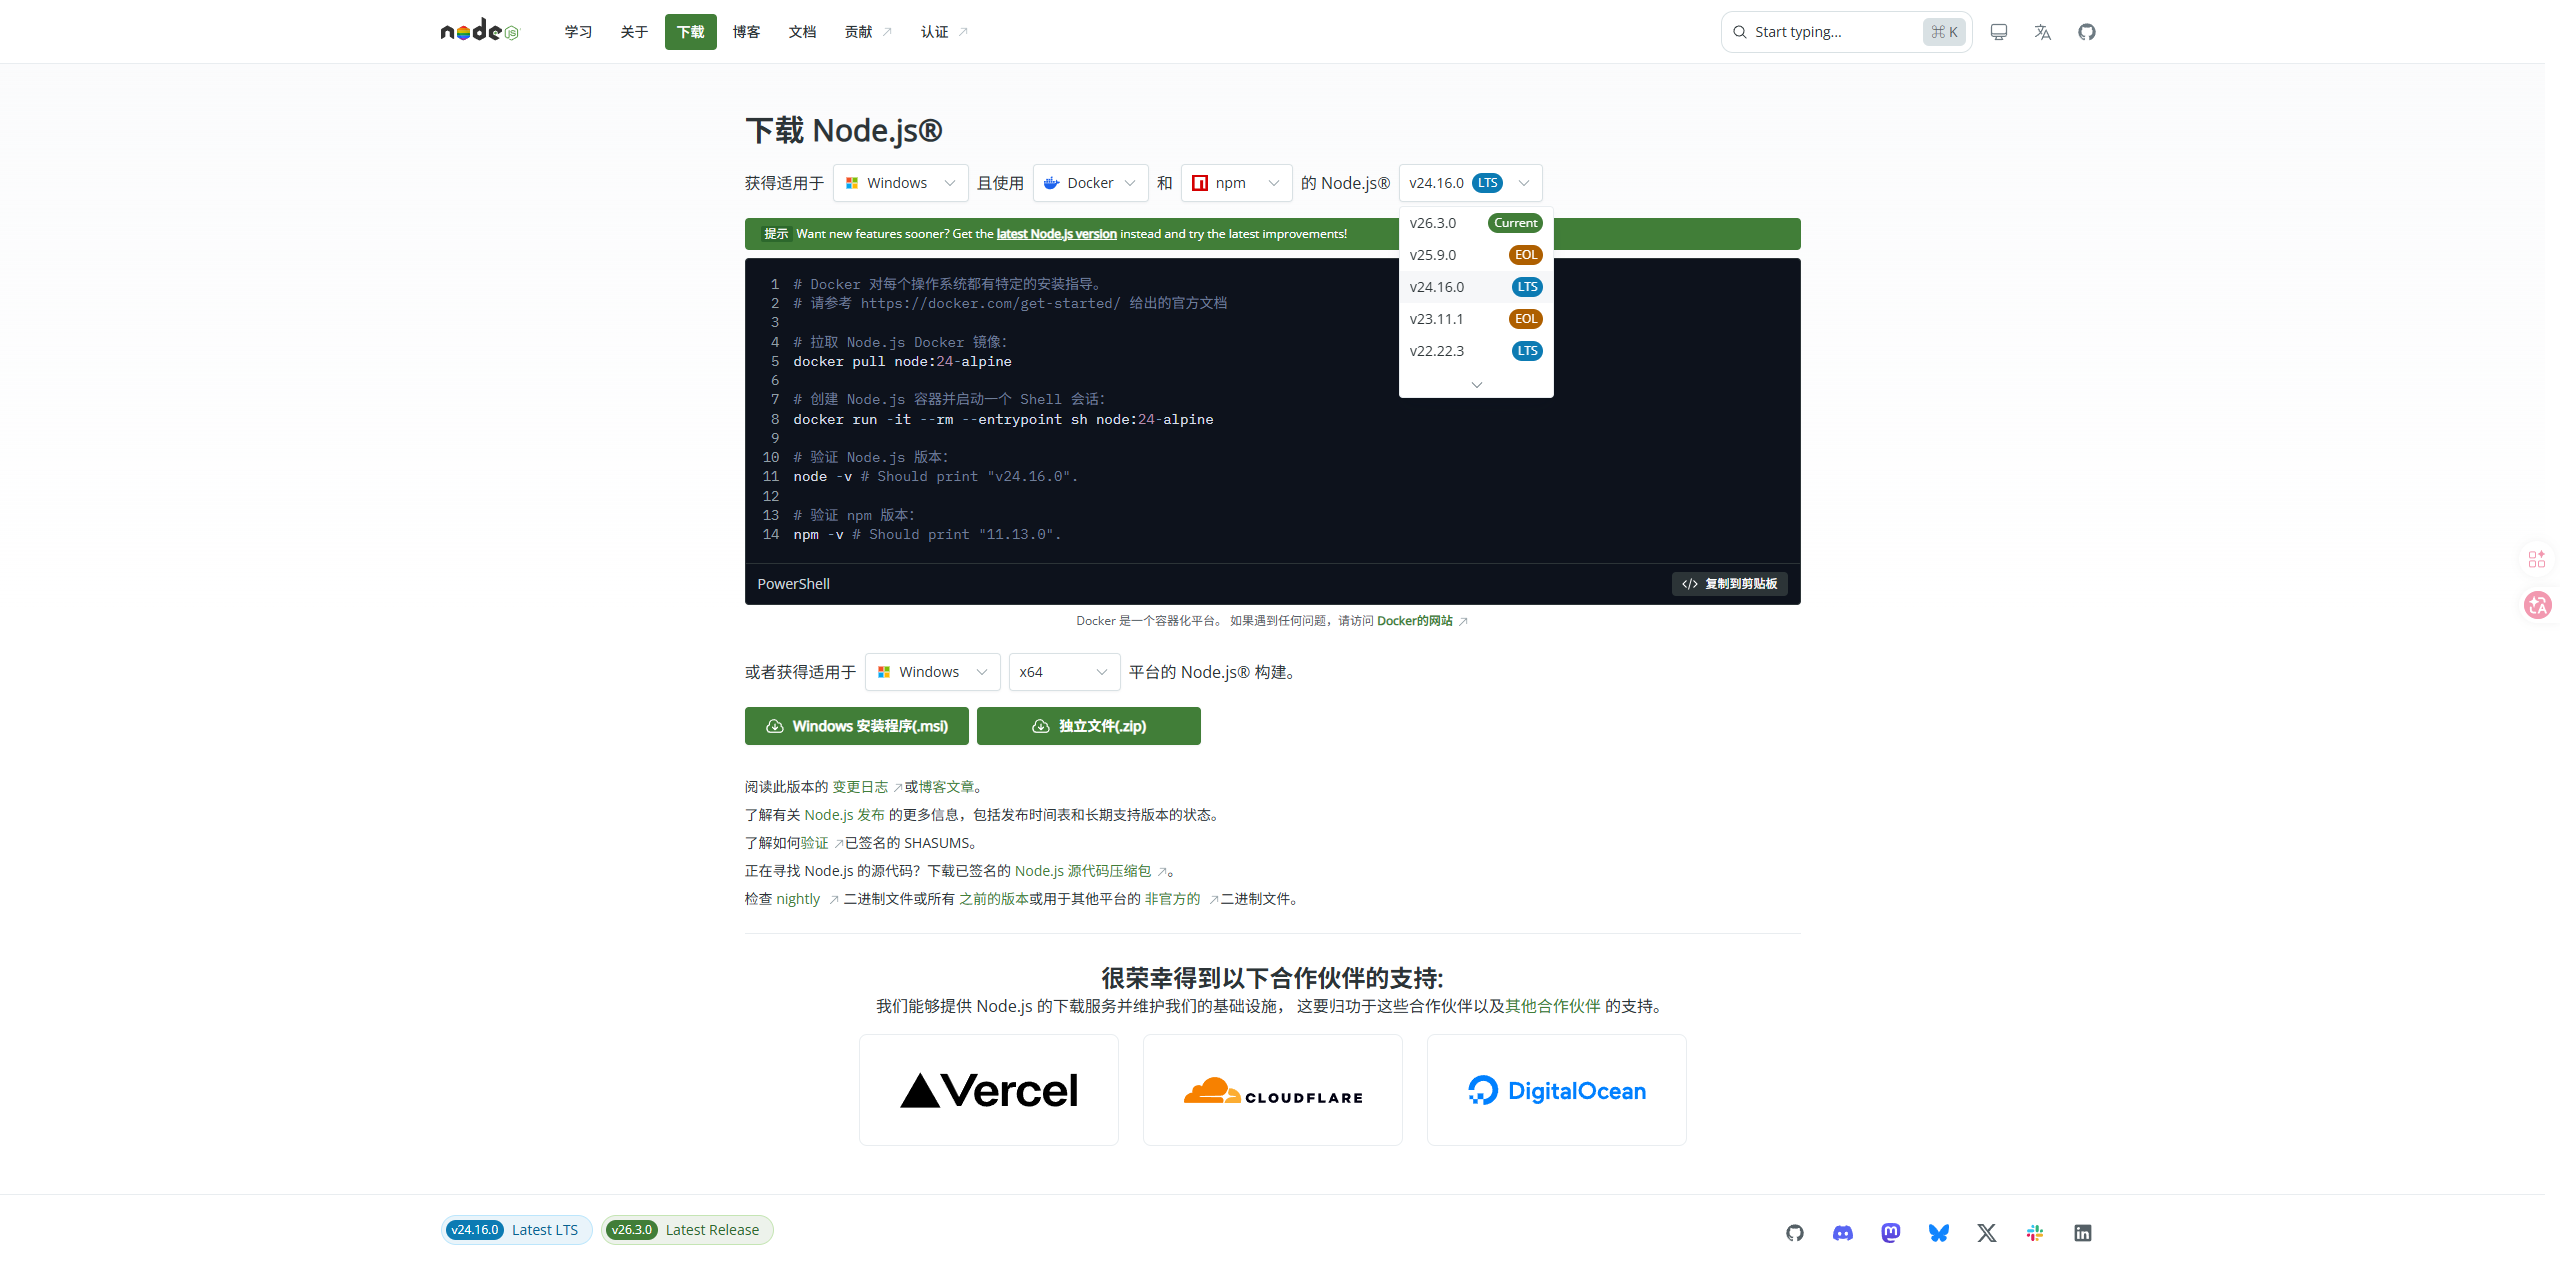
2.1 Node.js 安装与校验
为什么需要 Node.js?
本教程 Nuxt 4 前端 和 NestJS 后端 都运行在 Node.js 上。没有 Node,无法 pnpm install,也无法 pnpm dev。
安装
| 方式 | 说明 |
|---|---|
| 官网 LTS | https://nodejs.org 下载 20.x LTS |
| nvm(推荐) | Mac/Linux 用 nvm;Windows 用 nvm-windows 多版本切换 |
校验
node -v    # v20.x 或更高
npm -v     # 随 Node 自带,用于全局装 pnpm
常见问题
| 问题 | 解决 |
|---|---|
node 不是内部或外部命令 |
重装 Node,安装时勾选「Add to PATH」,重启终端 |
| 版本低于 20 | nvm install 20 或官网下载新 LTS |
2.2 pnpm 包管理器
为什么用 pnpm?
| 对比 | npm | pnpm |
|---|---|---|
| 安装速度 | 一般 | 更快 |
| 磁盘占用 | 每项目完整 node_modules | 全局 store + 硬链接,省空间 |
| 本教程 | 可用 | 推荐,前后端各自 pnpm install |
安装
npm install -g pnpm
pnpm -v   # ≥ 9
你会反复用到的命令
pnpm init              # 初始化 package.json
pnpm add 包名           # 安装依赖
pnpm add -D 包名        # 安装开发依赖
pnpm install           # 根据 lock 安装(简称 pnpm i)
pnpm run 脚本名         # 执行 package.json scripts
换源(国内网络慢时)
pnpm config set registry https://registry.npmmirror.com
2.3 Git 基础操作
本教程源码按章打 tag(如 v0.1.0),需要会用 Git 克隆、提交。
安装与配置
git --version

git config --global user.name "你的名字"
git config --global user.email "你的邮箱"
常用命令
git clone <仓库地址>
git status
git add .
git commit -m "feat: 第2章环境准备完成"
git tag v0.1.0
git push origin main
git push origin v0.1.0
新手 只需会 clone → 改代码 → add → commit;分支、rebase 等后续再学。
2.4 VS Code 配置
第三部分:VS Code 推荐插件配置(仅新手需要细看,有经验的可跳过)
为什么选择 VS Code?
- 免费,微软出品,对 TypeScript 支持极好,本教程全程用它写代码。
- 你也可以用 Cursor、Trae 等 AI 编辑器,但部分 AI 功能可能收费;跟教程建议统一用 VS Code,减少环境差异。
- 后面写 NestJS、Nuxt 时,VS Code 插件生态也够用。
如何安装插件?
- 打开 VS Code
- 快捷键打开扩展面板:
- Mac:
Cmd + Shift + X - Windows:
Ctrl + Shift + X
- Mac:
- 搜索插件名 → 点击 安装(Install)

必装 / 推荐插件清单
| 序号 | 插件名 | 作者 | 作用 |
|---|---|---|---|
| 1 | ESLint | Microsoft | 代码检查:语法错误、潜在 bug、风格问题 |
| 2 | Prettier - Code formatter | Prettier | 自动格式化,团队代码风格一致 |
| 3 | TypeScript Importer | — | 使用类/函数时 自动补全 import |
| 4 | NestJS Files | — | NestJS 文件模板与代码片段(第 3 章后端用,可先装上) |
| 5 | GitLens — Git supercharged | GitKraken | 行级提交记录、作者、历史对比 |
| 6 | Thunder Client 或 REST Client | — | VS Code 内测 API,轻量替代 Postman |
Vue / Nuxt 相关: 写到前端章节时再装 Vue - Official 即可。
MongoDB: 第 4 章装 MongoDB for VS Code。
推荐 settings.json(保存自动格式化)
按 Ctrl + ,(Mac:Cmd + ,)→ 右上角 打开设置(JSON),加入:
{
  "editor.formatOnSave": true,
  "editor.defaultFormatter": "esbenp.prettier-vscode",
  "editor.tabSize": 2,
  "editor.codeActionsOnSave": {
    "source.fixAll.eslint": "explicit"
  },
  "typescript.tsdk": "node_modules/typescript/lib",
  "typescript.preferences.importModuleSpecifier": "relative",
  "[typescript]": {
    "editor.defaultFormatter": "esbenp.prettier-vscode"
  },
  "[json]": {
    "editor.defaultFormatter": "esbenp.prettier-vscode"
  }
}
配好 formatOnSave 后,按
Ctrl + S保存即自动排版,不用手搓缩进。
工作区建议(后续章节)
会有 api/、web/ 两个独立文件夹,可用 「文件 → 将文件夹添加到工作区」 同时打开,左侧一次看到前后端。
自检
- ESLint、Prettier、GitLens 已安装
- 打开任意
.ts文件,保存后能自动格式化 - Thunder Client 或 REST Client 已安装(API 联调章会用到)
2.5 TypeScript 基础与实战
本节是本章 重点:概念 + 可运行的练习工程。
- 官网:https://www.typescriptlang.org/zh/
- 一句话:TypeScript = 带类型的 JavaScript
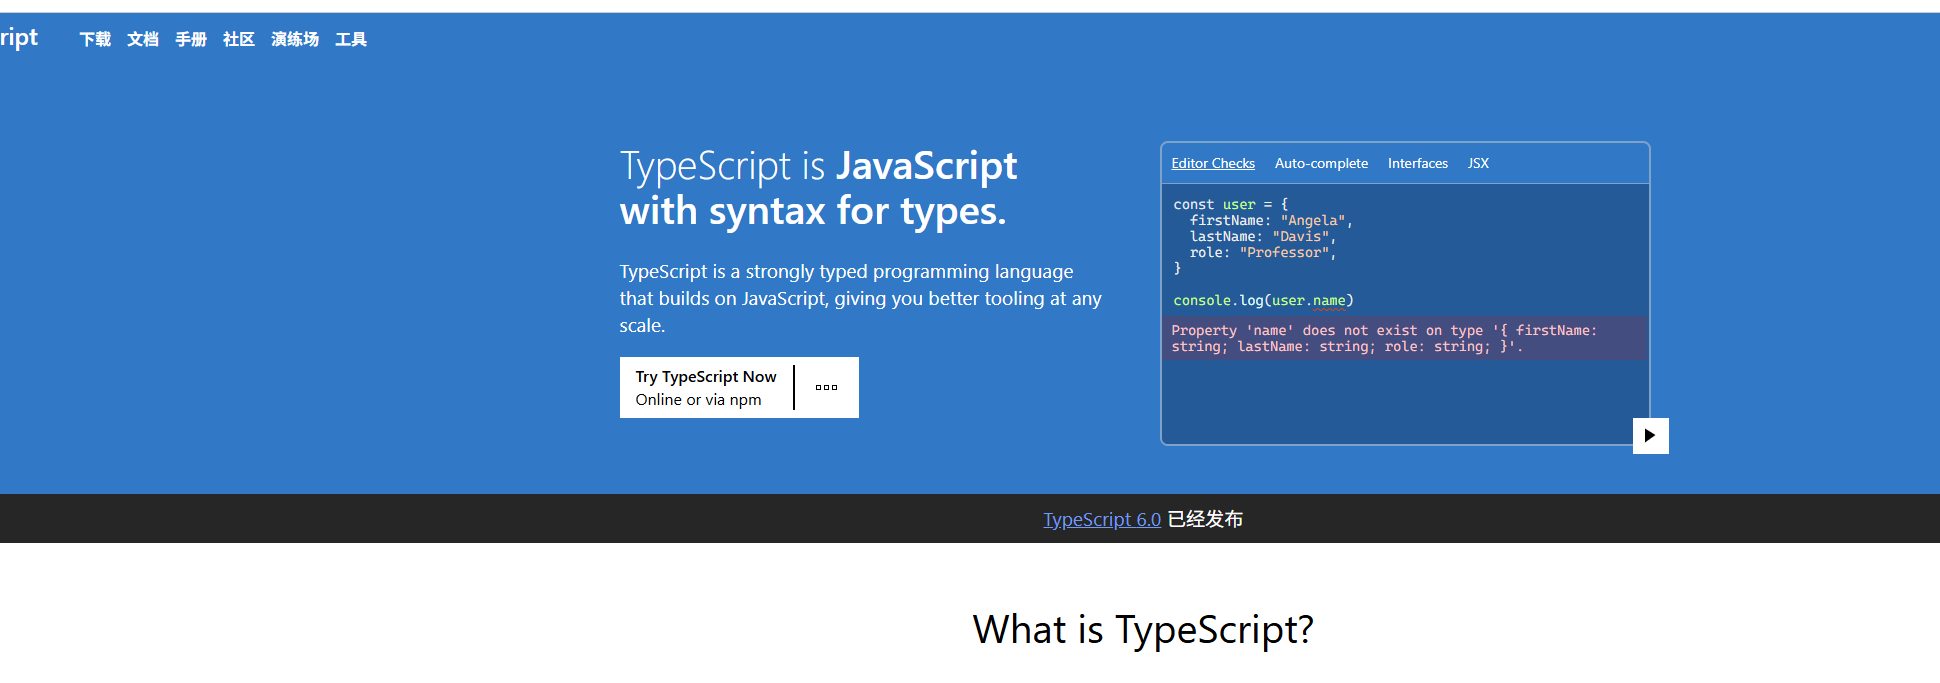
2.5.1 为什么需要 TypeScript?
| 对比 | JavaScript | TypeScript |
|---|---|---|
| 错误发现 | 多在运行时 | 编译期 红线提示 |
| 重构 | 全局搜索 | 改类型定义,IDE 全项目联动 |
| 本教程 | — | NestJS 全 TS;Nuxt 4 默认 lang="ts" |
TS 是 JS 超集:合法 JS 即合法 TS;类型注解编译后会被擦掉。
编译流程:
.ts 源码 → tsc 编译 → .js → Node 执行
2.5.2 核心概念速览
(1)类型注解与基础类型
let name: string = '张三';
let age: number = 25;
let active: boolean = true;
let skills: string[] = ['Vue', 'NestJS'];

name = 123; // ❌ 编译报错
| 类型 | 说明 |
|---|---|
string number boolean |
最常用 |
string[] / Array<string> |
数组 |
any |
尽量不用,失去类型检查 |
unknown |
不确定时比 any 安全,用前要收窄 |
(2)interface 与 type
interface LoginDto {
  username: string;
  password: string;
}

interface ResumeBasics {
  name: string;
  email: string;
  phone?: string;  // 可选
}

type QuizStatus = 'pending' | 'processing' | 'done' | 'failed';
- interface:描述对象,可
extends - type:联合类型、工具类型
?:字段可有可无
(3)函数类型
function add(a: number, b: number): number {
  return a + b;
}

const fetchJson = async (url: string): Promise<unknown> => {
  const res = await fetch(url);
  return res.json();
};
(4)泛型
interface ApiResponse<T> {
  code: number;
  data: T;
  message: string;
}

function first<T>(arr: T[]): T | undefined {
  return arr[0];
}
T 是 类型占位符,调用时推断具体类型。
(5)工具类型 Partial / Pick / Omit
interface Resume {
  id: string;
  title: string;
  content: object;
}

type UpdateResumeDto = Partial<Resume>;      // 全部可选
type ResumeBrief = Pick<Resume, 'id' | 'title'>;
type PublicResume = Omit<Resume, 'content'>;
(6)class 与装饰器(预告 NestJS)
class AuthService {
  login(dto: LoginDto): { token: string } {
    return { token: 'xxx' };
  }
}

// NestJS 里会写成(第 3 章展开):
// @Injectable()
// @Controller('auth')
// @Post('login')
(7)模块 export / import
// types/user.ts
export interface User { id: string; name: string }

// main.ts
import type { User } from './types/user';
2.5.3 实战:搭建 ts-practice 练习工程
在任意目录(建议桌面或 D:\learn)执行:
mkdir ts-practice && cd ts-practice
pnpm init
pnpm add -D typescript @types/node
npx tsc --init
精简 tsconfig.json(覆盖关键项):
{
  "compilerOptions": {
    "target": "ES2022",
    "module": "CommonJS",
    "strict": true,
    "esModuleInterop": true,
    "skipLibCheck": true,
    "outDir": "./dist",
    "rootDir": "./src"
  },
  "include": ["src/**/*"]
}
package.json 增加脚本:
{
  "scripts": {
    "build": "tsc",
    "start": "node dist/main.js",
    "dev": "pnpm build && pnpm start"
  }
}
目录结构:
ts-practice/
├── package.json
├── tsconfig.json
├── src/
│   ├── types.ts
│   ├── utils.ts
│   └── main.ts
└── dist/          # 编译输出(gitignore)
2.5.4 实战一:类型定义与函数(src/types.ts + src/utils.ts)
src/types.ts
export interface HealthResponse {
  service: string;
  ok: boolean;
  ts: number;
}

export interface LoginDto {
  username: string;
  password: string;
}

export type QuizStatus = 'pending' | 'processing' | 'done' | 'failed';

export interface QuizRecord {
  id: string;
  status: QuizStatus;
  jd: string;
}
src/utils.ts
import type { HealthResponse, LoginDto, QuizRecord, QuizStatus } from './types';

export function createHealth(): HealthResponse {
  return {
    service: 'ai-interview-lab-api',
    ok: true,
    ts: Date.now(),
  };
}

export function validateLogin(dto: LoginDto): string[] {
  const errors: string[] = [];
  if (!dto.username.trim()) errors.push('用户名不能为空');
  if (dto.password.length < 6) errors.push('密码至少 6 位');
  return errors;
}

export function canTransition(from: QuizStatus, to: QuizStatus): boolean {
  const allowed: Record<QuizStatus, QuizStatus[]> = {
    pending: ['processing', 'failed'],
    processing: ['done', 'failed'],
    done: [],
    failed: [],
  };
  return allowed[from].includes(to);
}

export function createQuiz(jd: string): QuizRecord {
  return {
    id: crypto.randomUUID(),
    status: 'pending',
    jd,
  };
}
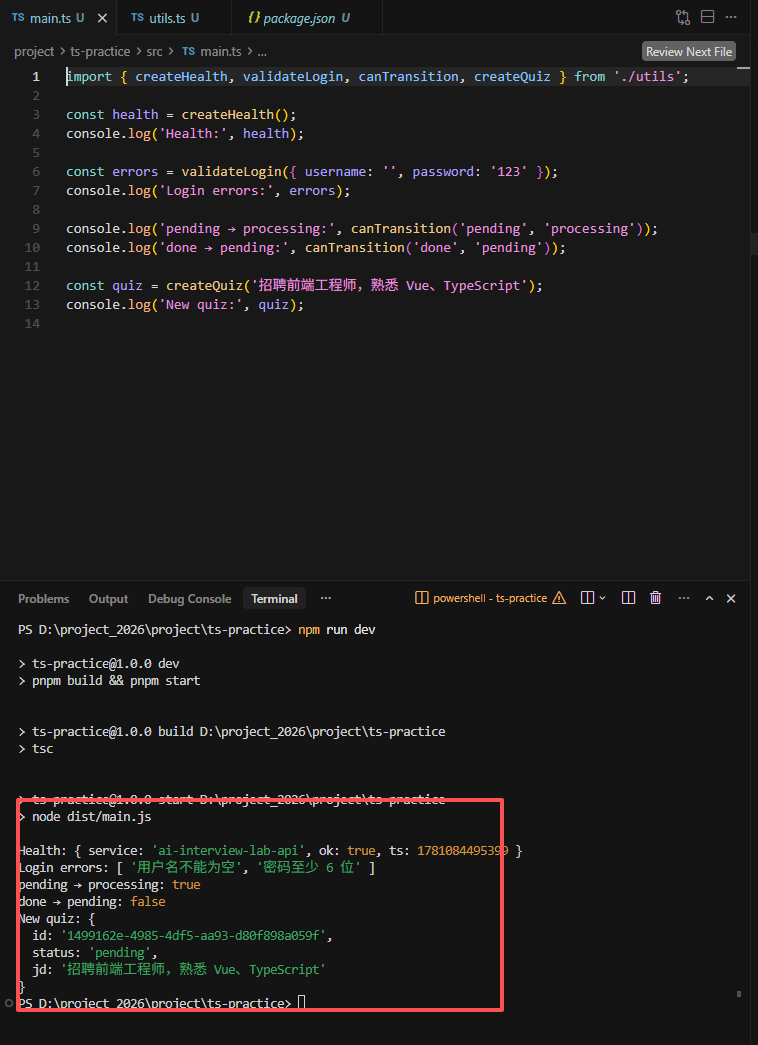
2.5.5 实战二:入口文件与运行(src/main.ts)
import { createHealth, validateLogin, canTransition, createQuiz } from './utils';

const health = createHealth();
console.log('Health:', health);

const errors = validateLogin({ username: '', password: '123' });
console.log('Login errors:', errors);

console.log('pending → processing:', canTransition('pending', 'processing'));
console.log('done → pending:', canTransition('done', 'pending'));

const quiz = createQuiz('招聘前端工程师,熟悉 Vue、TypeScript');
console.log('New quiz:', quiz);
运行:
pnpm dev
期望终端输出(字段值略有不同没关系):
Health: { service: 'ai-interview-lab-api', ok: true, ts: 1730... }
Login errors: [ '用户名不能为空', '密码至少 6 位' ]
pending → processing: true
done → pending: false
New quiz: { id: '...', status: 'pending', jd: '...' }
2.5.6 实战三:故意写错类型(体验编译报错)
把 main.ts 里某行改成:
const bad: HealthResponse = { service: 123, ok: true, ts: Date.now() };
执行 pnpm build,观察终端 红色类型错误。改回正确代码后再编译通过。
这就是 TS 的价值:在跑起来之前拦住低级错误。
2.5.7 自测题(不看答案先想)
interface User { id: string; age: number }
const u: User = { id: '1', age: '18' };           // ①
const u2: User = { id: '2' };                      // ②
type S = 'a' | 'b'; const s: S = 'a';              // ③
const x: string = null;                            // ④ strict 下
- ①
age应是number - ② 缺少
age - ③ 正确
- ④
strictNullChecks下不能将null赋给string
TS 概念与后续章节
| 概念 | 后续出现 |
|---|---|
interface、DTO |
第 6 章 JWT、简历 API |
Partial |
简历更新 |
Promise、async |
AI 调用、数据库 |
装饰器 @ |
NestJS 教学篇 |
泛型 T |
useFetch、API 包装 |
2.6 本章总结
知识体系
Node.js(运行环境)
    ↓
pnpm(装包、跑脚本)
    ↓
Git(版本管理)
    ↓
VS Code(插件 + 格式化)
    ↓
TypeScript(ts-practice 三个实战)
    ↓
下一章:NestJS 框架基础 → 再创建 api/ 项目
完成清单
-
node -v≥ 20、pnpm -v≥ 9 - Git 用户名邮箱已配置
- VS Code 插件与
formatOnSave已开 -
ts-practice工程pnpm dev输出正确 - 能解释一次
pnpm build类型报错 - 本章截图已保存
面试追问
- Node.js 和浏览器里的 JavaScript 有什么关系?
- pnpm 和 npm 的主要区别?
- TypeScript 编译后还存在类型信息吗?
interface和type怎么选?strict: true有什么好处?

有“AI”的1024 = 2048,欢迎大家加入2048 AI社区
更多推荐

 0
0 0
0- 0


 已为社区贡献1条内容

所有评论(0)