通过AIDL实现跨进程通信
前言:之前看VHAL相关的内容,但是只停留在代码上,概念很模糊。所以,自己尝试利用android studio进行aidl的编码,实现跨进程通信。
环境:Ubuntu20.04
android studio版本:
Android Studio Narwhal 3 Feature Drop | 2025.1.3
Build #AI-251.26094.121.2513.14007798, built on August 28, 2025
Runtime version: 21.0.7+-13880790-b1038.58 amd64
VM: OpenJDK 64-Bit Server VM by JetBrains s.r.o.
Toolkit: sun.awt.X11.XToolkit
Linux 5.15.0-140-generic
Ubuntu 20.04.6 LTS; glibc: 2.31
Kotlin plugin: K2 mode
GC: G1 Young Generation, G1 Concurrent GC, G1 Old Generation
Memory: 20000M
Cores: 8
Registry:
  ide.experimental.ui=true
Current Desktop: ubuntu:GNOME
Step1:创建新项目
(1)打开 Android Studio,点击File --> New --> New Project… 弹出如下窗口: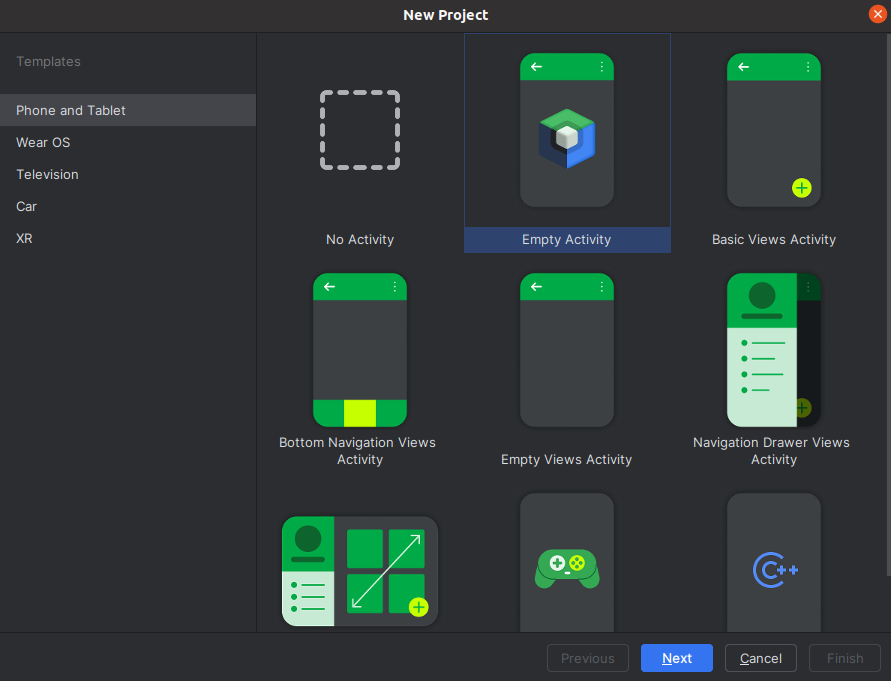
(2)选择 Empty Activity,点击Next
(3)Name输入AidlDemo,Package name 会自动生成,例如 com.example.aidldemo。Build configuration language选择build.gradle。点击finsh,等待项目构建完成。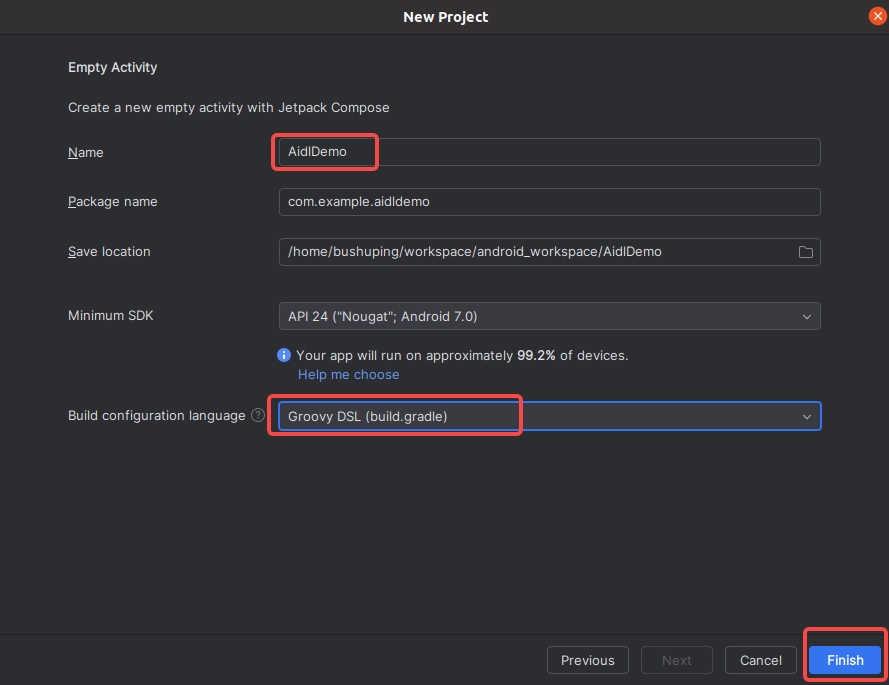
进入到项目后,修改gradle-wrapper.properties使用国内镜像,修改后的内容如下:
#Fri Mar 06 17:15:31 CST 2026
distributionBase=GRADLE_USER_HOME
distributionPath=wrapper/dists
distributionUrl=https\://mirrors.aliyun.com/macports/distfiles/gradle/gradle-8.13-bin.zip
zipStoreBase=GRADLE_USER_HOME
zipStorePath=wrapper/dists
Step2 定义AIDL接口
(1)进入到项目后,首先修改app/build.gradle,在buildFeatures部分设置aidl true
    buildFeatures {
        compose true
        aidl true
    }
(2)右键点击 app/src/main 目录,选择 New → AIDL → AIDL File,文件名输入IMyAidlInterface,点击Finish。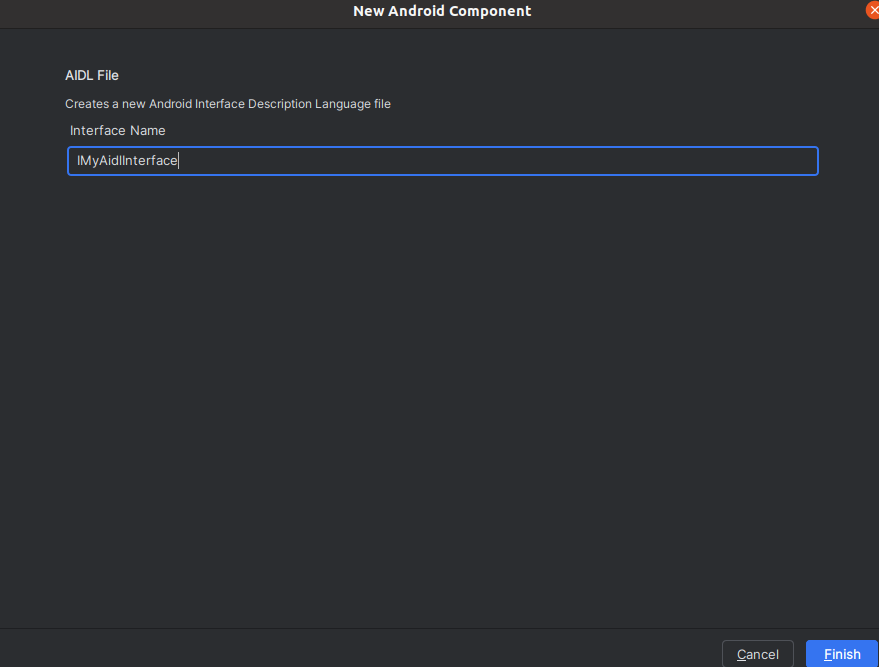
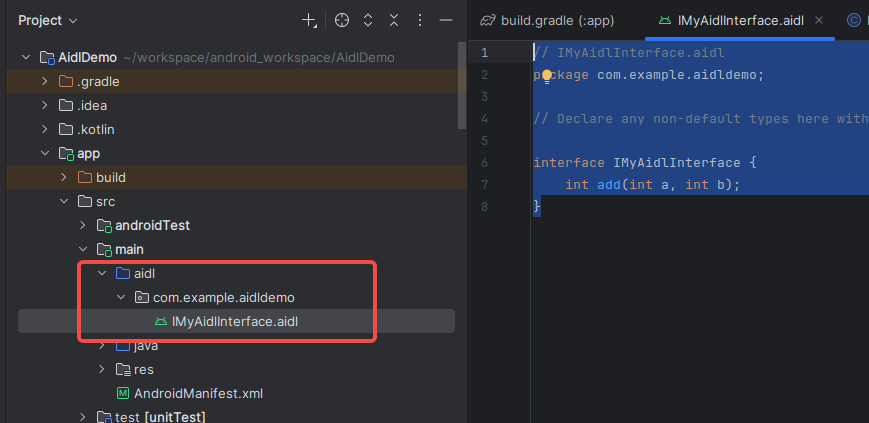
(3)Android Studio 会自动生成 aidl 文件夹及包名路径,并打开 IMyAidlInterface.aidl 文件,编辑IMyAidlInterface.aidl 文件内容为下:
// IMyAidlInterface.aidl
package com.example.aidldemo;

// Declare any non-default types here with import statements

interface IMyAidlInterface {
    int add(int a, int b);
}
(4)保存文件,然后点击菜单Ctrl+F9,让编译器生成对应的Java接口文件。生成后可以在 app/build/generated/aidl_source_output_dir/ 下找到 IMyAidlInterface.java
Step3 创建服务端Service(Java)
(1)在 app/src/main/java/com/example/aidldemo/com.example.aidldemo 上右键 --> New -->Java Class。
(2)类名输入 MyAidlService
(3)编辑 MyAidlService.java 文件,内容如下:
package com.example.aidldemo;   // 改成你的包名

import android.app.Service;
import android.content.Intent;
import android.os.IBinder;
import android.os.RemoteException;
import android.util.Log;

public class MyAidlService extends Service {

    private final IMyAidlInterface.Stub mBinder = new IMyAidlInterface.Stub() {
        @Override
        public int add(int a, int b) throws RemoteException {
            Log.d("AIDL_Service", "add() called in remote process, result = " + (a + b));
            return a + b;
        }
    };

    @Override
    public void onCreate() {
        super.onCreate();
        Log.d("AIDL_Service", "Service created");
    }

    @Override
    public IBinder onBind(Intent intent) {
        Log.d("AIDL_Service", "Service bound");
        return mBinder;
    }

    @Override
    public boolean onUnbind(Intent intent) {
        Log.d("AIDL_Service", "Service unbound");
        return super.onUnbind(intent);
    }

    @Override
    public void onDestroy() {
        super.onDestroy();
        Log.d("AIDL_Service", "Service destroyed");
    }
}
Step4 在 AndroidManifest.xml 中注册服务
打开 app/src/main/AndroidManifest.xml,在 标签内添加 声明,必须设置独立进程和 intent-filter:
<service
    android:name=".MyAidlService"
    android:enabled="true"
    android:exported="true"
    android:process=":remote">
    <intent-filter>
        <action android:name="com.example.aidldemo.AIDL_SERVICE" />
        <category android:name="android.intent.category.DEFAULT" />
    </intent-filter>
</service>
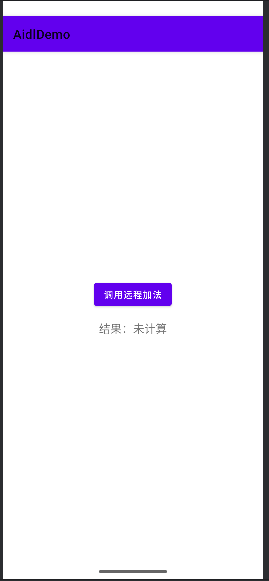
Step5 修改布局文件
打开 app/src/main/res/layout/activity_main.xml,替换为以下内容(去掉原来的复杂布局,用简单的 LinearLayout):
<?xml version="1.0" encoding="utf-8"?>
<LinearLayout xmlns:android="http://schemas.android.com/apk/res/android"
    android:layout_width="match_parent"
    android:layout_height="match_parent"
    android:orientation="vertical"
    android:gravity="center"
    android:padding="16dp">

    <Button
        android:id="@+id/buttonAdd"
        android:layout_width="wrap_content"
        android:layout_height="wrap_content"
        android:text="调用远程加法" />

    <TextView
        android:id="@+id/textViewResult"
        android:layout_width="wrap_content"
        android:layout_height="wrap_content"
        android:layout_marginTop="16dp"
        android:textSize="18sp"
        android:text="结果:未计算" />
</LinearLayout>
Step6 修改客户端
打开 app/src/main/java/com.example.aidldemo/MainActivity.kt,替换为以下代码:
package com.example.aidldemo   // 改成你的包名

import android.content.ComponentName
import android.content.Context
import android.content.Intent
import android.content.ServiceConnection
import android.os.Bundle
import android.os.IBinder
import android.os.RemoteException
import android.util.Log
import android.widget.Button
import android.widget.TextView
import android.widget.Toast
import androidx.appcompat.app.AppCompatActivity

class MainActivity : AppCompatActivity() {

    private var mAidlInterface: IMyAidlInterface? = null
    private var mBound = false
    private lateinit var textViewResult: TextView

    private val mServiceConnection = object : ServiceConnection {
        override fun onServiceConnected(name: ComponentName?, service: IBinder?) {
            Log.d("AIDL_Client", "onServiceConnected")
            mAidlInterface = IMyAidlInterface.Stub.asInterface(service)
            mBound = true
        }

        override fun onServiceDisconnected(name: ComponentName?) {
            Log.d("AIDL_Client", "onServiceDisconnected")
            mAidlInterface = null
            mBound = false
        }
    }

    override fun onCreate(savedInstanceState: Bundle?) {
        super.onCreate(savedInstanceState)
        setContentView(R.layout.activity_main)

        textViewResult = findViewById(R.id.textViewResult)
        val buttonAdd = findViewById<Button>(R.id.buttonAdd)
        buttonAdd.setOnClickListener {
            callRemoteAdd()
        }
    }

    override fun onStart() {
        super.onStart()
        bindToService()
    }

    override fun onStop() {
        super.onStop()
        unbindFromService()
    }

    private fun bindToService() {
        // 使用显式 Intent,直接指定 Service 类名,避免 action 不匹配
        val intent = Intent(this, MyAidlService::class.java)
        bindService(intent, mServiceConnection, Context.BIND_AUTO_CREATE)
        Log.d("AIDL_Client", "bindService called")
    }

    private fun unbindFromService() {
        if (mBound) {
            unbindService(mServiceConnection)
            mBound = false
            mAidlInterface = null
            Log.d("AIDL_Client", "unbindService called")
        }
    }

    private fun callRemoteAdd() {
        if (!mBound || mAidlInterface == null) {
            Toast.makeText(this, "服务未连接", Toast.LENGTH_SHORT).show()
            Log.d("AIDL_Client", "callRemoteAdd: service not bound")
            return
        }
        try {
            val result = mAidlInterface!!.add(10, 20)
            textViewResult.text = "结果:$result"
            Log.d("AIDL_Client", "add result: $result")
        } catch (e: RemoteException) {
            e.printStackTrace()
            Toast.makeText(this, "远程调用失败", Toast.LENGTH_SHORT).show()
        }
    }
}
Step7 检查主题
(1)打开 app/src/main/res/values/themes.xml
(2) 将parent 设置为Theme.MaterialComponents.DayNight。例如:
<?xml version="1.0" encoding="utf-8"?>
<resources>
    <style name="Theme.AidlDemo" parent="Theme.MaterialComponents.DayNight">
        <!-- 颜色属性可保留或删除,MaterialComponents 主题会提供默认值 -->
        <item name="colorPrimary">@color/purple_500</item>
        <item name="colorPrimaryVariant">@color/purple_700</item>
        <item name="colorOnPrimary">@color/white</item>
    </style>
</resources>
(3)确保 colors.xml 中存在这些颜色(如果不想自定义颜色,可以注释掉这些 ,使用主题默认值)。
(4)打开 AndroidManifest.xml,确认 标签的 android:theme 指向这个主题(通常是 @style/Theme.AidlDemo,与 themes.xml 中的名称一致)。
Step8 检查Gradle依赖
打开 app/build.gradle,在 dependencies 块中确认有 Material 库:
implementation 'com.google.android.material:material:1.9.0'
点击Sync Now同步。
Step9 编译及运行测试
点击绿色三角运行按钮:
点击调用远程加法,会返回30。具体运行结果和logcat如下图所示:
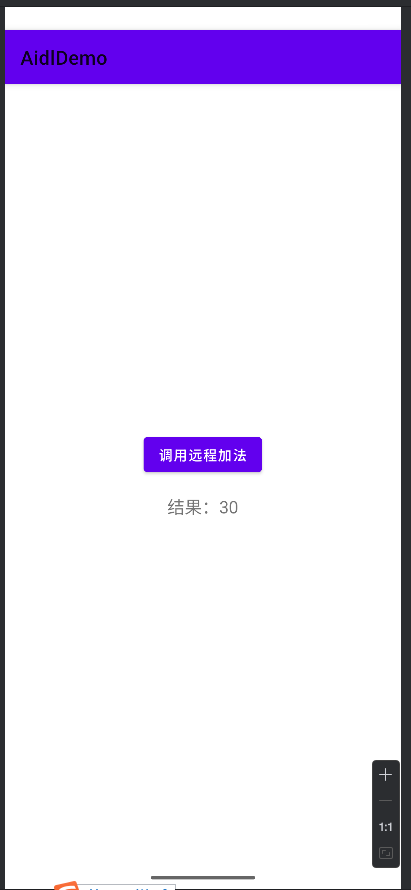
实践证明,AIDL确实实现了跨进程通信,后面我要继续底层具体是怎么实现的!
完美撒花!✿✿ヽ(°▽°)ノ✿

有“AI”的1024 = 2048,欢迎大家加入2048 AI社区
更多推荐


 8
8 0
0- 0


 已为社区贡献1条内容

所有评论(0)