构建基于 Flutter × OpenHarmony 的入侵检测系统:数据结构与 UI 设计详解
本文介绍了基于Flutter和OpenHarmony开发入侵检测系统(IDS)的方法。系统采用Flutter构建跨平台UI界面,利用OpenHarmony实现跨端功能兼容性。文章详细解析了核心代码实现,重点展示了主页面(IntroPage)的UI设计,包括系统状态、威胁概览、实时监控等模块的构建方法。通过Container、Text等组件实现模块化布局,并采用LinearGradient实现渐变效
文章目录
欢迎加入开源鸿蒙跨平台社区: https://openharmonycrossplatform.csdn.net
构建基于 Flutter × OpenHarmony 的入侵检测系统:数据结构与 UI 设计详解
前言
随着互联网的飞速发展,网络安全问题日益严重。入侵检测系统(IDS)作为防止网络攻击的重要工具,已成为各类信息系统安全防护的关键组成部分。本篇文章将详细介绍如何基于 Flutter 和 OpenHarmony 开发一个入侵检测系统(IDS)。我们将深入探讨数据结构的设计与前端UI的开发,详细讲解代码实现,并为大家解析跨端开发的实现方式。
背景
入侵检测系统的核心功能是监测并检测网络中潜在的恶意活动。随着云计算、物联网的普及,网络攻击形式愈加多样,传统的安全防护措施往往无法有效应对新的威胁。Flutter 是一款支持多平台的开源 UI 工具,而 OpenHarmony 提供了高效的跨端开发能力。将这两者结合,可以打造一个跨平台、实时响应、易于维护的入侵检测系统。
在本项目中,我们使用 Flutter 作为前端框架,构建一个高度互动的 UI,并利用 OpenHarmony 实现跨平台的功能兼容性,以便能够在不同平台(如移动端、PC端等)上提供一致的体验。
Flutter × OpenHarmony 跨端开发介绍
Flutter 简介
Flutter 是由 Google 开发的开源 UI 框架,可以帮助开发者构建高质量、快速响应的本地应用。Flutter 支持多种平台,包括 Android、iOS、Web、Windows、Linux 等,特别适合开发跨平台应用。
OpenHarmony 简介
OpenHarmony 是基于鸿蒙操作系统打造的开源项目,专注于提供高效的跨端开发框架。它支持多种硬件平台并且提供了优越的多任务调度机制,适用于各种智能设备的开发。
跨端开发优势
通过 Flutter 和 OpenHarmony 的结合,开发者可以在不同平台上共享大部分代码,并确保应用在不同设备上的一致性和流畅度。这为开发高效、可靠的入侵检测系统提供了一个强有力的工具。
开发核心代码(详细解析)
1. UI 设计
本部分将详细讲解一个入侵检测系统的 UI 界面设计。UI 设计主要包括系统状态、威胁概览、实时监控、检测规则、最近的警报等模块。
IntroPage 类
import 'package:flutter/material.dart';
class IntroPage extends StatefulWidget {
const IntroPage({super.key});
State<IntroPage> createState() => _IntroPageState();
}
class _IntroPageState extends State<IntroPage> {
Widget build(BuildContext context) {
final theme = Theme.of(context);
return Scaffold(
body: SafeArea(
child: Column(
children: [
_buildHeader(theme),
Expanded(
child: SingleChildScrollView(
padding: const EdgeInsets.all(16),
child: Column(
crossAxisAlignment: CrossAxisAlignment.start,
children: [
_buildSystemStatus(theme),
const SizedBox(height: 24),
_buildThreatOverview(theme),
const SizedBox(height: 24),
_buildRealTimeMonitoring(theme),
const SizedBox(height: 24),
_buildDetectionRules(theme),
const SizedBox(height: 24),
_buildRecentAlerts(theme),
const SizedBox(height: 24),
_buildSecurityReport(theme),
],
),
),
),
],
),
),
);
}
Widget _buildHeader(ThemeData theme) {
return Container(
padding: const EdgeInsets.all(20),
decoration: BoxDecoration(
gradient: LinearGradient(
colors: [
theme.colorScheme.primary,
theme.colorScheme.primaryContainer,
],
begin: Alignment.topLeft,
end: Alignment.bottomRight,
),
),
child: Text(
"入侵检测系统",
style: theme.textTheme.headline5?.copyWith(color: Colors.white),
),
);
}
Widget _buildSystemStatus(ThemeData theme) {
return _buildSection(
theme,
title: "系统状态",
content: "系统正在运行,未发现入侵。",
);
}
Widget _buildThreatOverview(ThemeData theme) {
return _buildSection(
theme,
title: "威胁概览",
content: "暂无高风险威胁。",
);
}
Widget _buildRealTimeMonitoring(ThemeData theme) {
return _buildSection(
theme,
title: "实时监控",
content: "当前网络流量:5GB/小时",
);
}
Widget _buildDetectionRules(ThemeData theme) {
return _buildSection(
theme,
title: "检测规则",
content: "使用最新的流量分析规则进行实时检测。",
);
}
Widget _buildRecentAlerts(ThemeData theme) {
return _buildSection(
theme,
title: "最近警报",
content: "暂无新警报。",
);
}
Widget _buildSecurityReport(ThemeData theme) {
return _buildSection(
theme,
title: "安全报告",
content: "系统未检测到任何安全漏洞。",
);
}
Widget _buildSection(ThemeData theme, {required String title, required String content}) {
return Container(
padding: const EdgeInsets.all(16),
decoration: BoxDecoration(
color: theme.cardColor,
borderRadius: BorderRadius.circular(10),
),
child: Column(
crossAxisAlignment: CrossAxisAlignment.start,
children: [
Text(
title,
style: theme.textTheme.headline6,
),
const SizedBox(height: 8),
Text(content),
],
),
);
}
}
代码解析
-
IntroPage 类
IntroPage是应用的主页,继承自StatefulWidget,因为它需要管理和更新 UI 状态。- 在
build方法中,我们使用了Scaffold组件,确保页面布局的基本结构,包括头部、滚动视图等。
-
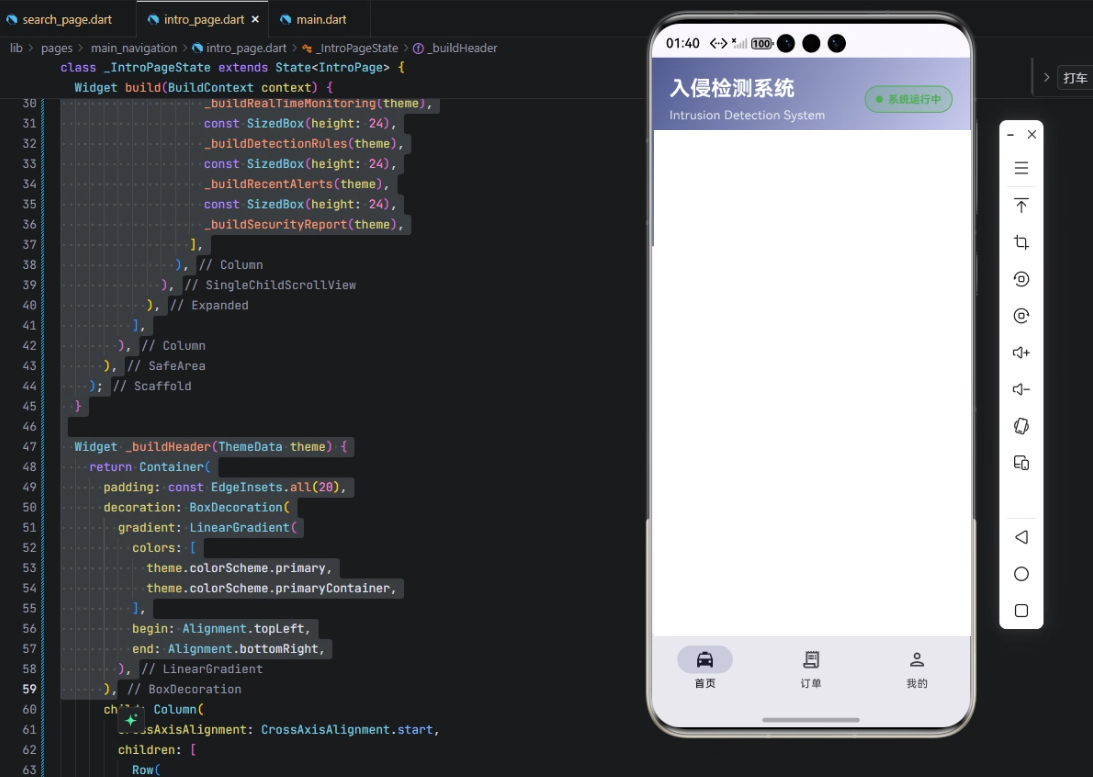
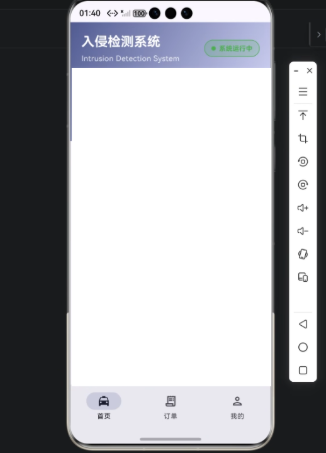
Header 部分
_buildHeader方法创建了一个带渐变色的顶部标题区,使用 Flutter 的LinearGradient实现渐变效果。
-
各模块的构建
_buildSystemStatus、_buildThreatOverview等方法分别构建了不同的模块,主要使用Container和Text组件显示内容。通过_buildSection方法复用 UI 组件,减少代码重复。
2. 数据结构设计
对于入侵检测系统来说,数据结构的设计至关重要。我们需要高效地存储和处理网络流量、攻击类型、警报记录等信息。
以下是简单的数据结构设计:
class Threat {
  final String id;
  final String name;
  final String severity;
  final DateTime timestamp;

  Threat({required this.id, required this.name, required this.severity, required this.timestamp});
}

class Alert {
  final String id;
  final String message;
  final DateTime timestamp;
  final Threat threat;

  Alert({required this.id, required this.message, required this.timestamp, required this.threat});
}

class DetectionRule {
  final String id;
  final String description;
  final String severity;

  DetectionRule({required this.id, required this.description, required this.severity});
}
- Threat:表示威胁信息,包含威胁 ID、名称、严重性和发生时间。
- Alert:表示警报记录,包含警报 ID、消息、时间戳和相关的威胁。
- DetectionRule:表示入侵检测规则,包含规则 ID、描述和严重性。
心得
通过 Flutter 和 OpenHarmony 的结合,我们不仅能够快速构建出一个具有高度交互性的入侵检测系统前端,还能够实现系统的跨平台兼容性。利用 Flutter 的强大 UI 构建能力与 OpenHarmony 的多端支持,我们能够在多个平台上无缝运行该系统,并保证一致的用户体验。
总结
本文详细介绍了如何使用 Flutter 和 OpenHarmony 开发一个入侵检测系统的 UI 和数据结构设计。从 UI 界面的构建到数据结构的设计,每个模块都提供了清晰的代码示例和详细解析。通过本项目,我们不仅能提高开发效率,还能保障应用的跨平台兼容性,为网络安全提供更好的技术支持。

有“AI”的1024 = 2048,欢迎大家加入2048 AI社区
更多推荐

 16
16 0
0- 0


 已为社区贡献4条内容

所有评论(0)