Windows私有化部署OpenManus
OpenManus 定位为通用型开源 AI 智能体框架,旨在复刻商业产品 Manus 的核心能力,降低 AI Agent 开发门槛,支持单 / 多智能体(实验性)协作,适合快速原型验证与二次开发,助力开发者构建自主执行复杂任务的 AI 代理。
OpenManus 定位为通用型开源 AI 智能体框架,旨在复刻商业产品 Manus 的核心能力,降低 AI Agent 开发门槛,支持单 / 多智能体(实验性)协作,适合快速原型验证与二次开发,助力开发者构建自主执行复杂任务的 AI 代理。
对于复杂任务,按以下步骤进行:
- 分析需求:理解用户的具体要求
- 制定计划:设计解决方案步骤
- 选择工具:根据任务类型选择合适工具
- 逐步执行:分步实施解决方案
- 验证结果:检查执行结果是否符合预期
Windows部署
下载源码
https://github.com/FoundationAgents/OpenManus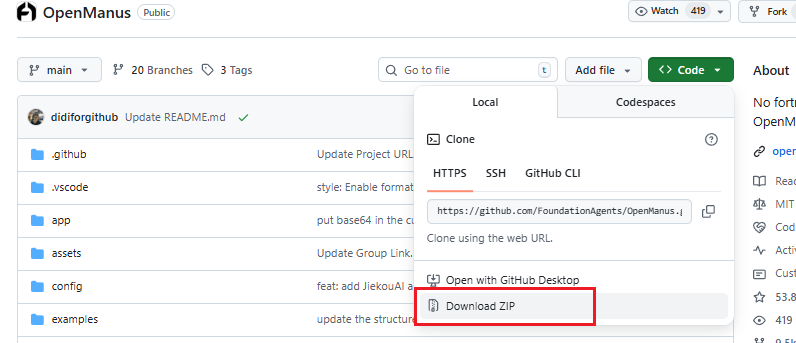
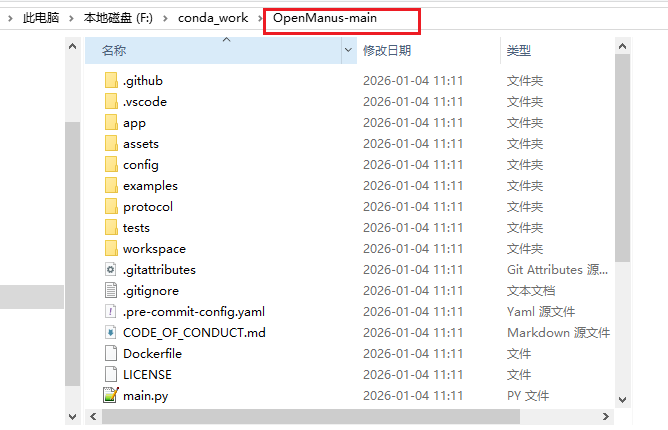
解压
conda安装:
https://blog.csdn.net/YXWik/article/details/144901178
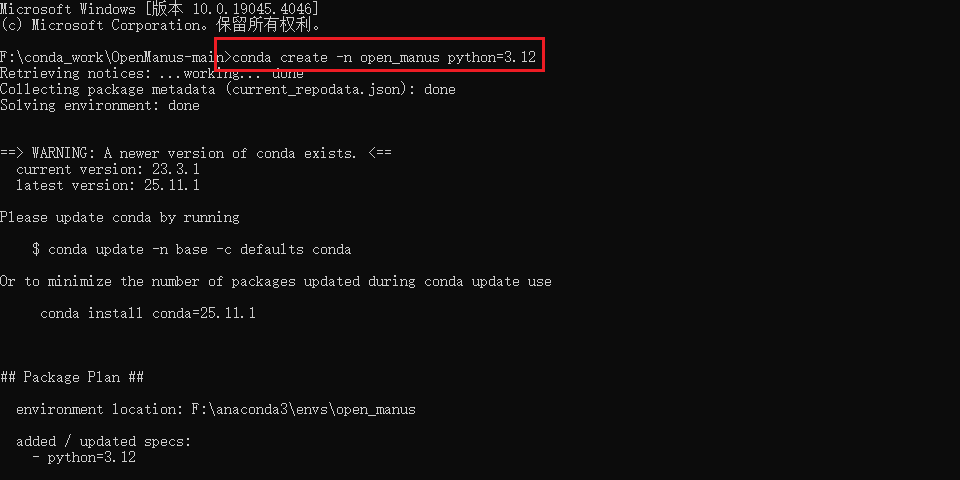
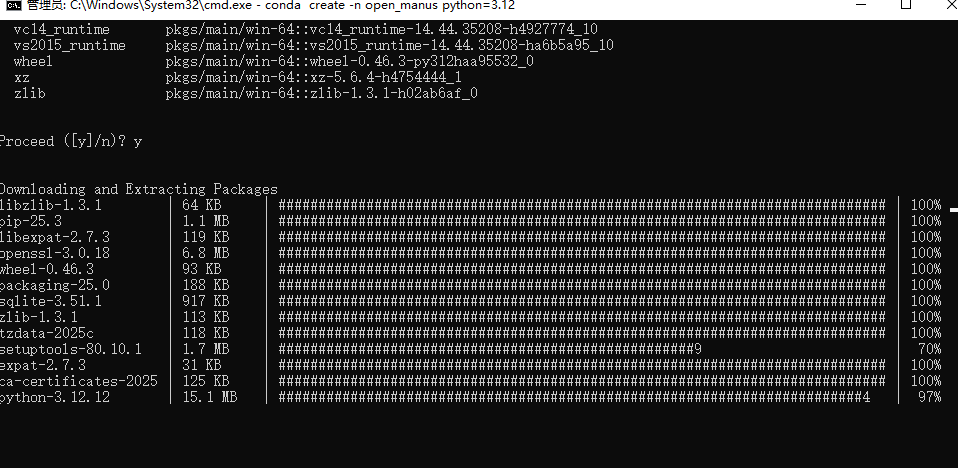
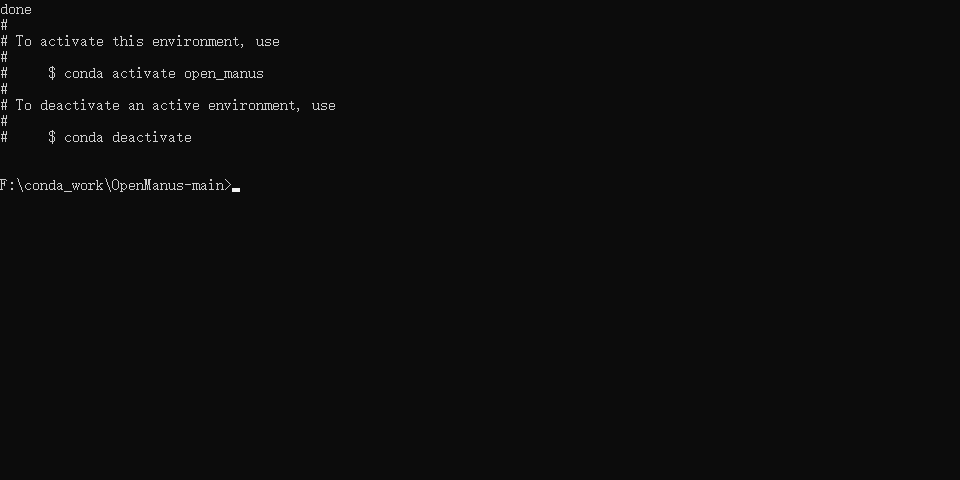
创建一个新的conda环境,并激活它:
conda create -n open_manus python=3.12
activate open_manus

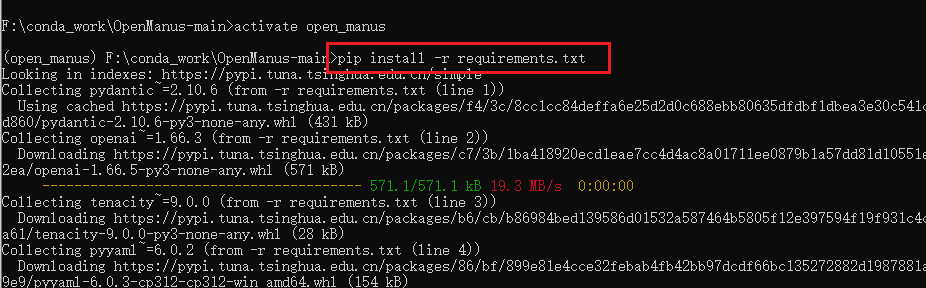
安装依赖
pip install -r requirements.txt
报错如下:
---------------------------------------- 567.4/567.4 kB 19.1 MB/s  0:00:00
ERROR: Cannot install -r requirements.txt (line 39) and pillow~=11.1.0 because these package versions have conflicting dependencies.

The conflict is caused by:
    The user requested pillow~=11.1.0
    crawl4ai 0.6.3 depends on pillow~=10.4

Additionally, some packages in these conflicts have no matching distributions available for your environment:
    pillow

To fix this you could try to:
1. loosen the range of package versions you've specified
2. remove package versions to allow pip to attempt to solve the dependency conflict

ERROR: ResolutionImpossible: for help visit https://pip.pypa.io/en/latest/topics/dependency-resolution/#dealing-with-dependency-conflicts

(open_manus) F:\conda_work\OpenManus-main>
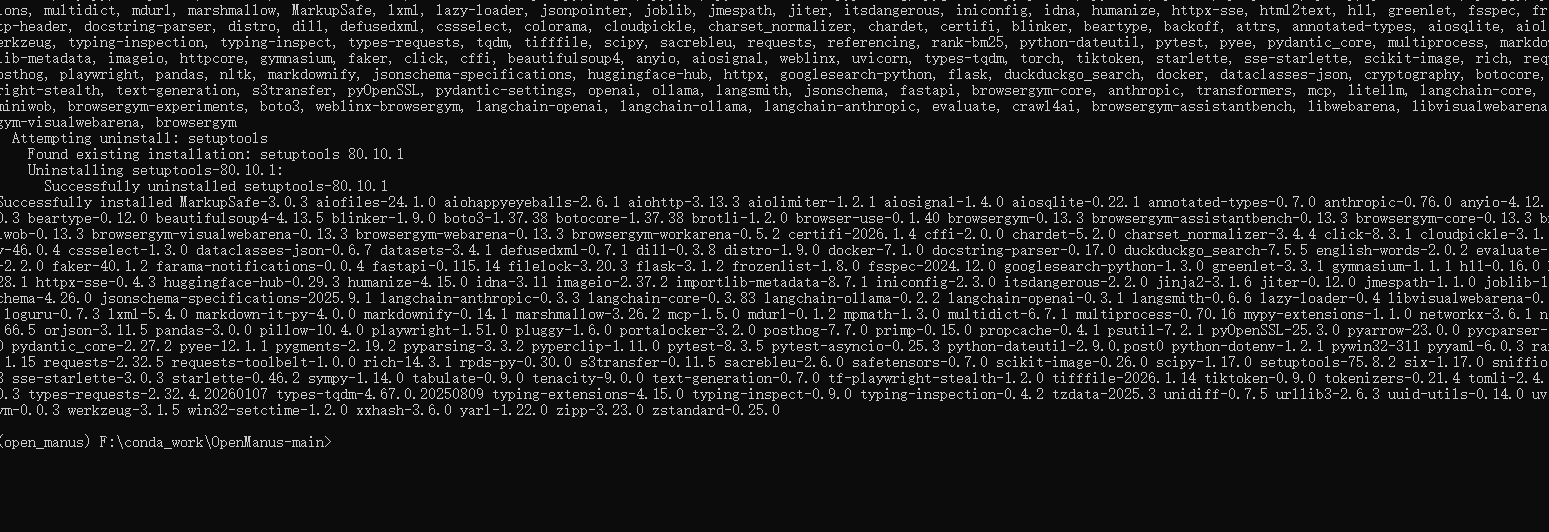
强制安装并忽略版本冲突
pip install -r requirements.txt --force-reinstall --no-deps

启动:
# 方式一
python main.py
# 方式二
python run_flow.py
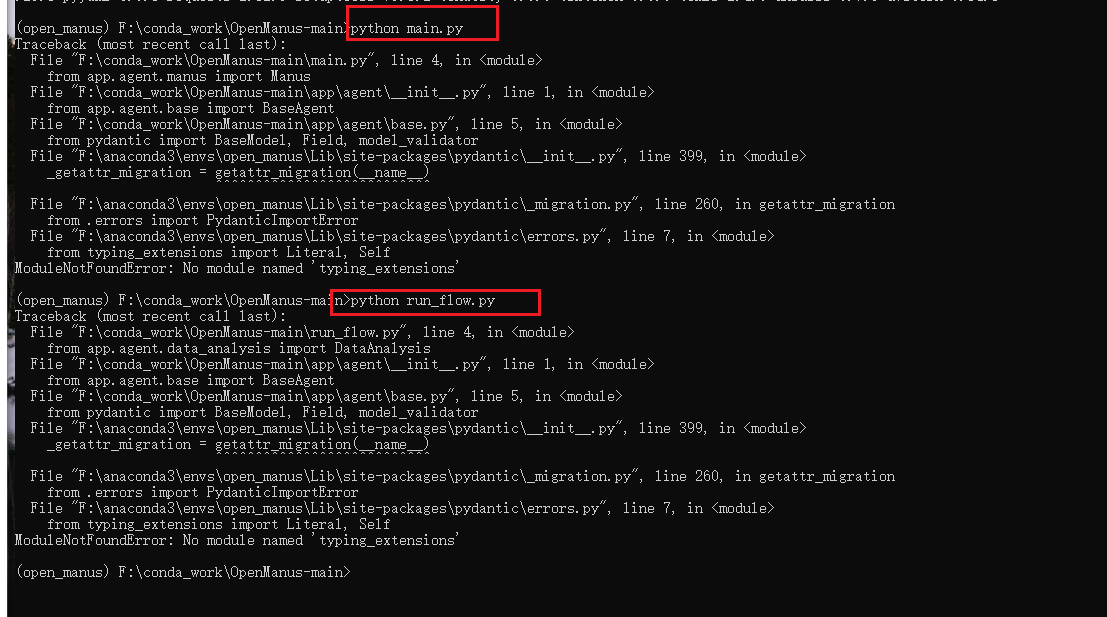
解决报错
安装 typing_extensions 模块
pip install typing-extensions~=4.0.0
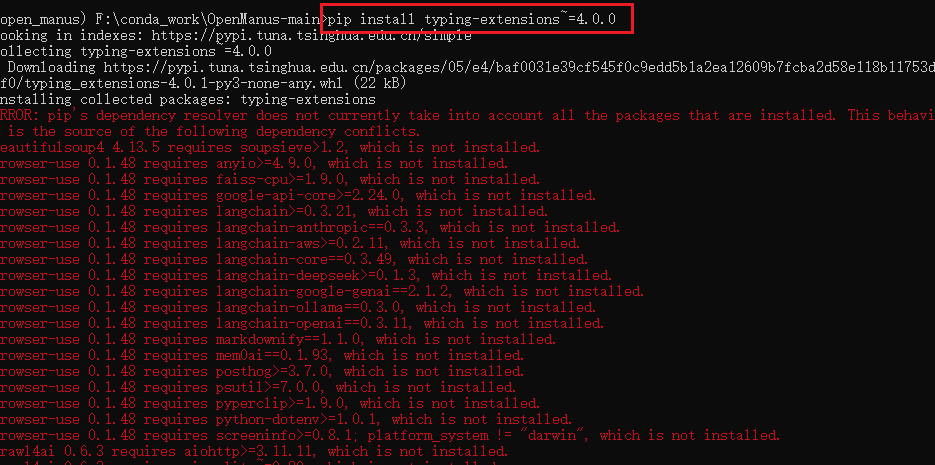
还是不行
安装其他缺失的依赖
pip install -r requirements.txt --upgrade
还是不行 修改requirements.txt 中的 pillow 版本
pillow~=10.4.0
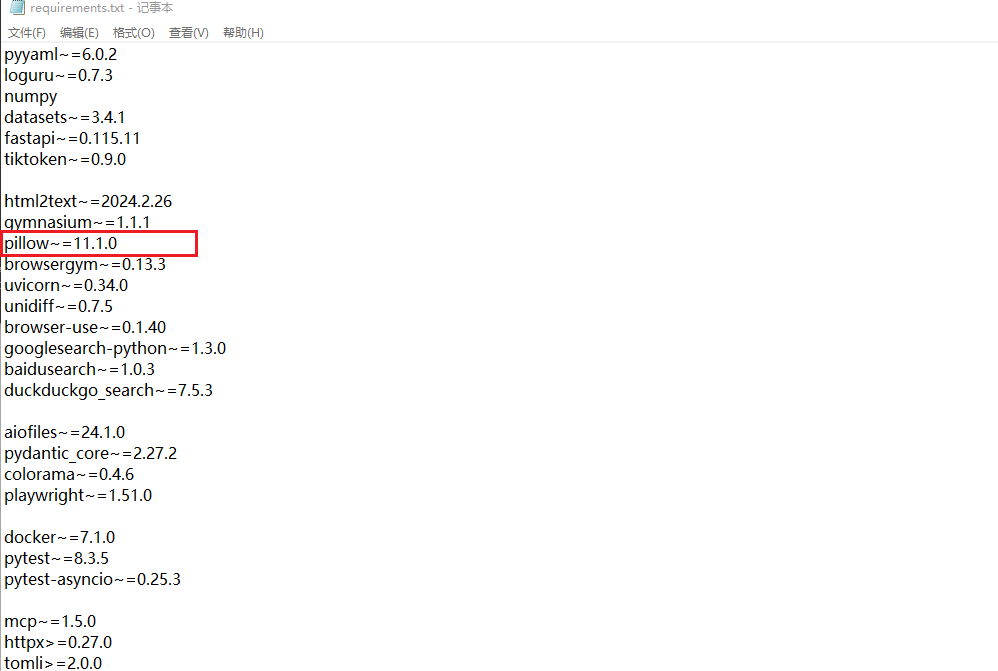
pip install -r requirements.txt
成功之后开始配置模型
配置ollama本地模型
因为我本地有ollama 可以直接配置ollama的模型
Windows 安装 ollama
https://blog.csdn.net/YXWik/article/details/143871588
配置ollama
新开命令窗口查看 ollama模型列表
ollama list
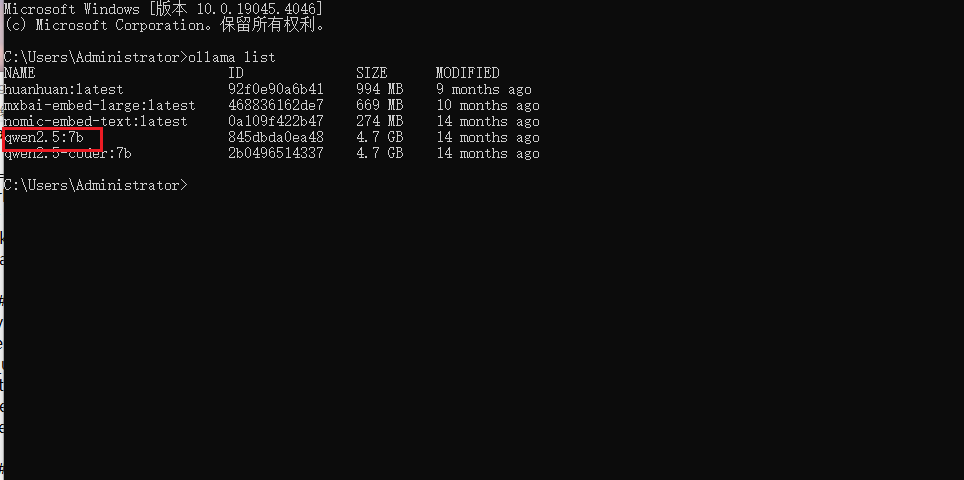
使用
qwen2.5:7b
找到config 下的 config.example.toml 文件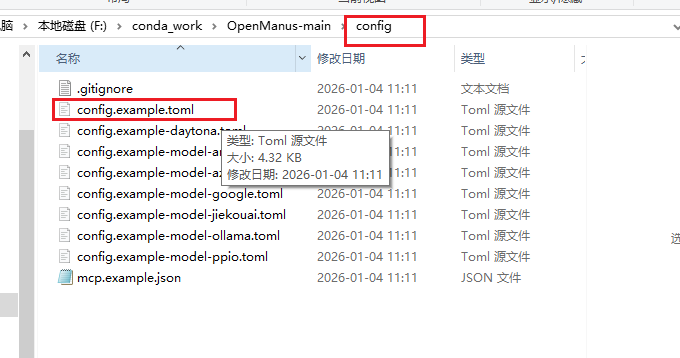
复制 config.example.toml 文件重命名为 config.toml 打开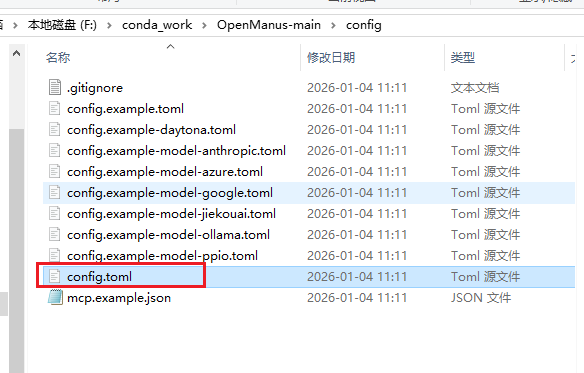
修改内容如下,大家自行替换模型 端口 key即可
# Global LLM configuration(全局大模型配置)
[llm]
model = "qwen2.5:7b"          # 使用的基础大模型版本
base_url = "http://localhost:11434/v1"  # 模型服务的接口地址(本地 Ollama 服务)
api_key = "EMPTY"                 # 本地服务无需密钥,填 EMPTY 即可
max_tokens = 4096                 # 模型生成文本的最大令牌数(控制回复长度)
temperature = 0.0                 # 生成温度(0.0 表示输出完全确定,无随机性)

# Optional configuration for specific LLM models(视觉模型专属配置)
[llm.vision]
model = "qwen2.5:7b"
base_url = "http://localhost:11434/v1"
api_key = "EMPTY"


# MCP (Model Context Protocol) configuration
[mcp]
server_reference = "app.mcp.server" # default server module reference

# Optional Runflow configuration
# Your can add additional agents into run-flow workflow to solve different-type tasks.
[runflow]
use_data_analysis_agent = false     # The Data Analysi Agent to solve various data analysis tasks
完事保存后就可以启动openManus了,回到openManus命令框启动
python main.py
启动报错说没有初始化 daytona_api_key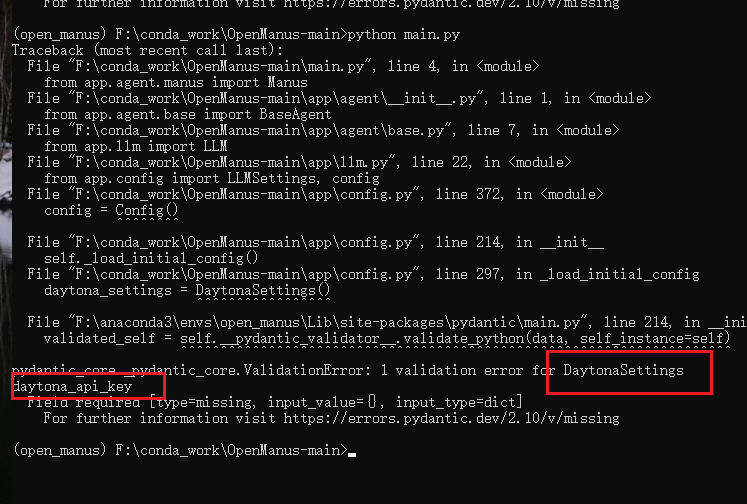
配置文件中增加daytona配置
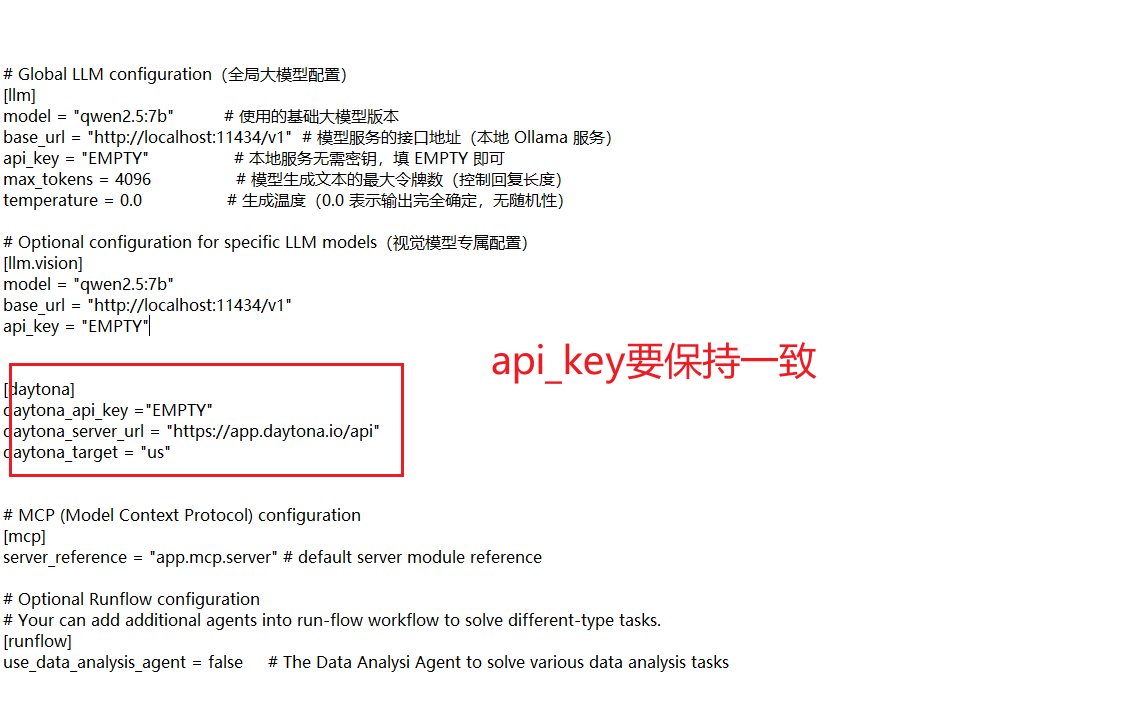
# Global LLM configuration(全局大模型配置)
[llm]
model = "qwen2.5:7b"          # 使用的基础大模型版本
base_url = "http://localhost:11434/v1"  # 模型服务的接口地址(本地 Ollama 服务)
api_key = "EMPTY"                 # 本地服务无需密钥,填 EMPTY 即可
max_tokens = 4096                 # 模型生成文本的最大令牌数(控制回复长度)
temperature = 0.0                 # 生成温度(0.0 表示输出完全确定,无随机性)

# Optional configuration for specific LLM models(视觉模型专属配置)
[llm.vision]
model = "qwen2.5:7b"
base_url = "http://localhost:11434/v1"
api_key = "EMPTY"


[daytona]
daytona_api_key ="EMPTY"
daytona_server_url = "https://app.daytona.io/api"
daytona_target = "us"


# MCP (Model Context Protocol) configuration
[mcp]
server_reference = "app.mcp.server" # default server module reference

# Optional Runflow configuration
# Your can add additional agents into run-flow workflow to solve different-type tasks.
[runflow]
use_data_analysis_agent = false     # The Data Analysi Agent to solve various data analysis tasks
再次启动 新的报错出现了 缺少模块 structlog ,少啥就装啥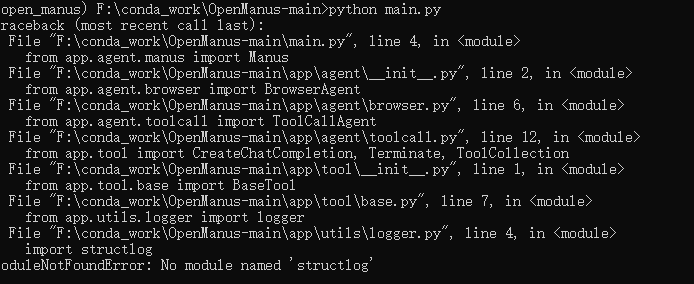
pip install structlog
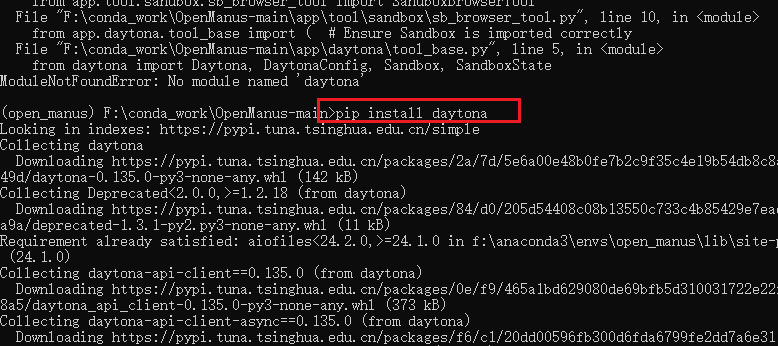
再次启动报错缺少 pydantic
pip install daytona
再次启动 成功了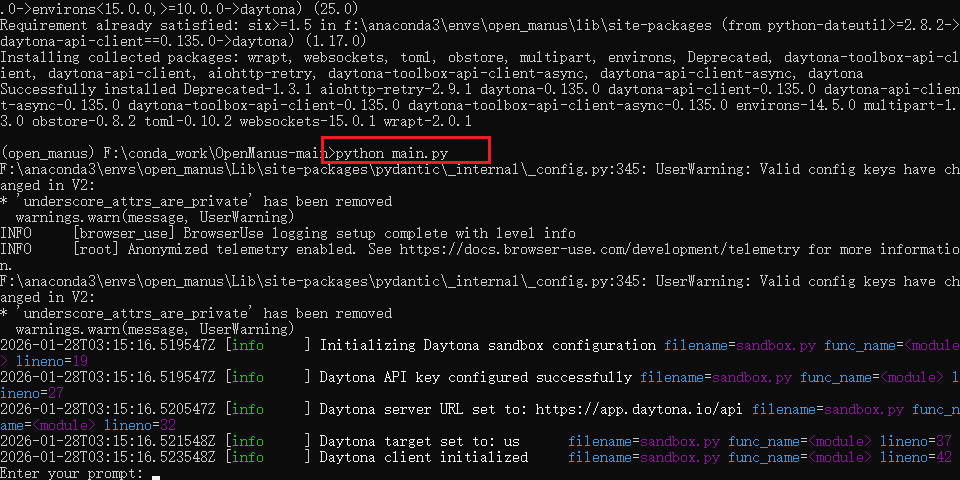
刚测试下,结果报错了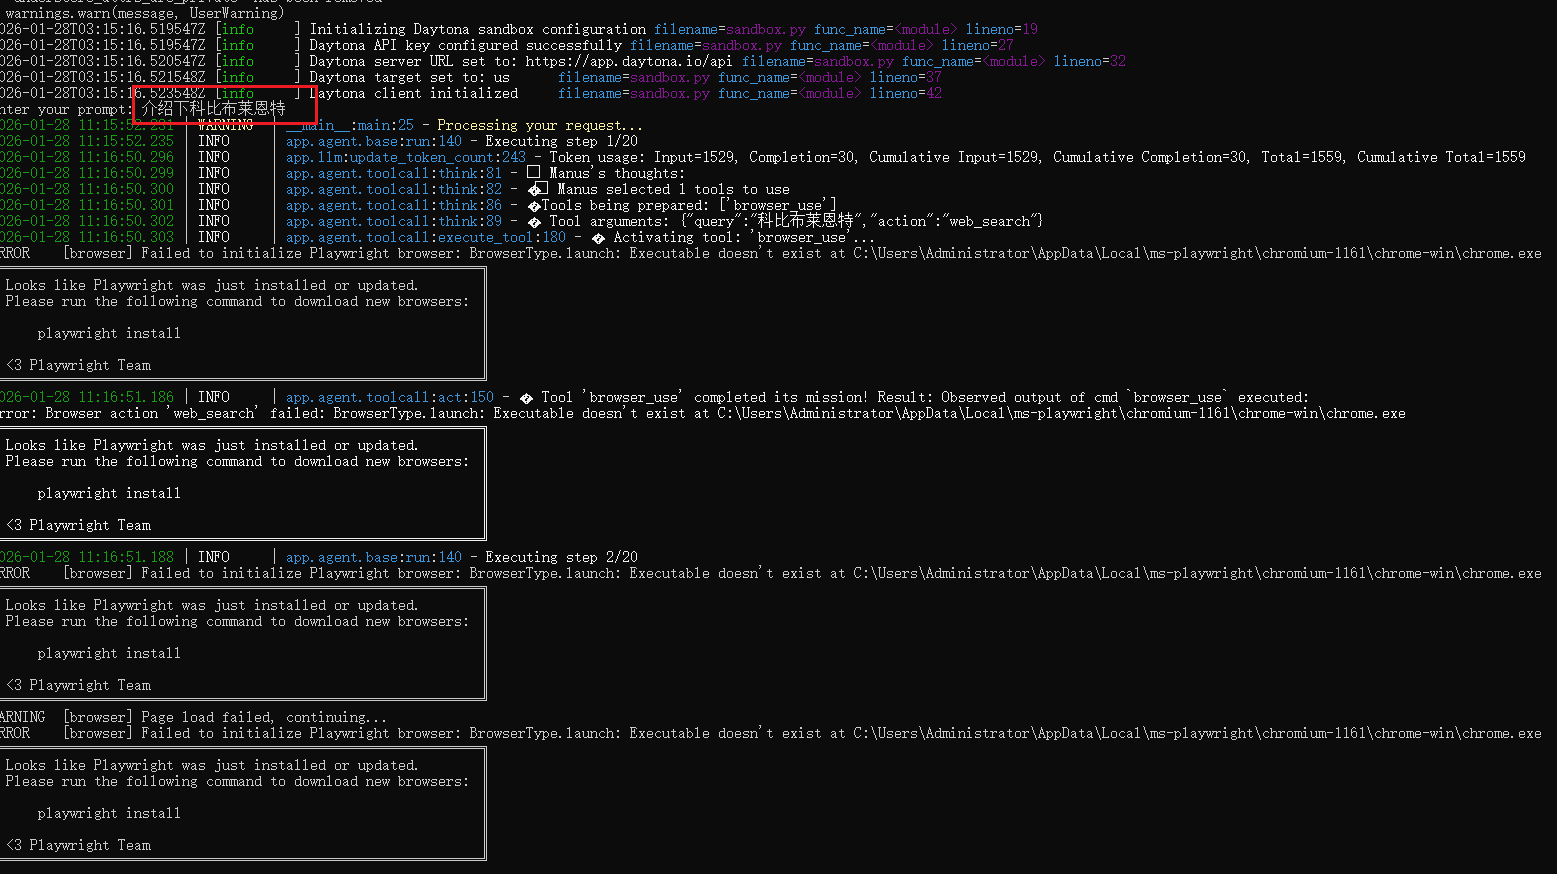
Playwright 缺少浏览器可执行文件(Chromium)
python -m playwright install chromium

pip install playwright
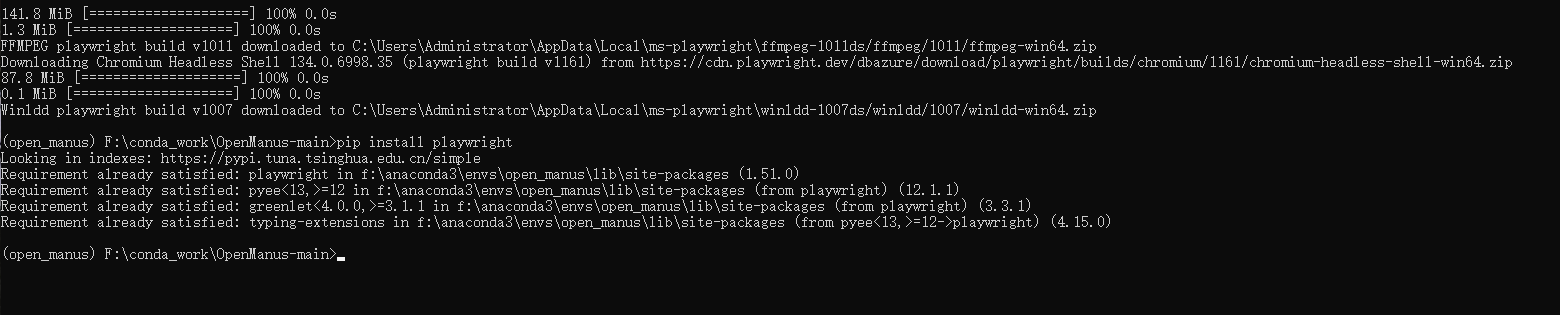
再次启动测试,开始干活了,后面的就不演示了,电脑配置比较低,反应很慢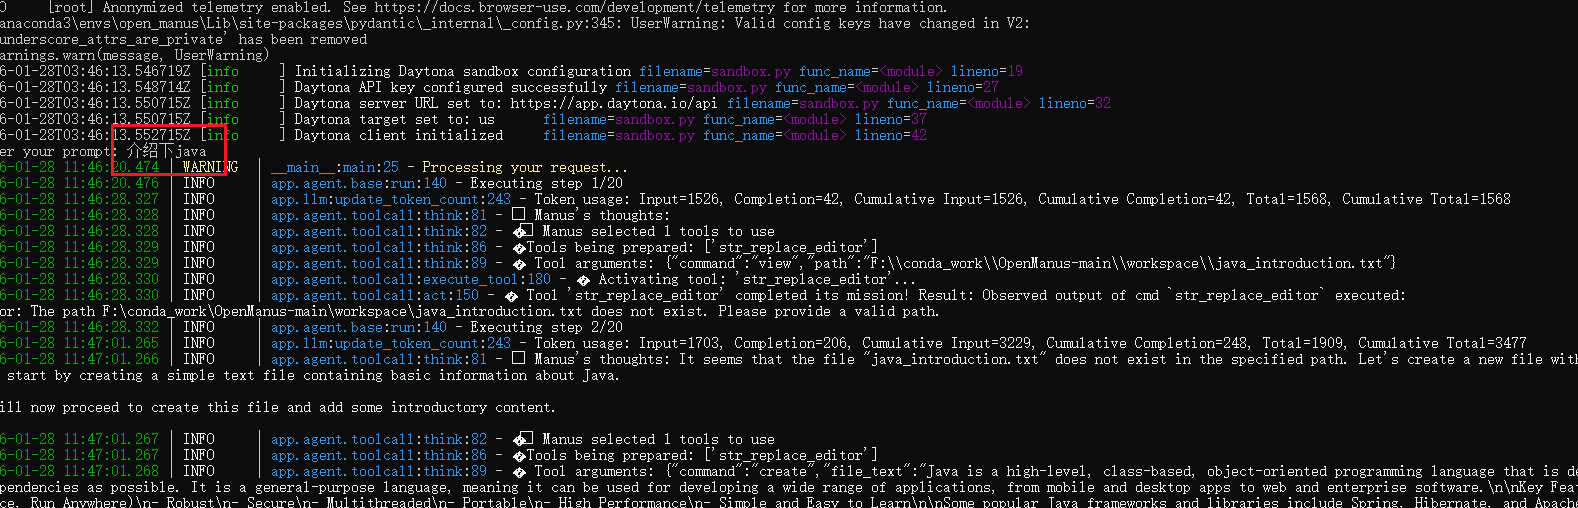
如果安装中环境有问题的话,可以删除了环境重新进行安装
删除虚拟环境
conda deactivate

删除 open_manus 环境
conda remove -n open_manus --all -y
查看环境列表
conda env list

删除成功了
如果没成功的可执行强制删除命令:
conda env remove -n open_manus -y
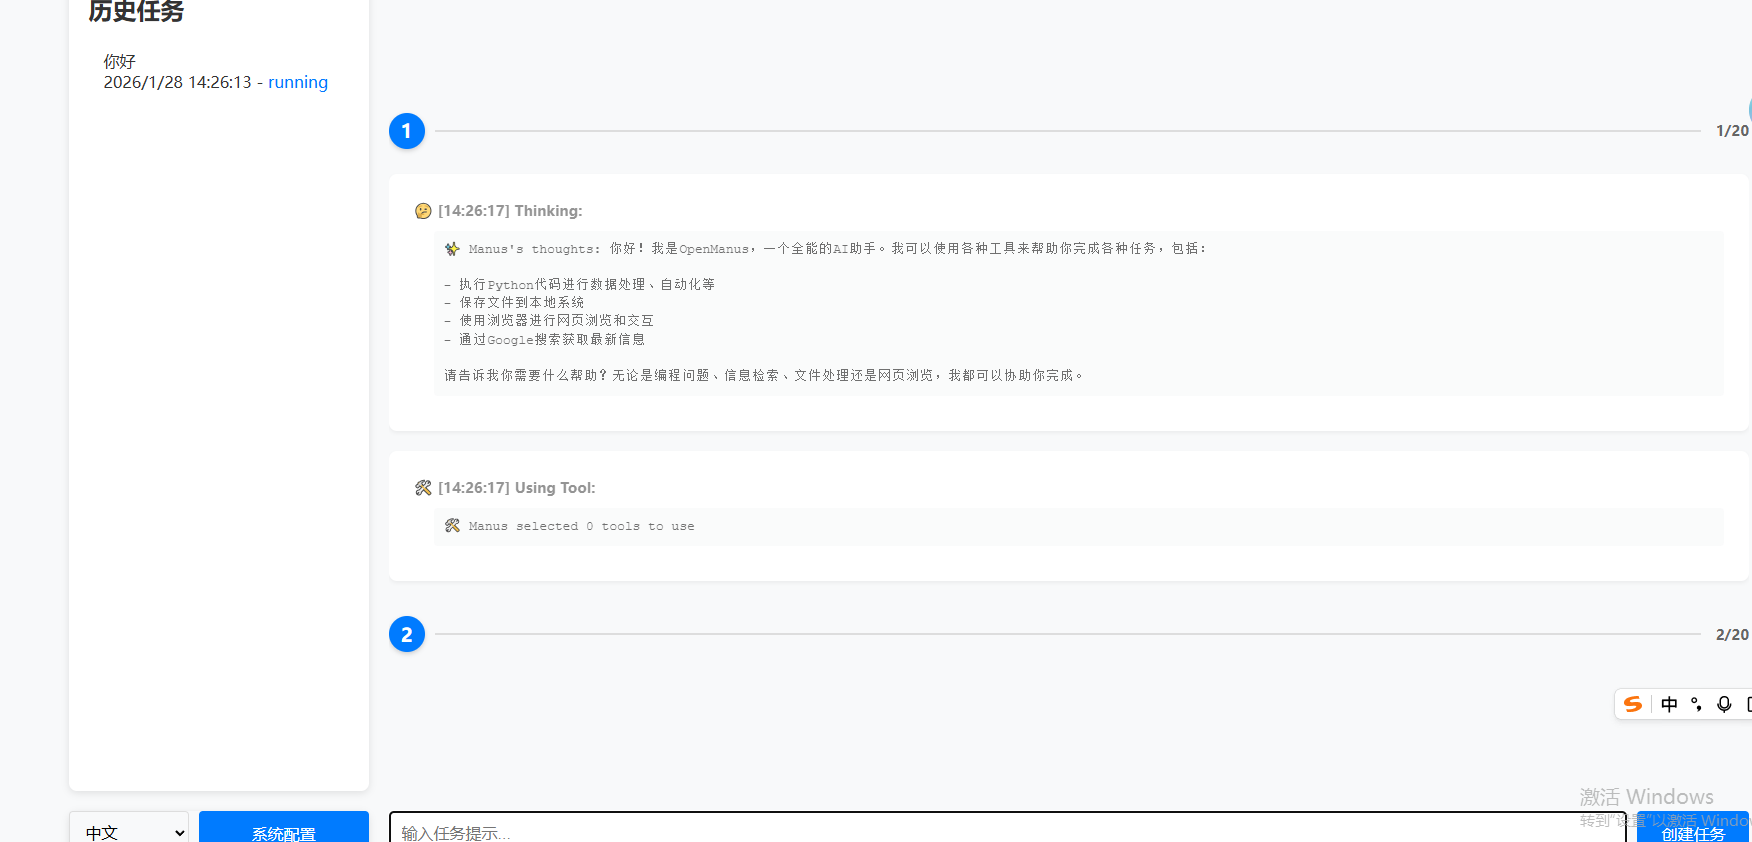
WEB版openManus
下载对应的分支代码
https://github.com/FoundationAgents/OpenManus/tree/front-end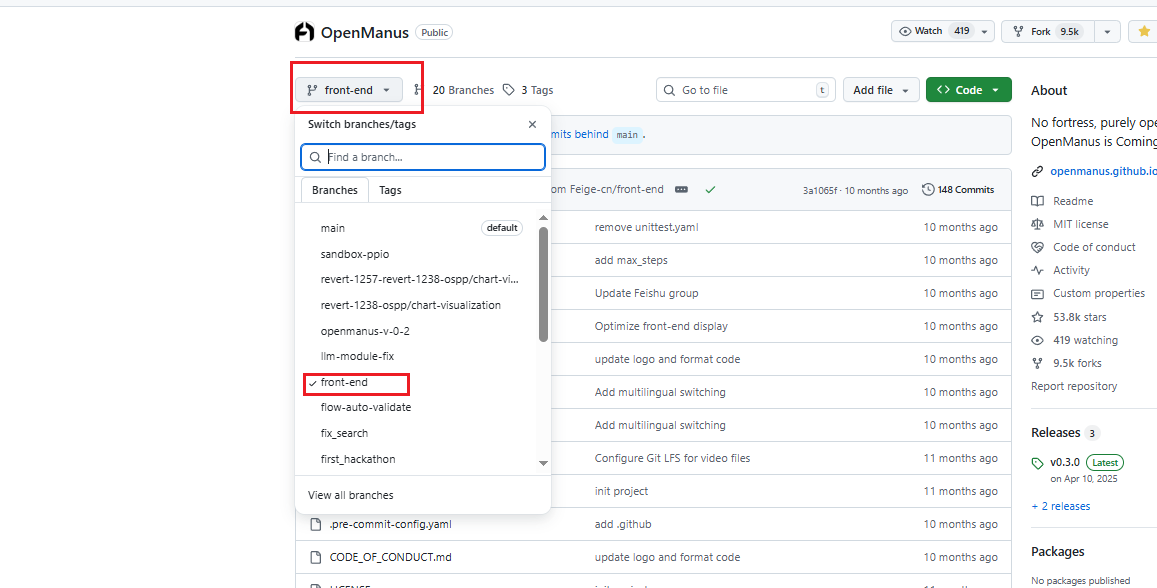
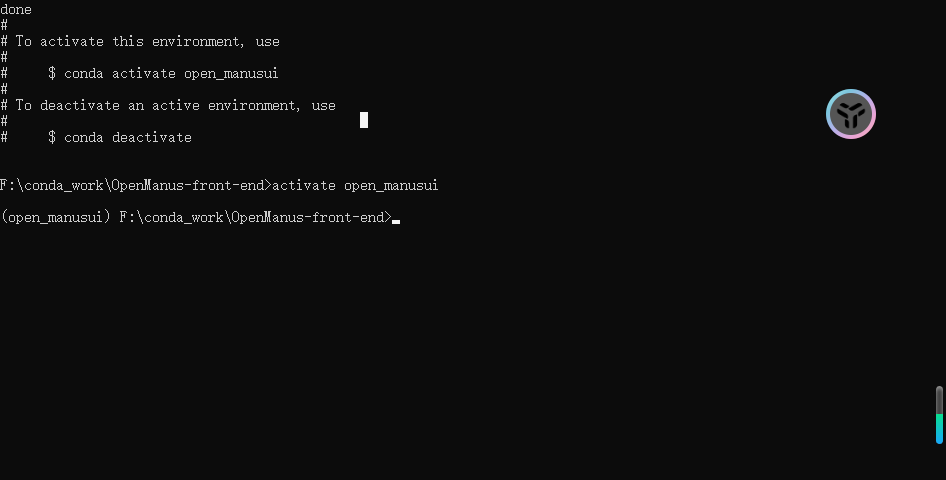
解压 安装相关虚拟环境并激活
conda create -n open_manusui python=3.12
activate open_manusui
安装依赖
pip install -r requirements.txt
找到config 下的 config.example.toml 文件,复制 config.example.toml 文件重命名为 config.toml 打开编辑
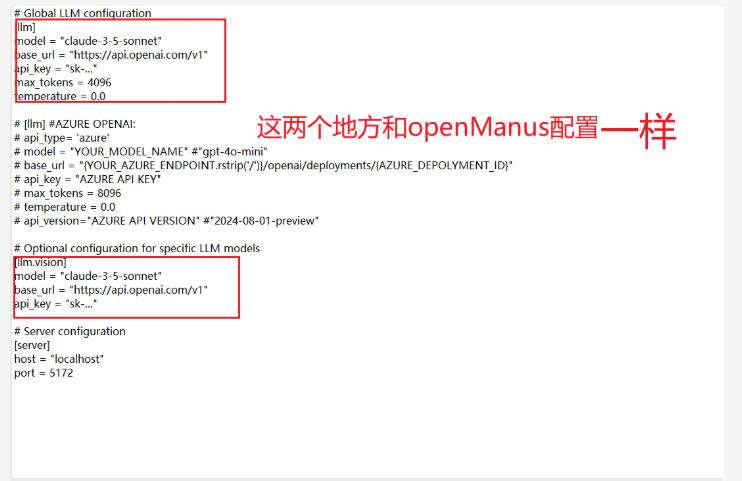
# Global LLM configuration
[llm]
model = "qwen2.5:7b"          # 使用的基础大模型版本
base_url = "http://localhost:11434/v1"  # 模型服务的接口地址(本地 Ollama 服务)
api_key = "EMPTY"                 # 本地服务无需密钥,填 EMPTY 即可
max_tokens = 4096                 # 模型生成文本的最大令牌数(控制回复长度)
temperature = 0.0                 # 生成温度(0.0 表示输出完全确定,无随机性)

# [llm] #AZURE OPENAI:
# api_type= 'azure'
# model = "YOUR_MODEL_NAME" #"gpt-4o-mini"
# base_url = "{YOUR_AZURE_ENDPOINT.rstrip('/')}/openai/deployments/{AZURE_DEPOLYMENT_ID}"
# api_key = "AZURE API KEY"
# max_tokens = 8096
# temperature = 0.0
# api_version="AZURE API VERSION" #"2024-08-01-preview"

# Optional configuration for specific LLM models
[llm.vision]
model = "qwen2.5:7b"
base_url = "http://localhost:11434/v1"
api_key = "EMPTY"

# Server configuration
[server]
host = "localhost"
port = 5172
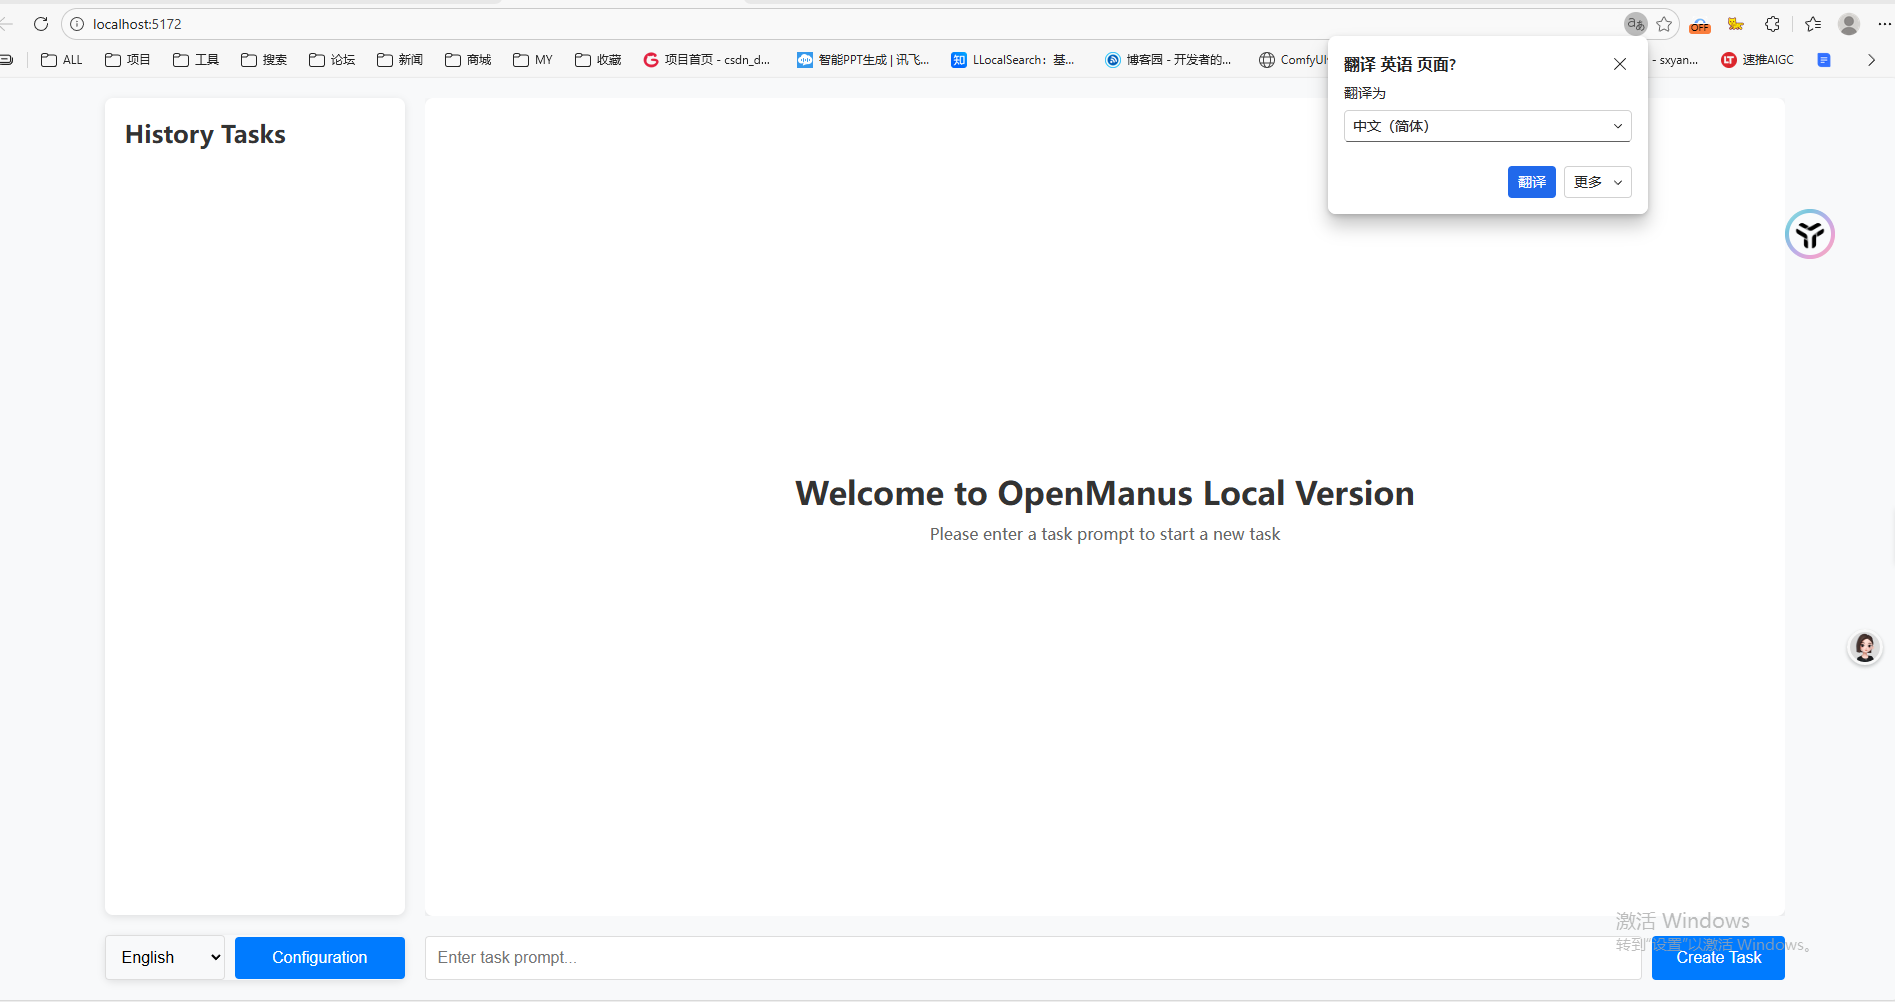
启动
python app.py
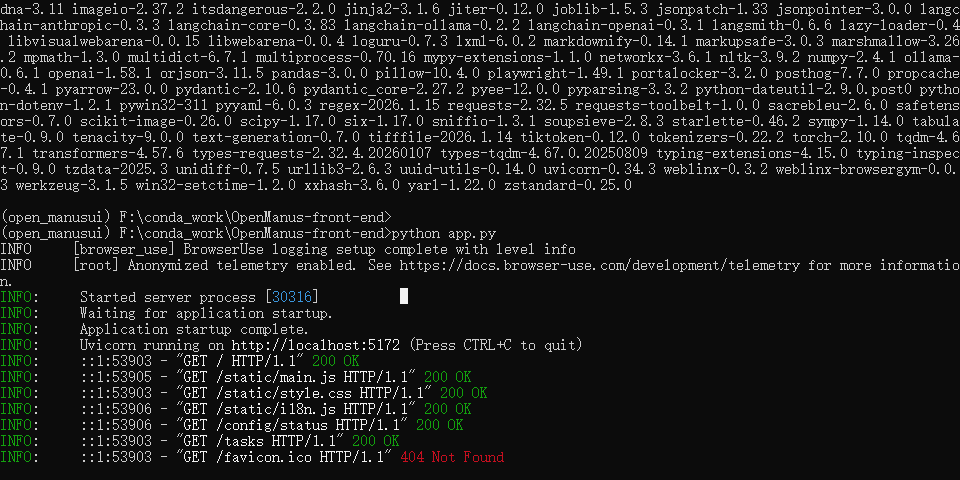
Playwright 缺少浏览器可执行文件(Chromium)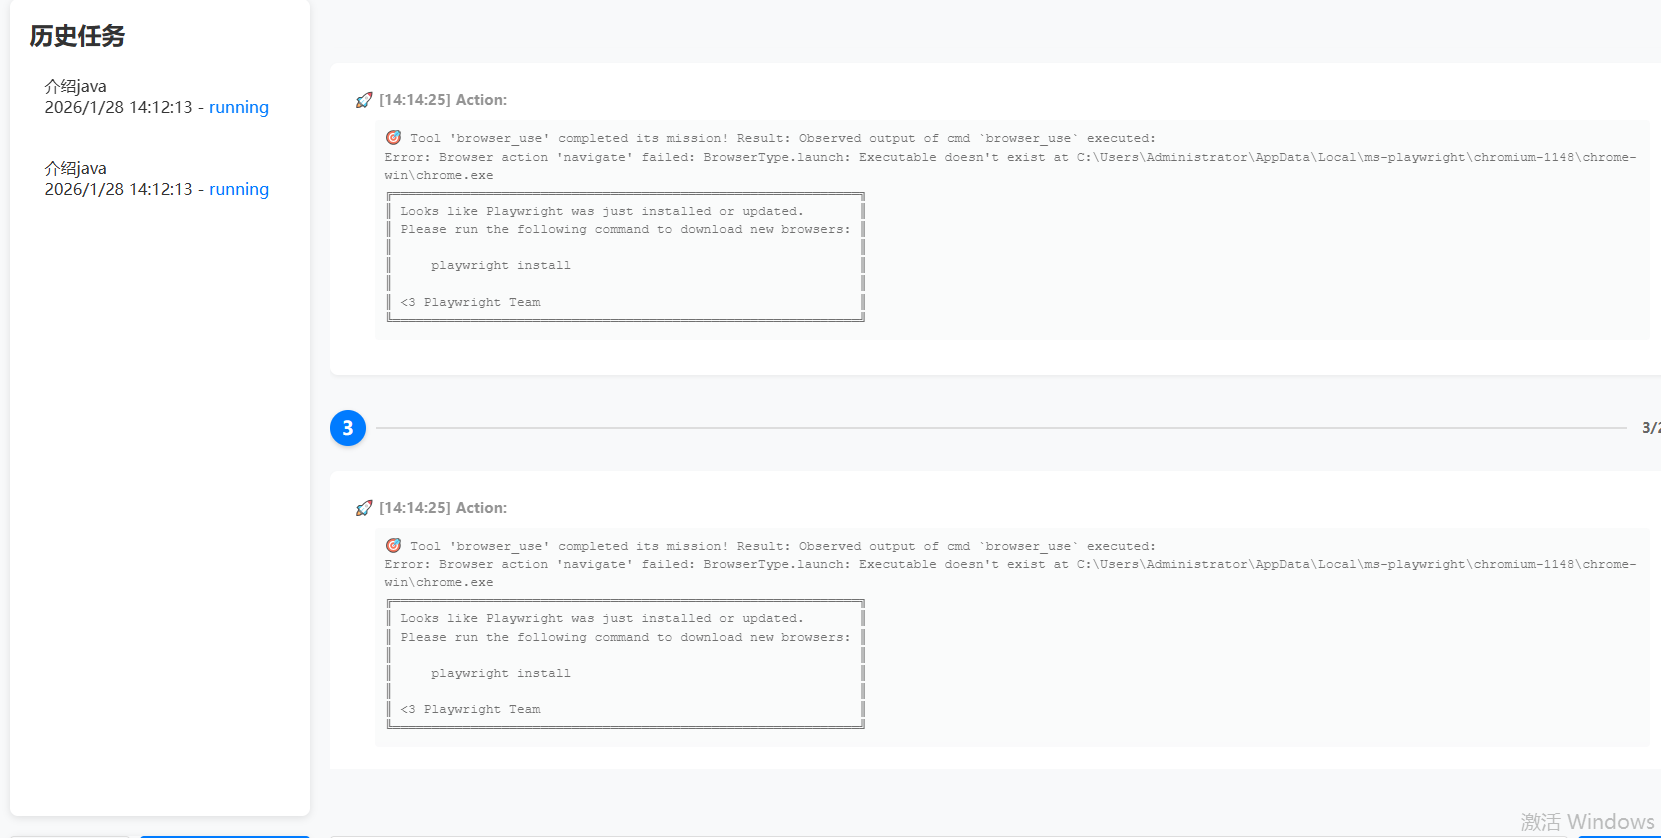
但是不一样的是它自己在安装缺少的东西
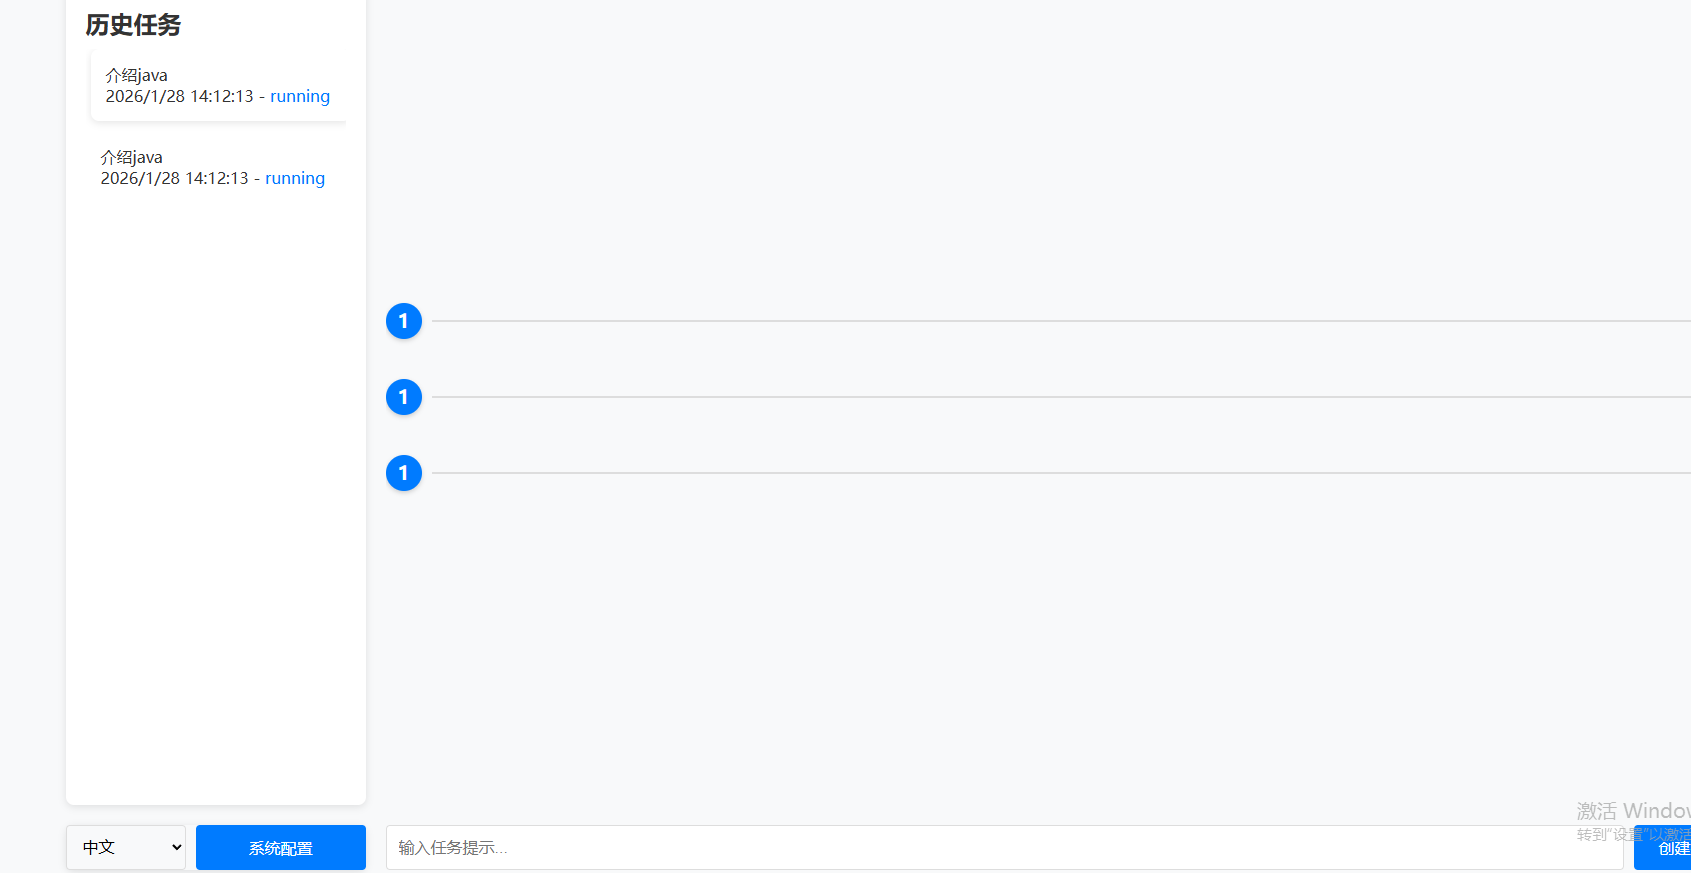
然后调起了浏览器,就是太慢了
我打算更改为在线的deepseek的API试试效果
配置在线模型
DeepSeek官网创建api_key:
https://platform.deepseek.com/api_keys
拿到key之后更改 config.toml
[llm]
model = "deepseek-chat"
base_url = "https://api.deepseek.com/v1"
api_key = "****"
max_tokens = 4096
temperature = 0.0

[llm.vision]
model = "deepseek-chat"
base_url = "https://api.deepseek.com/v1"
api_key = "****"

[server]
host = "localhost"
port = 5172
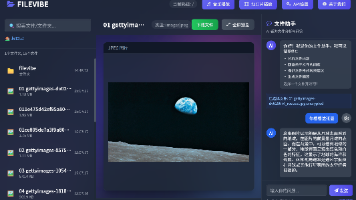
效率嘎嘎快

有“AI”的1024 = 2048,欢迎大家加入2048 AI社区
更多推荐
 14
14 0
0- 0


 已为社区贡献9条内容

所有评论(0)