(四)搭建 Streamlit 可视化 AI 测试平台
本文是基于(二)DeepSeek API基础调用已完成的 AI 测试项目架构进行可视化升级,无需重构现有代码(如架构不同,仅需关注新增文件与修改文件),仅通过「新增 1 个核心文件&&少量适配修改」,即可搭建出 “选模板、填参数、生成脚本、下载执行” 的可视化平台。🟢已有:已实现的文件 / 目录,直接复用🔴新增:需额外创建的文件🟡修改:已有文件的少量调整🟢复用阶段(二):所有核心逻辑(Pr
·
适配版本:requests2.32.5/pytest9.0.2/playwright1.57.0/streamlit1.40.0
一、前言
本文是基于(二)DeepSeek API基础调用已完成的 AI 测试项目架构进行可视化升级,无需重构现有代码(如架构不同,仅需关注新增文件与修改文件),仅通过「新增 1 个核心文件&&少量适配修改」,即可搭建出 “选模板、填参数、生成脚本、下载执行” 的可视化平台。
全文严格标注文件状态:
- 🟢 已有:已实现的文件 / 目录,直接复用
- 🔴 新增:需额外创建的文件
- 🟡 修改:已有文件的少量调整
二、调整项目架构
仅在原架构基础上新增 1 个核心文件,调整后项目架构:
ai_ui_test/
├─ .venv/                # 🟢 已有:虚拟环境
├─ config/
│  └─ prompt_templates.json  # 🟢 已有:Prompt模板
├─ test_cases/           # 🟢 已有:测试脚本目录
├─ reports/              # 🟢 已有:测试报告目录
├─ utils/
│  └─ deepseek_api.py    # 🟡 已有+修改:新增extract_python_code函数
├─ main.py               # 🟢 已有:命令行入口
└─ app.py                # 🔴 新增:Streamlit可视化平台入口(核心)
三、环境准备
3.1 已有依赖(🟢)
你的虚拟环境中已安装以下版本(无需重新安装):
# 已安装的核心依赖,如未安装可参考4.2步骤进行安装
requests==2.32.5
pytest==9.0.2
playwright==1.57.0
3.2 新增依赖(🔴)
安装适配版numpy和Streamlit:
# 先卸载可能残留的不完整numpy(如果有的话)
pip uninstall -y numpy
# 安装适配Windows的预编译numpy
pip install numpy==2.4.1 --only-binary=numpy
# 安装兼容版Streamlit(不冲突已有依赖)
pip install streamlit==1.40.0
# 验证安装成功
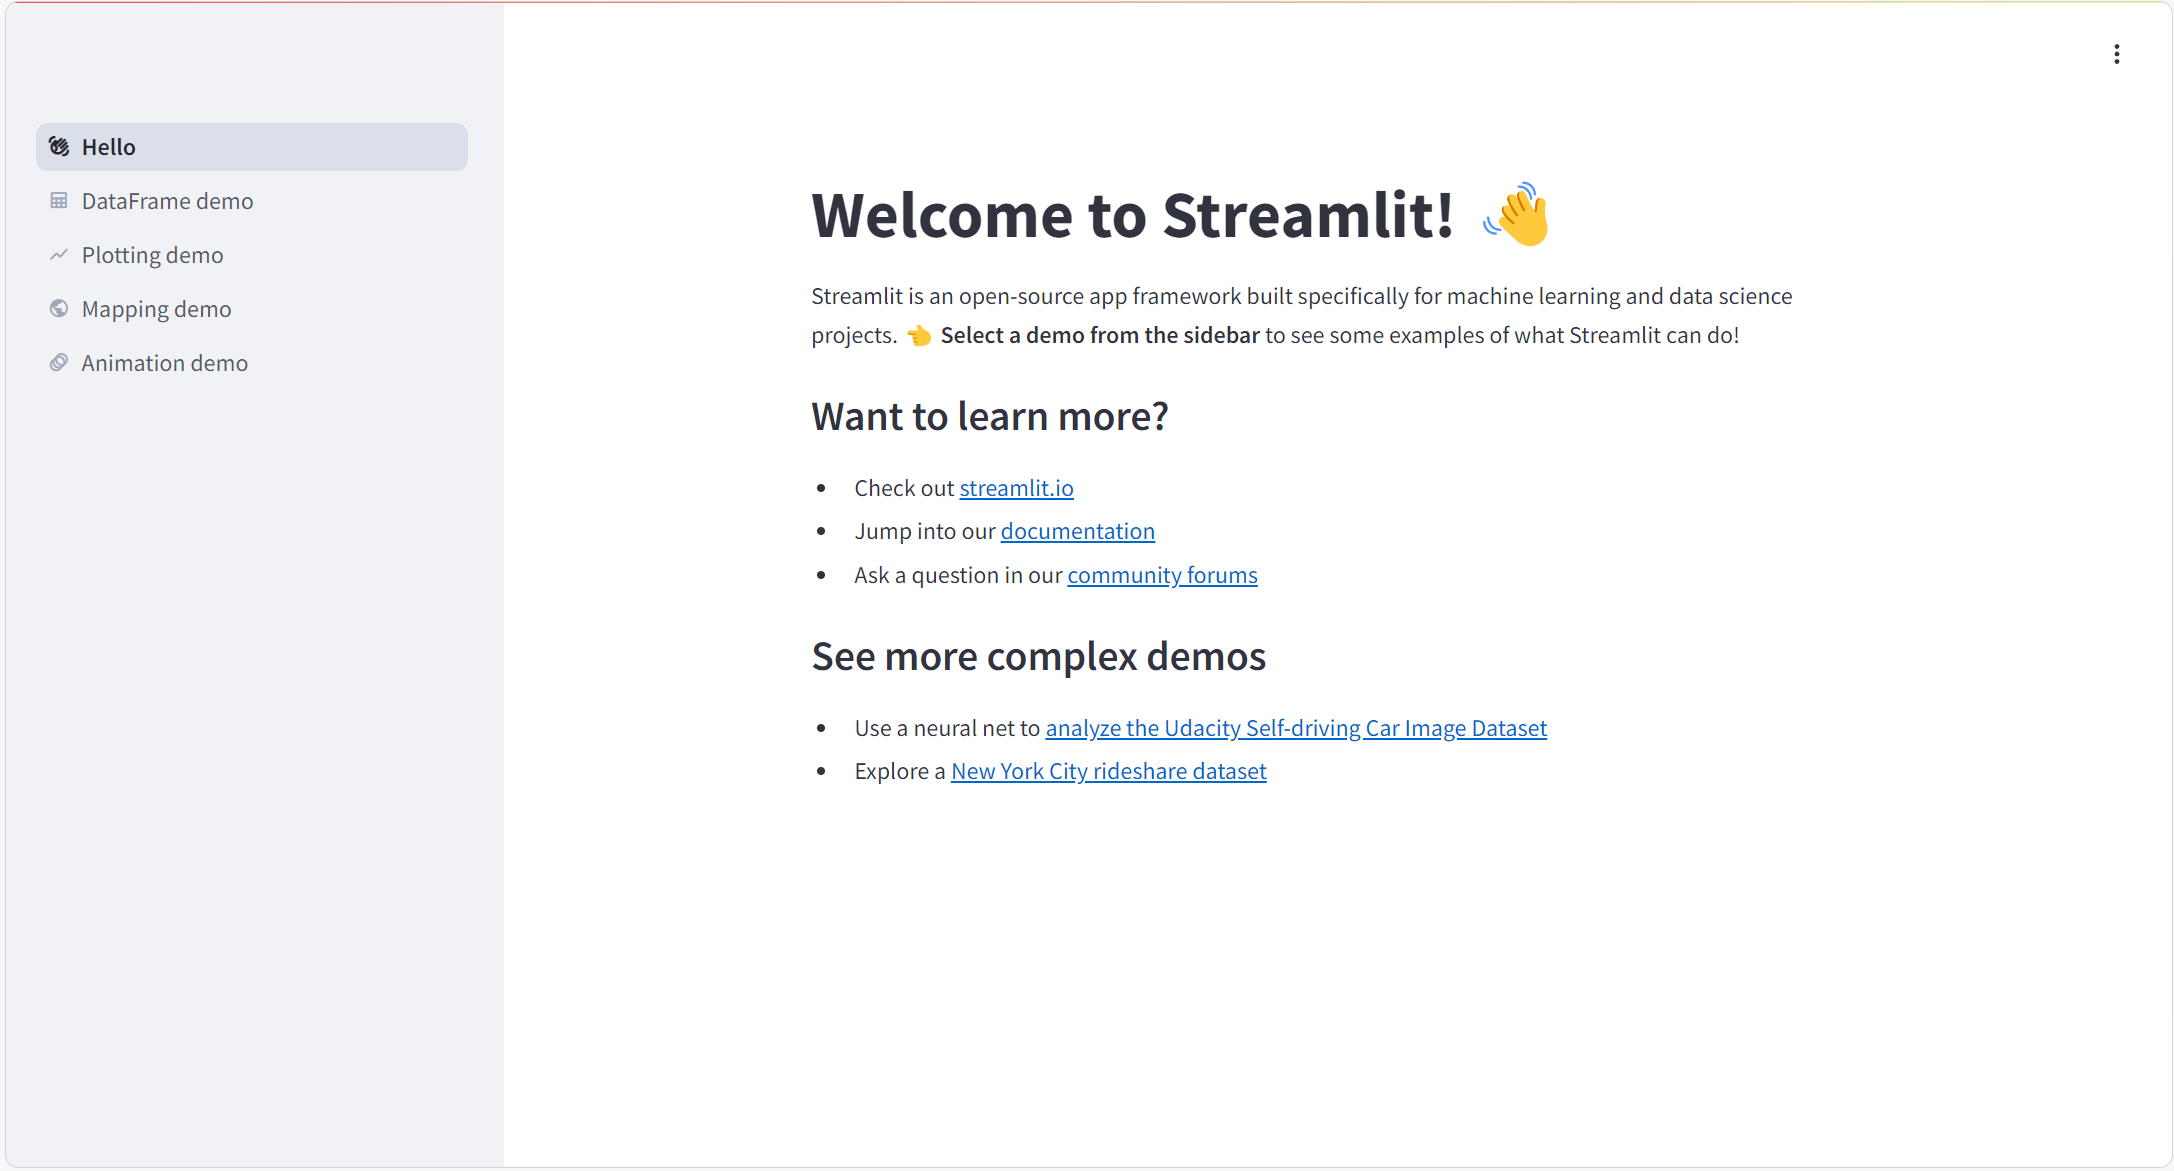
streamlit hello
订阅邮箱可不填,回车即可;
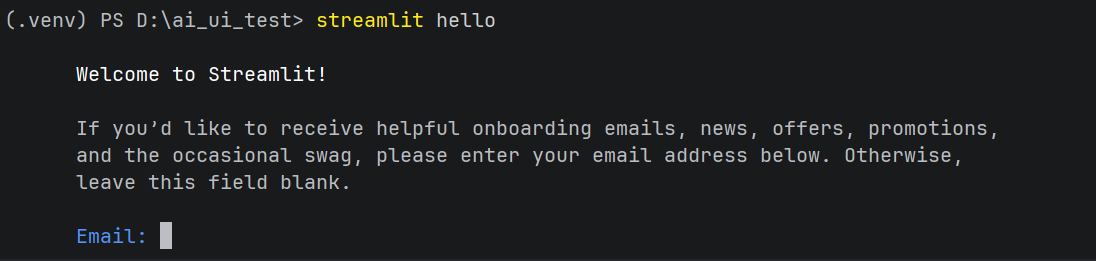
✅ 浏览器自动打开http://localhost:8501示例页面 = 安装成功。
3.3 验证版本(可选)
pip list | Select-String -Pattern "streamlit|numpy|requests|pytest|playwright"✅ 成功输出示例:
streamlit      1.40.0
numpy          2.4.1
requests       2.32.5
pytest         9.0.2
playwright     1.57.0
四、核心文件实现
4.1 已有文件:config/prompt_templates.json(🟢)
直接复用原有的模板文件(或者使用你自己的prompt文件即可):
{
  "playwright_ui": {
    "role": "资深UI自动化测试工程师",
    "context_feedback": "测试mall电商后台品牌管理功能,地址http://localhost:8090",
    "task": "生成Playwright UI测试脚本,包含查看/编辑/删除品牌用例",
    "constraint": "使用Playwright1.57.0同步API,含断言,适配pytest9.0.2",
    "output_format": "完整Python脚本"
  },
  "api_test": {
    "role": "资深接口测试工程师",
    "context_feedback": "测试mall登录接口,地址http://localhost:8080/admin/login",
    "task": "生成requests接口测试脚本,覆盖多登录场景",
    "constraint": "使用requests2.32.5,含断言,适配pytest9.0.2",
    "output_format": "完整Python脚本"
  }
}
4.2 已有 + 修改文件:utils/deepseek_api.py(🟡)
在已有文件中新增代码提取函数:
# utils/deepseek_api.py
import requests
from typing import List, Dict

class DeepSeekAPI:
    def __init__(self, api_key: str):
        """初始化DeepSeek API客户端"""
        self.api_key = api_key
        self.base_url = "https://api.deepseek.com/v1/chat/completions"
        # 请求头(固定格式,需携带API Key)
        self.headers = {
            "Content-Type": "application/json",
            "Authorization": f"Bearer {self.api_key}"
        }
        # 默认模型(DeepSeek基础对话模型,可根据需求切换)
        self.default_model = "deepseek-chat"

    def send_message(self, messages: List[Dict], model: str = None) -> str:
        """
        调用DeepSeek API发送对话请求
        :param messages: 对话历史,格式示例:[{"role": "user", "content": "你好"}]
        :param model: 模型名称,默认用deepseek-chat
        :return: API返回的回答内容
        """
        try:
            # 构造请求参数
            payload = {
                "model": model or self.default_model,
                "messages": messages,
                "temperature": 0.7  # 随机性,0-1之间,越小回答越稳定
            }
            # 发送POST请求(复用已安装的requests==2.32.3)
            response = requests.post(
                url=self.base_url,
                headers=self.headers,
                json=payload,
                timeout=30  # 超时时间30秒,避免网络延迟
            )
            response.raise_for_status()  # 若请求失败(如401/404),抛出异常
            # 解析响应,提取回答内容
            result = response.json()
            return result["choices"][0]["message"]["content"]
        except Exception as e:
            raise Exception(f"DeepSeek API调用失败:{str(e)}")

    # 🔴 新增函数
    def extract_python_code(self, ai_response):
        """从AI返回的Markdown中提取Python代码"""
        if "```python" in ai_response:
            return ai_response.split("```python")[1].split("```")[0].strip()
        return ai_response
4.3 新增文件:app.py(🔴)
在项目根目录创建app.py(可视化核心,直接复制):
import streamlit as st
import json
import subprocess
# 🔴 导入你的DeepSeekAPI类(而非函数)
from utils.deepseek_api import DeepSeekAPI

# ===================== 页面初始化(适配streamlit1.40.0) =====================
st.set_page_config(
    page_title="AI测试脚本生成平台",
    page_icon="🤖",
    layout="wide"
)
st.title("🤖 AI测试脚本生成平台(阶段2)")

# ===================== 加载你现有config目录下的Prompt模板 =====================
try:
    with open("config/prompt_templates.json", "r", encoding="utf-8") as f:
        prompt_templates = json.load(f)
    template_names = list(prompt_templates.keys())
except FileNotFoundError:
    st.error("❌ 请确认config/prompt_templates.json文件存在!")
    st.stop()

# ===================== 侧边栏:参数配置 =====================
with st.sidebar:
    st.header("📌 配置区")

    # 选择测试模板
    selected_template = st.selectbox(
        "选择测试模板",
        options=template_names,
        index=0
    )
    current_template = prompt_templates[selected_template]

    # 输入DeepSeek API Key
    api_key = st.text_input(
        "DeepSeek API Key",
        type="password",
        placeholder="输入你的DeepSeek API Key"
    )

    # 动态测试参数
    st.subheader("🔧 测试参数")
    if selected_template == "playwright_ui":
        base_url = st.text_input("测试地址", value="http://localhost:8090")
        username = st.text_input("登录账号", value="test123")
        password = st.text_input("登录密码", value="123456", type="password")
    elif selected_template == "api_test":
        api_url = st.text_input("接口地址", value="http://localhost:8080/admin/login")
        request_method = st.selectbox("请求方法", options=["POST", "GET"], index=0)

# ===================== 展示模板详情 =====================
st.subheader(f"📋 当前模板:{selected_template}")
with st.expander("查看模板详情(阶段1配置)", expanded=False):
    st.markdown(f"**角色**:{current_template['role']}")
    st.markdown(f"**核心任务**:{current_template['task']}")
    st.markdown(f"**约束条件**:{current_template['constraint']}")

# ===================== 生成测试脚本(适配类结构) =====================
if st.button("🚀 生成测试脚本", type="primary"):
    if not api_key:
        st.error("❌ 请先输入DeepSeek API Key!")
        st.stop()

    # 拼接Prompt内容
    if selected_template == "playwright_ui":
        prompt_content = f"""
请严格按照以下要求生成测试脚本(适配playwright1.57.0):
1. 角色:{current_template['role']}
2. 背景:{current_template['context_feedback']},测试地址:{base_url},登录账号:{username}/{password}
3. 核心任务:{current_template['task']}
4. 约束条件:{current_template['constraint']},脚本可直接用pytest9.0.2执行
5. 输出格式:{current_template['output_format']}
"""
    elif selected_template == "api_test":
        prompt_content = f"""
请严格按照以下要求生成测试脚本(适配requests2.32.3):
1. 角色:{current_template['role']}
2. 背景:{current_template['context_feedback']},接口地址:{api_url},请求方法:{request_method}
3. 核心任务:{current_template['task']}
4. 约束条件:{current_template['constraint']},脚本可直接用pytest9.0.2执行
5. 输出格式:{current_template['output_format']}
"""

    try:
        # 🔴 关键修改:实例化DeepSeekAPI类(适配你的类结构)
        deepseek_client = DeepSeekAPI(api_key=api_key)
        # 构造messages列表(符合你类的send_message方法要求)
        messages = [{"role": "user", "content": prompt_content}]

        # 调用类的send_message方法生成脚本
        with st.spinner("🤖 AI正在生成测试脚本..."):
            ai_result = deepseek_client.send_message(messages=messages)

        # 调用类的extract_python_code方法提取代码
        test_script = deepseek_client.extract_python_code(ai_response=ai_result)

        # 展示脚本+下载
        st.subheader("✅ 生成的测试脚本")
        st.code(test_script, language="python", line_numbers=True)
        st.download_button(
            label="📥 下载到test_cases目录",
            data=test_script,
            file_name=f"test_cases/test_{selected_template}.py",
            mime="text/x-python"
        )
    except Exception as e:
        st.error(f"❌ 脚本生成失败:{str(e)}")

# ===================== 执行测试脚本 =====================
st.divider()
st.subheader("▶️ 执行测试脚本")

uploaded_script = st.file_uploader("选择要执行的脚本(来自test_cases目录)", type="py")
if uploaded_script and st.button("执行测试", type="secondary"):
    script_name = uploaded_script.name
    # 保存到test_cases目录
    with open(f"test_cases/{script_name}", "wb") as f:
        f.write(uploaded_script.getbuffer())
    st.success(f"📁 脚本已保存至:test_cases/{script_name}")

    # 执行测试
    try:
        with st.spinner("🔍 执行测试中..."):
            result = subprocess.run(
                ["pytest", f"test_cases/{script_name}", "-v", "--tb=short"],
                capture_output=True,
                text=True,
                encoding="utf-8"
            )

        # 展示结果
        st.subheader("📊 测试执行结果")
        st.code(result.stdout, language="bash")
        if result.stderr:
            st.error("❌ 执行错误:")
            st.code(result.stderr, language="bash")
    except Exception as e:
        st.error(f"❌ 测试执行失败:{str(e)}")
五、启动验证
在项目根目录执行:
streamlit run app.py
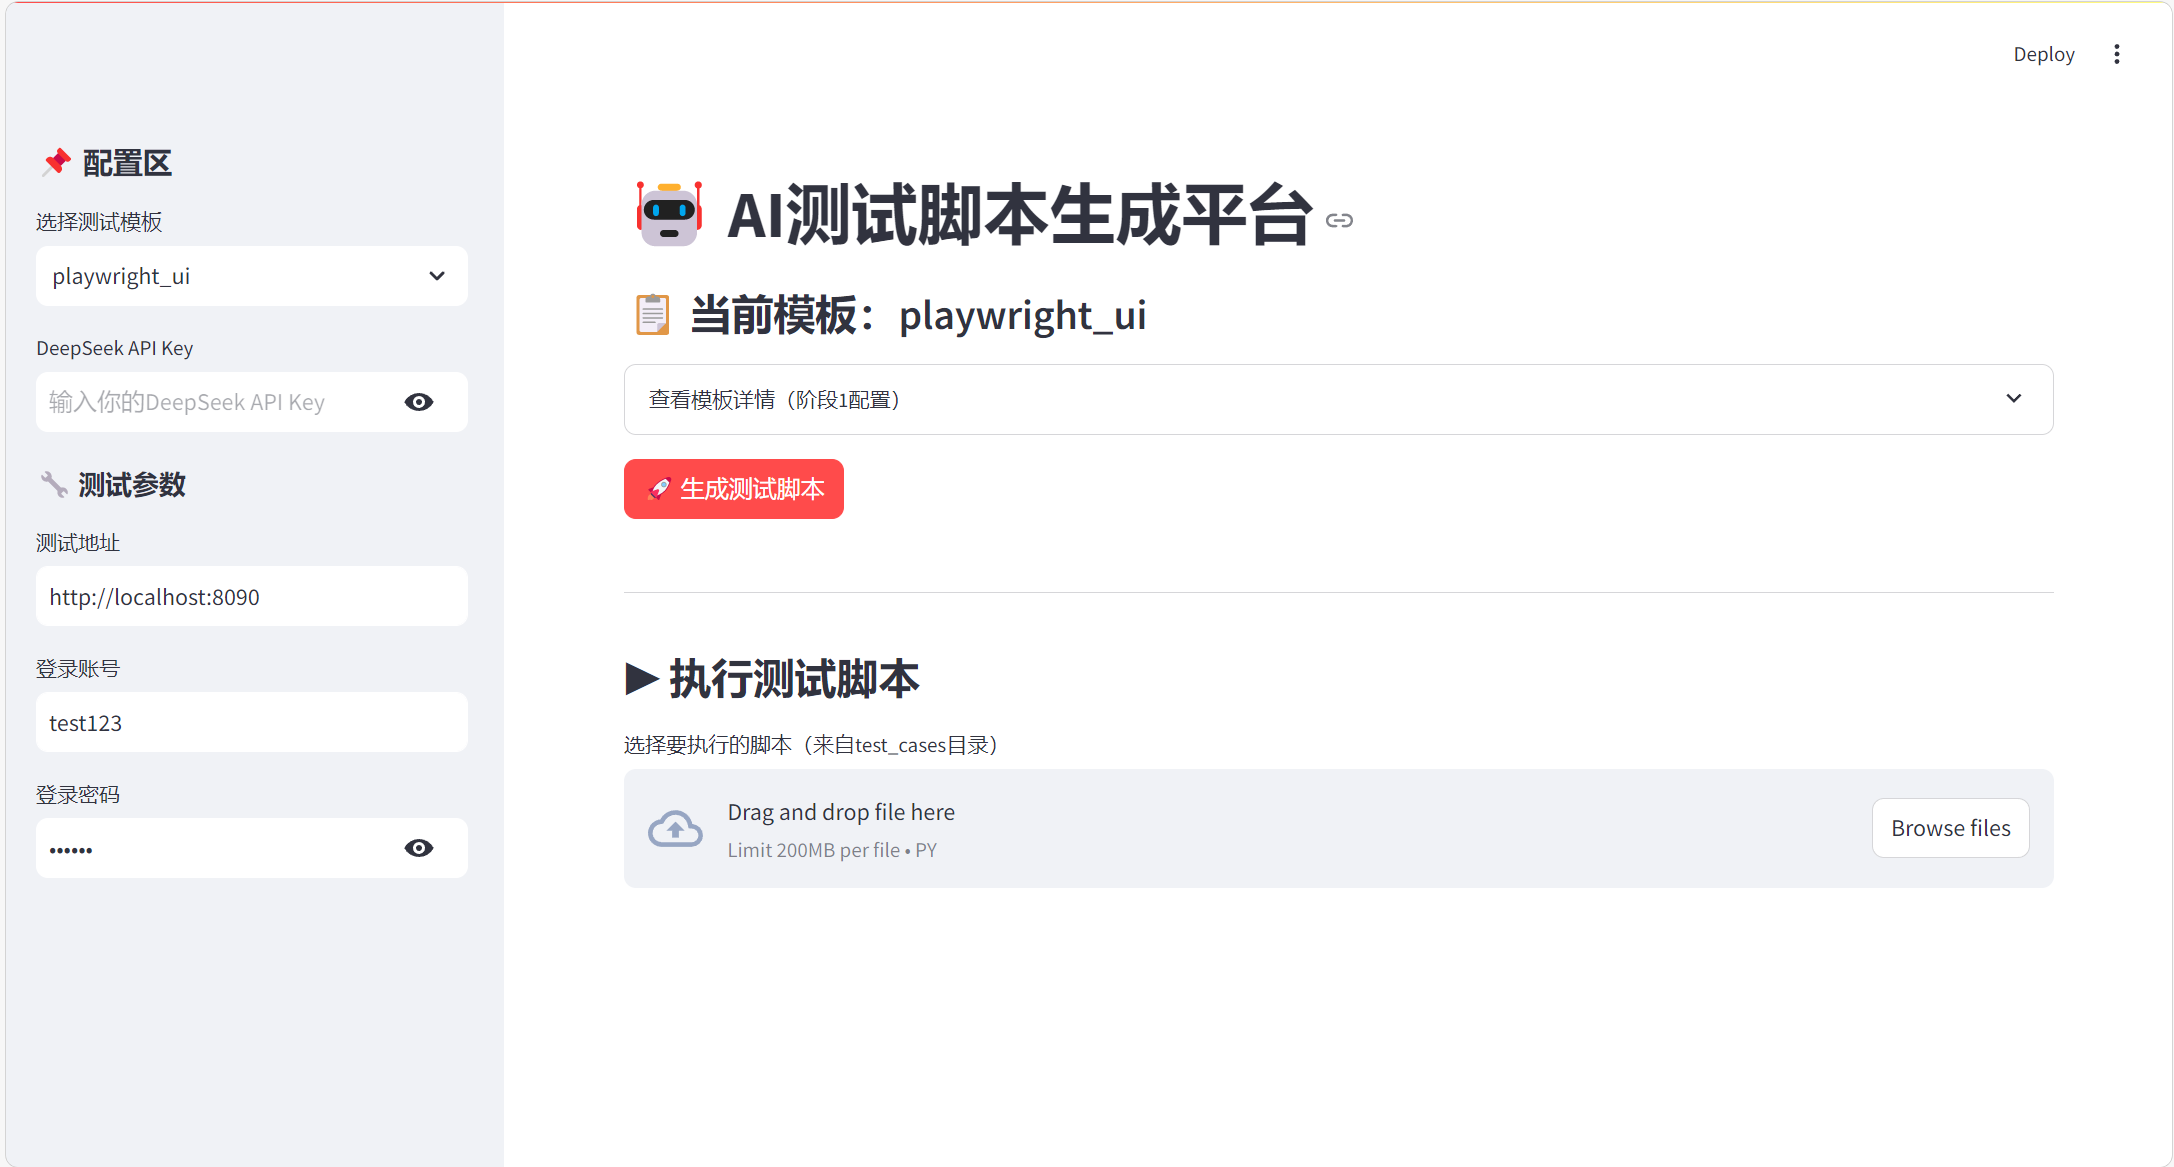
浏览器打开http://localhost:8501,验证核心功能:
- 输入 DeepSeek API Key;
- 选择模板,填写测试参数;
- 生成并下载脚本到
test_cases; - 上传脚本执行,查看测试结果。
六、常见问题
| 问题现象 | 解决方案 |
|---|---|
| 找不到 prompt_templates.json | 确认文件在 config 目录下,app.py中路径正确 |
| 提取代码失败 | 确认deepseek_api.py中已新增extract_python_code函数 |
| Playwright 脚本报错 | 执行playwright install安装驱动(适配 1.57.0) |
| Streamlit 启动失败 | 重新安装:pip install --force-reinstall streamlit==1.40.0 |
七、总结
- 🟢 复用阶段(二):所有核心逻辑(Prompt 模板、AI 调用、测试脚本)均直接复用;
- 🔴 新增价值:通过 1 个文件实现可视化交互,降低 AI 测试使用门槛;
- 版本兼容:完全适配 requests2.32.5/pytest9.0.2/playwright1.57.0/streamlit1.40.0。

有“AI”的1024 = 2048,欢迎大家加入2048 AI社区
更多推荐
 12
12 0
0- 0


 已为社区贡献2条内容

所有评论(0)