Coze智能体开发:Coze Studio Chat SDK
本文档基于 Coze Studio 当前最新版本撰写,你可以根据版本更新特性按需升级使用 ChatSDK。
本文档基于 Coze Studio 当前最新版本撰写,你可以根据版本更新特性按需升级使用 ChatSDK。Coze Studio 发布历史可参考 GitHub Releases。
准备工作
- 确保智能体或者应用已发布至 ChatSDK 渠道。
- 已获取 Personal Access Tokens。
调试 ChatSDK
-
启动后端服务。
-
修改配置文件。 进入
frontend/packages/studio/open-platform/chat-app-sdk目录,修改.env.default文件名为.env.local,并填入以下信息:- 智能体发布 ChatSDK:
CHAT_APP_INDEX_COZE_BOT_ID:智能体的 ID。在智能体编排页面的 URL 中,查看 bot 关键词之后的字符串就是智能体 ID。例如https://www.coze.cn/space/341****/bot/73428668*****,智能体 ID 为73428668*****。CHAT_APP_COZE_TOKEN:准备工作中获取的 Personal Access Tokens。
- 应用发布 ChatSDK:
CHAT_APP_CHATFLOW_COZE_APP_ID:扣子应用的 ID。 在扣子应用编排页面的URL 中, project-ide 参数之后的字符串就是 appId。CHAT_APP_CHATFLOW_COZE_WORKFLOW_ID:工作流或对话流的 ID。 在扣子应用中打开工作流或对话流,URL 中 workflow 参数之后的字符串就是 workflowId。CHAT_APP_COZE_TOKEN:准备工作中获取的 Personal Access Tokens。
- 智能体发布 ChatSDK:
-
执行以下命令启动 ChatSDK 前端。 在
frontend/packages/studio/open-platform/chat-app-sdk目录下执行以下命令:npm run dev
-
调试 ChatSDK。 浏览器打开
http://localhost:8081/client开始调试。
二次开发 ChatSDK
- ChatSDK 入口工程为
frontend/packages/studio/open-platform/chat-app-sdk。- 提供 Chat SDK 编译与发布工程壳子。
- 提供 Chat SDK 一些基础功能:ChatSDK 实例管理、Bot/App 模式入口等。
- ChatSDK 核心功能包:
frontend/packages/studio/open-platform/open-chat:ChatSDK 上层基础状态管理、用户传参数、Chat 插件引入等。frontend/packages/common/chat-area/chat-area:Chat 区域框架,Chat 插件系统、Chat message、Conversation (会话)、Section(上下文)、文件上传、建议问题等等。- frontend/packages/common/chat-area/chat-core:Chat 核心包,Chat 消息收/发/取消、请求拦截器等等。
- 以及其他依赖包。
根据上述目录按需对 ChatSDK 进行二次开发。
发布 ChatSDK
- 编译产物
-
修改 ChatSDK 接口域名: 打开文件
frontend/packages/studio/open-platform/open-env-adapter/src/chat/index.ts,并将openApiHostByRegion修改为你的后端接口域名。 -
构建镜像: 进入
frontend/packages/studio/open-platform/chat-app-sdk目录,执行以下命令:npm run build
镜像构建完毕后,会生成
frontend/packages/studio/open-platform/chat-app-sdk/libs目录。
-
- 上传产物
- 推荐将 libs 目录上传至自己的资源服务器。
- 你也可以通过 npm 方式上传:
- 修改
package.json中的包名和版本号为你自己的包名和版本号。 - 执行
npm publish,即可通过https://cdn.jsdelivr.net/npm/包名@版本号/libs/cn/index.js访问资源。
- 修改
安装并配置 ChatSDK
- 安装 ChatSDK。 你可以直接在 html 页面中通过 script 标签的形式加载 ChatSDK 的 js 代码。注意替换包名和版本号。
-
如果你将编译产物上传至自己的资源服务器,需要通过下面方式安装 ChatSDK。
<script src="你的资源服务器地址/libs/cn/index.js"></script>
-
如果你将编译产物上传至 npm,可通过下面方式安装 ChatSDK。
<script src="https://cdn.jsdelivr.net/npm/包名@版本号/libs/cn/index.js"></script>
- SDK安装成功后,在代码中配置以下参数: 具体可配置的参数可前往商业版本 配置参数 文档与
WebChatClient入参对比查看。需要注意的是,Coze Studio 开源版 ChatSDK 暂不支持商业版本中的部分功能,包括语音播放、语音录制、语音通话。 代码示例如下:new CozeWebSDK.WebChatClient({ /** * Agent or app settings * for agent * @param config.bot_id - Agent ID. * for app * @param config.type - To integrate a Coze app, you must set the value to app. * @param config.isIframe - Whether to use the iframe method to open the chat box * @param config.appInfo.appId - AI app ID. * @param config.appInfo.workflowId - Workflow or chatflow ID. */ config: { type: 'bot', bot_id: 'xxxx', isIframe: false, }, /** * The auth property is used to configure the authentication method. * @param type - Authentication method, default type is 'unauth', which means no authentication is required; it is recommended to set it to 'token', which means authentication is done through PAT (Personal Access Token) or OAuth. * @param token - When the type is set to 'token', you need to configure the PAT (Personal Access Token) or OAuth access key. * @param onRefreshToken - When the access key expires, a new key can be set as needed. */ auth: { type: 'token', token: 'xxxx', onRefreshToken: async () => 'token' }, /** * The userInfo parameter is used to set the display of agent user information in the chat box. * @param userInfo.id - ID of the agent user. * @param userInfo.url - URL address of the user's avatar. * @param userInfo.nickname - Nickname of the agent user. */ userInfo: { id: 'user', url: 'https://lf-coze-web-cdn.coze.cn/obj/eden-cn/lm-lgvj/ljhwZthlaukjlkulzlp/coze/coze-logo.png', nickname: 'User', }, ui: { /** * The ui.base parameter is used to add the overall UI effect of the chat window. * @param base.icon - Application icon URL. * @param base.layout - Layout style of the agent chat box window, which can be set as 'pc' or'mobile'. * @param base.lang - System language of the agent, which can be set as 'en' or 'zh-CN'. * @param base.zIndex - The z-index of the chat box. */ base: { icon: 'https://lf-coze-web-cdn.coze.cn/obj/eden-cn/lm-lgvj/ljhwZthlaukjlkulzlp/coze/chatsdk-logo.png', layout: 'pc', lang: 'en', zIndex: 1000 }, /** * Controls whether to display the top title bar and the close button * @param header.isShow - Whether to display the top title bar. * @param header.isNeedClose - Whether to display the close button. */ header: { isShow: true, isNeedClose: true, }, /** * Controls whether to display the floating ball at the bottom right corner of the page. */ asstBtn: { isNeed: true }, /** * The ui.footer parameter is used to add the footer of the chat window. * @param footer.isShow - Whether to display the bottom copy module. * @param footer.expressionText - The text information displayed at the bottom. * @param footer.linkvars - The link copy and link address in the footer. */ footer: { isShow: true, expressionText: 'Powered by ...', }, /** * Control the UI and basic capabilities of the chat box. * @param chatBot.title - The title of the chatbox * @param chatBot.uploadable - Whether file uploading is supported. * @param chatBot.width - The width of the agent window on PC is measured in px, default is 460. * @param chatBot.el - Container for setting the placement of the chat box (Element). */ chatBot: { title: 'Coze Bot', uploadable: true, width: 390, }, }, });
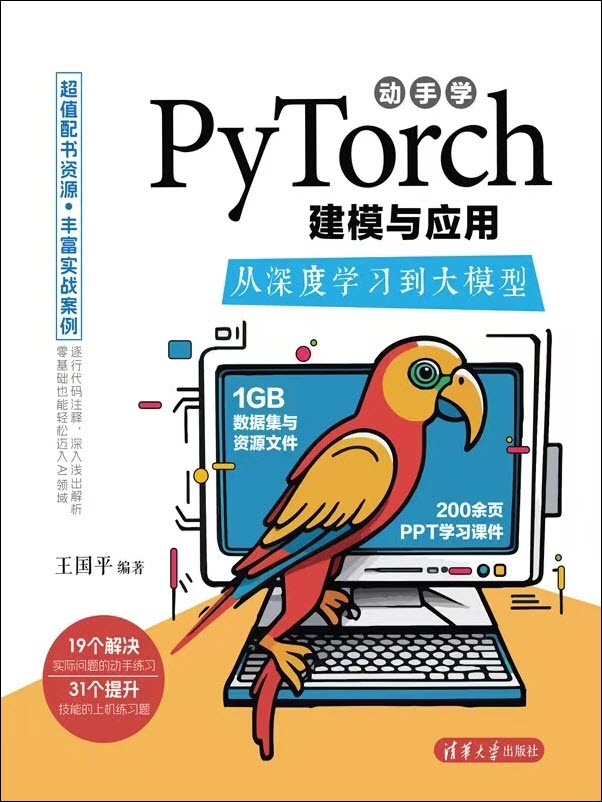
《动手学PyTorch建模与应用:从深度学习到大模型》是一本从零基础上手深度学习和大模型的PyTorch实战指南。全书共11章,前6章涵盖深度学习基础,包括张量运算、神经网络原理、数据预处理及卷积神经网络等;后5章进阶探讨图像、文本、音频建模技术,并结合Transformer架构解析大语言模型的开发实践。书中通过房价预测、图像分类等案例讲解模型构建方法,每章附有动手练习题,帮助读者巩固实战能力。内容兼顾数学原理与工程实现,适配PyTorch框架最新技术发展趋势。

有“AI”的1024 = 2048,欢迎大家加入2048 AI社区
更多推荐
 11
11 0
0- 0


 已为社区贡献62条内容

所有评论(0)