Flux.1-dev学习笔记
Flux.1-dev学习笔记
闲置的P40虽然限制比较多,但是总还是想让其发挥余热,我觉得可以辅助我做一个文生图的网站,废话不说,盘一盘如何利用P40跑flux.1-dev模型。
一、操作环境
- 硬件环境
- CPU: E5 2666V3
- 内存: ddr3 1600 16gx4
- 显卡1: GTX 1050ti 4G
- 显卡2: Tesla P40 24G
- 硬盘: SSD固态
- 软件环境
- 操作系统: windows10
- cuda: 11.8
- nvidia驱动: 560.94
- python版本: 3.10.6
- 包管理工具: uv、pip
二、安装 diffusers 和 modelscope
uv pip install diffusers modelscope
三、安装torch-gpu
有两种方式,请使用第二种 --index-url 的方式进行安装~ 因为 torch_stable.html 的版本不全~
别问,问就是踩过坑~
比如:使用方式一就没办法安装 torch==2.4.0 的版本,网页上找不到~
方式一uv pip install torch==2.3.1+cu118 torchvision==0.18.1+cu118 torchaudio==2.3.1+cu118 -f https://download.pytorch.org/whl/torch_stable.html
方式二(推荐)uv pip install torch==2.4.0+cu118 torchvision==0.19.0+cu118 torchaudio==2.4.0+cu118 --index-url https://download.pytorch.org/whl/cu118
四、降级numpy到2.0以下
uv pip install numpy==1.26.4
五、参考以下文章预防torch导入错误
fbgemm.dll
https://blog.csdn.net/splendid_java/article/details/141181808
六、安装 transformer、 accelerate、sentencepiece、protobuf
uv pip install transformers accelerate sentencepiece protobuf
七、下载flux模型
这里想试试更改环境变量 HF_ENDPOINT=https://hf-mirror.com ,但是不知道为啥提示 403 了,知道的朋友可以留言一下~
只能先用手动下载了
modelscope download --model black-forest-labs/FLUX.1-dev --local_dir black-forest-labs/FLUX.1-dev
八、运行测试代码
注意事项
- 第二行,原本是 from modelscope import FluxPipeline, 但是找不到 FluxPipeline, 删除自动导入后正确路径为
from diffusers import FluxPipeline。 - 如果显存不够,第5行需要改为
pipe.enable_sequential_cpu_offload(), 推测是允许使用cpu加载部分片段。
import torch
# from modelscope import FluxPipeline
from diffusers import FluxPipeline

pipe = FluxPipeline.from_pretrained("black-forest-labs/FLUX.1-dev", torch_dtype=torch.bfloat16)
# pipe.enable_model_cpu_offload() #save some VRAM by offloading the model to CPU. Remove this if you have enough GPU power
pipe.enable_sequential_cpu_offload()

prompt = "A cat holding a sign that says hello world"
image = pipe(
    prompt,
    height=1024,
    width=1024,
    guidance_scale=3.5,
    num_inference_steps=50,
    max_sequence_length=512,
    generator=torch.Generator("cpu").manual_seed(0)
).images[0]
image.save("flux-dev.png")
九、效果记录
1、好吧, 原版的 flux.1-dev 最终失败了,显存溢出,哪怕我已经允许部分在CPU加载。
2、尝试使用 nunchaku 进行显存加载优化,也失败了~
不知道为什么,找不到 NunchakuFluxTransformer2dModel 这个方法, 一番尝试后放弃~
据作者说 nunchaku 最低支持 20系列,但是不支持 p40、v100~ 因为架构太老了。
但是我觉得不至于包都找不到~
知道原因的朋友可以在评论区留言一下~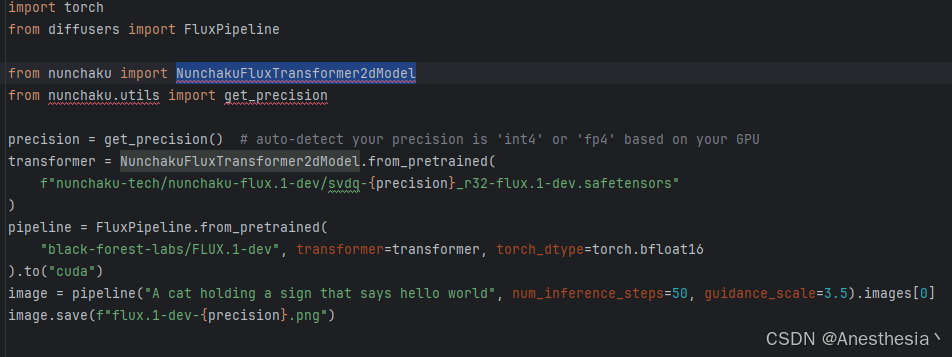
3、尝试使用 4bit 量化版的 flux.1-dev, modelscop上展示的效果我觉得能接受~
除此之外,另一个模型应该也可以 hf-diffusers/FLUX.1-dev-torchao-fp8。
① 下载模型: modelscope download --model hf-diffusers/FLUX.1-dev-bnb-4bit --local_dir hf-diffusers/FLUX.1-dev-bnb-4bit
② 安装 bitsandbytespip install bitsandbytes
③ 运行示例代码
import torch
from diffusers import FluxPipeline

pipe = FluxPipeline.from_pretrained(
    "hf-diffusers/FLUX.1-dev-bnb-4bit",
    torch_dtype=torch.bfloat16
)
pipe.to("cuda")

prompt = "Baroque style, a lavish palace interior with ornate gilded ceilings, intricate tapestries, and dramatic lighting over a grand staircase."

pipe_kwargs = {
    "prompt": prompt,
    "height": 1024,
    "width": 1024,
    "guidance_scale": 3.5,
    "num_inference_steps": 50,
    "max_sequence_length": 512,
}

image = pipe(
    **pipe_kwargs, generator=torch.manual_seed(0),
).images[0]

image.save("flux.png")
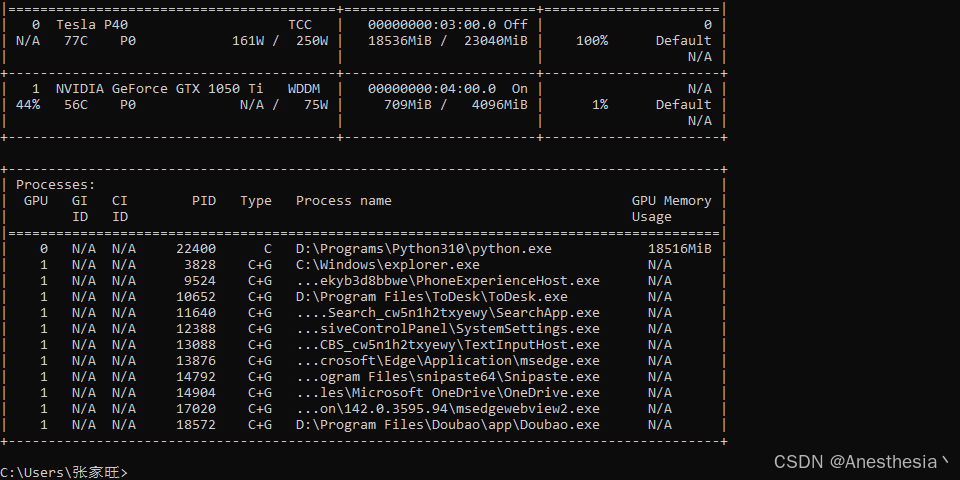
我真的是相见恨晚~ 正常推理中!!!显存占用约 18.5G~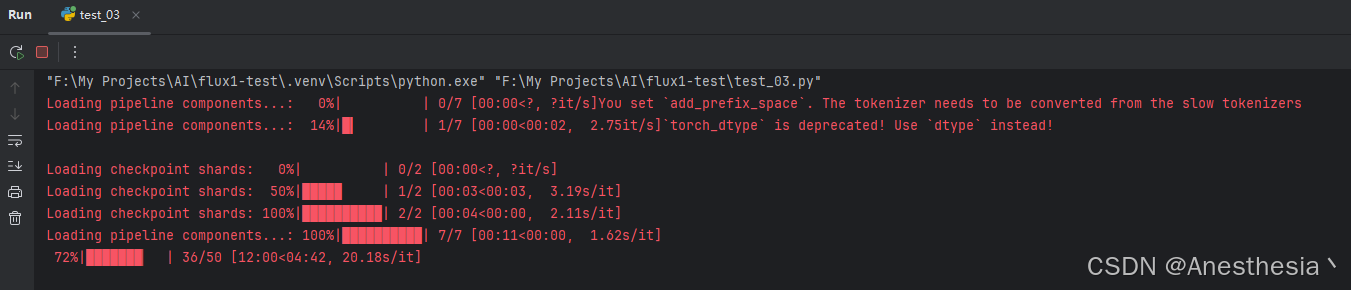
我觉得效果跟官方描述差不多,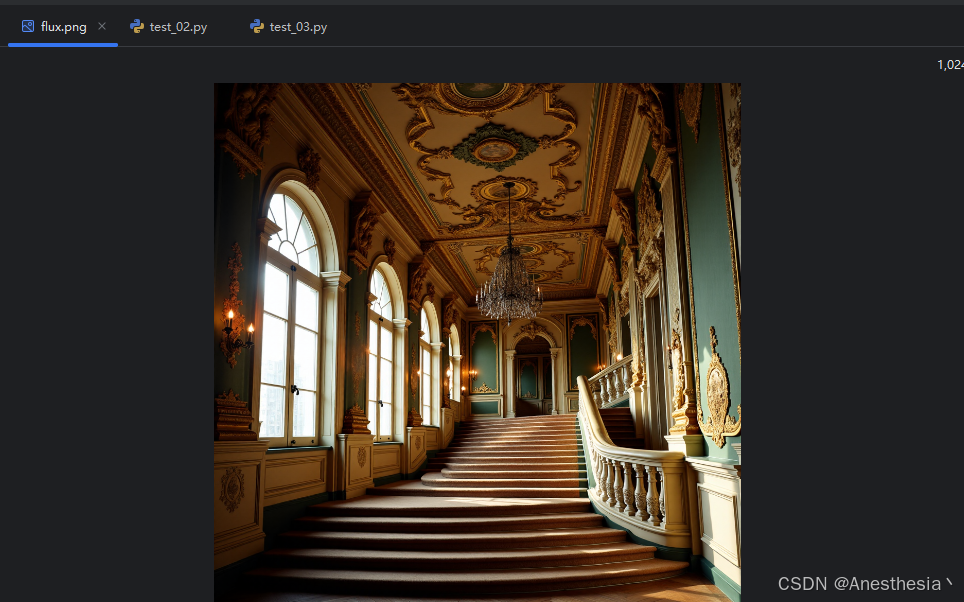
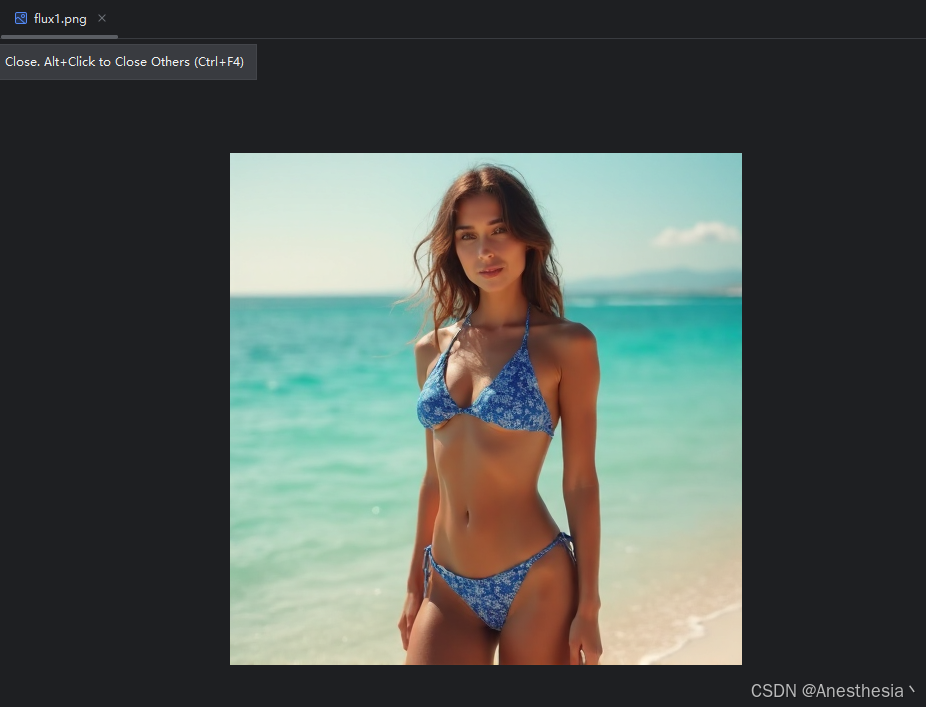
又测试了一张 512x512 的,结果如下,整体时间 5~6分钟。
prompt = "photorealistic full-body portrait of an adult woman (mid-20s), natural facial features, soft smile, wearing a sleek two-piece bikini (sapphire blue with white geometric patterns), modest coverage, non-transparent matte fabric, standing on a pristine sandy beach at golden hour (late afternoon), gentle ocean breeze lifting her hair, crystal-clear turquoise water in the background, uncluttered shoreline, natural sunlight with soft backlight rim, 85mm prime lens, f/1.8 aperture, shallow depth of field, hyper-detailed skin texture, realistic shadows, vibrant natural colors, family-friendly, tasteful editorial style, 4K resolution, --ar 3:4 --style raw" 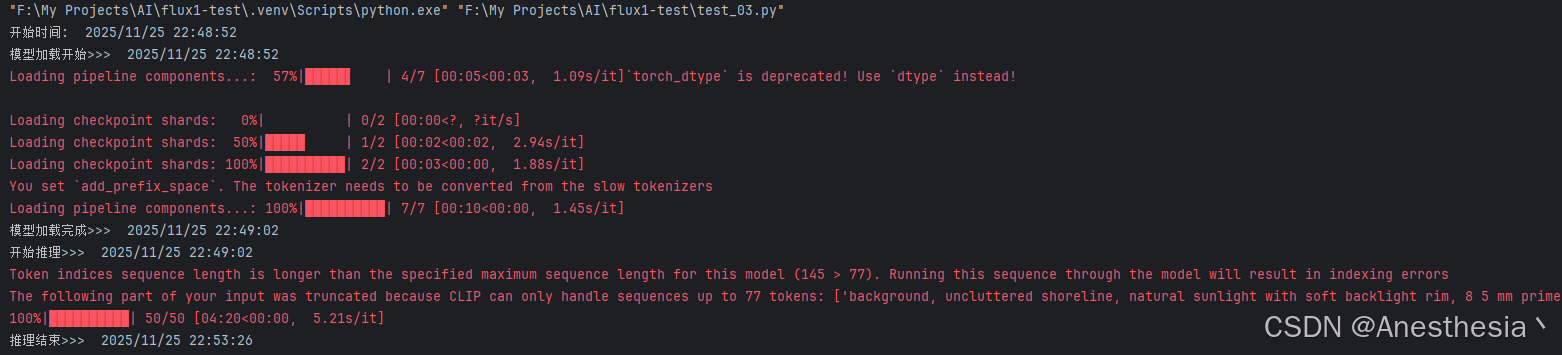

有“AI”的1024 = 2048,欢迎大家加入2048 AI社区
更多推荐


 16
16 0
0- 0


 已为社区贡献4条内容

所有评论(0)