25.大模型部署vLLM推理框架
本文介绍了使用vLLM框架进行大模型本地化部署的完整流程。主要内容包括:1)环境安装与配置,推荐使用docker方式;2)两种模型部署方式(命令行参数和配置文件);3)通过OpenAI SDK进行API测试调用;4)性能测试脚本开发,评估首token时间、QPS等关键指标;5)在腾讯Cloud Studio平台上的实战操作演示。文章以Qwen2.5-1.5B模型为例,详细说明了从环境搭建到性能测试
0. 概述
通常企业所说的本地化部署,是指公司的私有化部署,可能部署在公司内容的服务器上或者公司购买的云端主机。这样有利于保护公司的内部数据,如果使用量很大,也可以降低公司的成本。目前大中型公司基本都有公司的内部服务器,小公司虽然没有服务器,招聘的时候也会要求能够私有化部署。
部署在内网或者云端服务器,通常都是Linux环境,我们部署完成以后可以通过openai的SDK访问,也可以配置到Dify等开源工具中使用。大语言模型通常采用vLLM推理框架。本节内容详细讲解vLLM部署大模型的流程
接下来我们使用腾讯的cloud studio的环境,来演示云端部署。
登录服务器https://cloudstudio.net/home, 创建应用选择A10显卡.
在命令行查询显卡的状态
nvidia-smi
输出为:
1. 环境安装
环境安装分为docker环境安装和系统安装。建议优先使用docker 环境来部署。由于cloudstudio不知道安装docker,只能使用命令安装到系统环境。
1.1 uv安装到系统环境
安装uv
pip install uv
uv venv --python 3.10 --seed # 创建虚拟环境
source .venv/bin/activate # 进入到虚拟环境
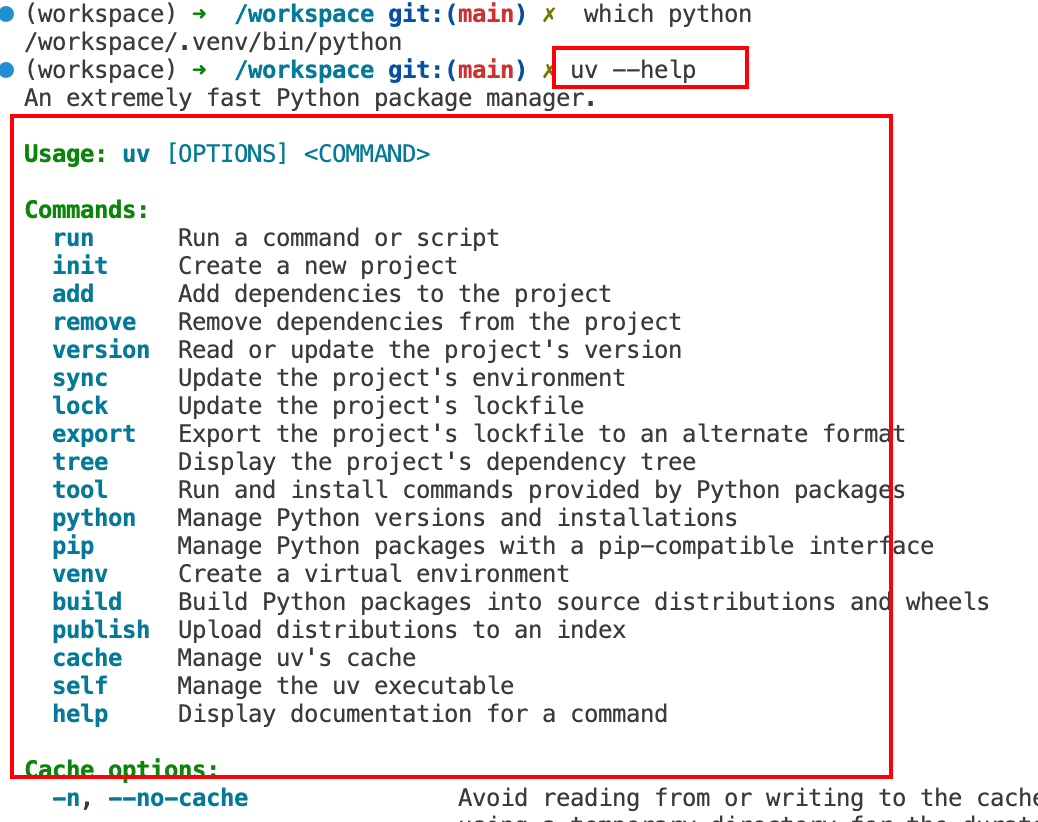
进入到虚拟环境,检查python的位置
which python
# 输出 /workspace/.venv/bin/python 就说明环境切换成功
 检查uv安装成功
uv --help
安装vLLM框架
uv pip install vllm --torch-backend=auto
检查vLLM安装是否成功
vllm --help
 以下输出说明安装成功:
INFO 08-18 08:09:13 [__init__.py:235] Automatically detected platform cuda.
usage: vllm [-h] [-v]
            {chat,complete,serve,bench,collect-env,run-batch} ...

vLLM CLI

positional arguments:
  {chat,complete,serve,bench,collect-env,run-batch}
    chat                Generate chat completions via the running API
                        server.
    complete            Generate text completions based on the given
                        prompt via the running API server.
    serve               Start the vLLM OpenAI Compatible API server.
    bench               vLLM bench subcommand.
    collect-env         Start collecting environment information.
    run-batch           Run batch prompts and write results to file.

options:
  -h, --help            show this help message and exit
  -v, --version         show program's version number and exit

Tip: Use `vllm [serve|run-batch|bench <bench_type>] --help=<keyword>` to explore arguments from help.
   - To view a argument group:     --help=ModelConfig
   - To view a single argument:    --help=max-num-seqs
   - To search by keyword:         --help=max
   - To list all groups:           --help=listgroup
   - To view help with pager:      --help=page
1.2 pip 安装
pip install vllm
2. vLLM 部署
vLLM部署的模型通常是下载的开源模型或者是已经训练好的模型权重,对于框架来说,都是已经保存好的权重文件。
vllM支持启动时指定参数或者配置文件的方式部署。下面我们分别介绍这两种部署方式。
2.1 下载Qwen模型权重
modelscope download --model Qwen/Qwen2.5-1.5B-Instruct --local_dir /workspace/models/Qwen/Qwen2.5-1.5B-Instruct
下面的操作可以使用Qwen的权重,如果下载有问题的可以使用模板自带的Meta-Llama-3-8B-Instruct模型。
开始部署模型,找到模型存放的位置
/workspace/models/Qwen/Qwen2.5-1.5B-Instruct
 上面的是模型的权重
# 启动服务
# 只使用 GPU 0 如果多卡可以使用
# export CUDA_VISIBLE_DEVICES=0,2 使用GPU0和2卡
export CUDA_VISIBLE_DEVICES=0
vllm serve /workspace/models/Qwen/Qwen2.5-1.5B-Instruct \
    --trust-remote-code \
    --dtype auto \
    --max-model-len 4K \
    --gpu-memory-utilization 0.8 \
    --served-model-name Qwen/Qwen2.5-1.5B-Instruct \
    --pipeline-parallel-size 1 \
    --tensor-parallel-size 1 \
    --data-parallel-size 1
--trust-remote-code # 信任远程huggingface
--dtype # 数据类型auto,自动检测配置文件 FP16或者BF16
--gpu-memory-utilization # GPU的利用率
--served-model-name # 模型名称,如果没有配置,默认就是模型的路径
--pipeline-parallel-size # 流水线大小
--tensor-parallel-size # 张量并行的大小
--data-parallel-size # 数据并行的大小
说明:
- 如果是单机多卡环境,可以配置上面的流水线、张量并行、数据并行等参数
- GPU利用率默认是90%,尽量不要超过95%,以免在生产环境中出现OOM的情况
- max-model-len 最大文本长度,通常根据需求指定,默认会使用配置文件的最大值,如果业务不需要这么长,可以设置最大长度,节省KV cache的量,降低显存占用。
2.2 使用配置文件部署
将上面的启动命令改为配置文件
model: /workspace/models/Qwen/Qwen2.5-1.5B-Instruct
dtype: auto
served-model-name: Qwen/Qwen2.5-1.5B-Instruct
pipeline-parallel-size: 1
tensor-parallel-size: 1
data-parallel-size: 1
max-model-len: 4096
uvicorn-log-level: "info"
启动命令
vllm serve --config config.yaml
3. 测试调用代码
from openai import OpenAI

# 初始化客户端
client = OpenAI(api_key="xx", base_url="http://127.0.0.1:8000/v1")

# 调用聊天模型
response = client.chat.completions.create(
    model="LLM-Research/Meta-Llama-3-8B-Instruct",   # 你要调用的模型,比如 gpt-4o, gpt-4o-mini, gpt-3.5-turbo 等
    messages=[
        {"role": "system", "content": "You are a helpful assistant."},
        {"role": "user", "content": "帮我写一个Python打印Hello World的代码"}
    ],
    temperature=0.7,  # 控制生成的随机性 (0 = 更精确,1 = 更有创造性)
    max_tokens=1000,    # 限制输出的最大 token 数
    stream=True       # 打开 stream,返回结果逐字生成
)

# print("模型回复:", response.choices[0].message.content)

for chunk in response:
    if chunk.choices[0].delta.content:
        print(chunk.choices[0].delta.content, end="")
推理的时候可以看到GPU的利用率。
4. 脚本测试服务推理性能
可以接住大模型生成测试脚本。大模型服务主要参考的指标是
- 平均延迟
- 首 token 时间
- QPS
- Token 吞吐量
#!/usr/bin/env python3
# -*- coding: utf-8 -*-
import time
import numpy as np
from concurrent.futures import ThreadPoolExecutor, as_completed
from openai import OpenAI

# ----------------- 配置 -----------------
API_KEY = "xxx"   # vLLM 默认不鉴权
BASE_URL = "http://127.0.0.1:8000/v1"
MODEL = "Qwen/Qwen2.5-1.5B-Instruct"
PROMPT = "详细介绍下什么是大模型,以及大模型的发展历史和应用"

REQUESTS = 50       # 总请求数
CONCURRENCY = 10     # 并发数
MAX_TOKENS = 1000

client = OpenAI(api_key=API_KEY, base_url=BASE_URL)

# ----------------- 单请求函数 -----------------
def run_single_request(idx: int):
    start = time.perf_counter()
    first_token_time = None
    token_count = 0
    text_output = ""

    try:
        response_stream = client.chat.completions.create(
            model=MODEL,
            messages=[
                {"role": "system", "content": "You are a helpful assistant."},
                {"role": "user", "content": PROMPT}
            ],
            temperature=0.7,
            max_tokens=MAX_TOKENS,
            stream=True
        )

        for chunk in response_stream:
            delta = chunk.choices[0].delta
            if delta and delta.content:
                text_output += delta.content
                token_count += 1
                if first_token_time is None:
                    first_token_time = time.perf_counter() - start
                # 可打印流式输出
                # print(delta.content, end="", flush=True)

        latency = time.perf_counter() - start
        return {
            "latency": latency,
            "ttft": first_token_time,
            "tokens": token_count,
            "text_length": len(text_output)  # 新增文本长度统计
        }

    except Exception as e:
        print(f"[Error] 请求 {idx} 失败: {e}")
        return None

# ----------------- 压测主函数 -----------------
def run_benchmark():
    results = []

    with ThreadPoolExecutor(max_workers=CONCURRENCY) as executor:
        futures = [executor.submit(run_single_request, i) for i in range(REQUESTS)]
        for future in as_completed(futures):
            r = future.result()
            if r:
                results.append(r)

    if not results:
        print("❌ 所有请求失败")
        return

    # ----------------- 统计指标 -----------------
    latencies = [r["latency"] for r in results]
    ttfts = [r["ttft"] for r in results if r["ttft"] is not None]
    tokens = sum([r["tokens"] for r in results])
    total_time = sum(latencies)

    text_lengths = [r["text_length"] for r in results]
    avg_text_len = np.mean(text_lengths)
    std_text_len = np.std(text_lengths)

    avg_ttft = np.mean(ttfts)
    p95_latency = np.percentile(latencies, 95)
    qps = len(results) / total_time
    throughput = tokens / total_time

    print("\n=== 大模型压测结果 ===")
    print(f"总请求数: {len(results)}/{REQUESTS}")
    print(f"平均首 token 时间 (TTFT): {avg_ttft:.2f} 秒")
    print(f"P95 请求延迟: {p95_latency:.2f} 秒")
    print(f"QPS: {qps:.2f}")
    print(f"吞吐量: {throughput:.2f} tokens/s")
    print(f"输出文本长度 平均值: {avg_text_len:.2f} 字符")
    print(f"输出文本长度 方差: {std_text_len:.2f}")
    print("======================\n")


if __name__ == "__main__":
    run_benchmark()
输出结果为
=== 大模型压测结果 ===
总请求数: 50/50
平均首 token 时间 (TTFT): 0.07 秒
P95 请求延迟: 6.31 秒
QPS: 0.23
吞吐量: 87.00 tokens/s
输出文本长度 平均值: 735.98 字符
输出文本长度 方差: 203.66
======================
5. 总结
本节内容我们主要讲了使用vLLM部署大模型,以qwen2.5-0.5B作为例子。需要理解和掌握以下内容:
- 掌握私有化模型的部署方式,能够在单机多卡实现部署
- 能够根据部署的模型估计出资源
大家可以使用A10或者V100作为部署机器,分别测试模型在不同显卡上的推理能力,同时也可以探索使用公开的吞吐量测试工具llmperf。

有“AI”的1024 = 2048,欢迎大家加入2048 AI社区
更多推荐
 13
13 0
0- 0


 已为社区贡献17条内容

所有评论(0)