spring security 简单使用
本文介绍了如何创建一个基于Spring Security的登录注册示例项目。主要内容包括:1) 创建Maven项目并配置pom.xml依赖,引入Spring Boot、Spring Security、Thymeleaf等核心组件;2) 配置安全过滤器链,设置URL访问权限、表单登录和注销功能;3) 使用InMemoryUserDetailsManager实现内存用户存储,预置测试用户(user/p
·
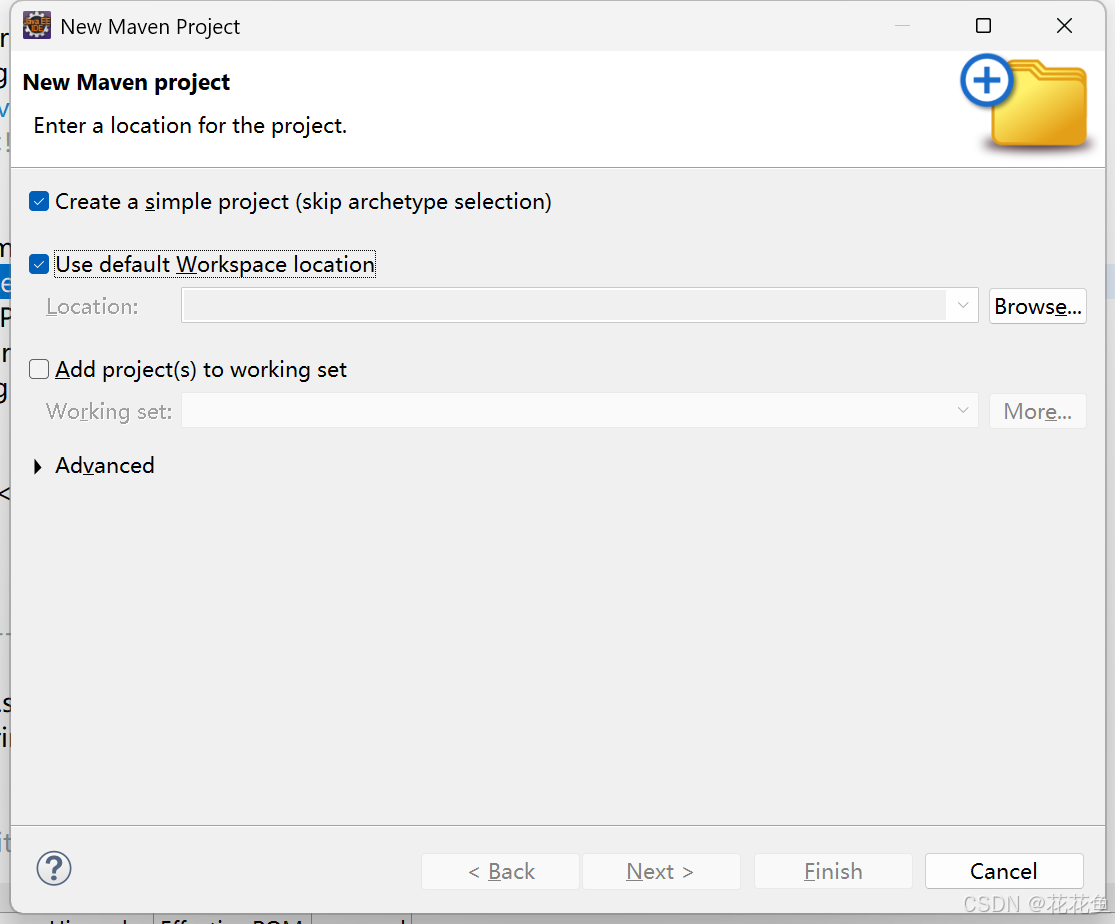
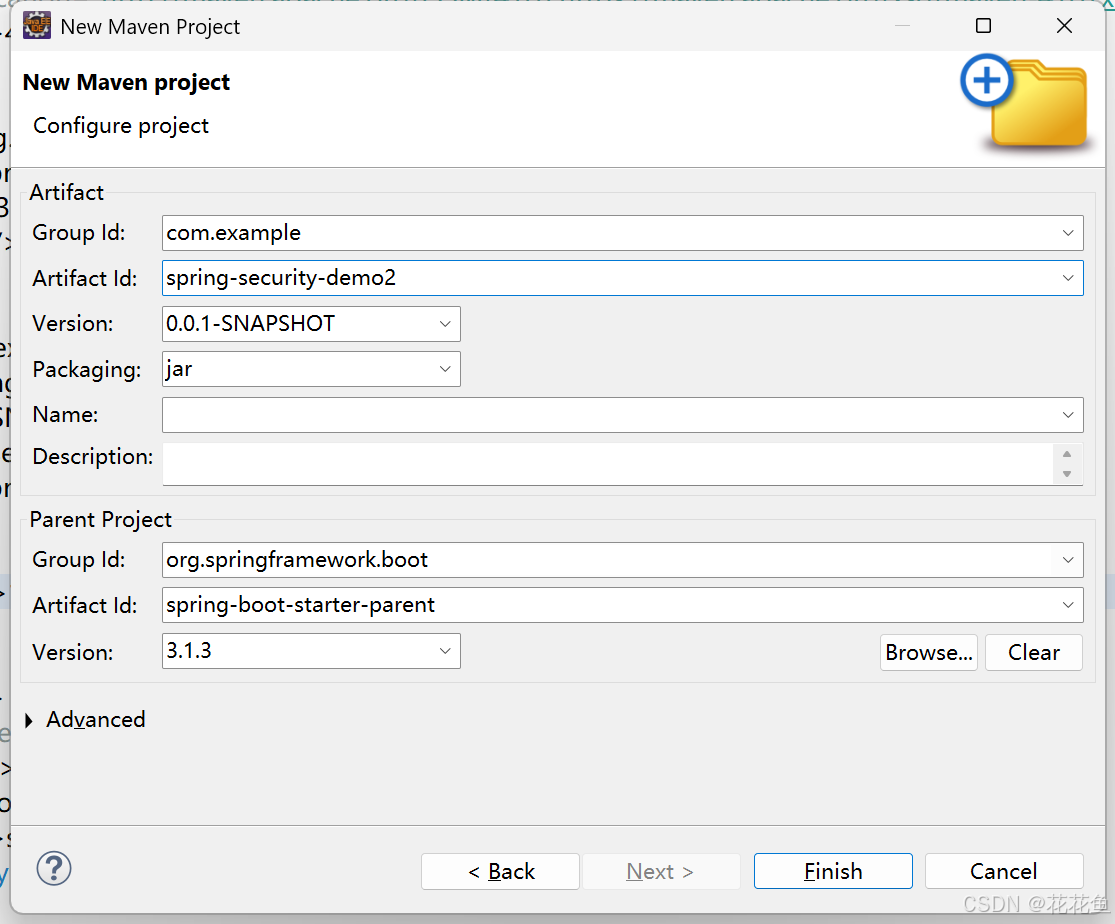
1、新建maven项目spring-security-demo
2、编写pom.xml
<?xml version="1.0" encoding="UTF-8"?>
<project xmlns="http://maven.apache.org/POM/4.0.0" xmlns:xsi="http://www.w3.org/2001/XMLSchema-instance"
         xsi:schemaLocation="http://maven.apache.org/POM/4.0.0 https://maven.apache.org/xsd/maven-4.0.0.xsd">
    <modelVersion>4.0.0</modelVersion>

    <parent>
        <groupId>org.springframework.boot</groupId>
        <artifactId>spring-boot-starter-parent</artifactId>
        <version>3.1.3</version>
        <relativePath/> <!-- lookup parent from repository -->
    </parent>

    <groupId>com.example</groupId>
    <artifactId>spring-security-demo</artifactId>
    <version>0.0.1-SNAPSHOT</version>
    <name>spring-security-demo</name>
    <description>Spring Security 登录注册示例</description>

    <properties>
        <java.version>17</java.version>
    </properties>

    <dependencies>
        <!-- Spring Web -->
        <dependency>
            <groupId>org.springframework.boot</groupId>
            <artifactId>spring-boot-starter-web</artifactId>
        </dependency>

        <!-- Spring Security -->
        <dependency>
            <groupId>org.springframework.boot</groupId>
            <artifactId>spring-boot-starter-security</artifactId>
        </dependency>

        <!-- Thymeleaf模板引擎 -->
        <dependency>
            <groupId>org.springframework.boot</groupId>
            <artifactId>spring-boot-starter-thymeleaf</artifactId>
        </dependency>

        <!-- Thymeleaf与Spring Security集成 -->
        <dependency>
            <groupId>org.thymeleaf.extras</groupId>
            <artifactId>thymeleaf-extras-springsecurity6</artifactId>
        </dependency>

        <!-- 测试依赖 -->
        <dependency>
            <groupId>org.springframework.boot</groupId>
            <artifactId>spring-boot-starter-test</artifactId>
            <scope>test</scope>
        </dependency>

        <dependency>
            <groupId>org.springframework.security</groupId>
            <artifactId>spring-security-test</artifactId>
            <scope>test</scope>
        </dependency>
    </dependencies>

    <build>
        <plugins>
            <plugin>
                <groupId>org.springframework.boot</groupId>
                <artifactId>spring-boot-maven-plugin</artifactId>
            </plugin>
        </plugins>
    </build>
</project>
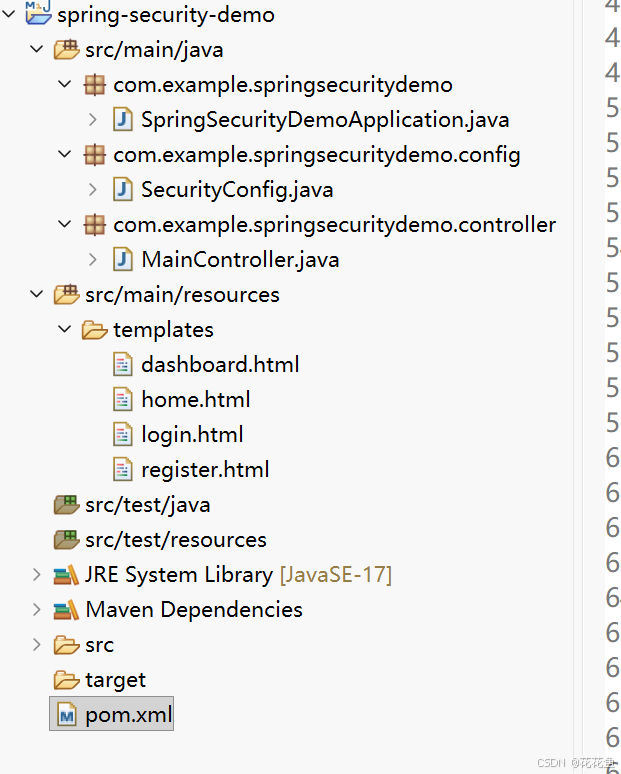
3、编写代码
4、运行测试
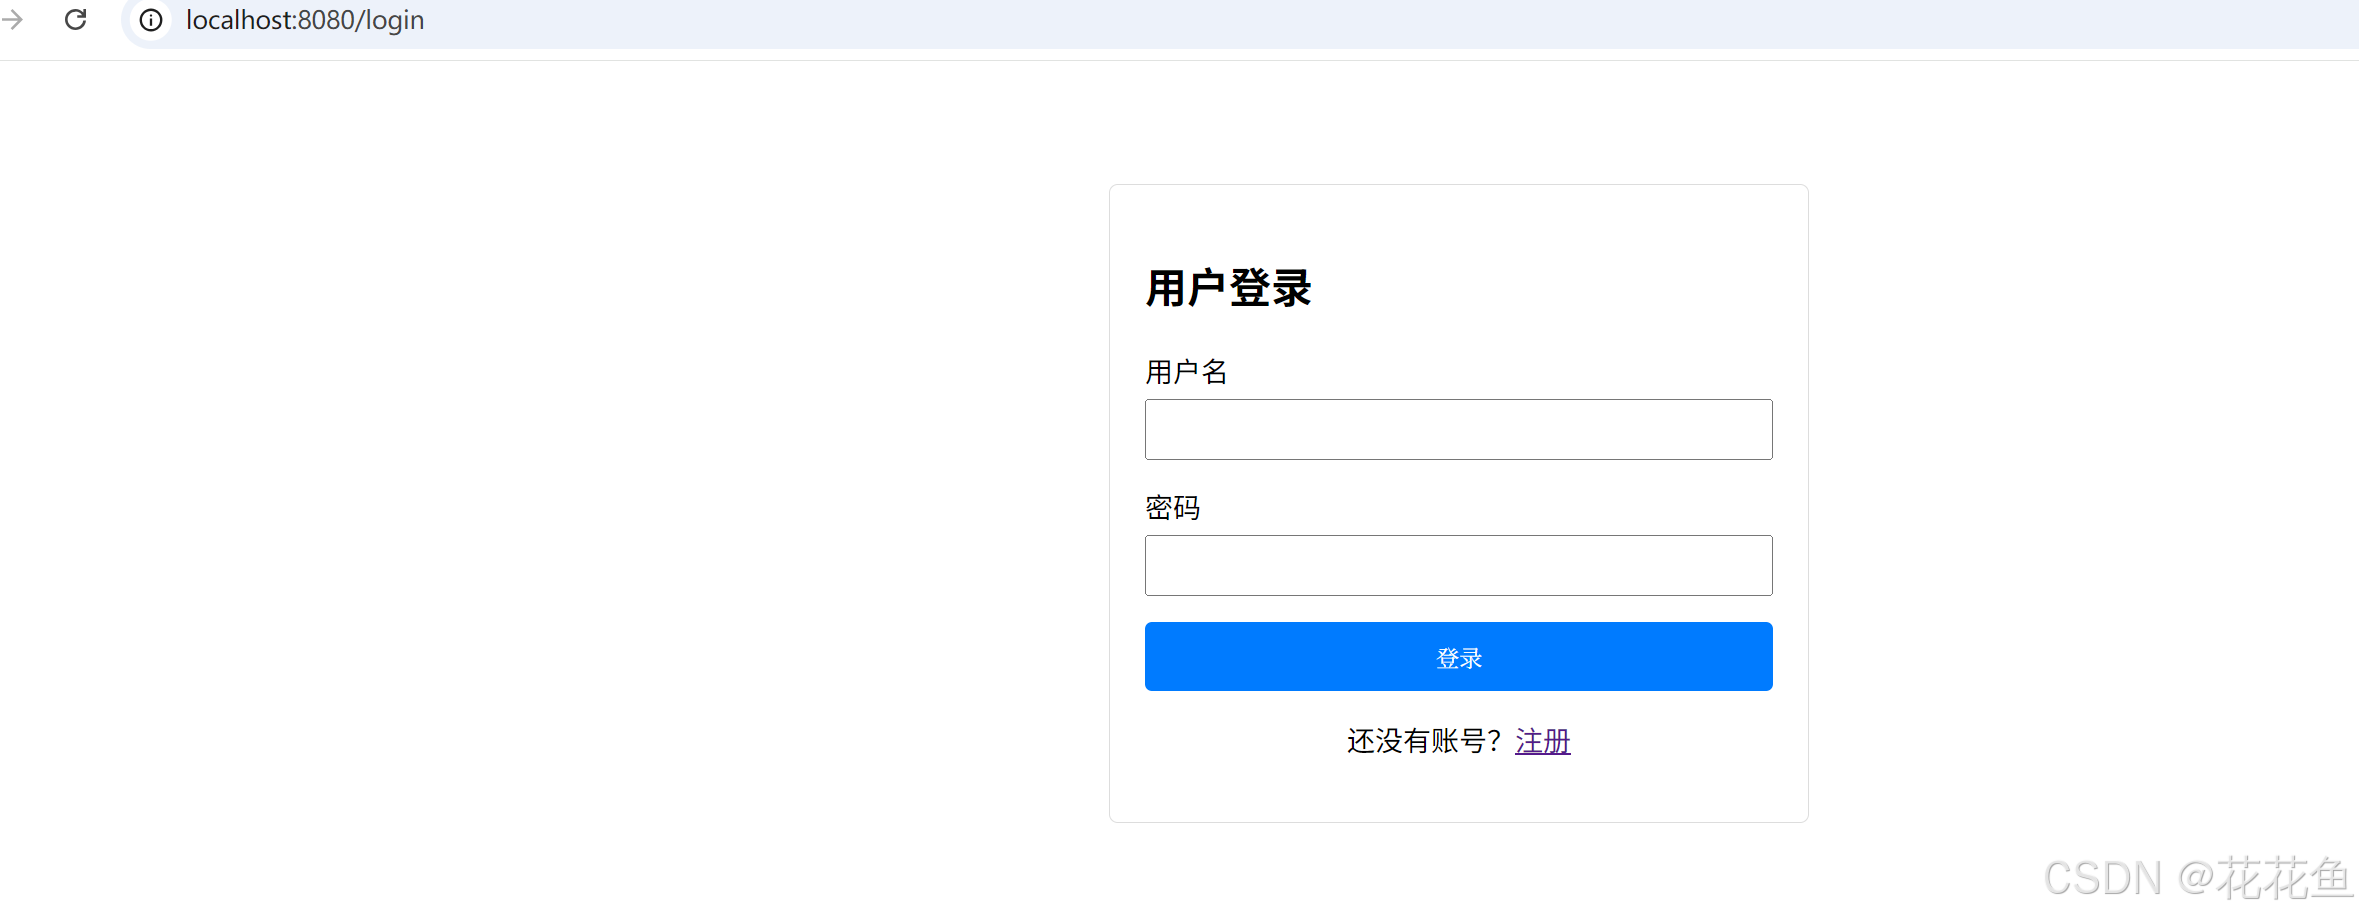
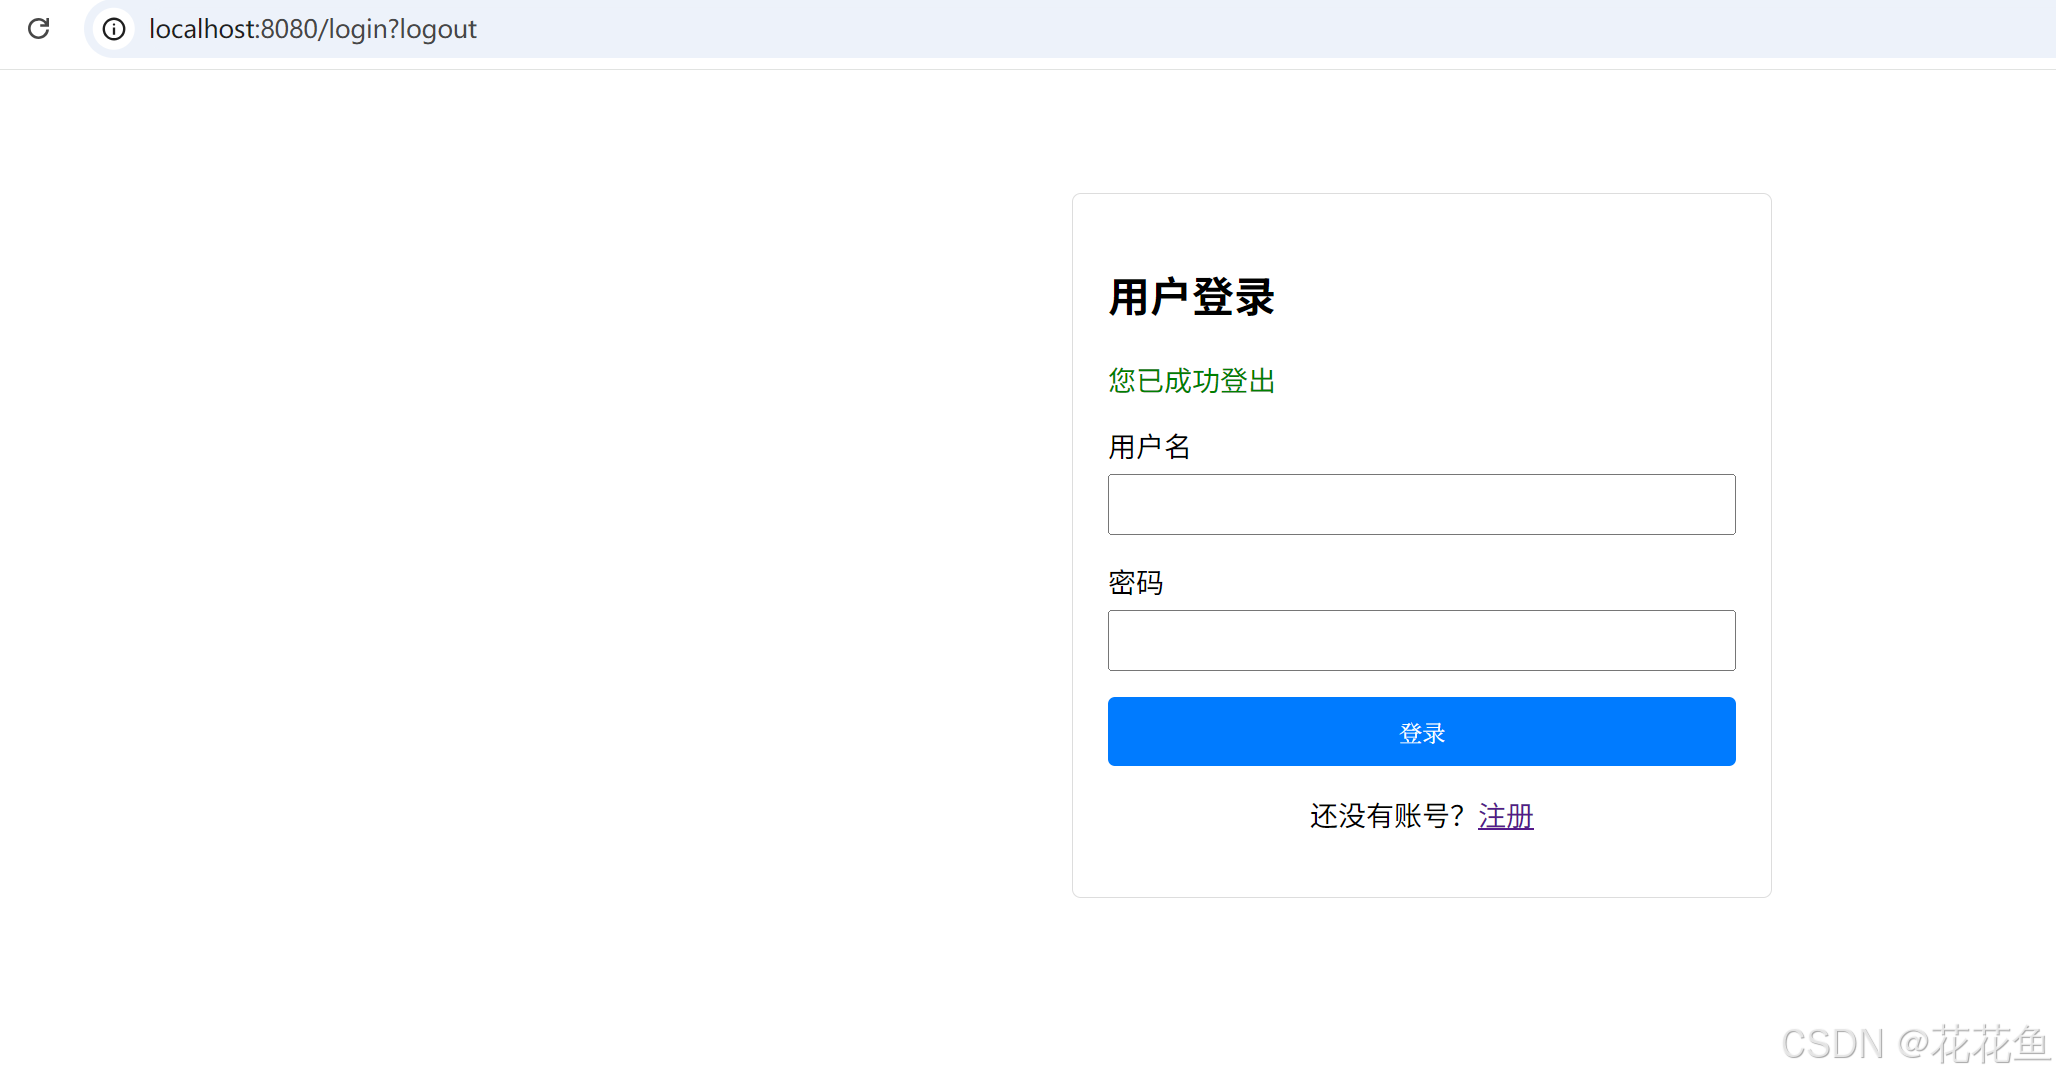
输入账号,密码:user,password登录
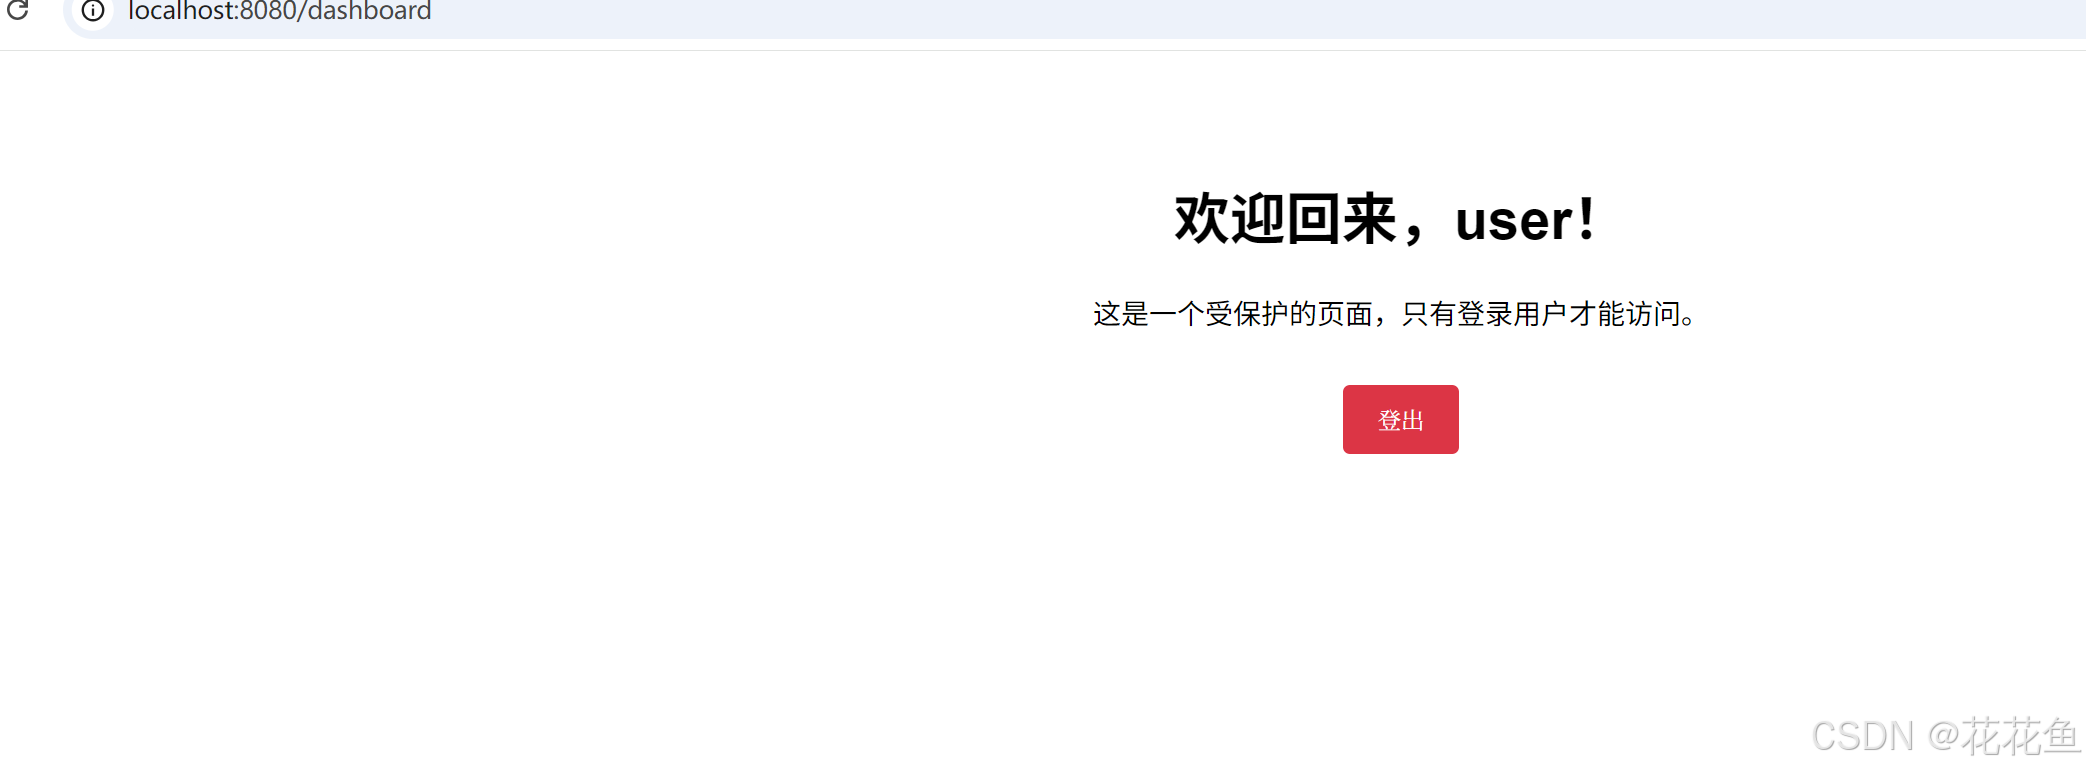
登录成功显示,欢迎,也可以点击【登出】返回到登录。
5、代码说明:
@Configuration
@EnableWebSecurity
public class SecurityConfig {

    // 密码编码器
    @Bean
    public PasswordEncoder passwordEncoder() {
        return new BCryptPasswordEncoder();
    }

    // 内存用户存储
    @Bean
    public UserDetailsService userDetailsService() {
        // 创建一个默认用户
        UserDetails user = User.builder()
                .username("user")
                .password(passwordEncoder().encode("password"))
                .roles("USER")
                .build();

        return new InMemoryUserDetailsManager(user);
    }

    // 安全过滤链配置
    @Bean
    public SecurityFilterChain filterChain(HttpSecurity http) throws Exception {
        http
            .authorizeHttpRequests(auth -> auth
                .requestMatchers("/", "/home", "/register", "/register-process").permitAll() // 允许匿名访问的路径
                .anyRequest().authenticated() // 其他所有路径需要认证
            )
            .formLogin(form -> form
                .loginPage("/login") // 自定义登录页
                .defaultSuccessUrl("/dashboard", true) // 登录成功后跳转的页面
                .permitAll()
            )
            .logout(logout -> logout
                .logoutRequestMatcher(new AntPathRequestMatcher("/logout"))
                .logoutSuccessUrl("/login?logout") // 登出成功后跳转的页面
                .permitAll()
            );

        return http.build();
    }
}
这里是5.7+的版本,用的SecurityFilterChain ,不是基于WebSecurityConfigurerAdapter的configure,如果是低版本的,可以使用以下的配制:
package com.example.security.config;

import org.springframework.context.annotation.Bean;
import org.springframework.context.annotation.Configuration;
import org.springframework.security.config.annotation.authentication.builders.AuthenticationManagerBuilder;
import org.springframework.security.config.annotation.web.builders.HttpSecurity;
import org.springframework.security.config.annotation.web.configuration.EnableWebSecurity;
import org.springframework.security.config.annotation.web.configuration.WebSecurityConfigurerAdapter;
import org.springframework.security.core.userdetails.User;
import org.springframework.security.core.userdetails.UserDetails;
import org.springframework.security.core.userdetails.UserDetailsService;
import org.springframework.security.crypto.bcrypt.BCryptPasswordEncoder;
import org.springframework.security.crypto.password.PasswordEncoder;
import org.springframework.security.provisioning.InMemoryUserDetailsManager;

@Configuration
@EnableWebSecurity // 启用Web安全配置
public class SecurityConfig extends WebSecurityConfigurerAdapter {

    // 密码加密器
    @Bean
    public PasswordEncoder passwordEncoder() {
        return new BCryptPasswordEncoder();
    }

    // 内存用户存储
    @Bean
    @Override
    public UserDetailsService userDetailsService() {
        // 预创建一个测试用户
        UserDetails user = User.builder()
                .username("user")
                .password(passwordEncoder().encode("password"))
                .roles("USER")
                .build();

        return new InMemoryUserDetailsManager(user);
    }

    // 配置HTTP安全规则
    @Override
    protected void configure(HttpSecurity http) throws Exception {
        http
            .authorizeRequests()
                .antMatchers("/", "/login", "/register", "/error").permitAll() // 允许匿名访问的路径
                .anyRequest().authenticated() // 其他路径需要认证
                .and()
            .formLogin()
                .loginPage("/login") // 自定义登录页
                .defaultSuccessUrl("/dashboard", true) // 登录成功后跳转
                .permitAll()
                .and()
            .logout()
                .logoutSuccessUrl("/") // 登出成功后跳转
                .permitAll();
    }
}
6、下载demo
通过网盘分享的文件:spring-security-demo.zip
链接: https://pan.baidu.com/s/1z0HG-FNq8dJlBajsJQhltw 提取码: muw2
7、实现说明
这个示例实现了以下功能:
-
安全配置:
- 使用
SecurityFilterChain替代了过时的WebSecurityConfigurerAdapter - 配置了 URL 访问权限:首页、登录页和注册页允许匿名访问,其他页面需要认证
- 启用了表单登录和注销功能
- 使用
-
用户存储:
- 使用
InMemoryUserDetailsManager实现内存存储用户 - 预创建了一个测试用户(用户名:user,密码:password)
- 使用 BCrypt 加密算法对密码进行加密存储
- 使用
-
注册功能:
- 提供注册页面,用户可以输入用户名和密码
- 检查用户名是否已存在
- 将新注册用户添加到内存存储中
-
页面模板:
- 首页:提供登录和注册入口
- 登录页:处理用户登录,显示登录状态消息
- 注册页:处理用户注册,检查用户名唯一性
- 用户中心:受保护页面,只有登录用户可访问
使用方法
- 访问首页(
/),可以看到登录和注册链接 - 可以直接使用测试用户登录(user/password)
- 也可以注册新用户,然后使用新用户登录
- 登录后可以访问受保护的
/dashboard页面 - 点击 "登出" 按钮可以退出登录
这个示例使用了 Thymeleaf 作为模板引擎,你需要在项目中添加相应的依赖才能正常运行。内存模式适合演示和测试,实际生产环境中通常会使用数据库存储用户信息。

有“AI”的1024 = 2048,欢迎大家加入2048 AI社区
更多推荐
 5
5 0
0- 0


 已为社区贡献28条内容

所有评论(0)