使用nacos3+higress实现存量api转换为mcp
摘要:本文详细介绍了Nacos 3.0和Higress的安装配置过程。首先在Windows环境下安装Nacos Server并配置MySQL数据源,然后通过Docker Desktop部署Higress和Redis。接着配置Higress连接Redis并启用MCP功能,将Nacos服务集成到Higress中。最后通过一个图书管理服务的Spring Boot示例项目,演示了如何将服务注册到Nacos
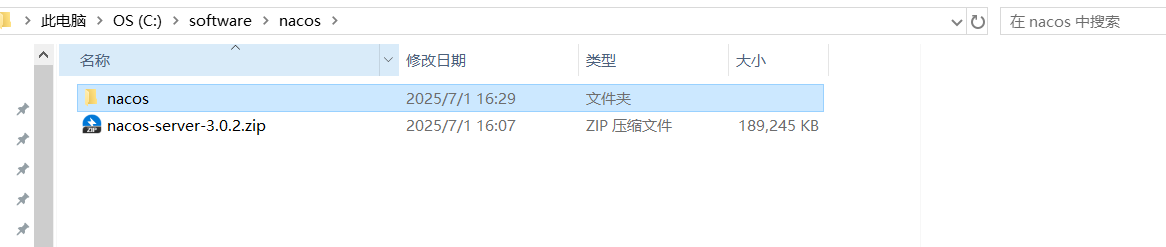
1.安装nacos3.0
直接在window上安装即可,安装完后解压。
修改nacos配置

# Copyright 1999-2025 Alibaba Group Holding Ltd.
# Licensed under the Apache License, Version 2.0
nacos.server.main.port=8848
spring.datasource.platform=mysql
db.num=1
db.url.0=jdbc:mysql://127.0.0.1:3306/nacos?useUnicode=true&characterEncoding=UTF-8&autoReconnect=true
db.user.0=root
db.password.0=123456
management.metrics.export.elastic.enabled=false
management.metrics.export.influx.enabled=false
nacos.config.push.maxRetryTime=50
nacos.naming.empty-service.auto-clean=true
nacos.naming.empty-service.clean.initial-delay-ms=50000
nacos.naming.empty-service.clean.period-time-ms=30000
nacos.ai.mcp.registry.port=9080
nacos.server.contextPath=/nacos
server.tomcat.accesslog.enabled=true
server.tomcat.accesslog.max-days=30
server.tomcat.accesslog.pattern=%h %l %u %t "%r" %s %b %D %{User-Agent}i %{Request-Source}i
server.tomcat.basedir=file:.
server.error.include-message=ALWAYS
nacos.console.port=8090
nacos.console.contextPath=
nacos.console.remote.server.context-path=/nacos
nacos.security.ignore.urls=/,/error,/**/*.css,/**/*.js,/**/*.html,/**/*.map,/**/*.svg,/**/*.png,/**/*.ico,/console-ui/public/**,/v1/auth/**,/v1/console/health/**,/actuator/**,/v1/console/server/**
nacos.core.auth.system.type=nacos
nacos.core.auth.enabled=false
nacos.core.auth.admin.enabled=false
nacos.core.auth.plugin.nacos.token.enabled=false
nacos.core.auth.console.enabled=false
nacos.core.auth.caching.enabled=false
nacos.core.auth.server.identity.key=123
nacos.core.auth.server.identity.value=123
nacos.core.auth.plugin.nacos.token.cache.enable=false
nacos.core.auth.plugin.nacos.token.expire.seconds=18000
nacos.core.auth.plugin.nacos.token.secret.key=VGhpc0lzTXlDdXN0b21TZWNyZXRLZXkwMTIzNDU2Nzg=
nacos.core.api.compatibility.console.enabled=true
nacos.istio.mcp.server.enabled=true
nacos.k8s.sync.enabled=false
nacos.deployment.type=merged
注意:要将mysql地址改成自己本地的
修改之后运行nacos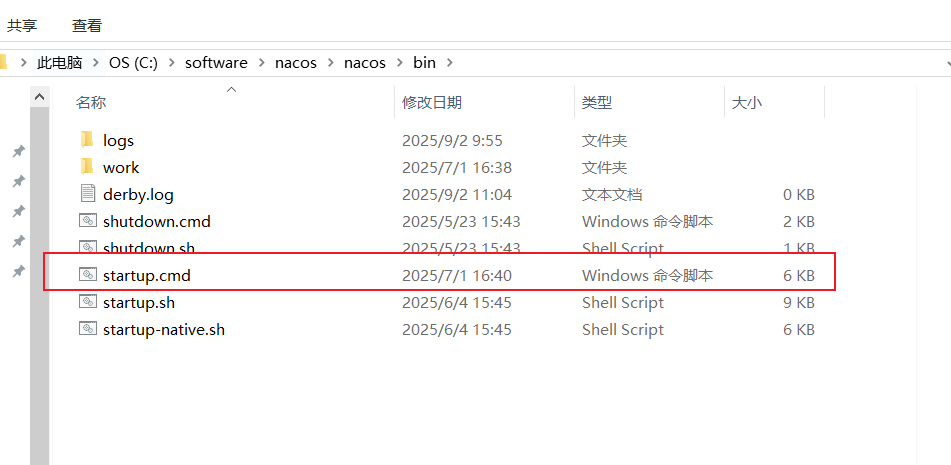
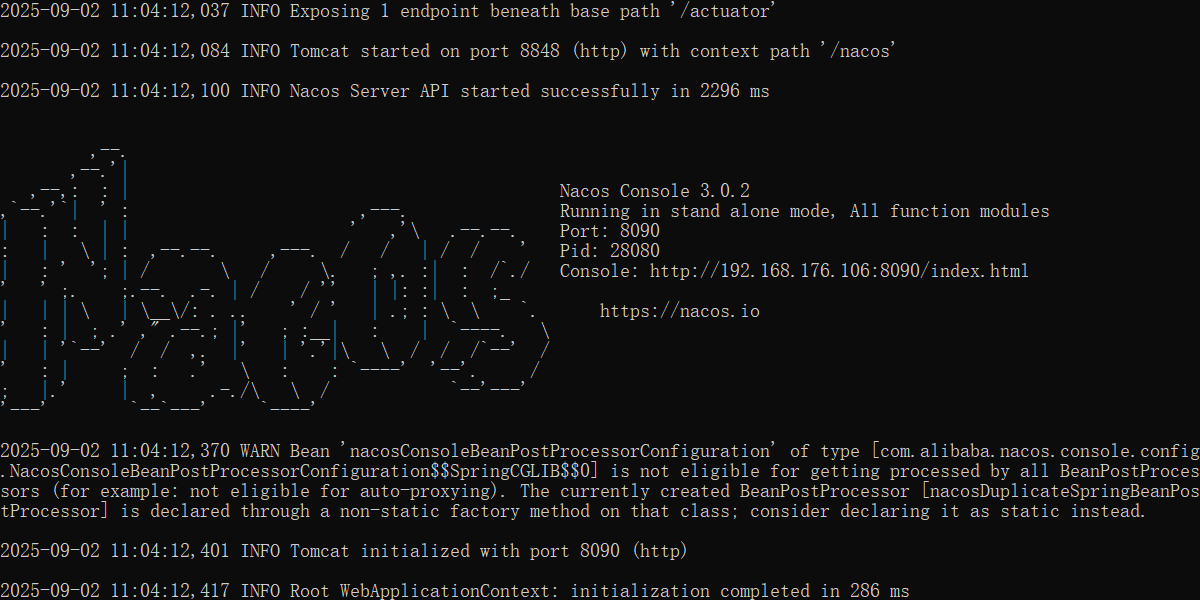
打开nacos控制查看是否启动成功
http://192.168.176.106:8090/
2.安装higress + redis
这里我使用的是window上基于wsl2的Docker Desktop进行安装的
创建一个目录
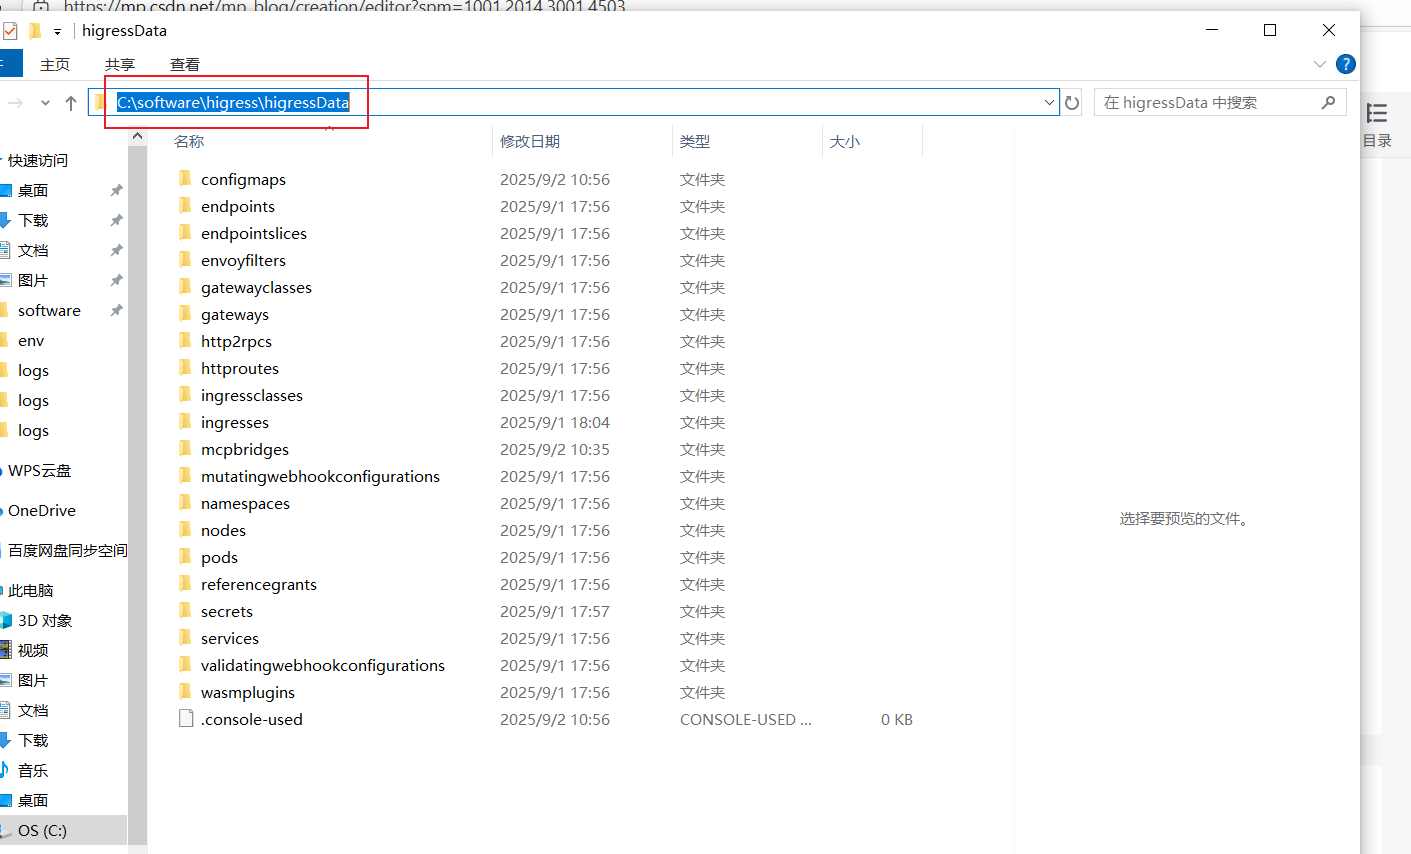
打开cmd运行
docker run -d --name higress-ai -v "C:\software\higress\higressData:/data" -p 8001:8001 -p 8081:8080 -p 8443:8443 higress-registry.cn-hangzhou.cr.aliyuncs.com/higress/all-in-one:latest执行完毕: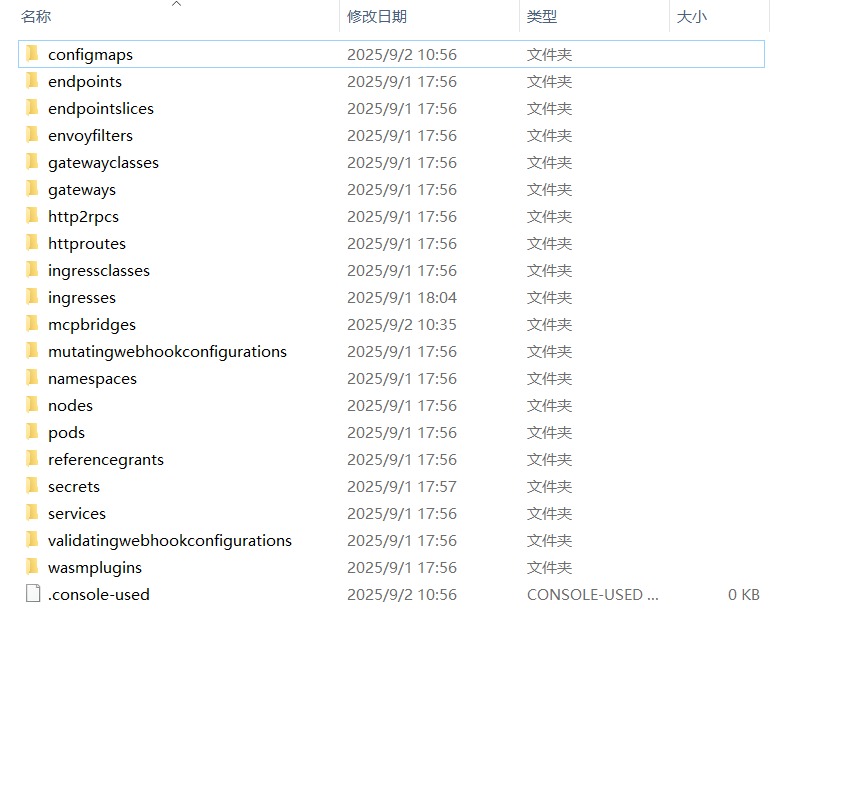
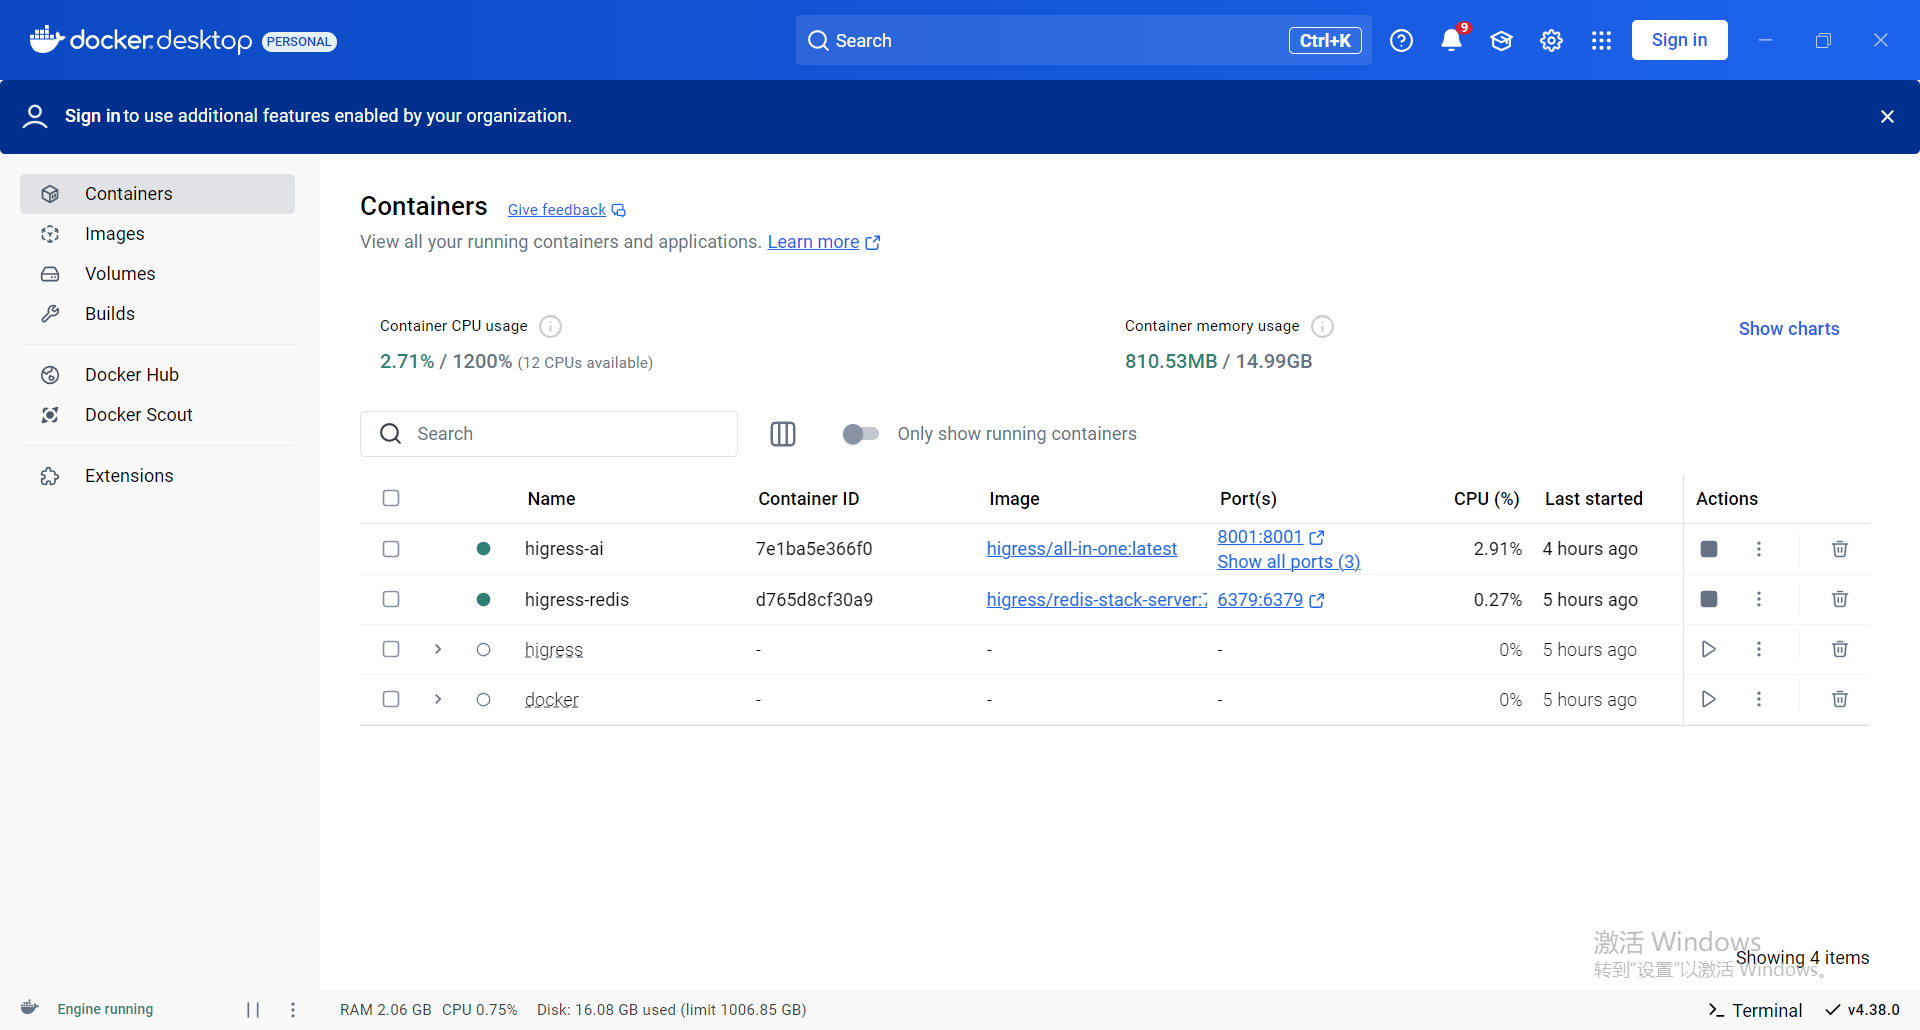
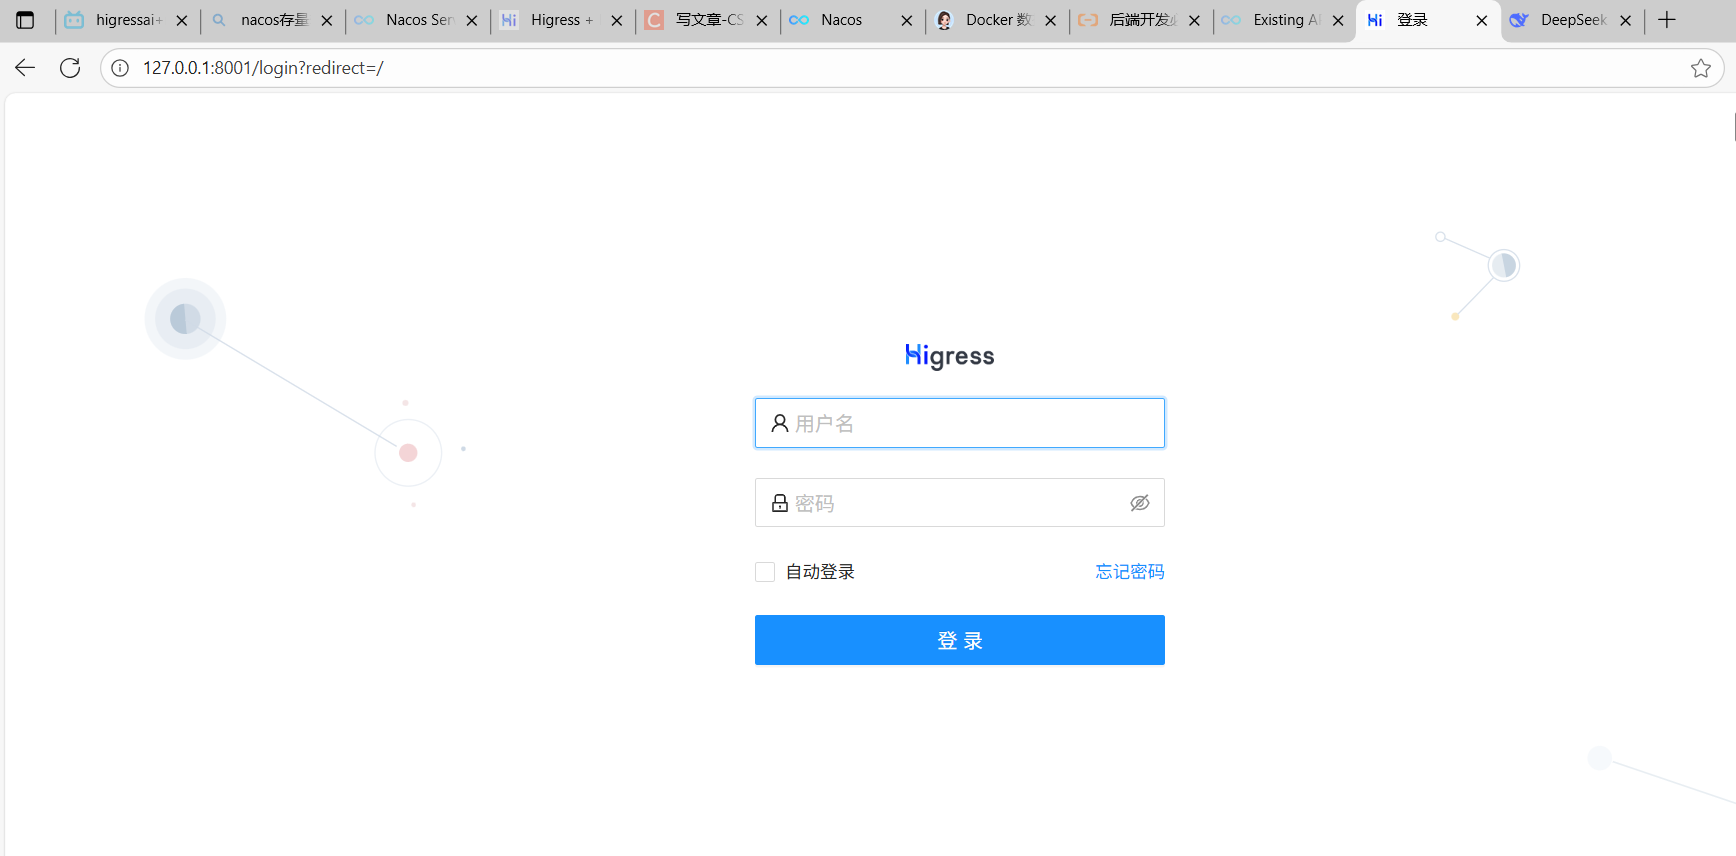
如果是第一次登录时会初始化账号密码。
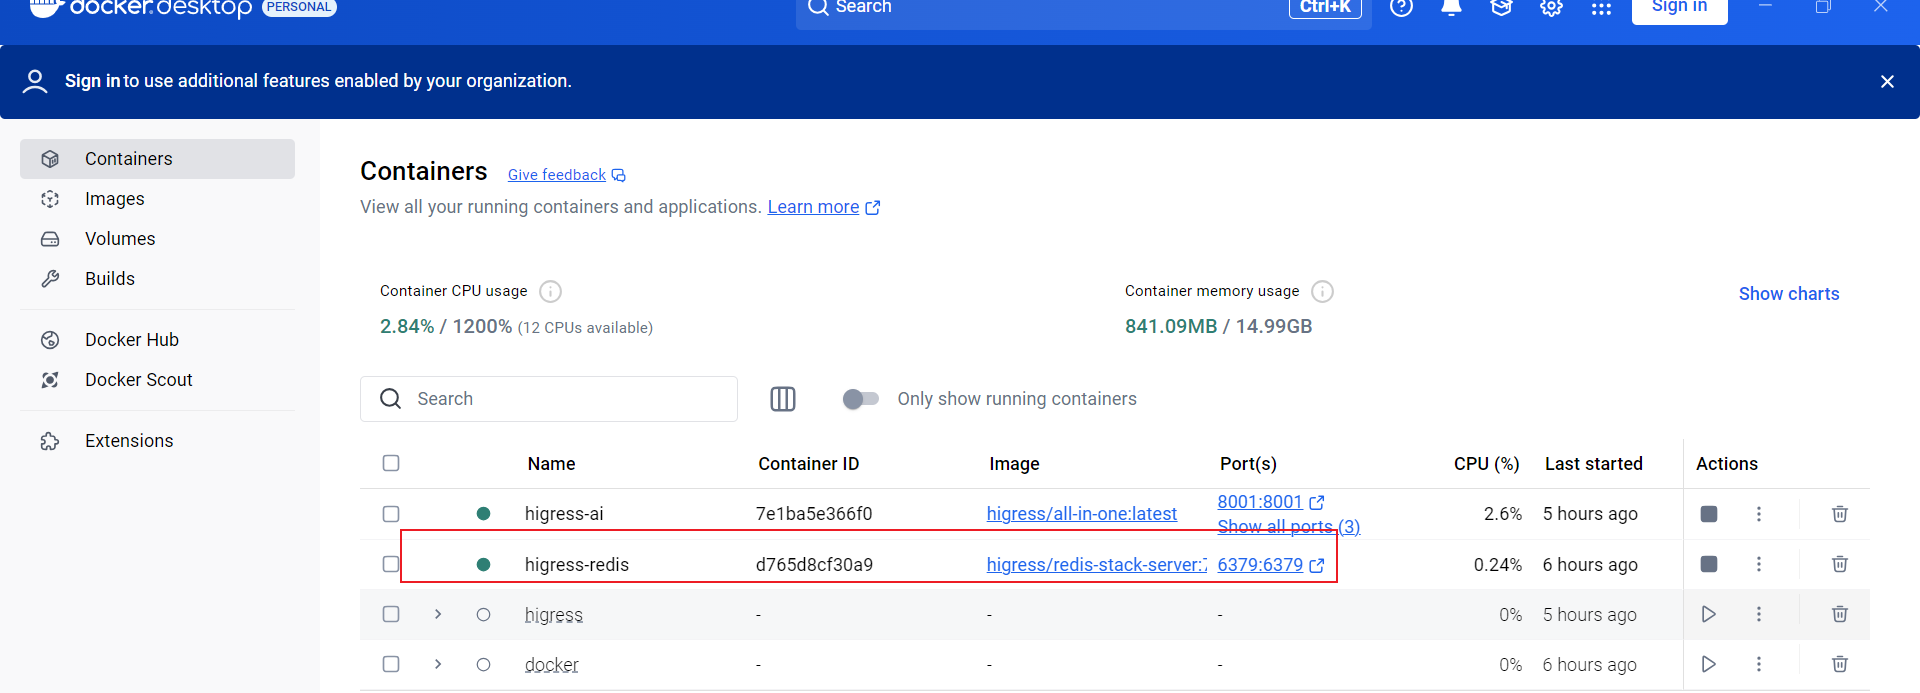
接下来部署redis
执行指令:
docker run -d --name higress-redis -p 6379:6379 higress-registry.cn-hangzhou.cr.aliyuncs.com/higress/redis-stack-server:7.4.0-v3
3.配置higress
先配置给higress配置redis和开启mcp
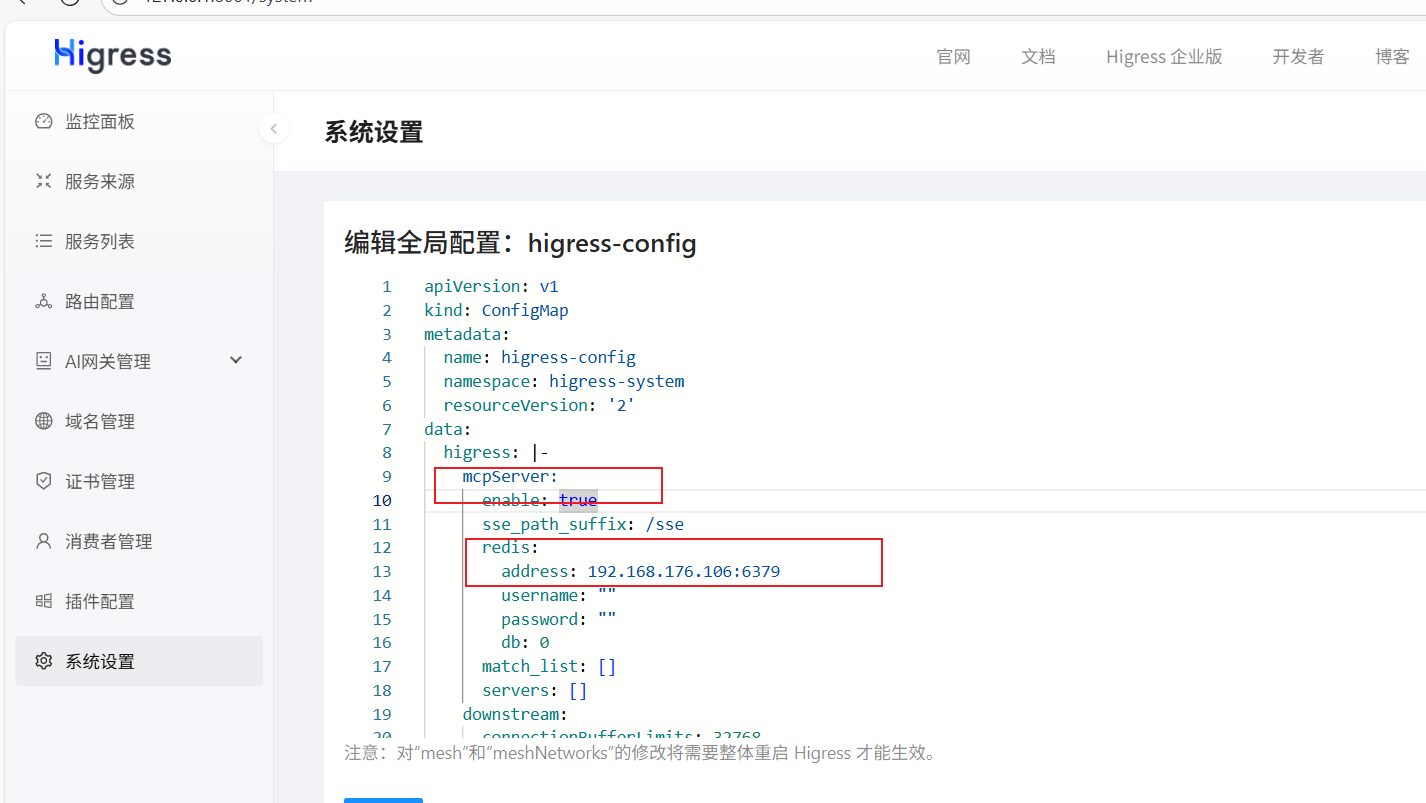
配置完记着重启一下容器才能生效
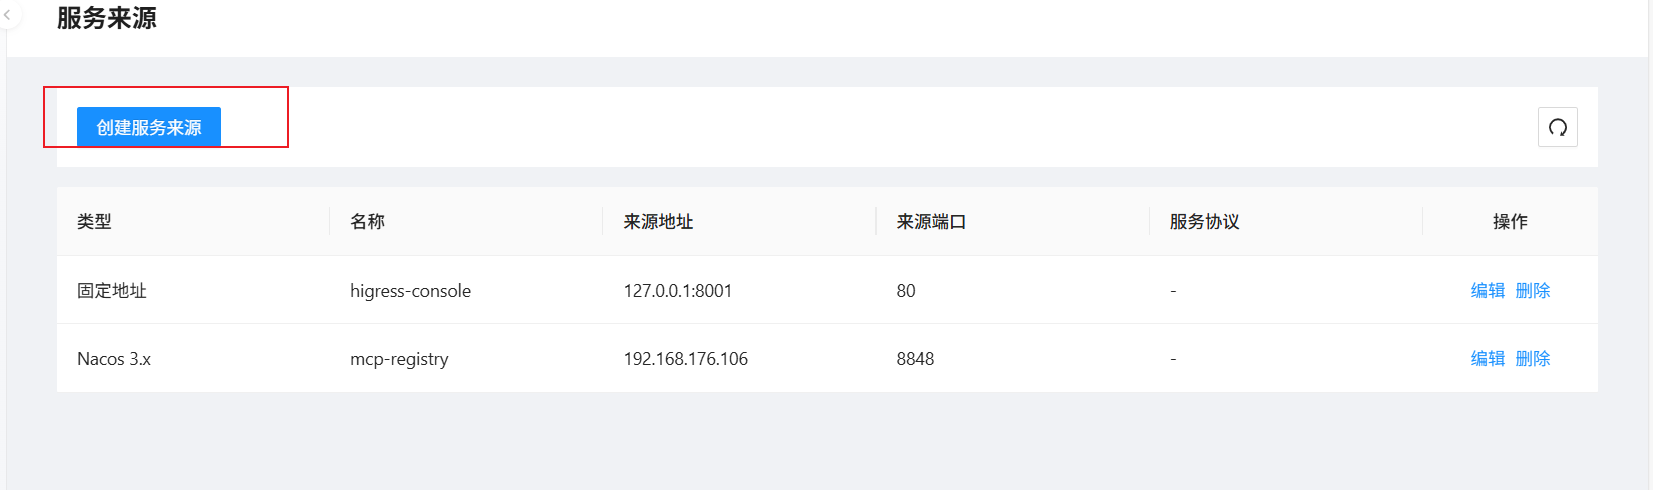
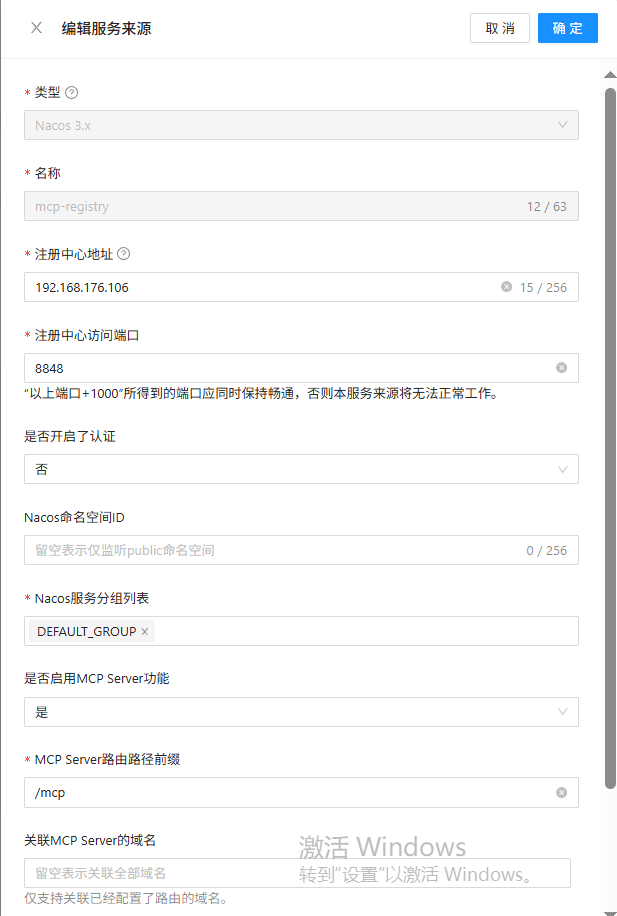
将nacos配置到higress
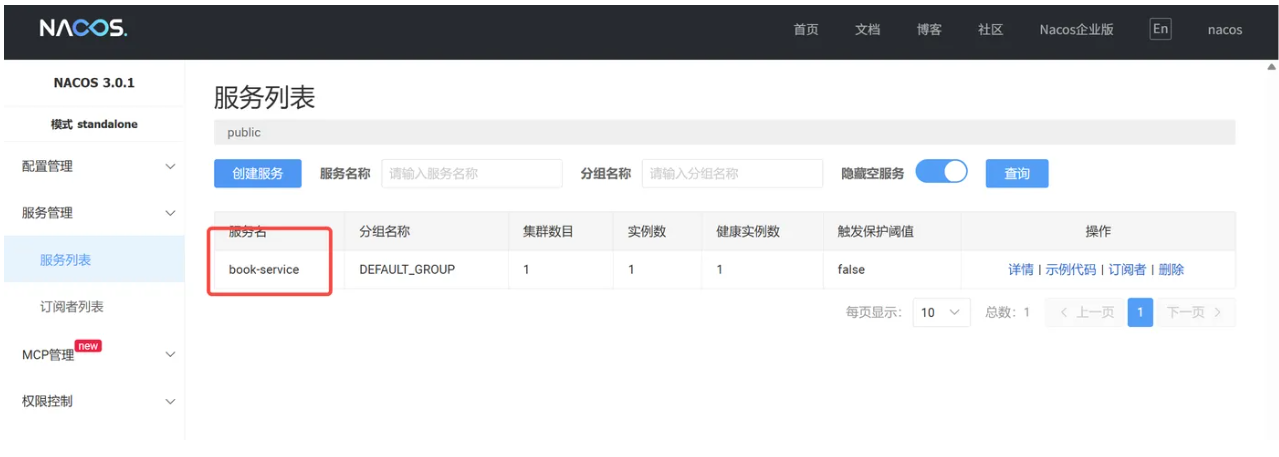
4.配置nacos
启动自己的项目并注册到nacos上(这里我在别的文章找了一个示例)
package com.cc.controller;


import com.cc.model.Book;
import org.springframework.web.bind.annotation.GetMapping;
import org.springframework.web.bind.annotation.RequestMapping;
import org.springframework.web.bind.annotation.RequestParam;
import org.springframework.web.bind.annotation.RestController;

import java.util.List;
import java.util.stream.Collectors;

@RestController
@RequestMapping("/books")
public class BookController {


    // 模拟的数据库,一个固定的图书列表
    private static final List<Book> bookStock = List.of(
            new Book("1", "The Hobbit", "J.R.R. Tolkien", "Fantasy"),
            new Book("2", "The Lord of the Rings", "J.R.R. Tolkien", "Fantasy"),
            new Book("3", "A Brief History of Time", "Stephen Hawking", "Science"),
            new Book("4", "Dune", "Frank Herbert", "Sci-Fi"),
            new Book("5", "Foundation", "Isaac Asimov", "Sci-Fi")
    );

    /**
     * 根据作者名查询图书
     * 访问示例: http://localhost:8090/books/author?name=Tolkien
     */
    @GetMapping("/author")
    public List<Book> getBooksByAuthor(@RequestParam("authorName") String authorName) {

        System.out.println("Received request to find books by author: " + authorName);
        return bookStock.stream()
                .filter(book -> book.author().equalsIgnoreCase(authorName))
                .collect(Collectors.toList());
    }

    /**
     * 根据类型查询图书
     * 访问示例: http://localhost:8090/books/category?type=Sci-Fi
     */
    @GetMapping("/category")
    public List<Book> getBooksByCategory(@RequestParam("category") String category) {

        System.out.println("Received request to find books by category: " + category);
        return bookStock.stream()
                .filter(book -> book.category().equalsIgnoreCase(category))
                .collect(Collectors.toList());
    }

    /**
     * 获取所有图书
     * 访问示例: http://localhost:8090/books/all
     */
    @GetMapping("/all")
    public List<Book> getAllBooks() {

        System.out.println("Received request to get all books.");
        return bookStock;
    }
}
<?xml version="1.0" encoding="UTF-8"?>
<project xmlns="http://maven.apache.org/POM/4.0.0" xmlns:xsi="http://www.w3.org/2001/XMLSchema-instance"
         xsi:schemaLocation="http://maven.apache.org/POM/4.0.0 https://maven.apache.org/xsd/maven-4.0.0.xsd">
    <modelVersion>4.0.0</modelVersion>

    <parent>
        <groupId>org.springframework.boot</groupId>
        <artifactId>spring-boot-starter-parent</artifactId>
        <version>3.2.5</version>
        <relativePath/> <!-- lookup parent from repository -->
    </parent>

    <groupId>com.ecc</groupId>
    <artifactId>test</artifactId>
    <version>0.0.1-SNAPSHOT</version>
    <name>test</name>
    <description>test</description>


    <properties>
        <java.version>17</java.version>
        <!-- Spring Cloud 和 Spring Cloud Alibaba 的版本需要匹配 -->
        <spring-cloud.version>2023.0.1</spring-cloud.version>
        <spring-cloud-alibaba.version>2023.0.1.0</spring-cloud-alibaba.version>
    </properties>

    <dependencyManagement>
        <dependencies>
            <!-- Spring Cloud 版本管理 -->
            <dependency>
                <groupId>org.springframework.cloud</groupId>
                <artifactId>spring-cloud-dependencies</artifactId>
                <version>${spring-cloud.version}</version>
                <type>pom</type>
                <scope>import</scope>
            </dependency>
            <!-- Spring Cloud Alibaba 版本管理 -->
            <dependency>
                <groupId>com.alibaba.cloud</groupId>
                <artifactId>spring-cloud-alibaba-dependencies</artifactId>
                <version>${spring-cloud-alibaba.version}</version>
                <type>pom</type>
                <scope>import</scope>
            </dependency>
        </dependencies>
    </dependencyManagement>

    <dependencies>
        <!-- Spring Boot Web Starter,用于构建 RESTful API -->
        <dependency>
            <groupId>org.springframework.boot</groupId>
            <artifactId>spring-boot-starter-web</artifactId>
        </dependency>

        <!-- Spring Cloud Alibaba Nacos Discovery Starter,用于服务注册与发现 -->
        <dependency>
            <groupId>com.alibaba.cloud</groupId>
            <artifactId>spring-cloud-starter-alibaba-nacos-discovery</artifactId>
        </dependency>

        <dependency>
            <groupId>org.springframework.boot</groupId>
            <artifactId>spring-boot-starter-test</artifactId>
            <scope>test</scope>
        </dependency>
    </dependencies>

    <build>
        <plugins>
            <plugin>
                <groupId>org.springframework.boot</groupId>
                <artifactId>spring-boot-maven-plugin</artifactId>
            </plugin>
        </plugins>
    </build>

</project>
yml:
# 服务端口,选择一个未被占用的端口
server:
  port: 8090

# Spring 应用配置
spring:
  application:
    # 这个名字将会是注册到 Nacos 的服务名
    name: book-service
  cloud:
    nacos:
      # Nacos 服务发现相关配置
      discovery:
        # Nacos Server 的地址。
        server-addr: localhost:8848
        # Nacos 的用户名和密码
        username: nacos
        password: nacos
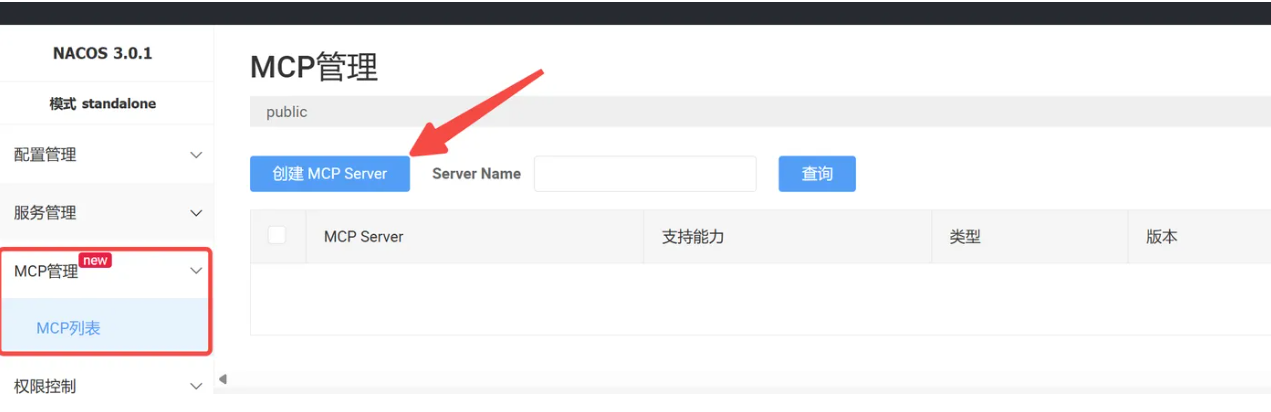
存量服务声明成MCP服务
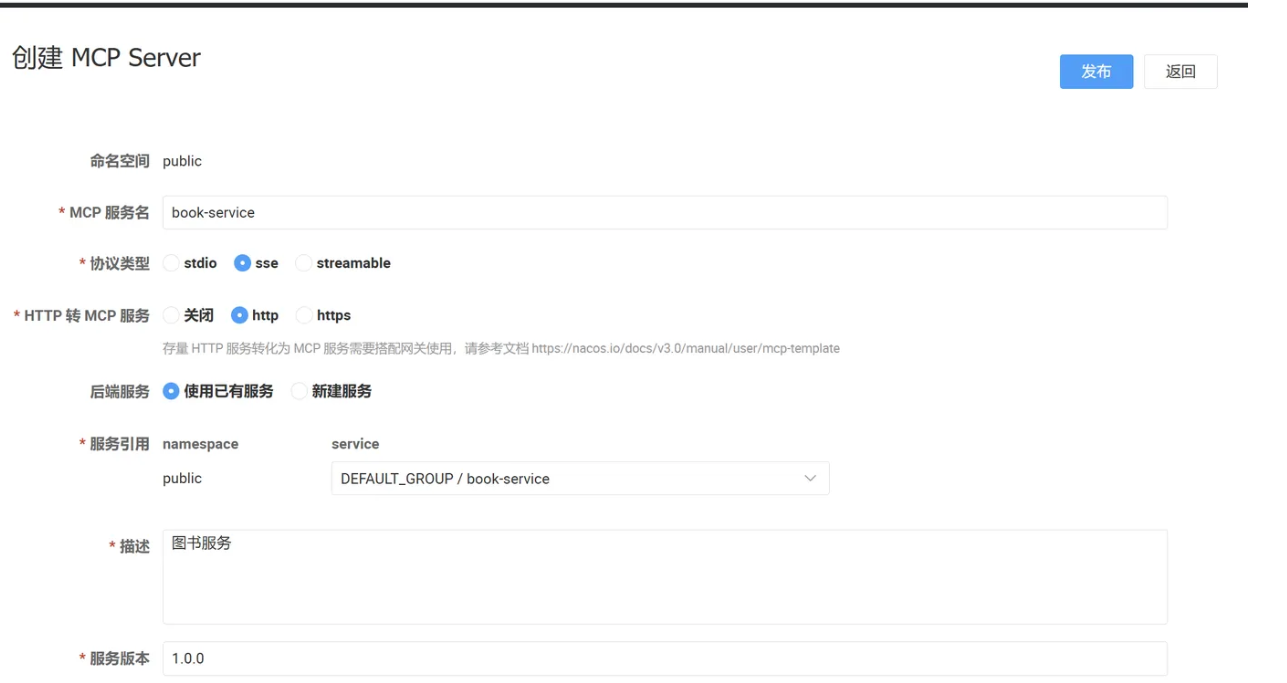
- MCP 服务名 - 为MCP Server设置一个易于识别的名称
- 协议类型 - 选择
sse或streamable - HTTP 转 MCP 服务 - 根据存量服务的协议类型选择
http或https - 后端服务 - 选择"使用已有服务"
- 服务引用 - 在下拉列表中选择我们刚才注册的
book-service - 描述 - 填写服务的功能描述
- 服务版本 - 设置版本号(如
1.0.0)
填写完成后,点击右上角的发布按钮完成创建。
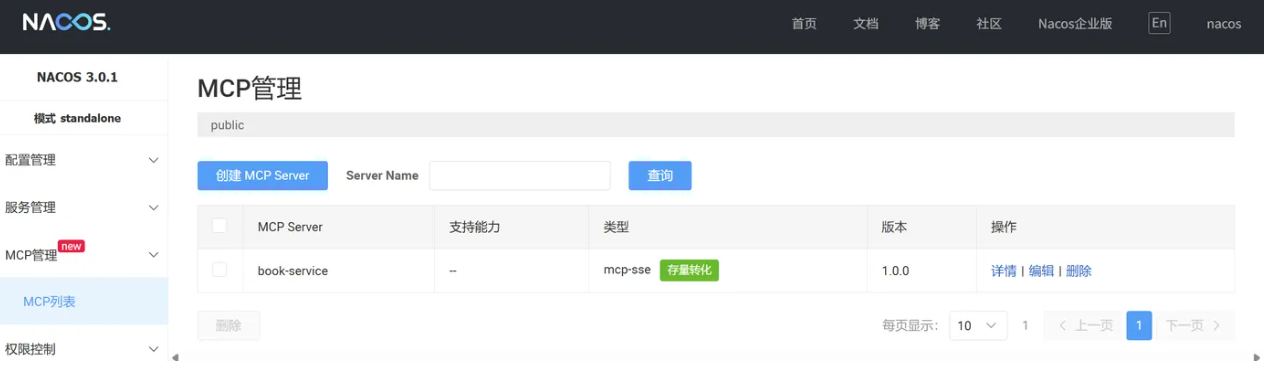
将REST API映射为MCP Tools
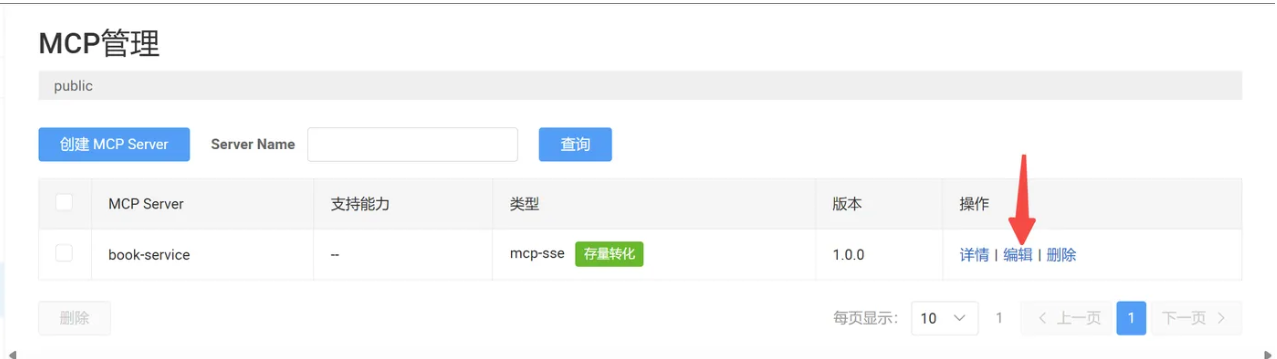
MCP服务创建后,我们需要将具体的API接口声明为可调用的Tools。在MCP列表中找到刚创建的服务,点击操作列的编辑按钮。
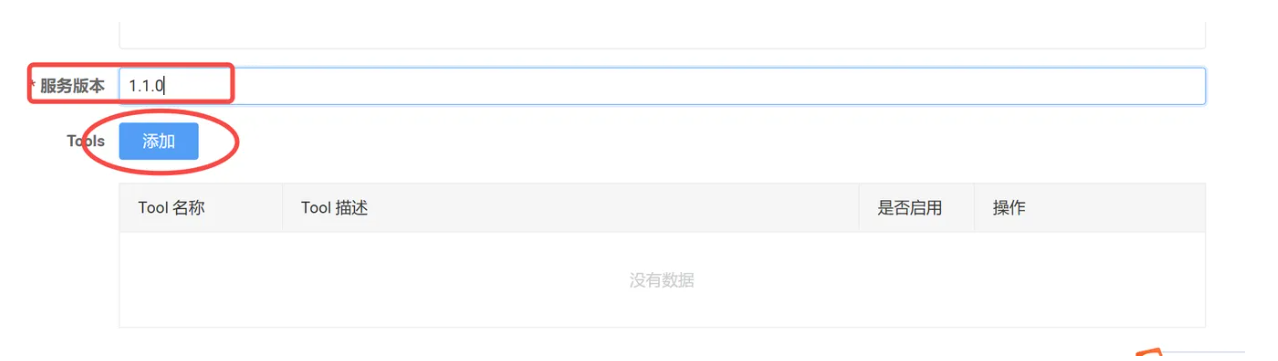
点击添加按钮,为每个API接口创建对应的Tool。以"根据作者查询图书"接口为例:
点击添加按钮,为每个API接口创建对应的Tool。以"根据作者查询图书"接口为例:
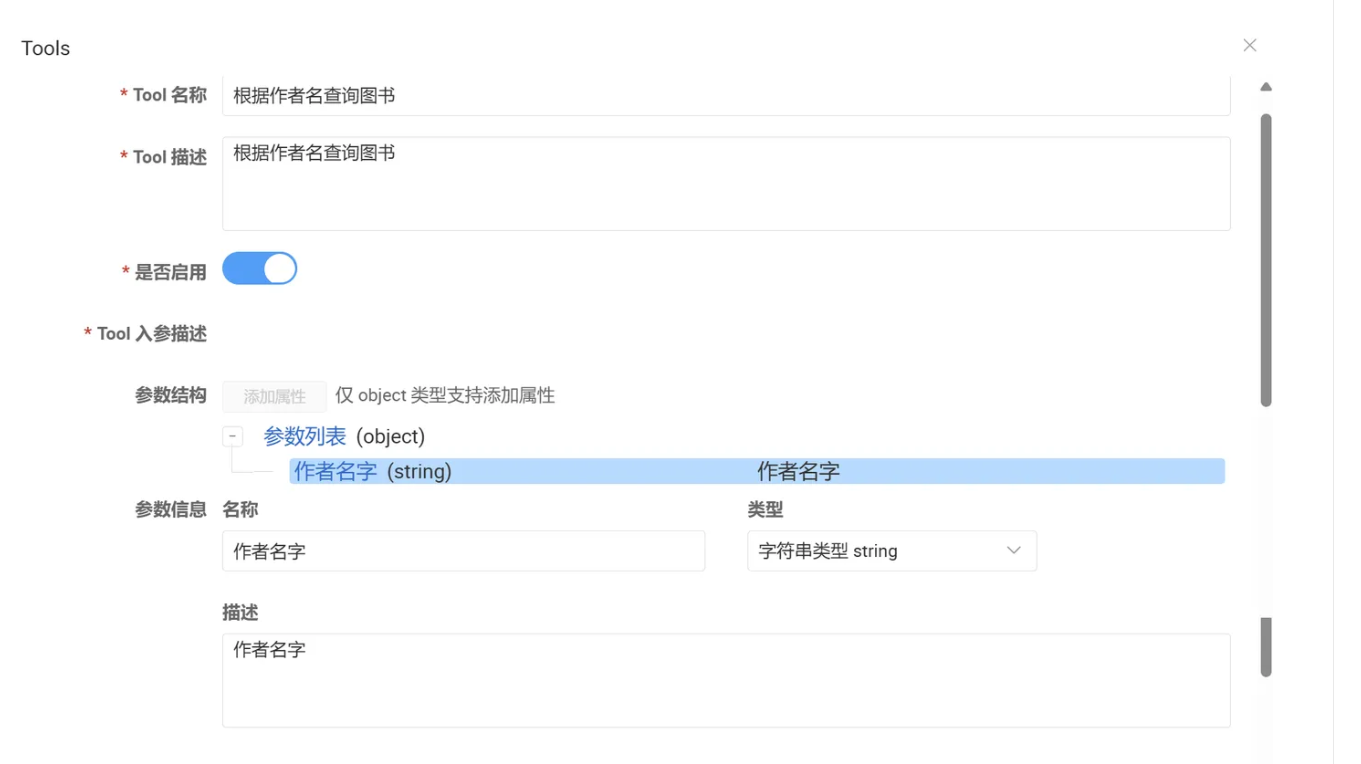
- Tool名称:
getBooksByAuthor - Tool描述:根据作者姓名查询图书列表
- 输入参数:点击"添加属性",配置
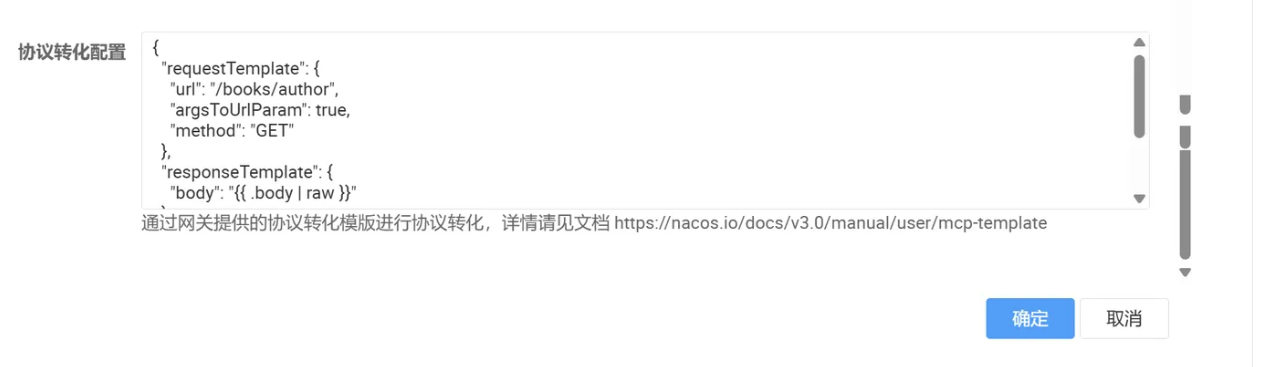
authorName参数 - 协议转换配置:填写JSON配置(详见下文)
协议转换配置是整个改造的核心,它定义了如何将MCP调用转换为HTTP请求。官方文档中提供了模板,这里我以我的配置做下说明:
{

  // "requestTemplate" 对象:定义了如何构建一个发送给您后端服务的 HTTP 请求。
  "requestTemplate": {

    // "url": 指定后端 API 的具体路径 (Path)。这里不包含域名和端口。
    "url": "/books/author",

    // "argsToUrlParam": 一个布尔值开关,非常适用于 GET 请求。
    // 设置为 true 时,Higress 会自动将 argsPosition 中所有位置为 "query" 的参数,
    // 拼接成 "?key=value" 的形式追加到 url 末尾。
    "argsToUrlParam": true,

    // "method": 指定调用后端 API 时使用的 HTTP 方法,必须与后端接口定义一致 (如 @GetMapping)。
    "method": "GET"
  },

  // "responseTemplate" 对象:定义了如何处理从后端服务收到的响应,并构建最终返回给调用方的内容。
  "responseTemplate": {

    // "body": 定义最终响应体的内容。
    // "{
   { .body | raw }}" 是一个固定用法,功能是“获取后端响应的完整 body,并按原始格式输出”。
    // 这对于返回 JSON 数据至关重要,可以防止 JSON 格式被破坏。
    "body": "{
   { .body | raw }}"
  },

  // "argsPosition" 对象:定义了此工具对外暴露哪些参数,以及这些参数在 HTTP 请求中的具体位置。
  // 它就像一个“参数说明书”和“映射表”。
  "argsPosition": {

    // "authorName": "query"
    // key ("authorName"): 这是对外暴露的参数名,是 AI 模型或其他调用方需要提供的参数。
    // value ("query"): 指定这个参数的值应该被放置在 HTTP 请求的 URL 查询部分 (query string)。
    "authorName": "query"
  }
}
按照相同的方式,为其他接口配置对应的Tools。配置完成后,点击右上角的发布按钮。
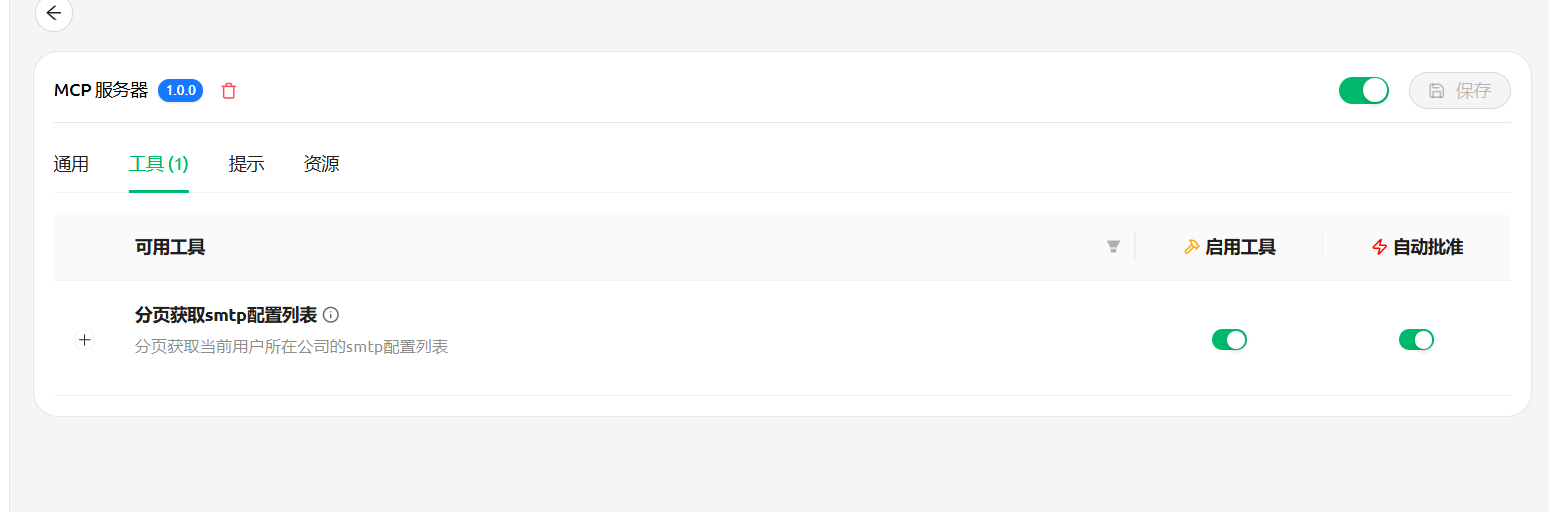
4.验证最终效果
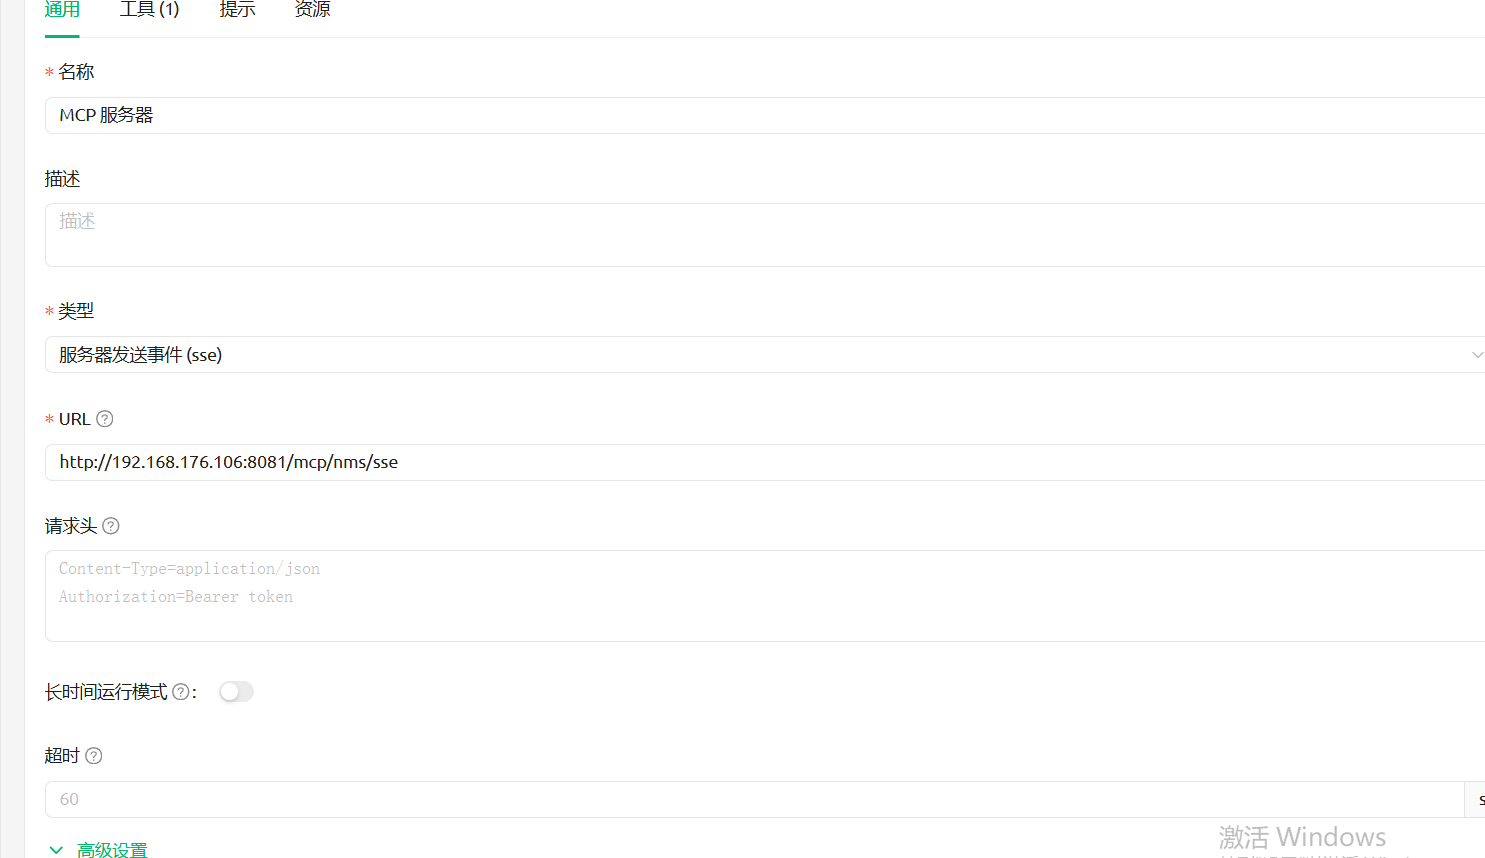
改造完成后,我们可以在任何支持 MCP 协议的 AI Agent 应用中(如 Cherry Studio、Cursor 等)调用这些服务,配置信息参考如下:
  "mcpServers": {
    "your-custom-server-name": {
      "url": "http://<Higress网关的IP或主机名>:<端口>/mcp/<您在Nacos中定义的MCP服务名>/sse"
    }
  }
我这里随便找了一个接口试了一下(Cherry Studio)

有“AI”的1024 = 2048,欢迎大家加入2048 AI社区
更多推荐

 18
18 0
0- 0


 已为社区贡献5条内容

所有评论(0)