【uni-vt】2.使用uni-vt新特性快速接入LLM
《uni-vt框架高效接入LLM实践指南》 本文详细介绍了如何通过uni-vt框架快速集成大语言模型(LLM)。主要内容包括: 环境配置:从源码拉取到项目启动的完整步骤 模型接入:以百度千帆为例,演示API密钥配置和请求体修改 界面定制:提供修改输入框和头像的自定义方案 测试验证:展示实际对话效果和真机测试结果 该框架通过统一接口简化了LLM接入流程,开发者只需关注核心业务逻辑,即可快速实现AI功
使用用 uni-vt 框架高效接入 LLM 的实践指南
前言
随着大语言模型(LLM)技术的飞速发展,将 AI 能力集成到应用中已成为主流趋势。
本篇博客旨在提供一套系统性的解决方案。我们将摒弃繁琐的传统方法,引入一个专为简化 LLM 接入而设计的统一接口框架——uni-vt。本文将作为一份详细的实践指南,深入讲解如何利用 uni-vt 框架,高效、稳定地实现 LLM 的集成,让开发者能够将重心回归到核心业务逻辑的构建上。
在接下来的内容中,我们将从环境配置到实际代码调用,分步剖析 uni-vt 的核心功能,并提供可直接复用的代码示例,确保读者能够快速上手,并在自己的项目中成功应用。
部署本地
首先肯定是将框架源代码拉取本地,找到地址(这里贴个传送门uni-vt),执行以下命令:
git clone https://gitee.com/southwind957/uni-vt.git
之后依次执行:
cd uni-vt
pnpm i
pnpm dev:mp-weixin
这时如果跑成功控制台会提示你使用开发者工具打开。
注:本篇文章所有运行环境都是微信小程序。
引入LLM
以百度千帆为例,首先去百度官方获取ak(具体教程点这里),在千帆官网调试没问题之后复制好你的appid,api key,模型信息等信息。
然后打开.env.development文件,将你的信息修改到相应位置:
# 接口地址
VITE_APP_AI_URL = 'https://qianfan.baidubce.com/v2'
# 接口密钥
VITE_APP_AI_KEY = 'your_key'
# 模型
VITE_APP_AI_MODEL = 'ernie-lite-8k'
# APP ID
VITE_APP_AI_APP_ID = 'your_app_id'
如果你使用的是其它大模型,那么还要复制消息体,然后找到/src/request/index.ts做出替换,如果你跟笔者一样是百度千帆,那么就不需要做配置了。虽然不用配置,但是还是把流程走一遍,找到上述文件,将请求体修改:
export const alovaAiInst = createAlova({
  baseURL: BASE_AI_URL,
  timeout: 15000,
  ...uniappAdapter(),
  beforeRequest: (method) => {
    method.config.headers = {
      ...method.config.headers,
      'Content-Type': 'application/json',
      Authorization: `Bearer ${import.meta.env.VITE_APP_AI_KEY}`,
      appid: import.meta.env.VITE_APP_AI_APP_ID
    }
    const { text } = method.data
    // 百度千帆
    method.data = {
      model: import.meta.env.VITE_APP_AI_MODEL,
      messages: [
        {
          role: 'user',
          content: [
            {
              type: 'text',
              text
            }
          ]
        }
      ],
      web_search: {
        enable: false,
        enable_citation: false,
        enable_trace: false
      },
      plugin_options: {}
    }
  },
  responded: {
    onSuccess: (response: any) => {
      const { data } = response
      console.log('data', data)
      return data
    },
    onError: (err) => {
      console.log('err', err)
      uni.showToast({ title: '网络错误', icon: 'none' })
      throw err
    }
  }
})
这是一个alova.js示例,uni-vt已经完全支持这个下一代的请求工具集。具体配置下一期将会出文章说清楚。
注:截至文章发布日,作者未在响应拦截器取出AI消息。这个后续作者将会更改。
到现在基本就配置完成了。运行看下示例。运行后长这样: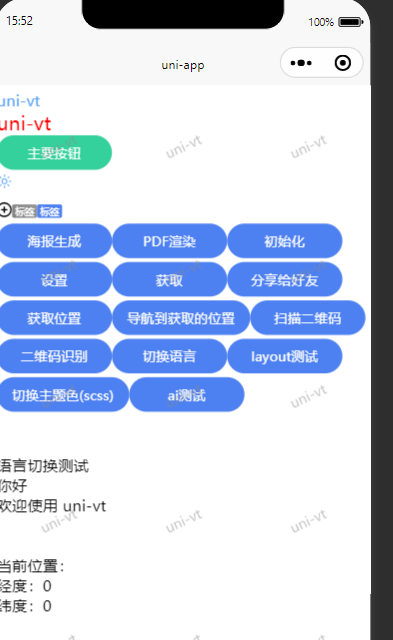
是有点粗糙哈哈哈。
配置头像以及输入框
框架自己给了一个输入框,如果你不喜欢的话可以直接修改:
<template>
  <Chat>
    <template #bottom="{ send }">
      <view
        class="chat-input-area flex items-center gap-2 flex-shrink-0"
        :style="{ paddingBottom: `${bottomH}rpx` }"
      >
        <view class="flex-1">
          <wd-textarea
            v-model="input"
            placeholder="和 AI 聊聊吧..."
            auto-height
            :rows="2"
            class="chat-textarea"
          />
        </view>
        <wd-button type="primary" size="small" @click="handleSend(send)"
          >发送</wd-button
        >
      </view>
    </template>
  </Chat>
</template>

<script lang="ts" setup>
import Chat from '@/components/Chat/chatComponent.vue'
import { ref, computed } from 'vue'
import useStore from '@/store'

const bottomH = computed(() => {
  return useStore().useSafeArea.getSafeAreaBottom
})

const input = ref('')

const handleSend = (send: (content: string) => Promise<void>) => {
  if (!input.value.trim()) return
  send(input.value)
  input.value = ''
}
</script>

<style lang="scss" scoped>
.chat-input-area {
  padding: 12px 12px;
  border-top: 1px solid #e5e7eb;
  background-color: #fff;
  min-height: 70px;
  box-sizing: border-box;
  align-items: flex-end;
}

:deep(.chat-textarea__inner) {
  width: 100% !important;
  min-height: 44px;
  max-height: 120px;
  border: 1px solid #d1d5db;
  border-radius: 6px;
  padding: 6px 8px;
  font-size: 14px;
  line-height: 20px;
  background-color: #fff;
  resize: none;
}

:deep(.chat-textarea__inner:focus-within) {
  border: 2px solid #3b82f6 !important;
}
</style>
然后可以通过设置本地文件夹的图片来更改AI和默认头像,用户头像会从缓存读取。如果没有就会跟AI头像一样,直接读取static文件夹下面的logo.png,如果需要自定义,找到/src/components/chat/chatcomponnets文件,搜素这个代码修改即可:
src="/static/logo.png"
同理,可以将读取缓存改成你想要的:
const userAvatar = uni.getStorageSync('userAvatar') || '/static/logo.png'
测试AI对话
这里我不做修改,直接点击ai测试进入测试页面,会看到如下界面: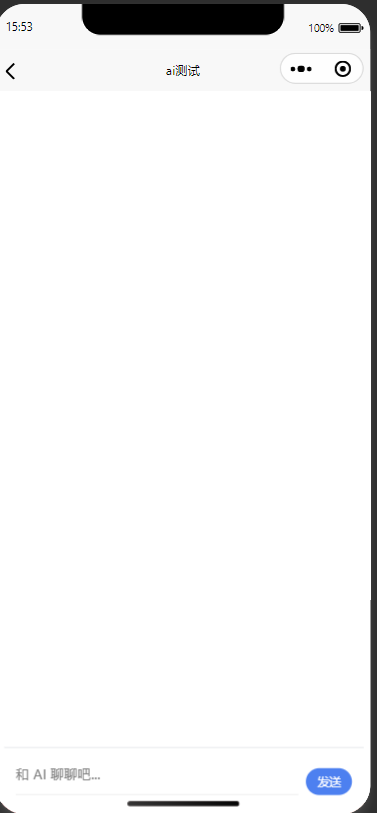
直接测试一下:
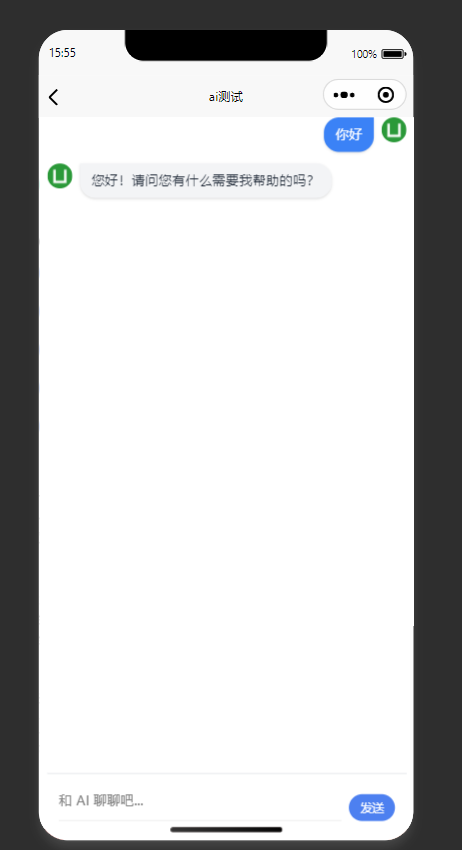
到这就成功了。
真机试一下:
好了,我们今天的配置就到这里。它不仅仅是一个工具,更是一个能让你事半功倍的“效率加速器”。如果你喜欢这种简单、高效的开发方式,并且本文对你有所启发,请不要吝啬你的支持——在项目的 GitHub /Gitee主页上,点一下Star 吧。你的每一次点击,都是对开源贡献者最好的肯定和鼓励。

有“AI”的1024 = 2048,欢迎大家加入2048 AI社区
更多推荐
 14
14 0
0- 0


 已为社区贡献1条内容

所有评论(0)