MySQL双主复制
Keepalived 是一个基于 VRRP(Virtual Router Redundancy Protocol,虚拟路由冗余协议) 的开源软件,主要用于实现 服务器高可用(HA, High Availability) 和 负载均衡(Load Balancing)。高可用(HA - High Availability)作用:防止单点故障(SPOF, Single Point of Failure)
实验环境
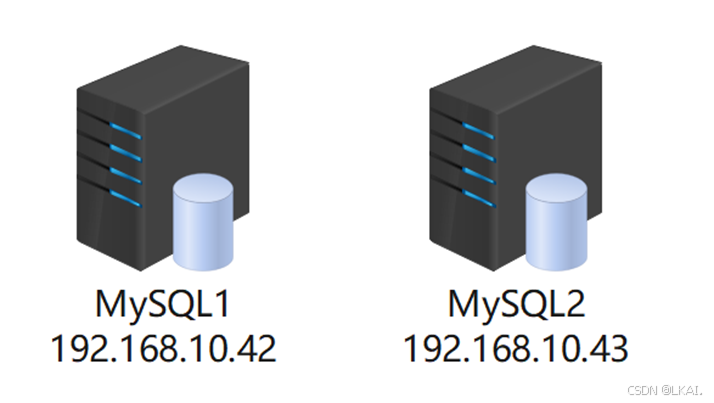
安装好MySQL
一、简介
MySQL 双主复制(Dual Master Replication)是指两个 MySQL 服务器互为主从,彼此都可以接收写操作并将变更同步到对方
二、配置双主复制
1、MySQL1配置(192.168.10.42)
(1)修改配置文件
vim /etc/my.cnf添加:
server-id=1   #必须唯一

log_bin=mysql-bin

binlog_format=ROW  #指定二进制日志的记录格式(默认)

sync_binlog=1

relay-log=mysql-relay-bin        #中继日志文件名

auto_increment_increment=2

auto_increment_offset=1

log-slave-updates=ON
解析:
auto_increment_increment = 2 和 auto_increment_offset = 1
作用:避免双主架构中的自增主键冲突
示例:
MySQL1:increment=2,offset=1 → 生成 ID:1, 3, 5, 7...
MySQL2:increment=2,offset=2 → 生成 ID:2, 4, 6, 8...
注意:需确保两节点的 offset 不同,且 increment 相同。
(2)重启MySQL服务
systemctl restart mysqld(3)创建复制专用用户
create user 'repl'@'192.168.10.%' identified by '123456';

grant replication slave on *.* to 'repl'@'192.168.10.%';

flush privileges;
2、MySQL2配置(192.168.10.42)
(1)修改配置文件
vim /etc/my.cnf添加:
server-id=2         #必须唯一且与主库不同

log_bin=mysql-bin

binlog_format=ROW  #指定二进制日志的记录格式(默认)

sync_binlog=1

relay-log=mysql-relay-bin        #中继日志文件名

auto_increment_increment=2

auto_increment_offset=2

log-slave-updates=ON
(2)重启MySQL服务
systemctl restart mysqld(3)创建复制专用用户
create user 'repl'@'192.168.10.%' identified by '123456';

grant replication slave on *.* to 'repl'@'192.168.10.%';

flush privileges;
3、配置复制连接
MySQL1:
show master status;
MySQL2:
change master to

master_host='192.168.10.42',

master_user='repl',

master_password='123456',

master_log_file='mysql-bin.000001',

master_log_pos=784;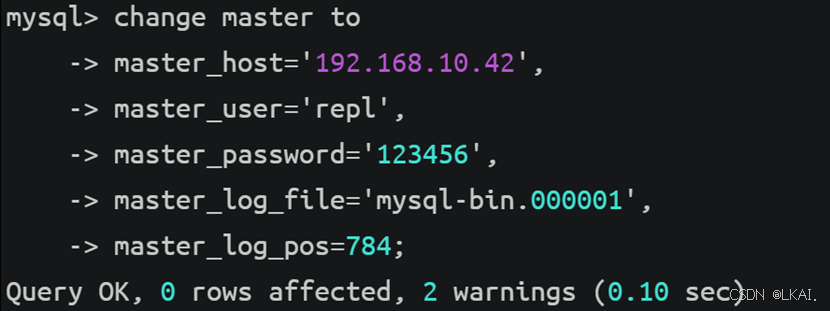
启动复制
start slave;查看复制状态
show slave status\G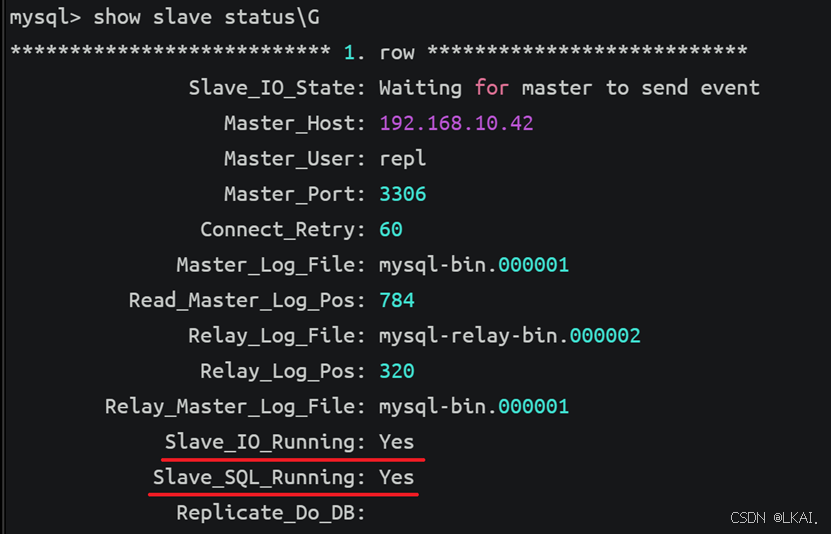
show master status;
MySQL1:
change master to

master_host='192.168.10.43',

master_user='repl',

master_password='123456',

master_log_file='mysql-bin.000001',

master_log_pos=784;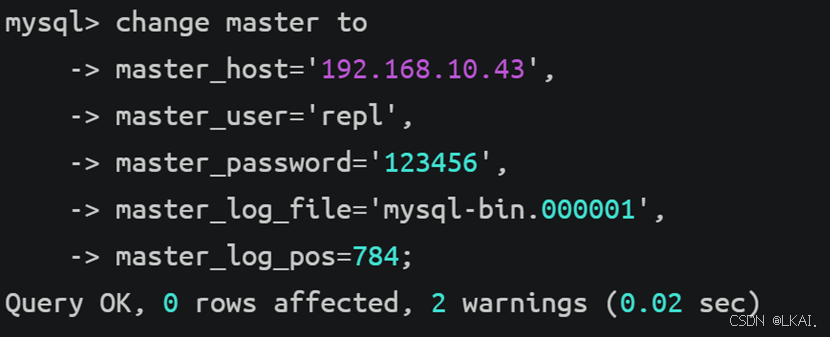
启动复制
start slave;查看复制状态
show slave status\G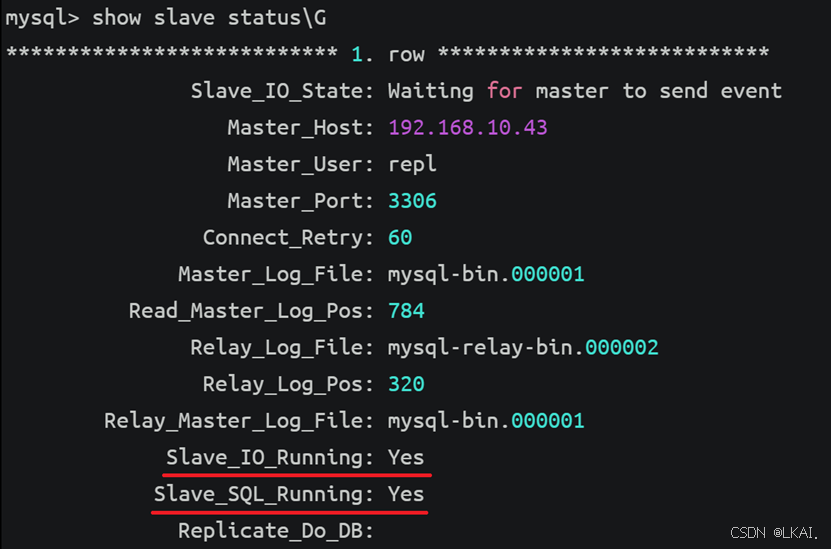
4、数据一致性测试
(1)在MySQL1库上创建数据库和表并插入内容(192.168.10.42)
create database mydb charset utf8mb4;

use mydb;

create table tb1 (id int primary key, name varchar(20));

insert into tb1 values(1,'zs');

select * from tb1;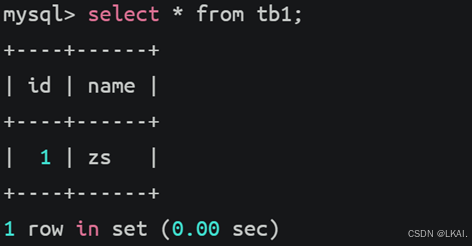
(2)在MySQL2库上向mydb库的tb1表插入内容(192.168.10.43)
use mydb;

insert into tb1 values(2,'ls');

select * from tb1;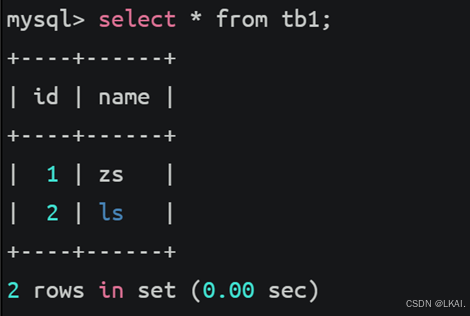
三、配置keepalived实现高可用
Keepalived 是一个基于 VRRP(Virtual Router Redundancy Protocol,虚拟路由冗余协议) 的开源软件,主要用于实现 服务器高可用(HA, High Availability) 和 负载均衡(Load Balancing)。
高可用(HA - High Availability)作用:防止单点故障(SPOF, Single Point of Failure),确保服务持续可用。
1、安装keepalived服务(MySQL1、MySQL2)
dnf -y install keepalived2、修改配置文件
MySQL1:
vim /etc/keepalived/keepalived.conf删除添加:
! Configuration File for keepalived

global_defs {

   router_id MYSQL1

}


vrrp_script chk_mysql {

    script "/etc/keepalived/scripts/mysql_health_check.sh"  # 检查脚本路径

    interval 2  # 每2秒执行一次检查

    timeout 2  # 脚本执行超时时间为2秒

    weight -10  # 检查失败时优先级降低10

    fall 3  # 连续3次失败才认为服务不可用

    rise 2  # 连续2次成功才认为服务恢复

}


vrrp_instance VI_1 {

    state BACKUP  # 所有节点都配置为BACKUP,避免脑裂

    interface ens160

    virtual_router_id 51  # 确保同一局域网内唯一

    priority 100

    advert_int 1

    nopreempt  # 禁止抢占,避免频繁切换


    authentication {

        auth_type PASS

        auth_pass 1111

    }


    track_script {

        chk_mysql

    }


    virtual_ipaddress {

        192.168.10.254/24

    }

}
创建检测脚本
mkdir /etc/keepalived/scripts/

vim /etc/keepalived/scripts/mysql_health_check.sh
添加:
#!/bin/bash

if ! systemctl is-active --quiet mysqld; then

    systemctl stop keepalived

    exit 1

fi
解析:
--quiet:静默模式,不输出任何信息到标准输出,只通过退出状态码返回结果
授予执行权限
chmod +x /etc/keepalived/scripts/mysql_health_check.shMySQL2:
vim /etc/keepalived/keepalived.conf删除添加:
! Configuration File for keepalived

global_defs {

   router_id MYSQL2

}


vrrp_script chk_mysql {

    script "/etc/keepalived/scripts/mysql_health_check.sh "

    interval 2

    timeout 2

    weight -10

    fall 3

    rise 2

}


vrrp_instance VI_1 {

    state BACKUP

    interface ens160

    virtual_router_id 51

    priority 90

    advert_int 1

    nopreempt


    authentication {

        auth_type PASS

        auth_pass 1111

    }


    track_script {

        chk_mysql

    }


    virtual_ipaddress {

        192.168.10.254/24

    }

}
创建检测脚本
mkdir /etc/keepalived/scripts/

vim /etc/keepalived/scripts/mysql_health_check.sh
添加:
#!/bin/bash

if ! systemctl is-active --quiet mysqld; then

    systemctl stop keepalived

    exit 1

fi
授予执行权限
chmod +x /etc/keepalived/scripts/mysql_health_check.sh3、启动keepalived服务
MySQL1:
systemctl enable --now keepalivedMySQL2:
systemctl enable --now keepalived4、查看虚拟IP
ip add show ens160
5、验证
(1)创建连接用户(192.168.10.42)
create user 'admin'@'%' identified by '123456';

grant all on *.* to 'admin'@'%';
(2)使用远程连接工具连接MySQL
连接192.168.10.42
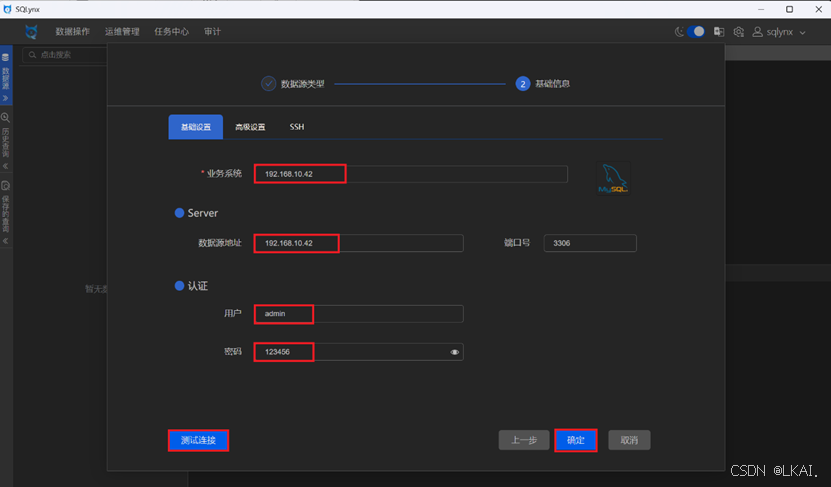
连接192.168.10.43
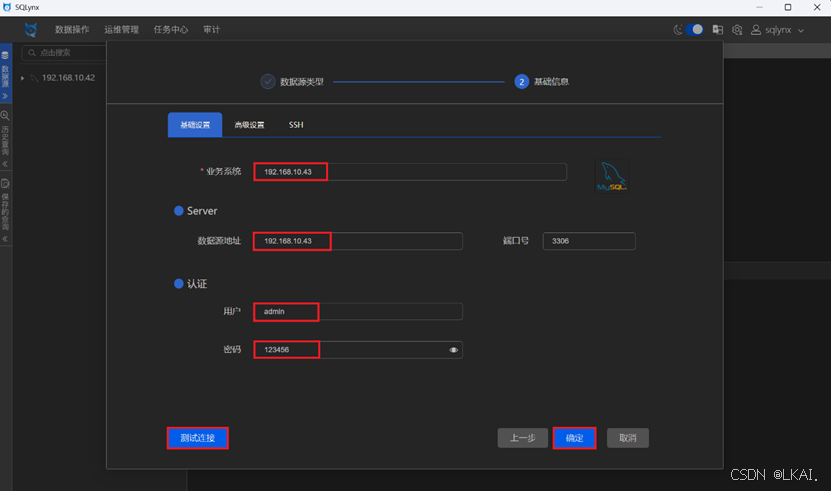
连接192.168.10.254
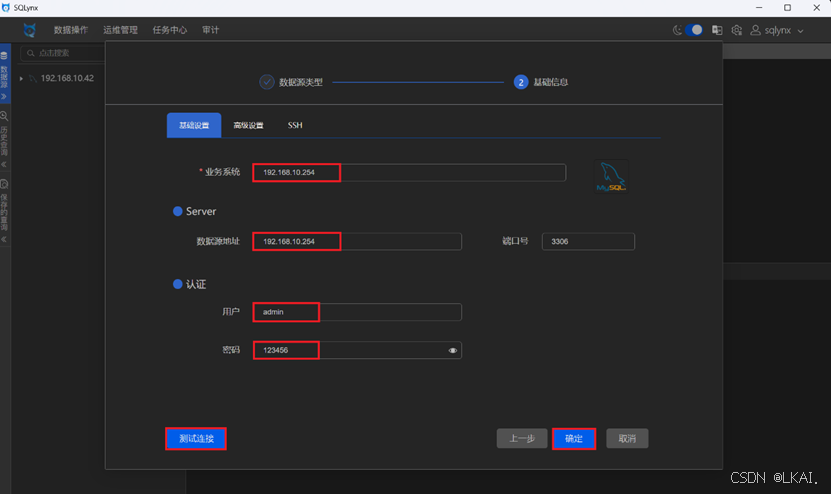

全部可以连接
(3)模拟MySQL1数据库发生故障宕机(192.168.10.42)
systemctl stop mysqld

ip add show ens160
虚拟IP已经不存在
(4)查看MySQL2服务器状态(192.168.10.43)
ip add show ens160
(5)查看数据库连接状态
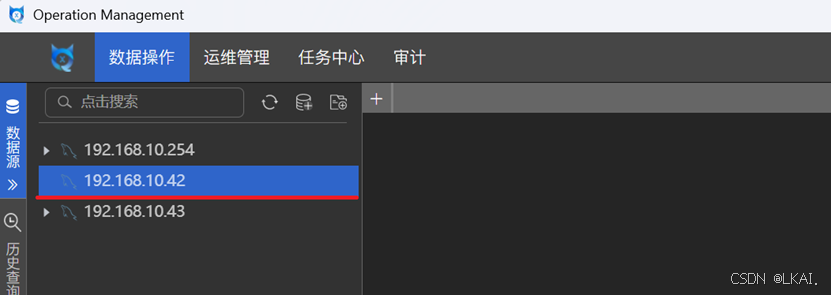
192.168.10.42已经无法连接
(6)使用192.168.10.254向表中插入数据测试
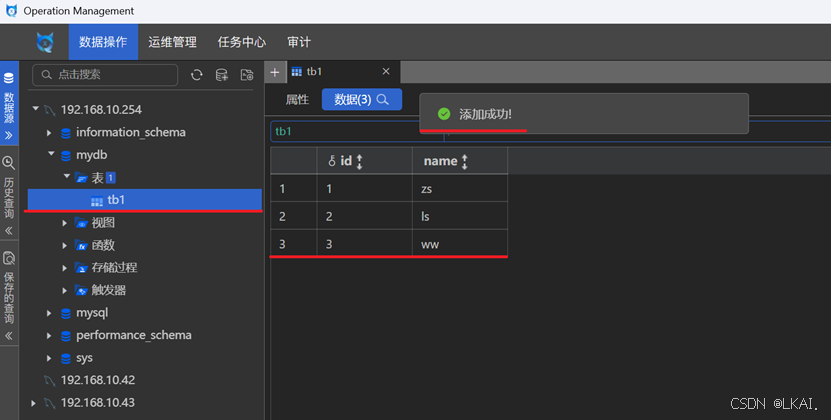
插入成功
更多推荐
 已为社区贡献4条内容


所有评论(0)