BEVDet-r50复现debug实录
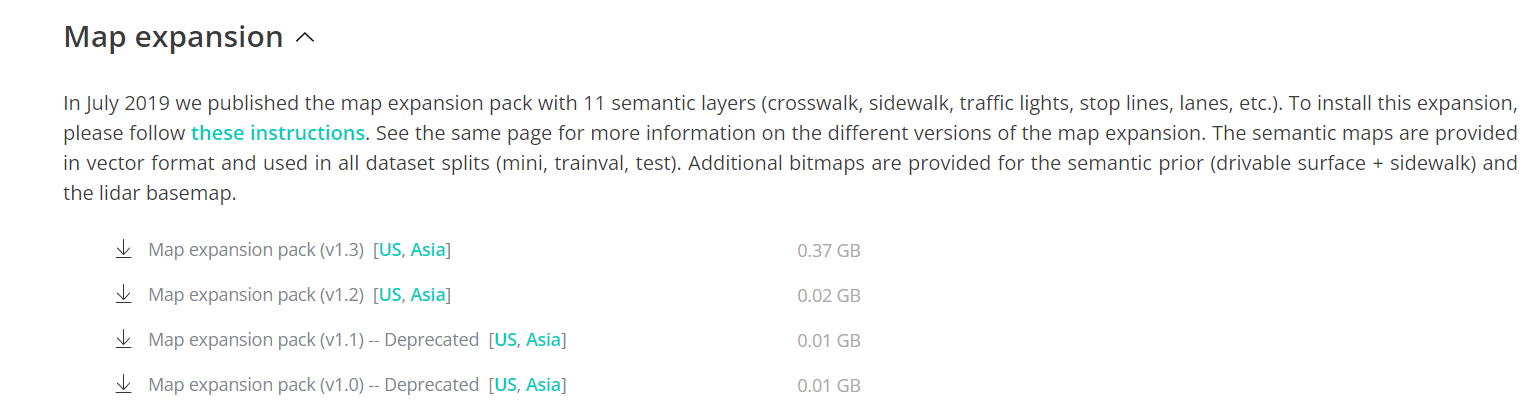
进入nuscenes官网注册账号登陆后https://www.nuscenes.org/nuscenes#download下载mini数据集。查找相关解答,‘Config’在mmcv2.0.0以后移动到了mmengine中,需要修改代码,改变思路,重新进行安装。Map expansion下载解压后将文件移动到mini dataset解压出来的Map文件夹中;将mini dataset下载后的v1.
论文地址:https://arxiv.org/abs/2112.11790
项目地址:https://github.com/HuangJunJie2017/BEVDet
BEVDet复现debug实录
创建虚拟环境conda create -n bevdet python=3.8
启动虚拟环境
通过git或者github将项目clone或下载到本地git clone https://github.com/HuangJunJie2017/BEVDet.git
进入bevdet-dev3.0文件夹
进入nuscenes官网注册账号登陆后https://www.nuscenes.org/nuscenes#download下载mini数据集
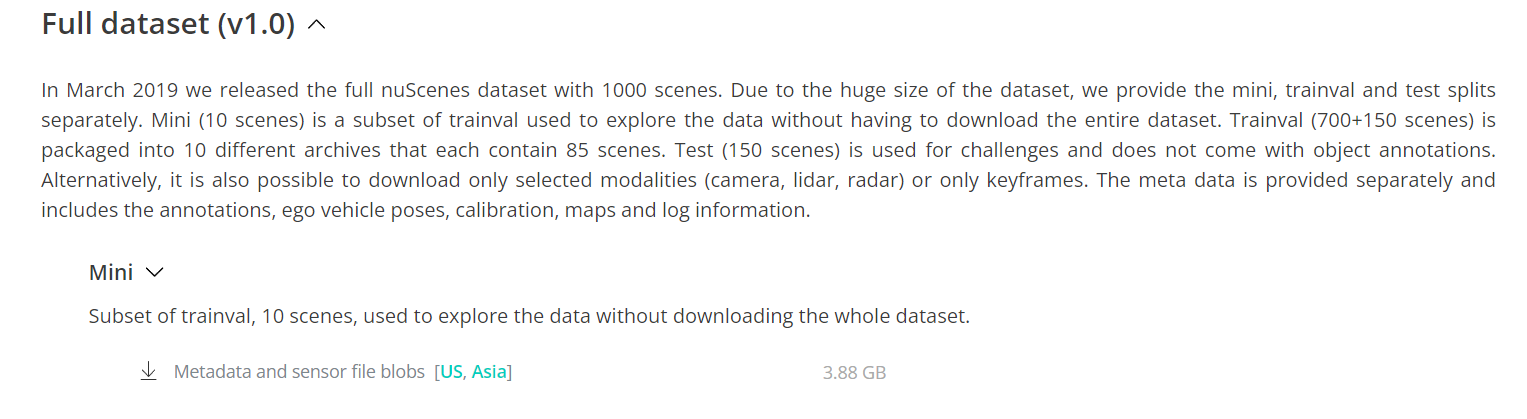
将mini dataset下载后的v1.0-mini.tgz解压出来可得到名为v1.0-mini的文件夹,改名为nuscenes,并移动到项目根目录下的./data文件夹中;
Map expansion下载解压后将文件移动到nuscenes解压出来的Map文件夹中,作为地图扩展;
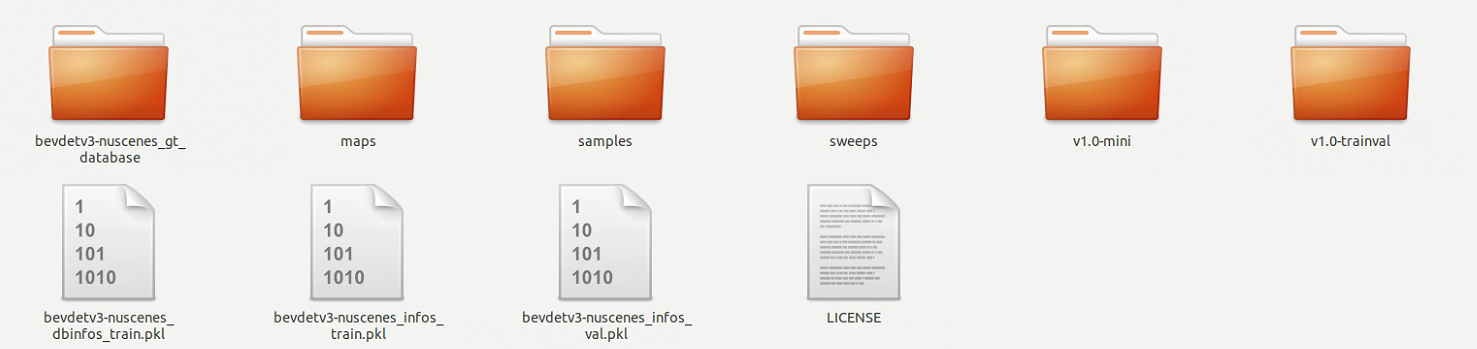
对nuscenes中的v1.0-mini复制一份并改名为v1.0-trainval

运行python tools/create_data_bevdet.py生成项目对应格式的数据集
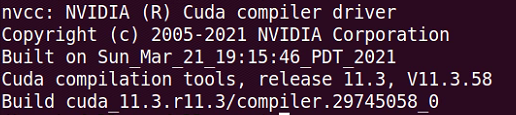
查看当前cuda nvcc -V
安装pytorch、torchvision、torchaudio
pip install torch==1.10.0+cu113 torchvision==0.11.0+cu113 torchaudio==0.10.0 -f https://download.pytorch.org/whl/torch_stable.html
通过setup.py安装相关依赖:pip install -v -e .
直接运行:python ./tools/train.py ./config/bevdet/bevdet-r50.py
出现报错:

通过pip install mmcv-full进行安装
- 注意:后续有一个报错是和这里有关的,应该直接安装
pip install mmcv-full==1.5.3- 直接按照下面顺序执行
pip install mmcv-full==1.5.3pip install mmdet==2.25.1pip install mmsegmentation==0.25.0pip install pycuda lyft_dataset_sdk networkx==2.2 numba==0.53.0 numpy==1.23.4 nuscenes-devkit plyfile scikit-image tensorboard trimesh==2.35.39 setuptools==58.2.0 yapf==0.40.1
debug实录:
直接运行:python ./tools/train.py ./config/bevdet/bevdet-r50.py
出现报错:

通过pip install mmdet进行安装
运行:python ./tools/train.py ./config/bevdet/bevdet-r50.py
出现报错:

通过pip install mmengine进行安装
运行:python ./tools/train.py ./config/bevdet/bevdet-r50.py
出现报错:

通过`pip install mmcv==2.0.0进行安装
运行:python ./tools/train.py ./config/bevdet/bevdet-r50.py
出现报错:

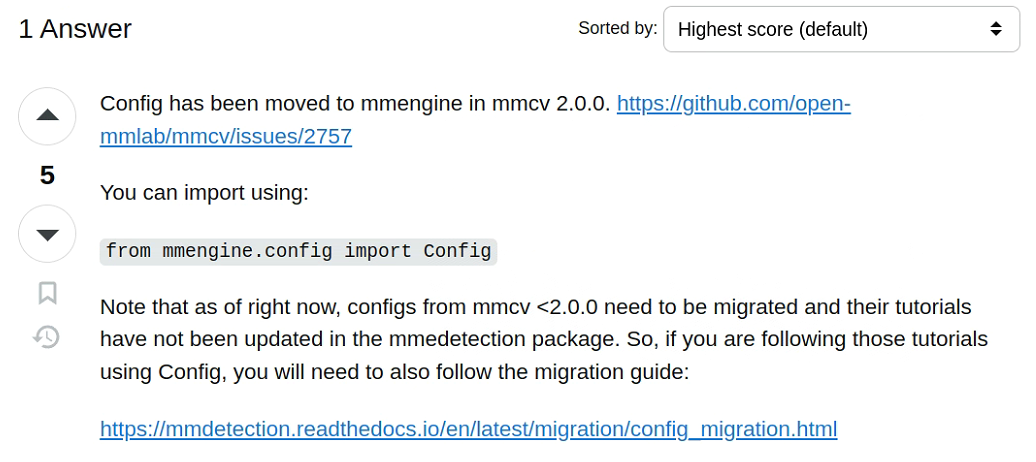
查找相关解答,‘Config’在mmcv2.0.0以后移动到了mmengine中,需要修改代码,改变思路,重新进行安装。
网上查询相关复现教程,其中mmcv-full安装的是1.5.3版本,而不是1.7.2
- 直接按照下面顺序执行
pip install mmcv-full==1.5.3pip install mmdet==2.25.1pip install mmsegmentation==0.25.0pip install pycuda lyft_dataset_sdk networkx==2.2 numba==0.53.0 numpy==1.23.4 nuscenes-devkit plyfile scikit-image tensorboard trimesh==2.35.39 setuptools==58.2.0 yapf==0.40.1
运行:python ./tools/train.py ./config/bevdet/bevdet-r50.py 成功
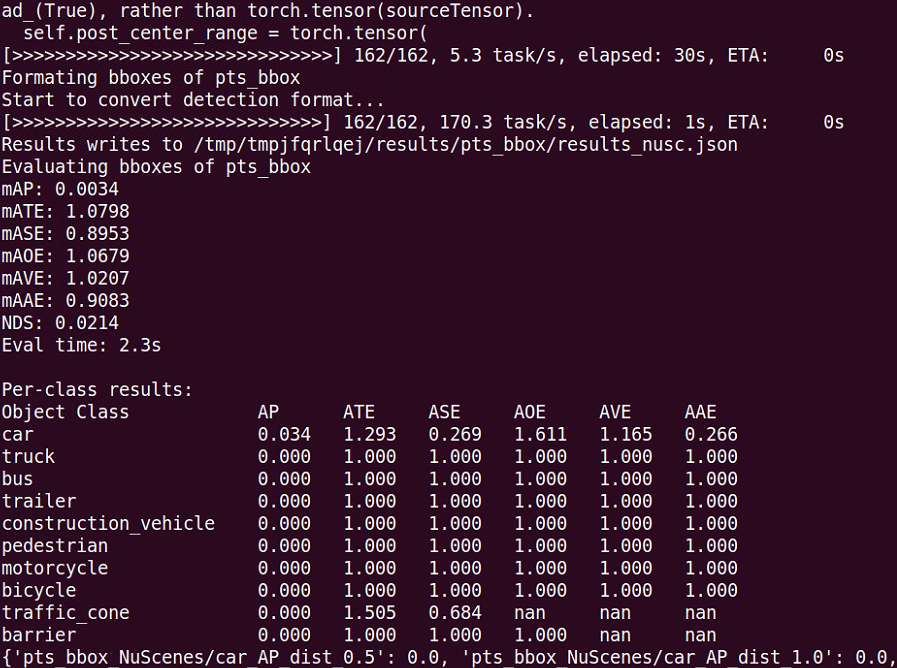
通过python tools/test.py ./configs/bevdet/bevdet-r50.py work_dirs/bevdet-r50/latest.pth --eval mAP查看测试效果
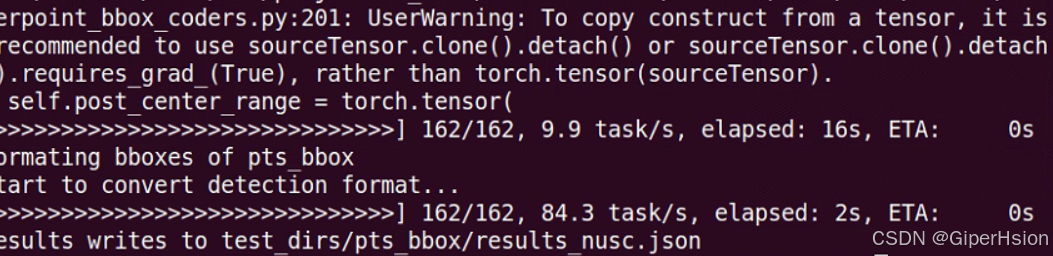
通过python tools/test.py ./configs/bevdet/bevdet-r50.py work_dirs/bevdet-r50/latest.pth --format-only --eval-options jsonfile_prefix=test_dirs生成json文件
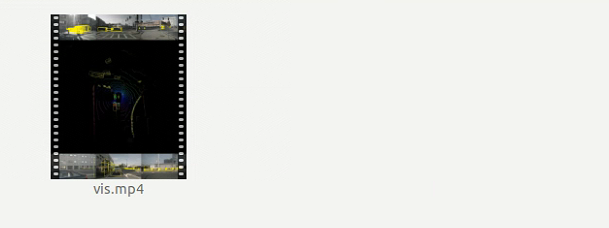
通过python tools/analysis_tools/vis.py ./test_dirs/pts_bbox/results_nusc.json可视化
在项目根目录下的vis文件夹中

有“AI”的1024 = 2048,欢迎大家加入2048 AI社区
更多推荐

 6
6 0
0- 0


 已为社区贡献14条内容

所有评论(0)