在Ubuntu中部署Dify
ubuntu dify
·
1、环境我使用的是腾讯云服务器(轻应用服务器)、FinalShell工具。
2、先在Ubuntu 24.04 LTS中安装Docker和Docker Compose
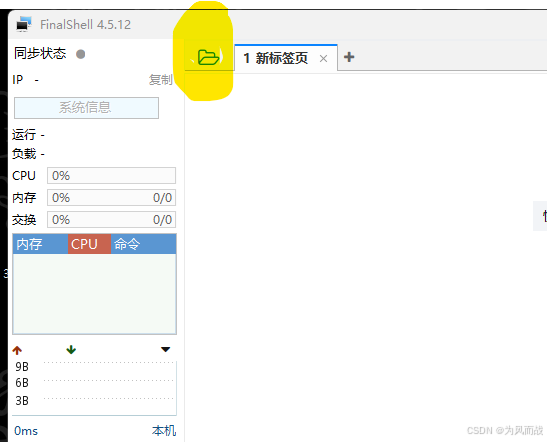
2.1、打开FinalShell点击左边的的打开文件夹的图标。
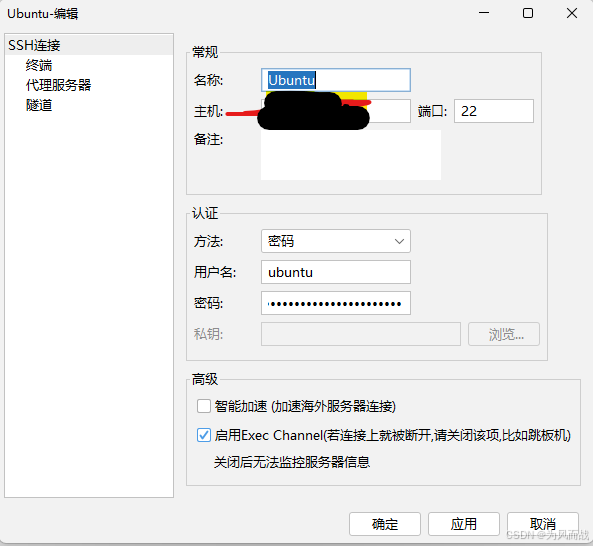
2.2、使用FinalShell创建一个SSH链接。
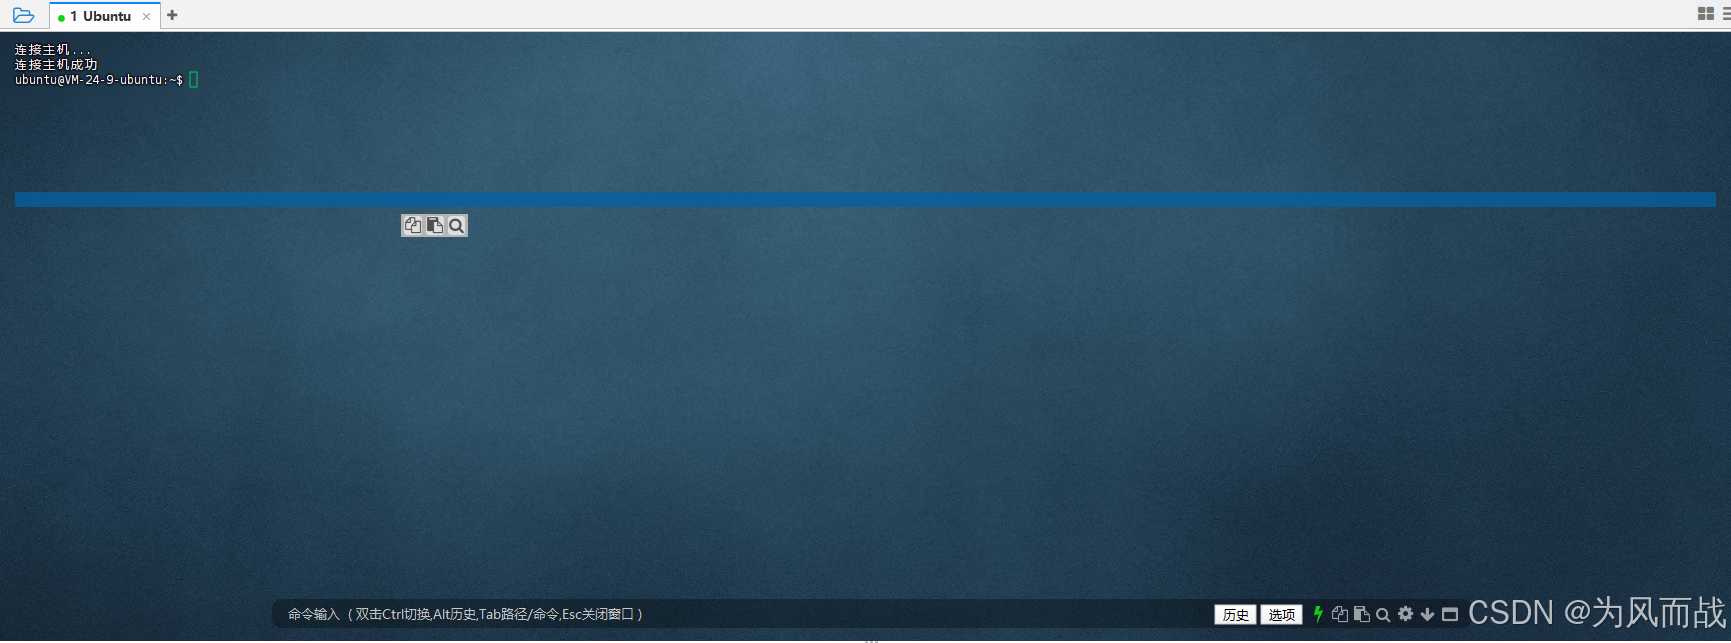
2.3、链接成功后效果如下图。
2.4、接下来执行以下命令。
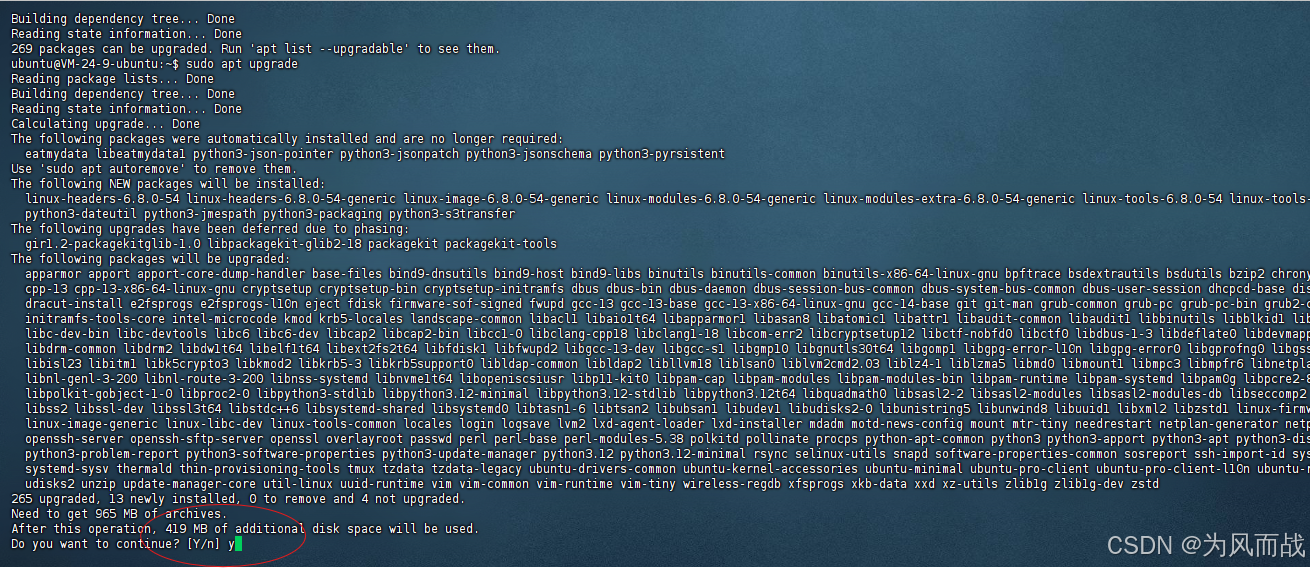
sudo apt update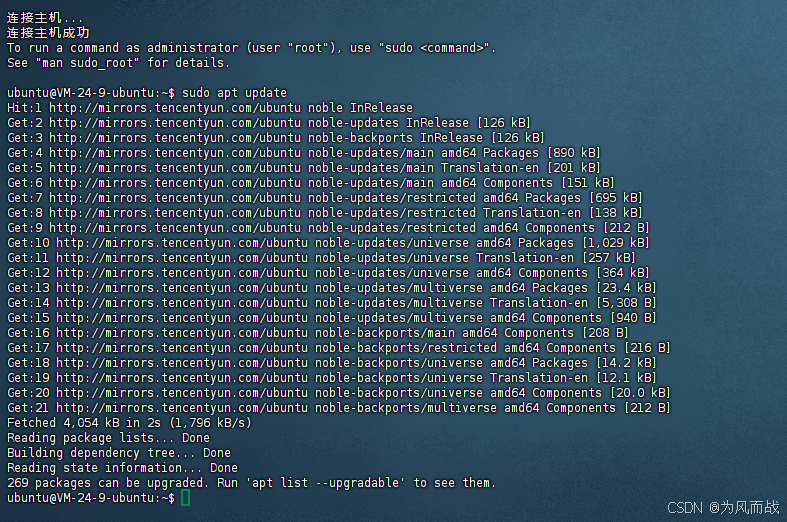
sudo apt upgrade这条命令执行时间会有些长,会有输入提示,只要输入y回车就可以了。
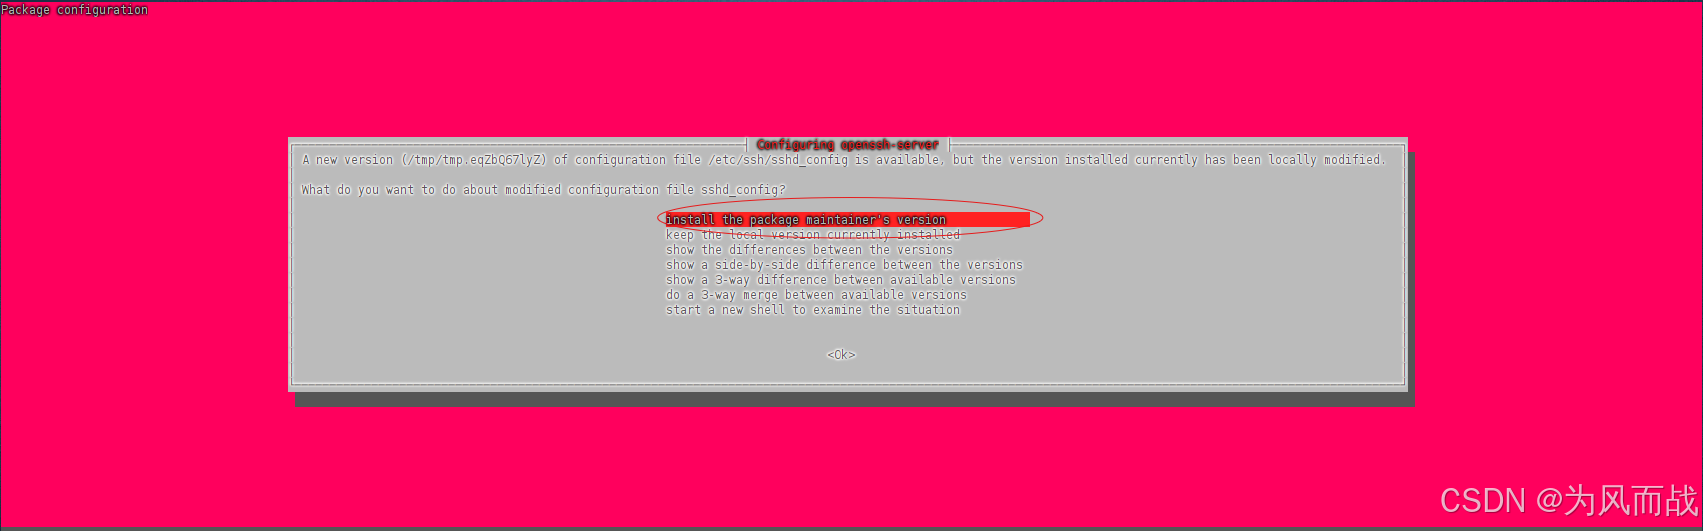
在这个界面选择第一个。
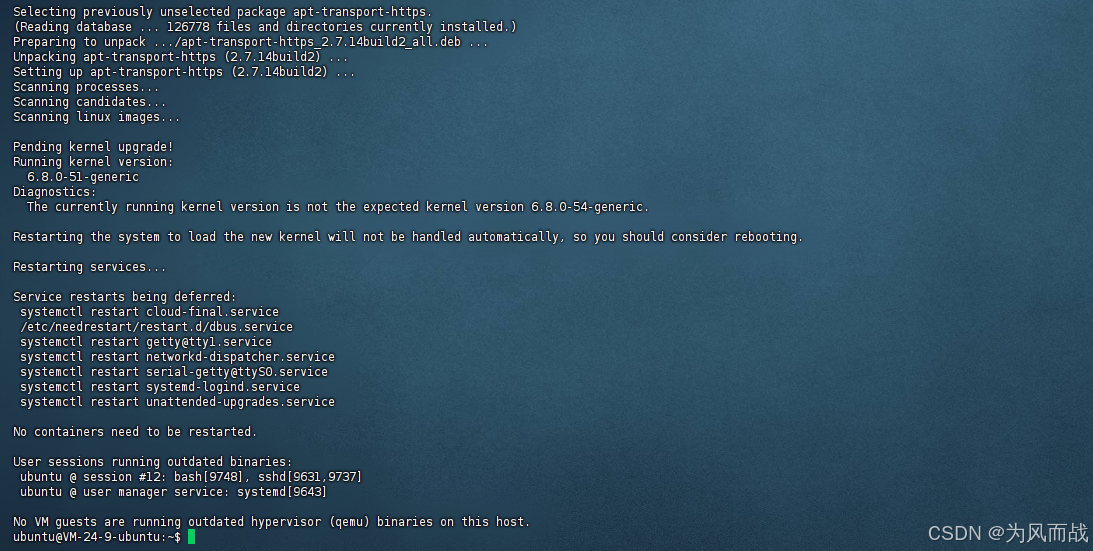
安装完成后是这个样子的。

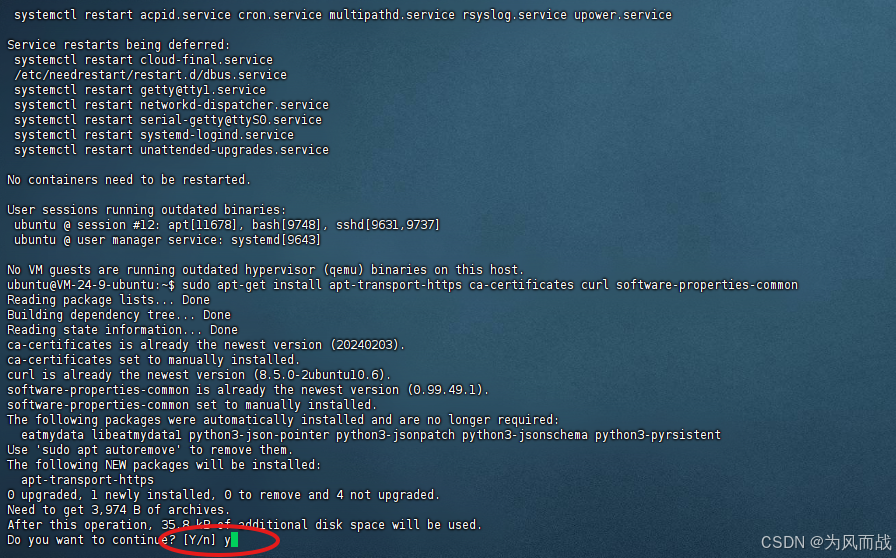
允许APT使用通过HTTPS来传输仓库:
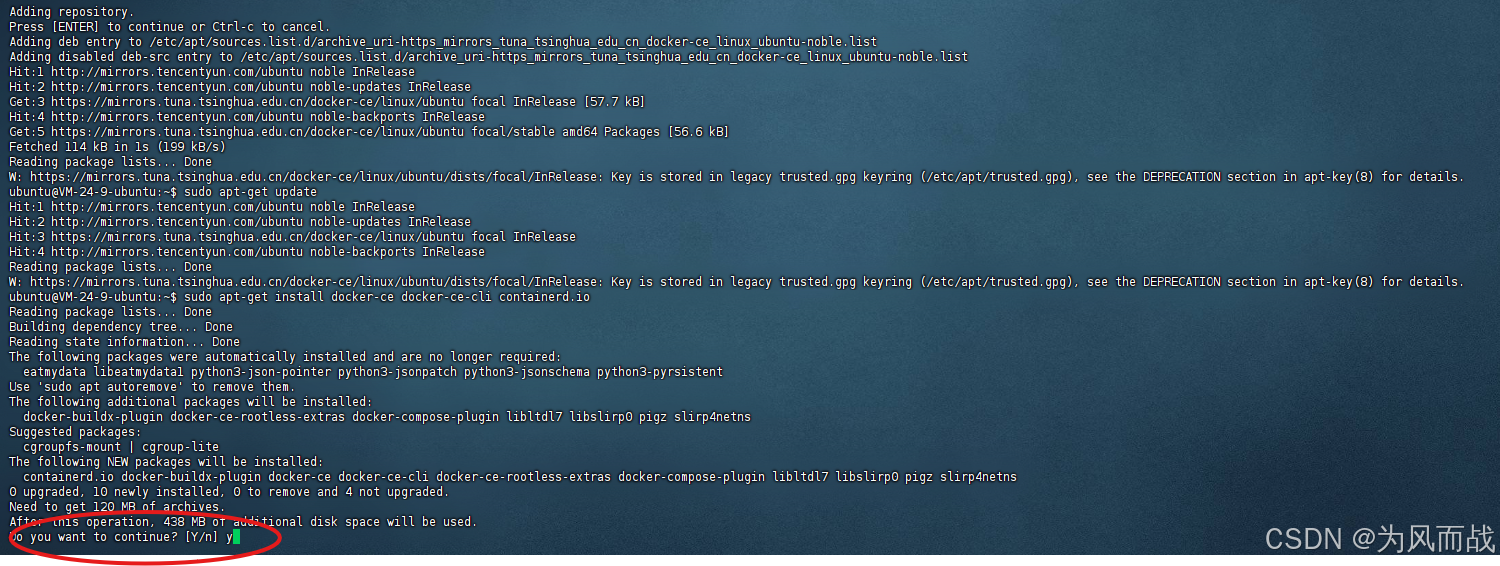
sudo apt-get install apt-transport-https ca-certificates curl software-properties-common这个命令执行后有需要输入y。
添加Docker的官港GPG秘钥
sudo curl -fsSL https://download.docker.com/linux/ubuntu/gpg | sudo apt-key add -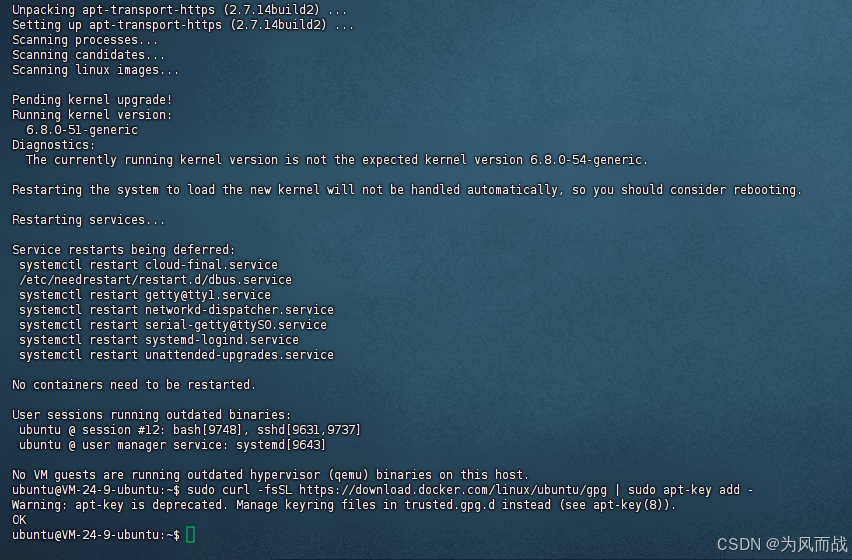
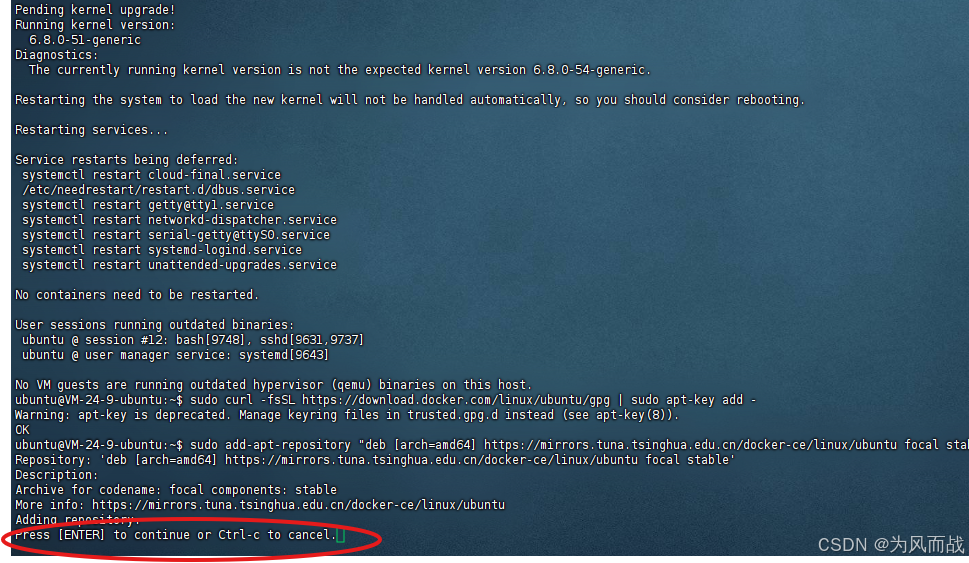
添加Dokcer的稳定仓库。这里使用的是清华源。
sudo add-apt-repository "deb [arch=amd64] https://mirrors.tuna.tsinghua.edu.cn/docker-ce/linux/ubuntu focal stable"
走到这里直接回车。
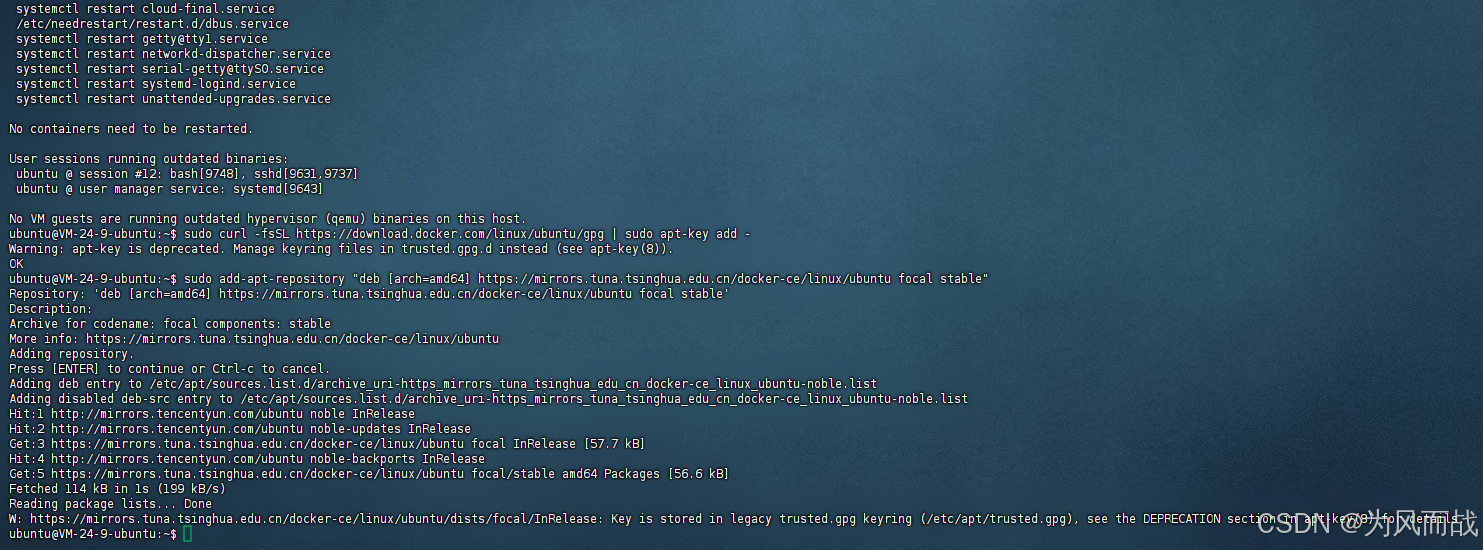
使用命令更新Ubuntu的源列表。
sudo apt-get update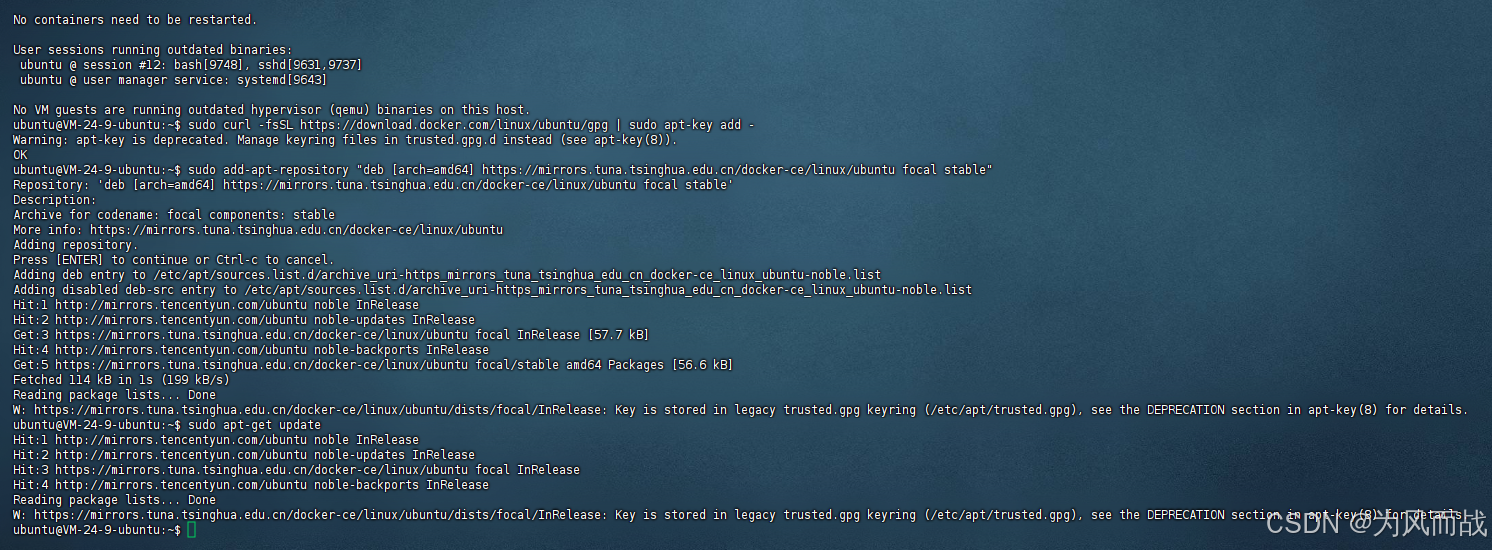
接下来正式安装Docker了。
sudo apt-get install docker-ce docker-ce-cli containerd.io接下来又要输入y了。
安装完成过后查看一下docker的版本。
sudo docker --version

查看Docker服务是否正常运行。
sudo systemctl start docker
sudo systemctl enable docker
sudo systemctl status docker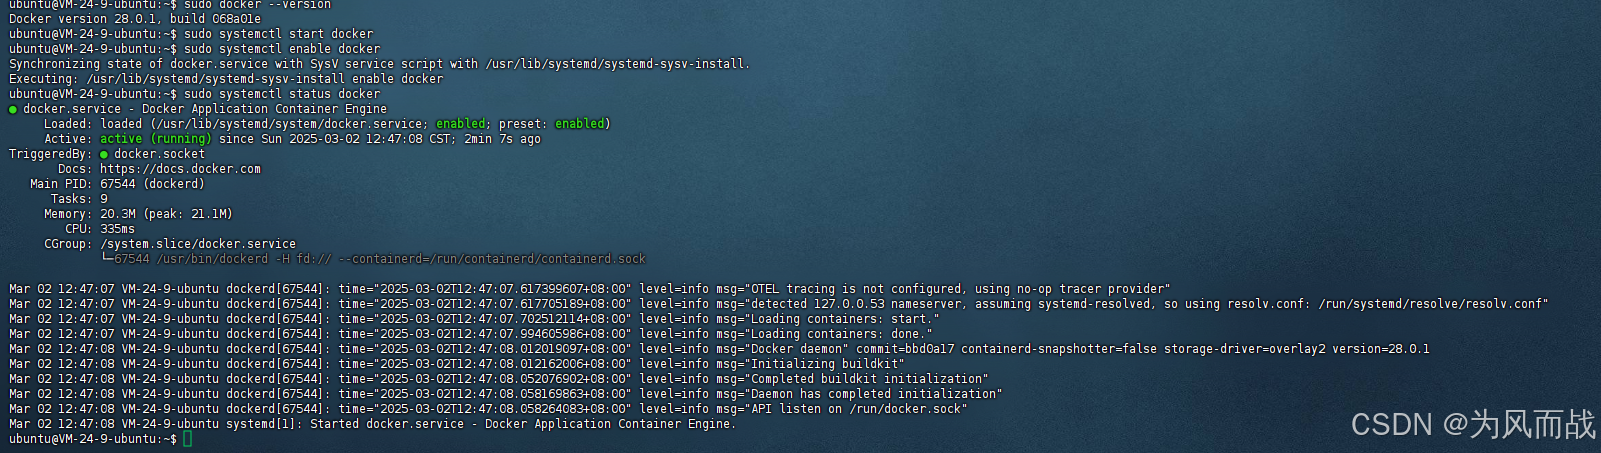
接下来添加国内镜像加速器。
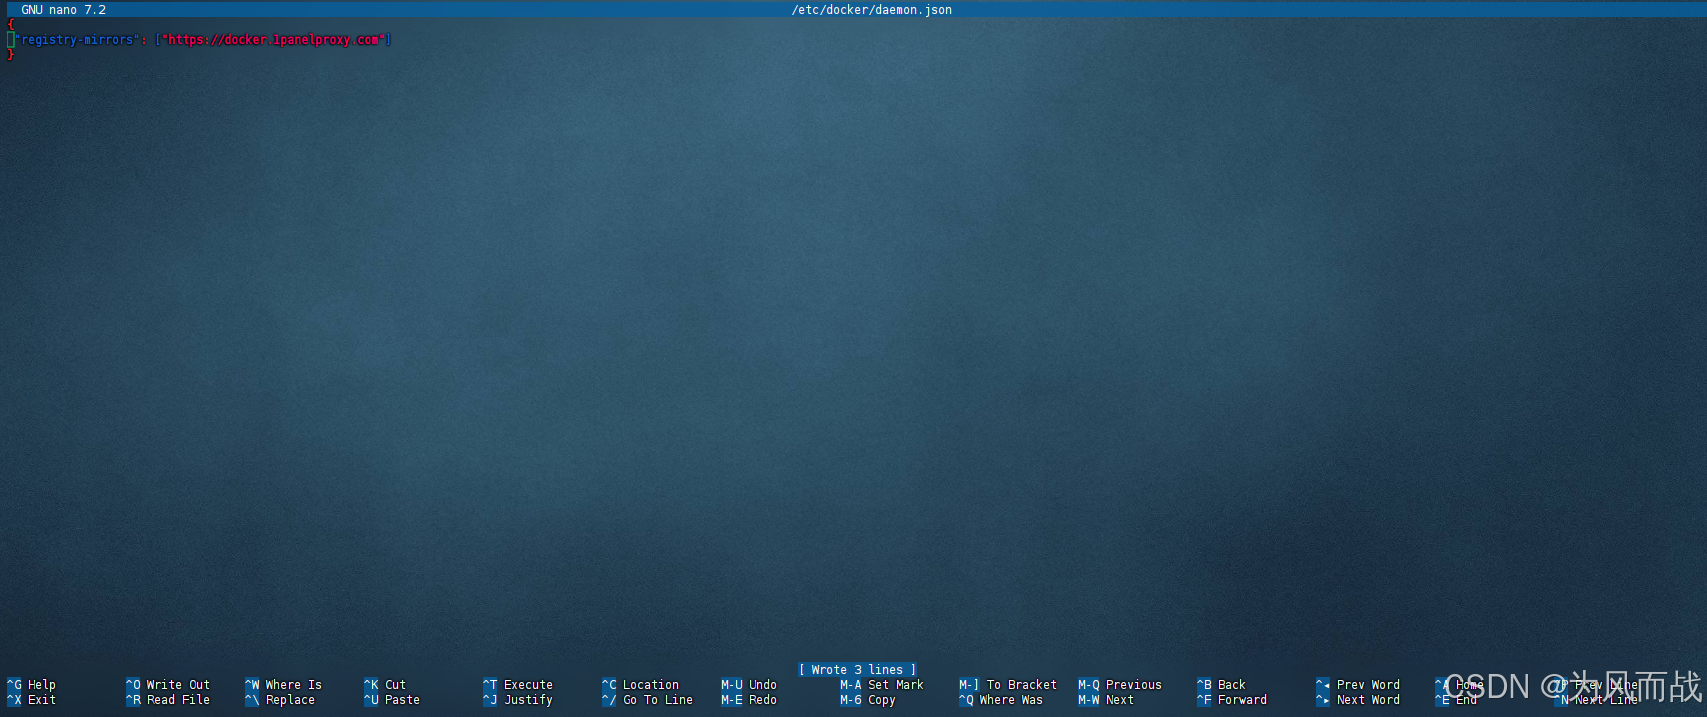
sudo nano /etc/docker/daemon.json回车后,直接将下面的内容粘贴就可以。
{
  "registry-mirrors": ["https://docker.1panelproxy.com"]
}
Ctrl+S对编辑进行保存,Ctrl+X退出即可。

重启Docker服务。
sudo systemctl daemon-reload
sudo systemctl restart docker
sudo systemctl status docker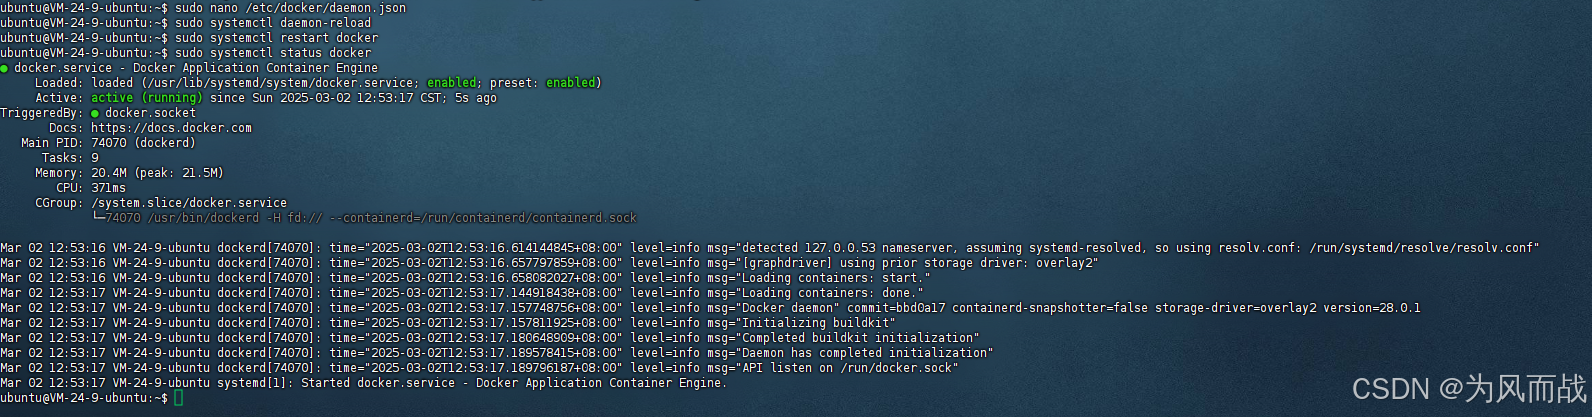
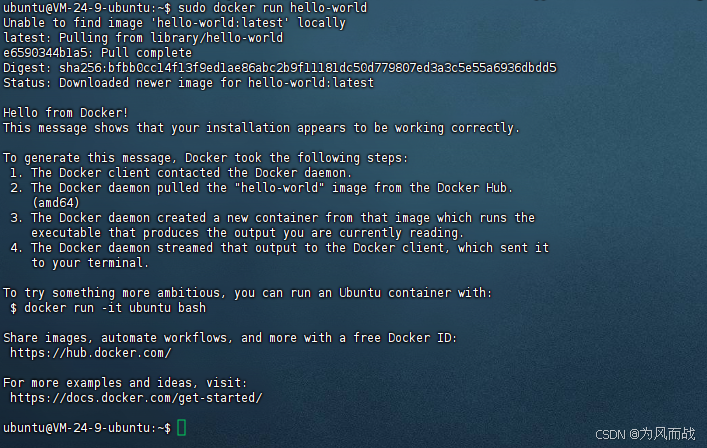
运行一个Hello wrold看看。
sudo docker run hello-world当出现这个界面时,Docker的工作完成了。
3、接下来开始部署Dify源码到Ubuntu。
sudo git clone https://github.com/langgenius/dify.git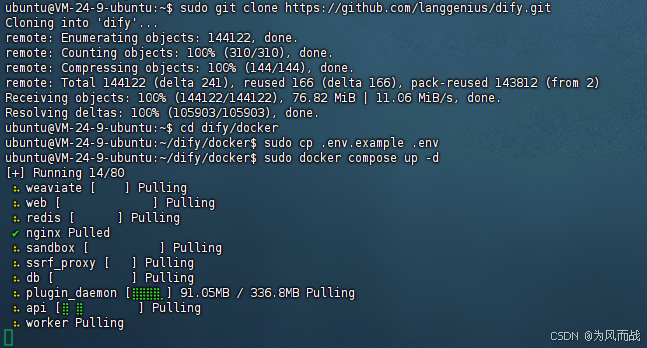
sudo cd dify/docker
sudo cp .env.example .env
sudo docker compose up -d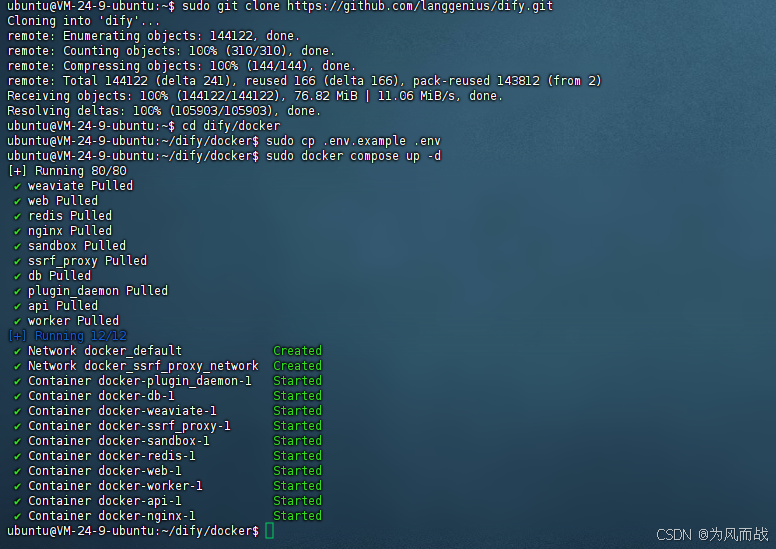
sudo systemctl start docker在浏览器中输入服务器的IP地址,访问结果如下。


有“AI”的1024 = 2048,欢迎大家加入2048 AI社区
更多推荐

 3
3 0
0- 0


 已为社区贡献2条内容

所有评论(0)