当.m2下的setting.xml不存在如何配置
当.m2下的setting.xml不存在如何配置
1、首先进入官网下载maven
图一:
2、解压之后,可看到目录为图二
图二:
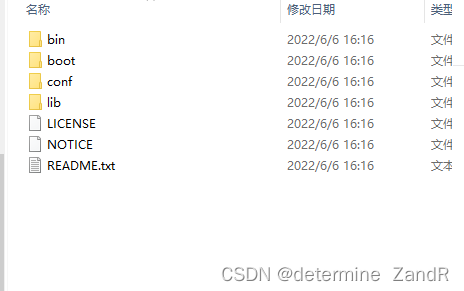
3、从图二的conf中复制setting.xml到.m2目录下
图三就是本人的setting.xml的配置
图三:
<?xml version="1.0" encoding="UTF-8"?>
<settings xmlns="http://maven.apache.org/SETTINGS/1.2.0"
          xmlns:xsi="http://www.w3.org/2001/XMLSchema-instance"
          xsi:schemaLocation="http://maven.apache.org/SETTINGS/1.2.0 https://maven.apache.org/xsd/settings-1.2.0.xsd">
  <pluginGroups>

  </pluginGroups>


  <proxies>

  </proxies>


  <servers>

  </servers>


  <mirrors>
    <mirror>
		<id>alimaven</id>
		<name>aliyun maven</name>
		<url>http://maven.aliyun.com/nexus/content/groups/public/</url>
		<mirrorOf>central</mirrorOf>?
    </mirror>
  </mirrors>

  <profiles>
	<profile>
    <id>jdk-1.8</id>
    <activation>
          <activeByDefault>true</activeByDefault>
          <jdk>1.8</jdk>
     </activation>
     <properties>
          <maven.compiler.source>1.8</maven.compiler.source>
          <maven.compiler.target>1.8</maven.compiler.target>
          <maven.compiler.compilerVersion>1.8</maven.compiler.compilerVersion>
     </properties>
	</profile>
  </profiles>
</settings>
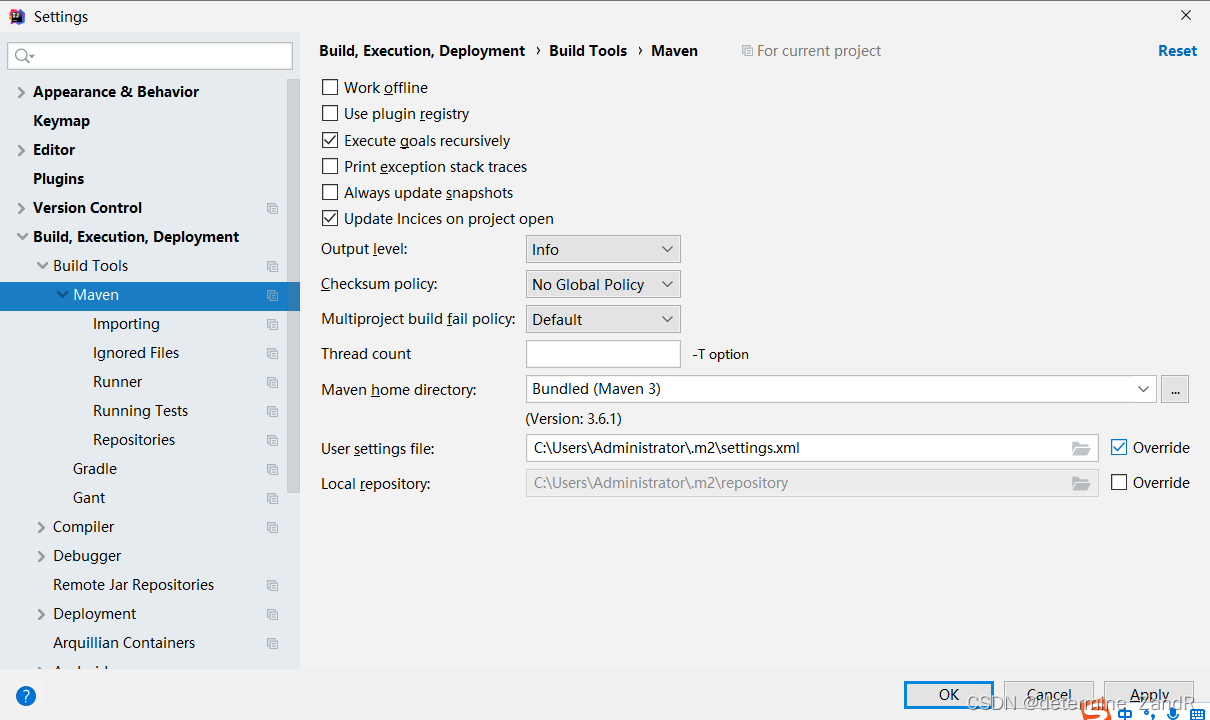
4、在idea中使用setting.xml
首先 file==>settings==>build,execution,deployment==>build tools ==>maven
重写.m2中的setting就可以了
修改mirror,使用阿里的maven
<mirror>
<id>alimaven</id>
<name>aliyun maven</name>
<url>http://maven.aliyun.com/nexus/content/groups/public/</url>
<mirrorOf>central</mirrorOf>
</mirror>
设置jdk版本
<profile>
<id>jdk-1.8</id>
<activation>
<activeByDefault>true</activeByDefault>
<jdk>1.8</jdk>
</activation>
<properties>
<maven.compiler.source>1.8</maven.compiler.source>
<maven.compiler.target>1.8</maven.compiler.target>
<maven.compiler.compilerVersion>1.8</maven.compiler.compilerVersion>
</properties>
</profile>
其他的配置可以搜索其他的参考,谢谢各位观看

有“AI”的1024 = 2048,欢迎大家加入2048 AI社区
更多推荐


 9
9 0
0- 0


 已为社区贡献4条内容

所有评论(0)