Point Transformer V3 论文复现
在Github上下载好代码文件进行环境配置这边由于使用Windows进行安装会出现很多BUG。
安装
Pointcept/PointTransformerV3: [CVPR'24 Oral] Official repository of Point Transformer V3 (PTv3) (github.com)在Github上下载好代码文件进行环境配置
conda create -n pointcept python=3.8 -y
conda activate pointcept
conda install ninja -y
# Choose version you want here: https://pytorch.org/get-started/previous-versions/
# We use CUDA 11.8 and PyTorch 2.1.0 for our development of PTv3
conda install pytorch==2.1.0 torchvision==0.16.0 torchaudio==2.1.0 pytorch-cuda=11.8 -c pytorch -c nvidia
conda install h5py pyyaml -c anaconda -y
conda install sharedarray tensorboard tensorboardx yapf addict einops scipy plyfile termcolor timm -c conda-forge -y
conda install pytorch-cluster pytorch-scatter pytorch-sparse -c pyg -y
pip install torch-geometric

cd libs/pointops
python setup.py install
cd ../..

# spconv (SparseUNet)
# refer https://github.com/traveller59/spconv
pip install spconv-cu118  # choose version match your local cuda version

# Open3D (visualization, optional)
pip install open3d
这边由于使用Windows进行安装会出现很多BUG
BUG及解决
1.Sharedarray库安装时出现conda安装不了的问题
尝试使用github安装SharedNumpyarray替换原本的Sharedarray
pip install git+https://github.com/imaginary-friend94/SharedNumpyArray安装成功后,修改pointcept/utils/cache.py,将sharedarray.attach改为
numpysharedarray.attach_mem_sh
sharedarray.create改为
numpysharedarray.create_mutex
2.ModuleNotFoundError: No module named 'pointgroup_ops'
conda install -c bioconda google-sparsehash
cd libs/pointgroup_ops
python setup.py install --include_dirs=${CONDA_PREFIX}/include
按照readme进行安装
发现无法安装google-sparsehash
然后直接进入官网下载到本地安装

选择Win-64
conda install --use-local win-64_win-64_linux-64_google-sparsehash-2.0.3-1.tar.bz2安装完成后,继续安装pointgroup-ops。进入Pointcept/libs/pointgroup_ops输入python setup.py install进行安装
cd Pointcept/libs/pointgroup_ops
python setup.py install
安装完成
数据预处理
完成环境配置后进行数据预处理操作,这里选择S3DIS数据集进行处理,数据集下载参考这篇文章
S3DIS场景点云数据集_s3dis数据集baiduwangpan下载-CSDN博客
下载完成后,对数据集进行处理
# S3DIS_DIR: the directory of downloaded Stanford3dDataset_v1.2 dataset.
# RAW_S3DIS_DIR: the directory of Stanford2d3dDataset_noXYZ dataset. (optional, for parsing normal)
# PROCESSED_S3DIS_DIR: the directory of processed S3DIS dataset (output dir).

# S3DIS without aligned angle
python pointcept/datasets/preprocessing/s3dis/preprocess_s3dis.py --dataset_root ${S3DIS_DIR} --output_root ${PROCESSED_S3DIS_DIR}
# S3DIS with aligned angle
python pointcept/datasets/preprocessing/s3dis/preprocess_s3dis.py --dataset_root ${S3DIS_DIR} --output_root ${PROCESSED_S3DIS_DIR} --align_angle
# S3DIS with normal vector (recommended, normal is helpful)
python pointcept/datasets/preprocessing/s3dis/preprocess_s3dis.py --dataset_root ${S3DIS_DIR} --output_root ${PROCESSED_S3DIS_DIR} --raw_root ${RAW_S3DIS_DIR} --parse_normal
python pointcept/datasets/preprocessing/s3dis/preprocess_s3dis.py --dataset_root ${S3DIS_DIR} --output_root ${PROCESSED_S3DIS_DIR} --raw_root ${RAW_S3DIS_DIR} --align_angle --parse_normal
需要注意,如果要计算法向量的话需要安装trimesh库
pip install trimesh开始训练
由于没有使用法向量,这里需要对配置文件修改一些参数。
打开Pointcept\config\s3dis\semseg-pt-v3m1-1-rpe
删除所有字典里有"normal"的值,例如
            dict(
                type="Collect",
                keys=("coord", "grid_coord", "segment"),
                feat_keys=("color"),
                # feat_keys=("color", "normal"),
            ),
此外还需要修改Pointcept\pointcept\dataset\transform.py
将第49行处的
data[name] = torch.cat([data_dict[key].float() for key in keys], dim=1)修改为
if self.kwargs.__len__() == 1:
    data[name] = torch.cat([data_dict[keys].float()], dim=1)
else:
    data[name] = torch.cat([data_dict[key].float() for key in keys], dim=1)
否则当keys只有一个元素"color"时会报错
修改完成后,运行PTv3开始训练
sh scripts/train.sh -g 4 -d s3dis -c semseg-pt-v3m1-1-rpe -n semseg-pt-v3m1-0-rpe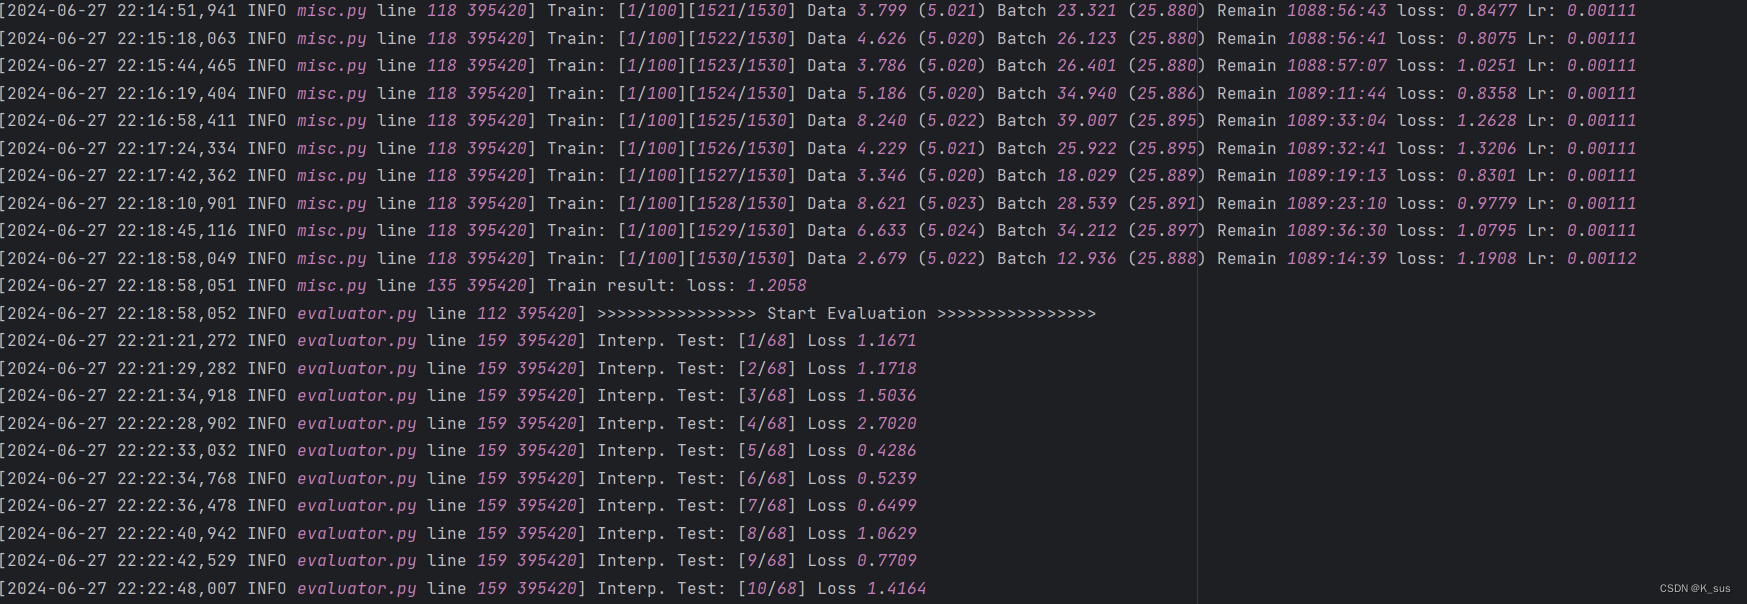
运行成功!

有“AI”的1024 = 2048,欢迎大家加入2048 AI社区
更多推荐
 41
41 0
0- 0


 已为社区贡献2条内容

所有评论(0)