IDEA 创建SpringMvc项目
目前项目开发主流开发框架是SpringBoot ,但是基础还是SpringMvc那一套,都快忘了SpringMvc项目怎么搭建的了,这里记录下SpringMvc项目创建流程也方便调试Spring中 NamespaceHandlerSupport 处理配置文件的逻辑。
·
前言
目前项目开发主流开发框架是SpringBoot ,但是基础还是SpringMvc那一套,都快忘了SpringMvc项目怎么搭建的了,这里记录下SpringMvc项目创建流程
也方便调试Spring中 NamespaceHandlerSupport 处理配置文件的逻辑
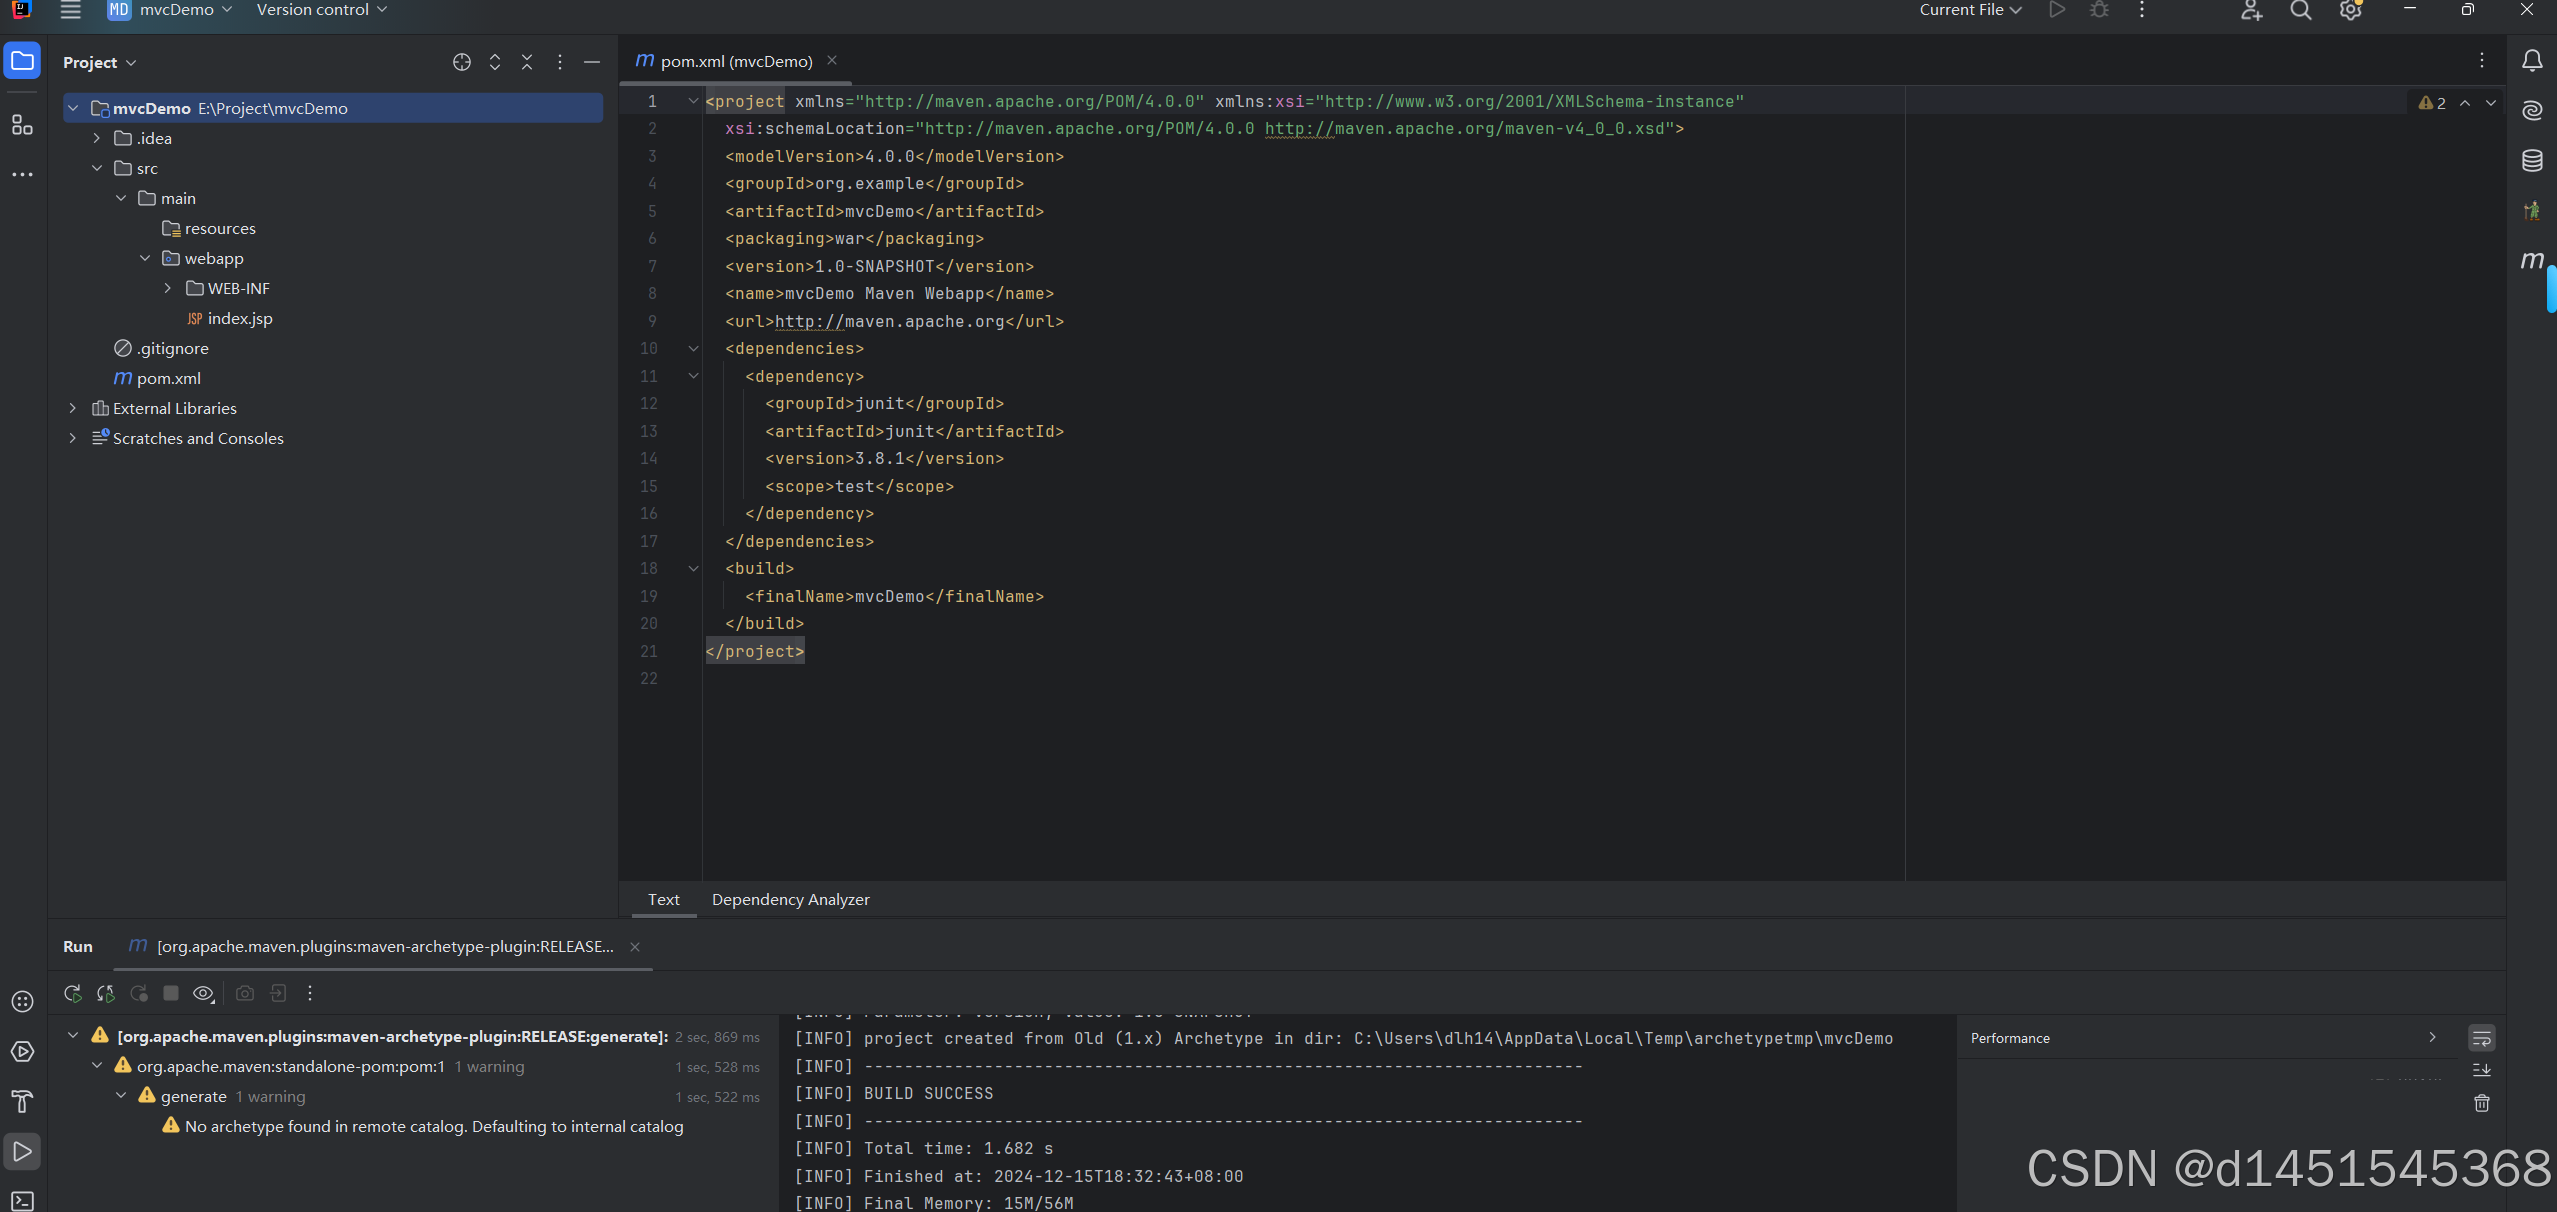
一、IDEA创建Maven项目选择maven-archetype-webapp模板

二、pom配置文件引入SpringMvc依赖
根据模板创建的项目结构,我们引入SpringMvc的相关依赖
pom文件
<project xmlns="http://maven.apache.org/POM/4.0.0" xmlns:xsi="http://www.w3.org/2001/XMLSchema-instance"
  xsi:schemaLocation="http://maven.apache.org/POM/4.0.0 http://maven.apache.org/maven-v4_0_0.xsd">
  <modelVersion>4.0.0</modelVersion>
  <groupId>org.example</groupId>
  <artifactId>mvcDemo</artifactId>
  <packaging>war</packaging>
  <version>1.0-SNAPSHOT</version>
  <name>mvcDemo Maven Webapp</name>
  <url>http://maven.apache.org</url>
  <dependencies>
    <dependency>
      <groupId>junit</groupId>
      <artifactId>junit</artifactId>
      <version>3.8.1</version>
      <scope>test</scope>
    </dependency>
      <dependency>
          <groupId>org.springframework</groupId>
          <artifactId>spring-webmvc</artifactId>
          <version>5.2.1.RELEASE</version>
      </dependency>

  </dependencies>
  <build>
    <finalName>mvcDemo</finalName>
  </build>
</project>
三、web.xml添加Servlet Listener配置
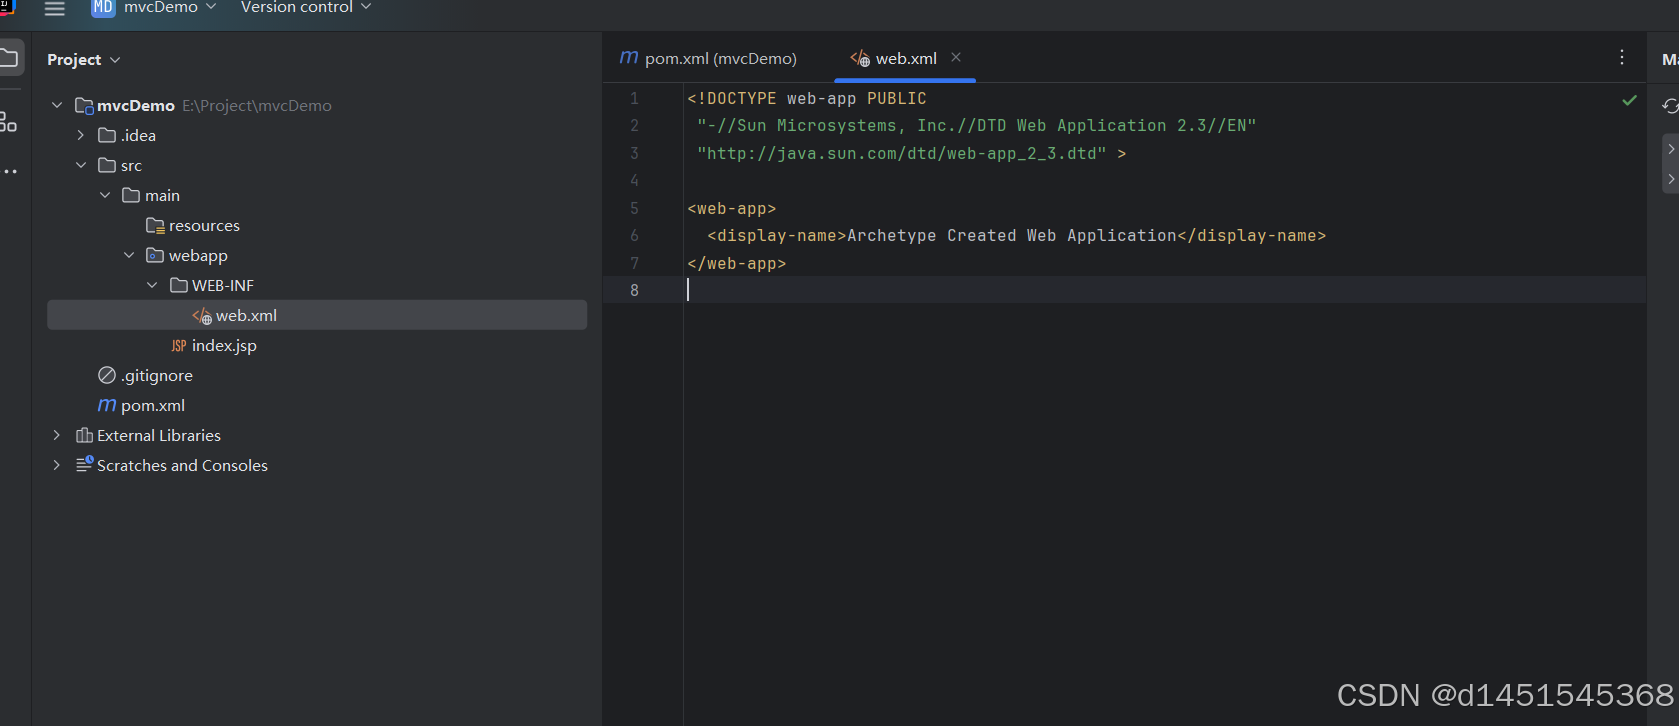
目前是这样的,我们加下配置 增加
DispatcherServlet ContextLoaderListener (这个是SpringMvc里面很重要的两个类)
web.xml
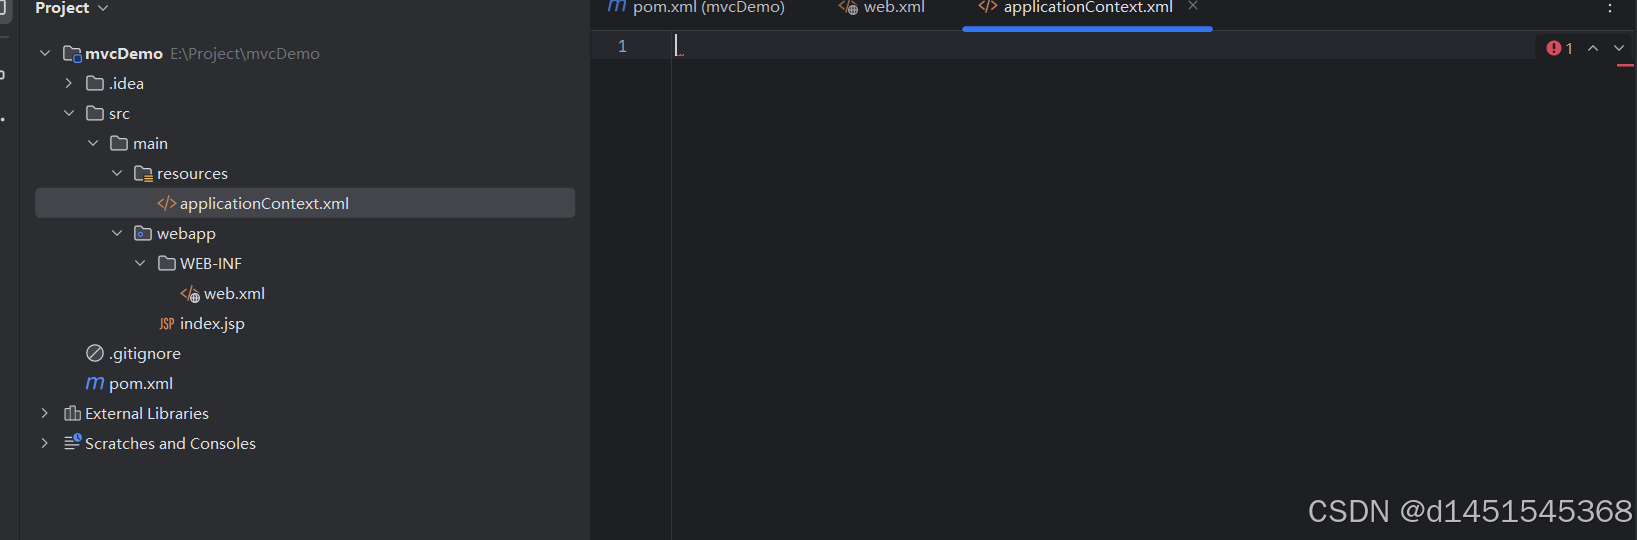
 四、添加两个配置文件
<?xml version="1.0" encoding="UTF-8"?>
<beans xmlns="http://www.springframework.org/schema/beans"
    xmlns:xsi="http://www.w3.org/2001/XMLSchema-instance"
    xmlns:context="http://www.springframework.org/schema/context"
    xmlns:mvc="http://www.springframework.org/schema/mvc"
    xsi:schemaLocation="http://www.springframework.org/schema/beans http://www.springframework.org/schema/beans/spring-beans.xsd
        http://www.springframework.org/schema/context http://www.springframework.org/schema/context/spring-context-4.0.xsd
        http://www.springframework.org/schema/mvc http://www.springframework.org/schema/mvc/spring-mvc-4.0.xsd">

</beans>
然后再加个标签节点
<context:component-scan base-package="com.dlh.*"/>完整的配置是这样的
<?xml version="1.0" encoding="UTF-8"?>
<beans xmlns="http://www.springframework.org/schema/beans"
       xmlns:xsi="http://www.w3.org/2001/XMLSchema-instance"
       xmlns:context="http://www.springframework.org/schema/context"
       xmlns:mvc="http://www.springframework.org/schema/mvc"
       xsi:schemaLocation="http://www.springframework.org/schema/beans http://www.springframework.org/schema/beans/spring-beans.xsd
        http://www.springframework.org/schema/context http://www.springframework.org/schema/context/spring-context-4.0.xsd
        http://www.springframework.org/schema/mvc http://www.springframework.org/schema/mvc/spring-mvc-4.0.xsd">
      <context:component-scan base-package="com.dlh.*"/>
</beans>
这个注解熟悉吧,不过现在的项目可能都用不上了
再加一个Controller类

到目前为止我还缺一个Servlet配置文件 我们给他加上
<?xml version="1.0" encoding="UTF-8"?>
<beans xmlns="http://www.springframework.org/schema/beans"
       xmlns:xsi="http://www.w3.org/2001/XMLSchema-instance"
       xmlns:context="http://www.springframework.org/schema/context"
       xmlns:mvc="http://www.springframework.org/schema/mvc"
       xsi:schemaLocation="http://www.springframework.org/schema/beans http://www.springframework.org/schema/beans/spring-beans.xsd
        http://www.springframework.org/schema/context http://www.springframework.org/schema/context/spring-context-4.0.xsd
        http://www.springframework.org/schema/mvc http://www.springframework.org/schema/mvc/spring-mvc-4.0.xsd">
    <bean class="org.springframework.web.servlet.view.InternalResourceViewResolver">
        <property name="prefix" value="/WEB-INF/"></property>
        <property name="suffix" value=".jsp"></property>
    </bean>
</beans>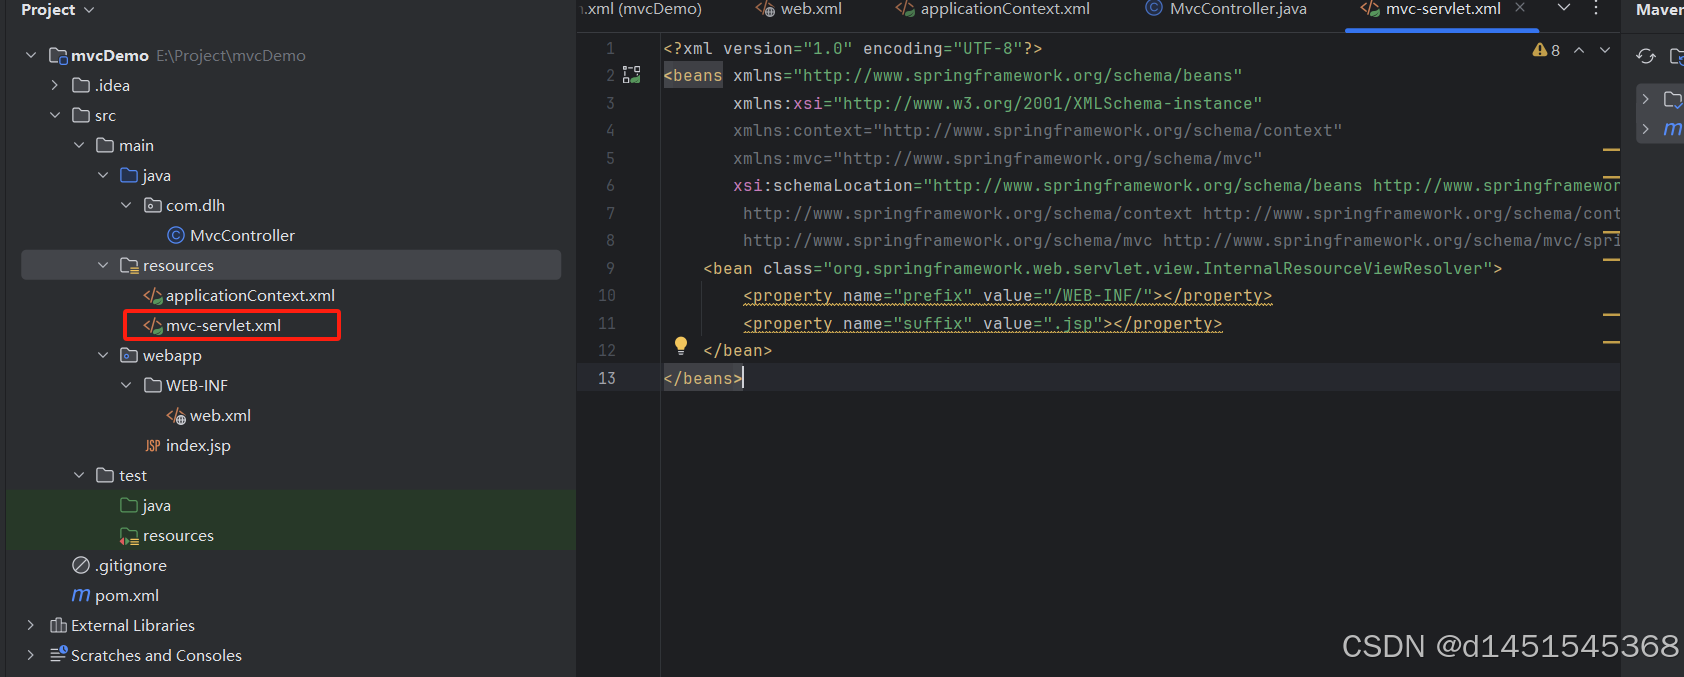
想一下为什么文件名叫 mvc-servlet.xml
答案在这里
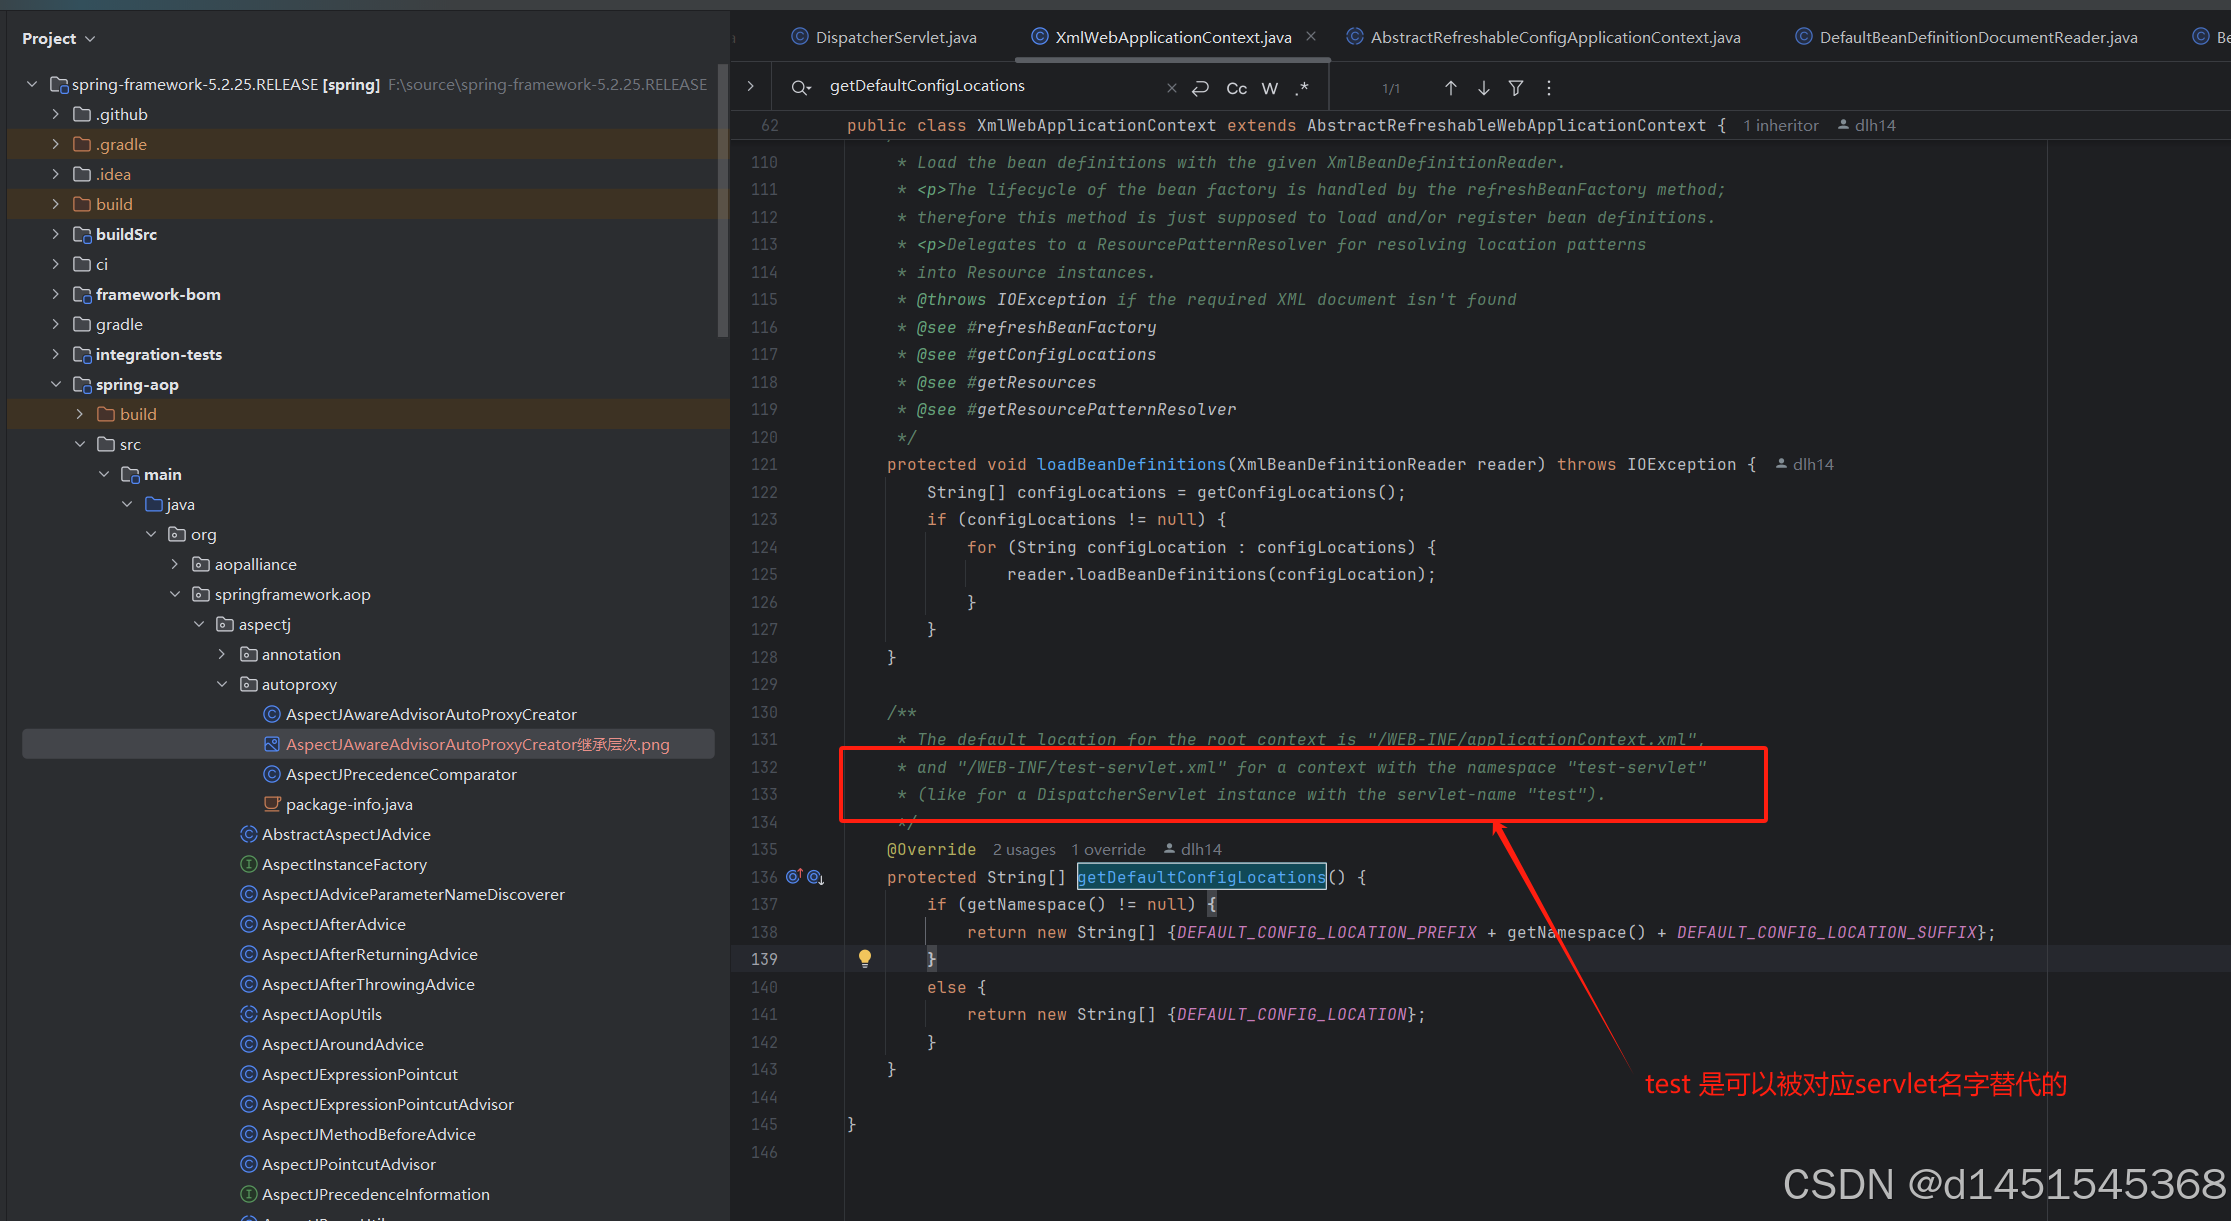
当然也是可以像这样重新指定配置文件路径的 五、配置Tomcat
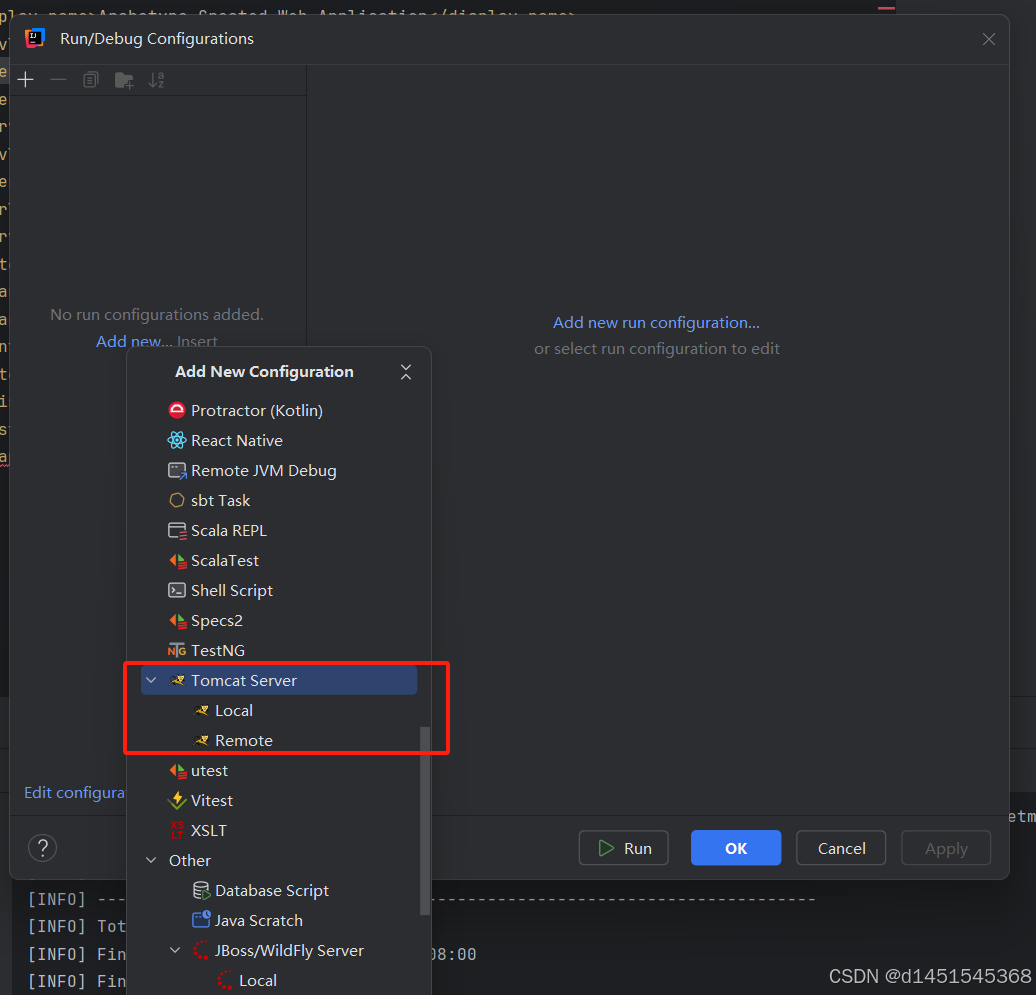
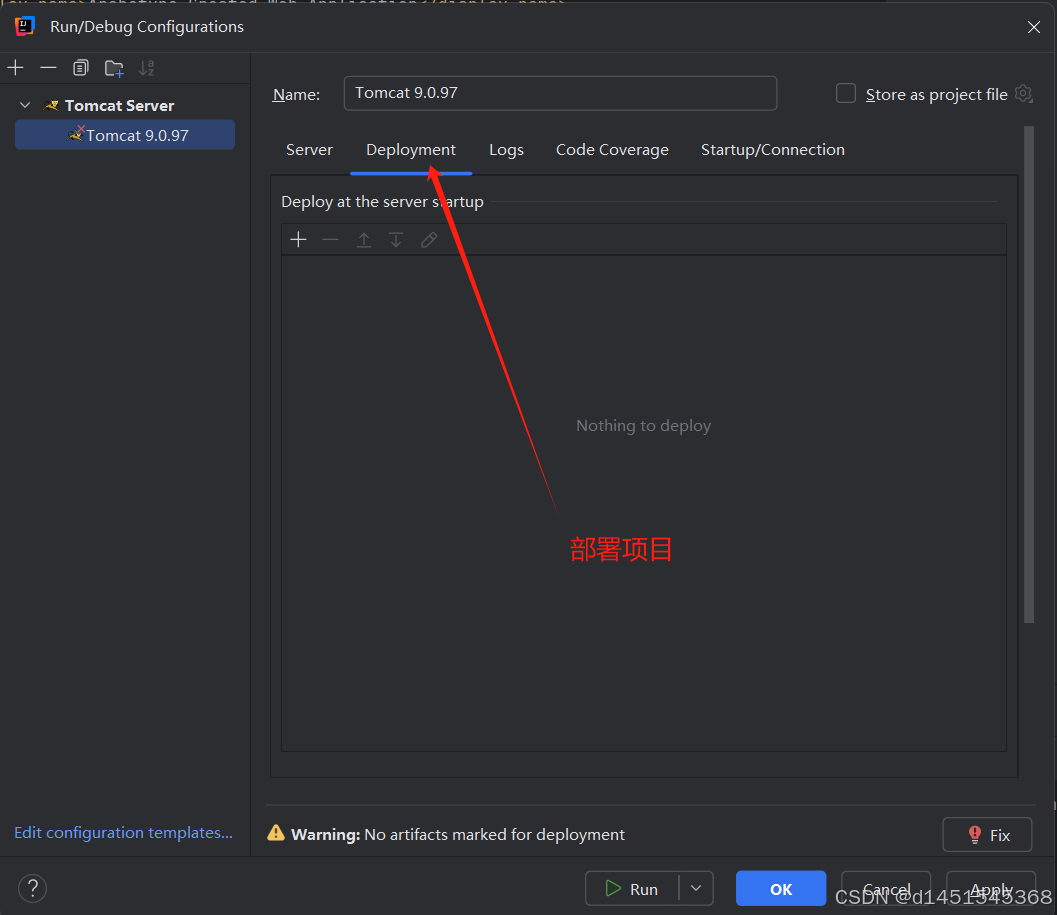


启动成功,久违的Tomcat
启动成功了。。

有“AI”的1024 = 2048,欢迎大家加入2048 AI社区
更多推荐
 4
4 0
0- 0


 已为社区贡献1条内容

所有评论(0)