Unity3D与arduino串口通讯
一、Unity3D读取arduino发来的数据arduino程序:int i =0;void setup() {// put your setup code here, to run once:Serial.begin(9600);}void loop() {// put your main code here, to run repeatedly:if(i ==250)i =...
一、Unity3D读取arduino发来的数据
arduino程序:
int i =0;
void setup() {
// put your setup code here, to run once:
Serial.begin(9600);
}
void loop() {
// put your main code here, to run repeatedly:
if(i ==250)
i = 0;
Serial.println(i++);
delay(1000);
}
Unity3D随便添加一个物体,然后点击Assets菜单Create->C# script脚本名字随意改成自己的,但代码中类的名字一定要和这个一致,一般自动生成的类名就是这个脚本文件的名字,因这个脚本本身就是一个类,哈哈!如果别处考过来的代码,一定记得类名要改成一致。添加后,默认会有完整的代码架构包括三个头文件和一个类,类中有两个函数:start 和update,我们只需要添加其它代码即可,点击右上侧的Open…按钮(如下图),自动调用vs2015打开此脚本文件(调用VS2015还是vs2017跟Unity3D的版本有关,我的是2018.1.6f1比较老了!),只能在VS中编辑,添加后,如下图右侧所示。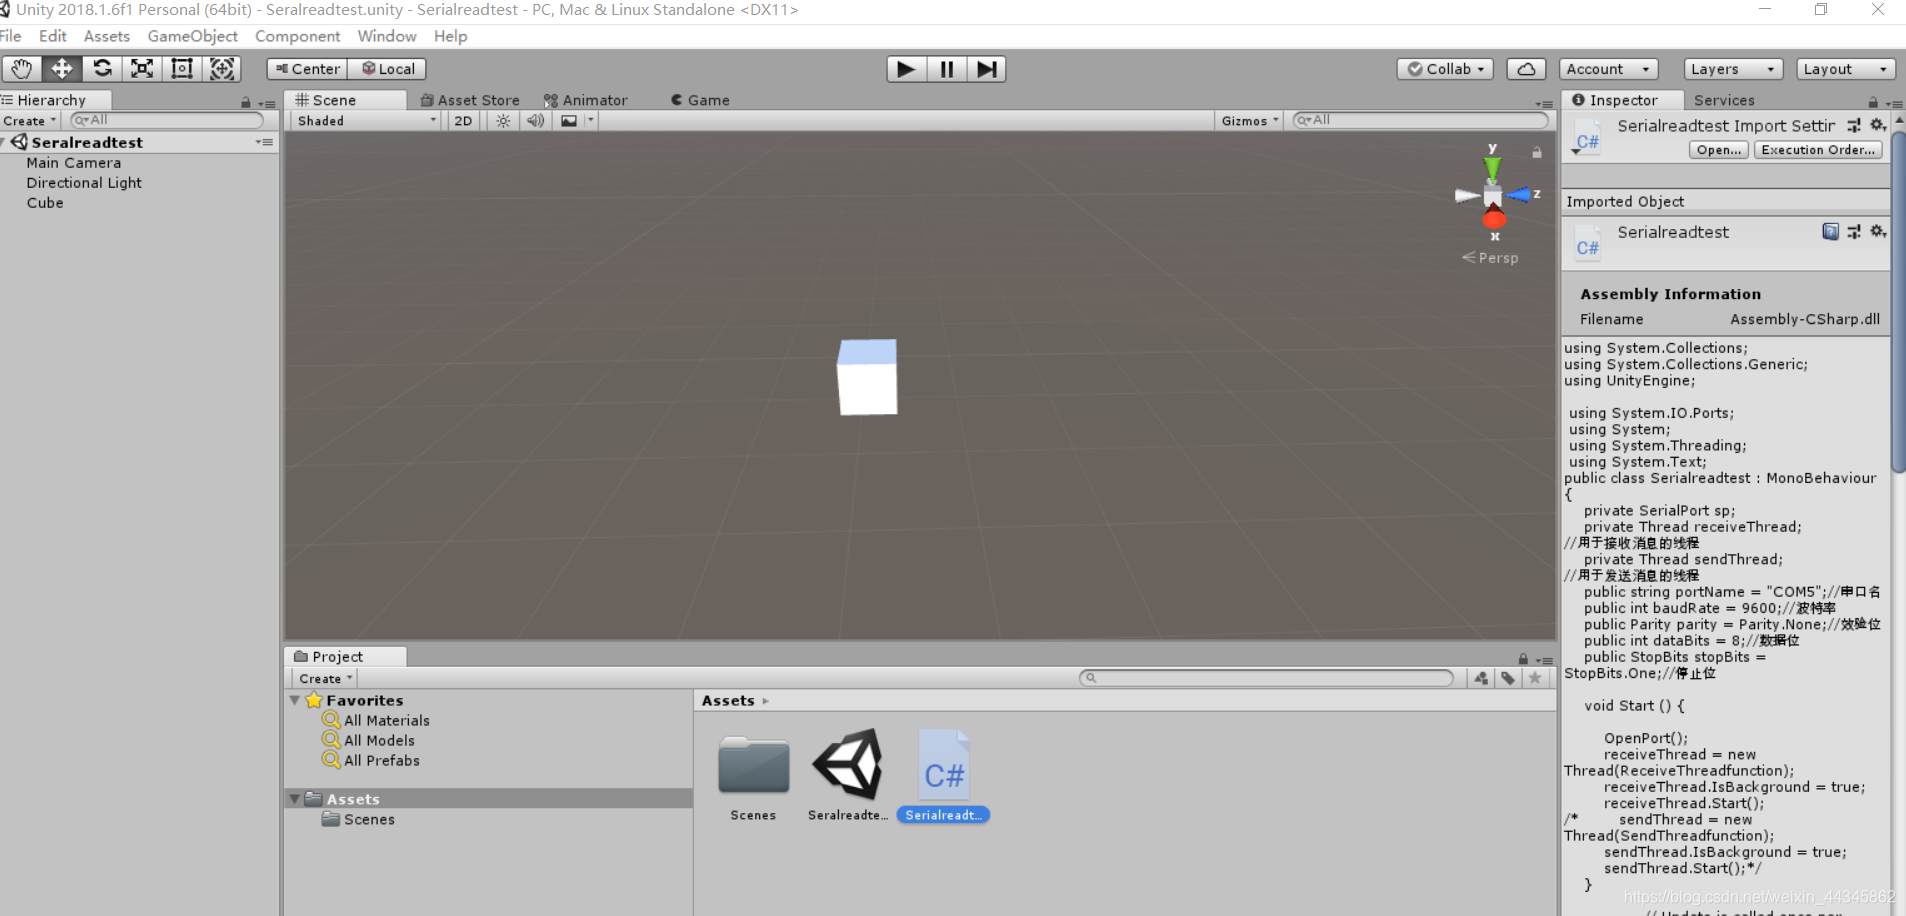
VS编辑界面如下图: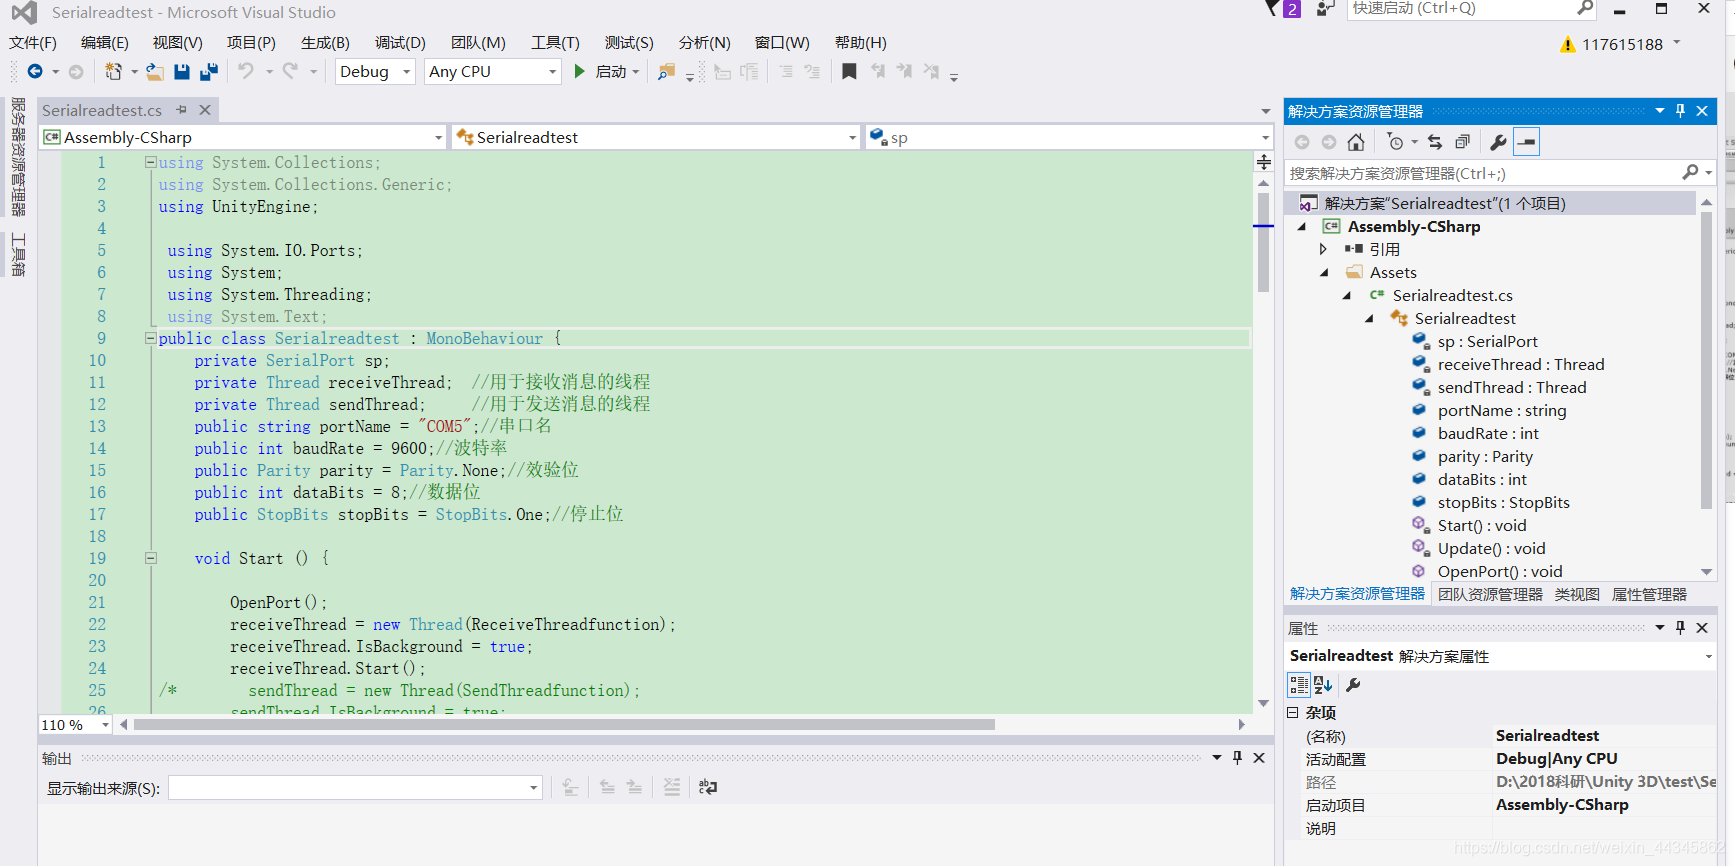
记得将Unity3D的API平台切换成.NET2.0,不然VS中SerialPort类会报错。切换方法: “Edit–>project Setting–>Player–>Other Setting –>Api Compatibility level”。在这里将“.NET2.0 Subset”切换为“.NET2.0”
VS中只需要编辑保存,不需要运行的,保存后,Unity3D中的脚本文件立马跟着更改,Unity3D运行时不用关闭VS.
C#代码如下:
using System.Collections;
using System.Collections.Generic;
using UnityEngine;
using System.IO.Ports;
using System;
using System.Threading;
using System.Text;
public class Serialreadtest : MonoBehaviour
{
private SerialPort sp;
private Thread receiveThread;  //用于接收消息的线程
public string portName = "COM5";//串口名,根据自己arduino板子的串口号写
public int baudRate = 9600;//波特率
public Parity parity = Parity.None;//效验位
public int dataBits = 8;//数据位
public StopBits stopBits = StopBits.One;//停止位

void Start () {
    OpenPort();
    receiveThread = new Thread(ReceiveThreadfunction);
    receiveThread.IsBackground = true;
    receiveThread.Start();
}
// Update is called once per frame
void Update () {
}

#region 创建串口,并打开串口
public void OpenPort()
{
        //创建串口
        sp = new SerialPort(portName, baudRate, parity, dataBits, stopBits);
        sp.ReadTimeout = 400;
        try
        {
            sp.Open();
        }
        catch (Exception ex)
        {
            Debug.Log(ex.Message);
        }
}
#endregion
#region 程序退出时关闭串口
void OnApplicationQuit()
{
    ClosePort();
}

public void ClosePort()
{
    try
    {
        sp.Close();
        receiveThread.Abort();
    }
    catch (Exception ex)
    {
        Debug.Log(ex.Message);
    }
}
#endregion
private void ReceiveThreadfunction()
{
    while (true)
    {
        if (this.sp != null && this.sp.IsOpen)
        {
            try
            {
                String strRec = sp.ReadLine();            //SerialPort读取数据有多种方法,我这里根据需要使用了ReadLine()
                Debug.Log("Receive From Serial: " + strRec);
            }
            catch
            {
                //continue;
            }
        }
    }
}
}
Unity3D中添加cube并把C#脚本文件拖到Hierarchy中的此cube之上,此时右下角会多出一个脚本类(script),如下图: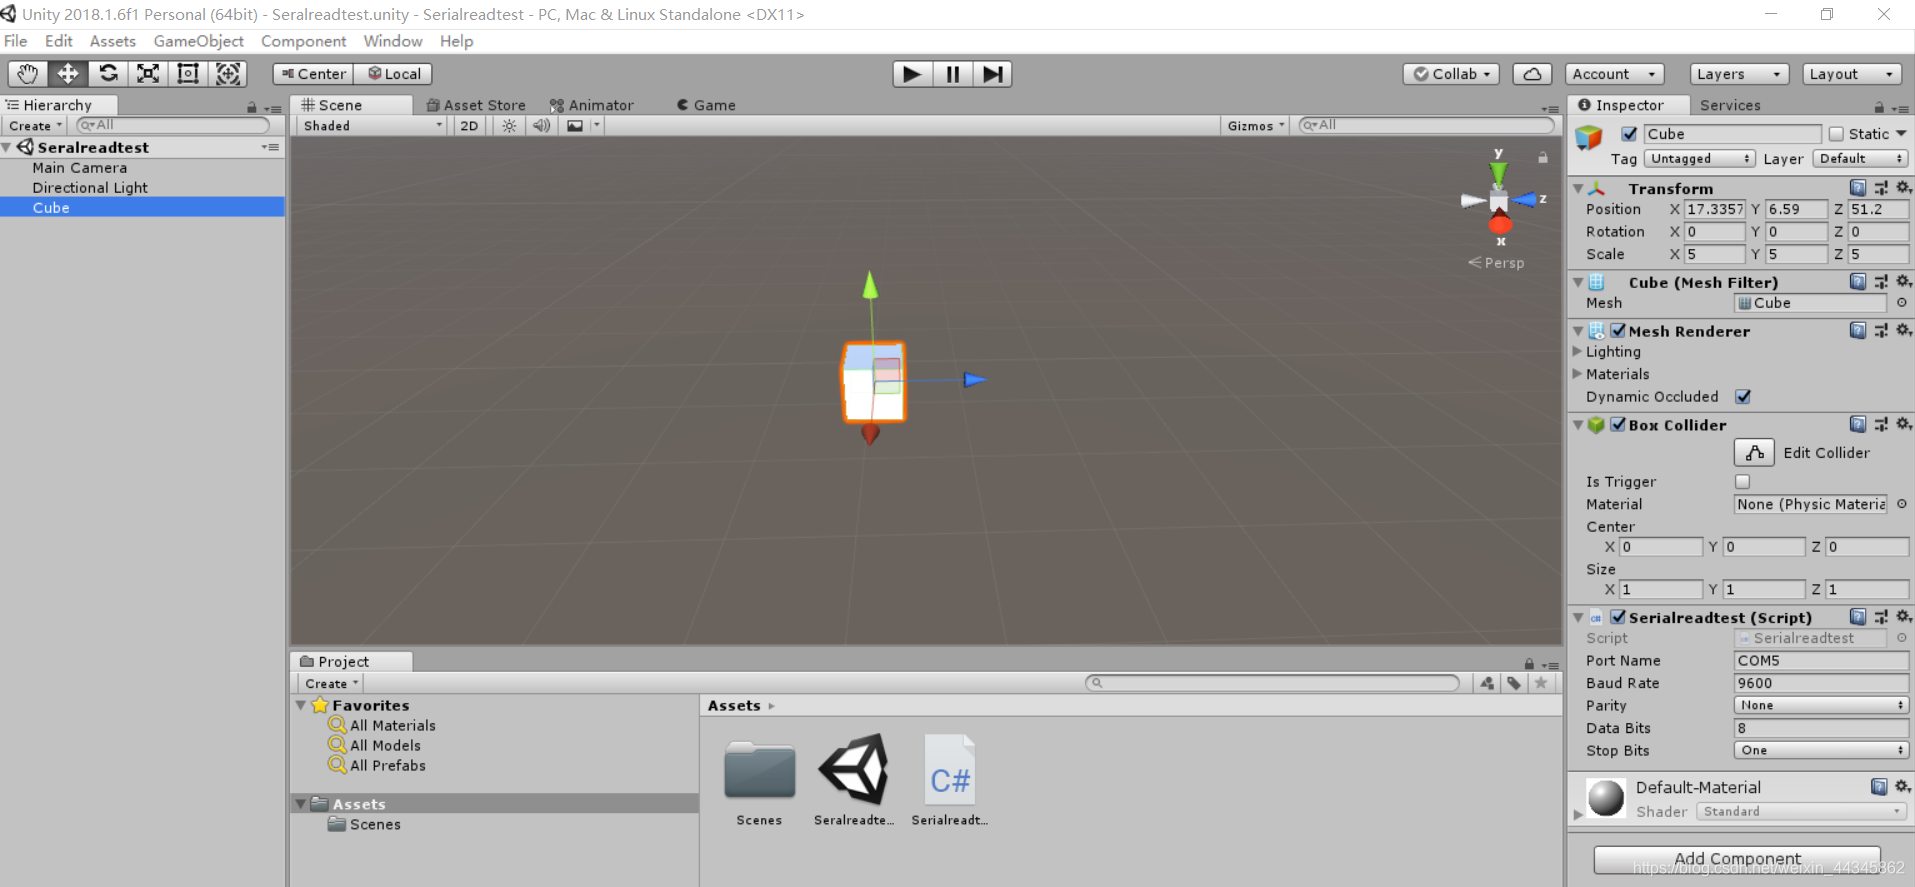
点击运行(连上arduino板子),可在Window->Concole中查看收到的内容。Concole对话框如下图: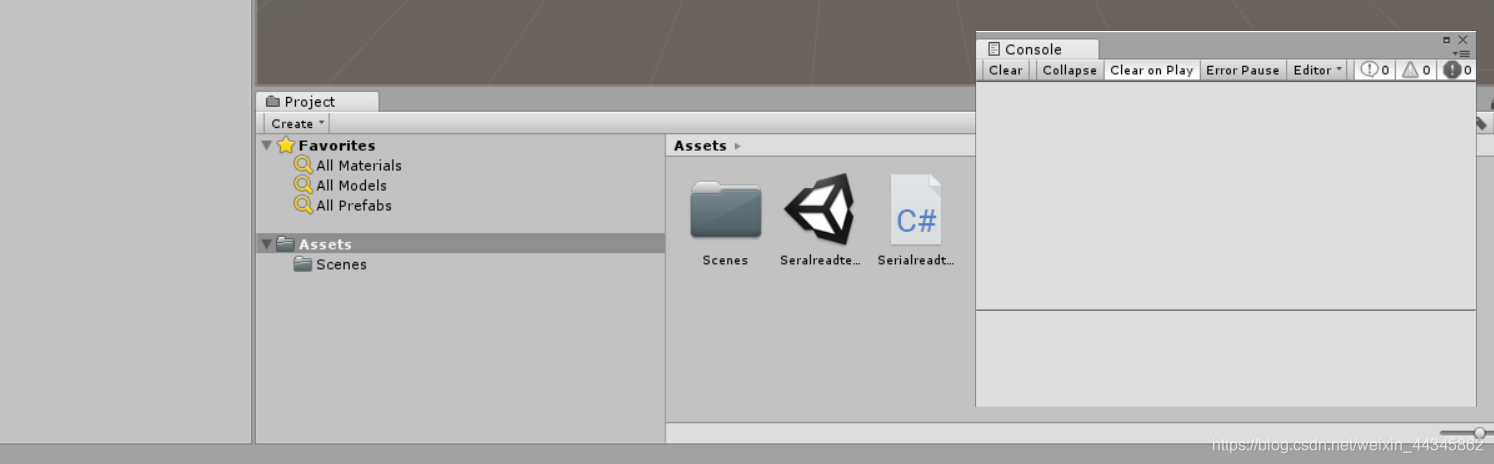
二、Unity3D向arduino发数据
arduino程序:
const int analogOutPin = 9; // Analog output pin that the LED is attached to
int outputValue = 0; // value output to the PWM (analog out)
void setup() {
// put your setup code here, to run once:
pinMode(analogOutPin, OUTPUT);
Serial.begin(9600);
}
void loop() {
// put your main code here, to run repeatedly:
String inString;
while(Serial.available()>0)
{
// 读取一个字符
int inChar = Serial.read();
// 判定是不是数值字符(0~9)
// [注意]该判定方法组会导致只提取字符串中的所有数字并将其构成一个数字字符序列
if (isDigit(inChar)) {
// 添加到字符串中(byte转换为char类型)
inString+= (char)inChar;
outputValue=inString.toInt();
}
}
analogWrite(analogOutPin, outputValue);
// Serial.println(outputValue);
delay(20);
}
C#代码如下:
using System.Collections;
using System.Collections.Generic;
using UnityEngine;
using System.IO.Ports;
using System;
using System.Threading;
using System.Text;
public class Serialwritetest : MonoBehaviour
{
private SerialPort sp;
private Thread receiveThread;  //用于接收消息的线程
private Thread sendThread;     //用于发送消息的线程
public string portName = "COM5";//串口名
public int baudRate = 9600;//波特率
public Parity parity = Parity.None;//效验位
public int dataBits = 8;//数据位
public StopBits stopBits = StopBits.One;//停止位

void Start()
{
    OpenPort();
           sendThread = new Thread(SendThreadfunction);
            sendThread.IsBackground = true;
            sendThread.Start();
}

// Update is called once per frame
void Update()
{

}
#region 创建串口,并打开串口
public void OpenPort()
{
    //创建串口
    sp = new SerialPort(portName, baudRate, parity, dataBits, stopBits);
    sp.ReadTimeout = 400;
    try
    {
        sp.Open();
    }
    catch (Exception ex)
    {
        Debug.Log(ex.Message);
    }
}
#endregion
#region 程序退出时关闭串口
void OnApplicationQuit()
{
    ClosePort();
}
public void ClosePort()
{
    try
    {
        sp.Close();
        receiveThread.Abort();
    }
    catch (Exception ex)
    {
        Debug.Log(ex.Message);
    }
}
#endregion
private void ReceiveThreadfunction()
{
    while (true)
    {
        if (this.sp != null && this.sp.IsOpen)
        {
            try
            {
                String strRec = sp.ReadLine();            //SerialPort读取数据有多种方法,我这里根据需要使用了ReadLine()
                Debug.Log("Receive From Serial: " + strRec);
            }
            catch
            {
                //continue;
            }
        }
    }
}
   private void SendThreadfunction()
   {
       int i = 0;
       while (true)
       {
           Thread.Sleep(30);
           this.sp.DiscardInBuffer();
           if (i > 255)
               i = 0;
        i = i + 5;
        sp.WriteLine(i.ToString());

        Debug.Log(i.ToString());
       }
   }
}

有“AI”的1024 = 2048,欢迎大家加入2048 AI社区
更多推荐


 15
15 0
0- 0


 已为社区贡献3条内容

所有评论(0)